Photography is always a compromise, a constant trade off between shutter speed, aperture and ISO. Even with the latest and greatest sensors a digital camera still can’t capture the 11 stops of dynamic range (the difference between the brightest highlights and the deepest shadows) that the human eye can see. To counter this shortcoming the technique of bracketing was born.
The concept is pretty simple; keep the camera still and take a collection of images that range from very underexposed to very overexposed by varying your shutter speed or ISO. Five images ranging from 2 stops under- to 2 stops overexposed will cover most scenes. It was used a lot in real estate photography so let’s take an image of a room’s interior as an example. The underexposed shots will give you detail in the bright sky visible through the windows while the over exposed shots will let you see into that shady corner of the room. With some layers and masking in Photoshop you could pull together the bits you wanted from each and create an image that looked much more like the scene appeared to the human eye.
Then tone mapping software came along and automated the whole process. Next thing you know, the web is full of those over saturated, surreal images that we all love to hate. Done right it’s beautiful but software like Photomatix has made it one of those technologies that is too easy to abuse. (Topaz, I’m looking at you!)
I want to share a technique with you that delivers all the benefits of HDR without falling in the trap of one-click, same-as-everyone-else tone mapping.
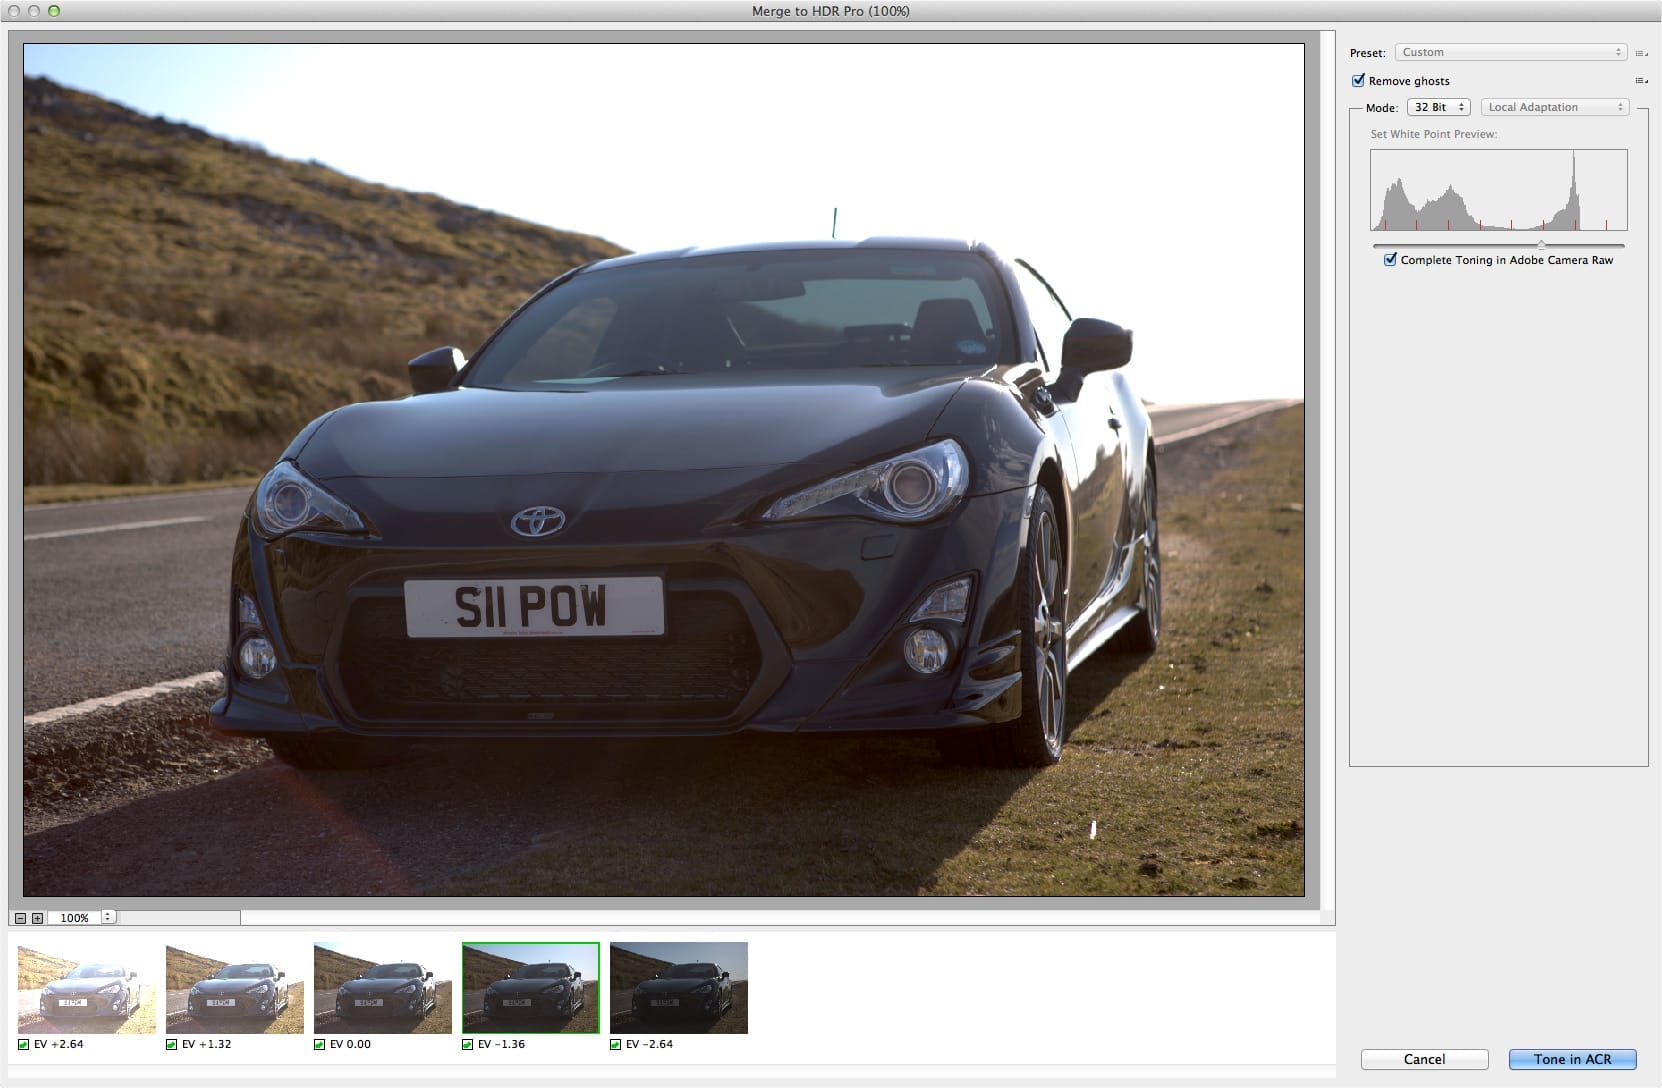
You need a set of bracketed images to work from so here are my five. No tripod in this case as I was at between 1/5000th and 1/125th – safe to hand hold and Photoshop is very good at aligning any slight movements.

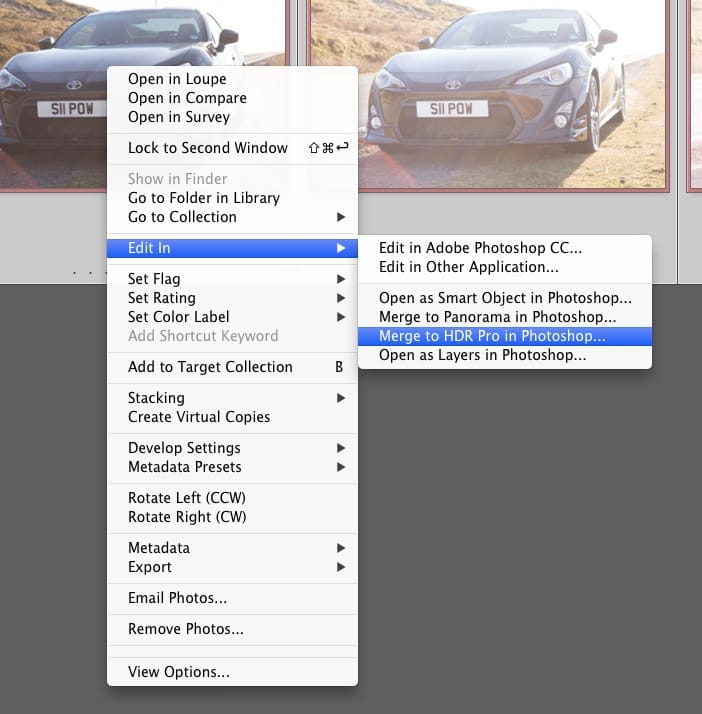
The next step is to export the images from Lightroom and merge them into one file using Photoshop’s HDR Pro function.
Compared to Photomatix, Photoshop’s tone mapping capabilities are pretty basic, but that’s OK. All I do here is make sure I choose 32 bit mode and click Tone in ACR.
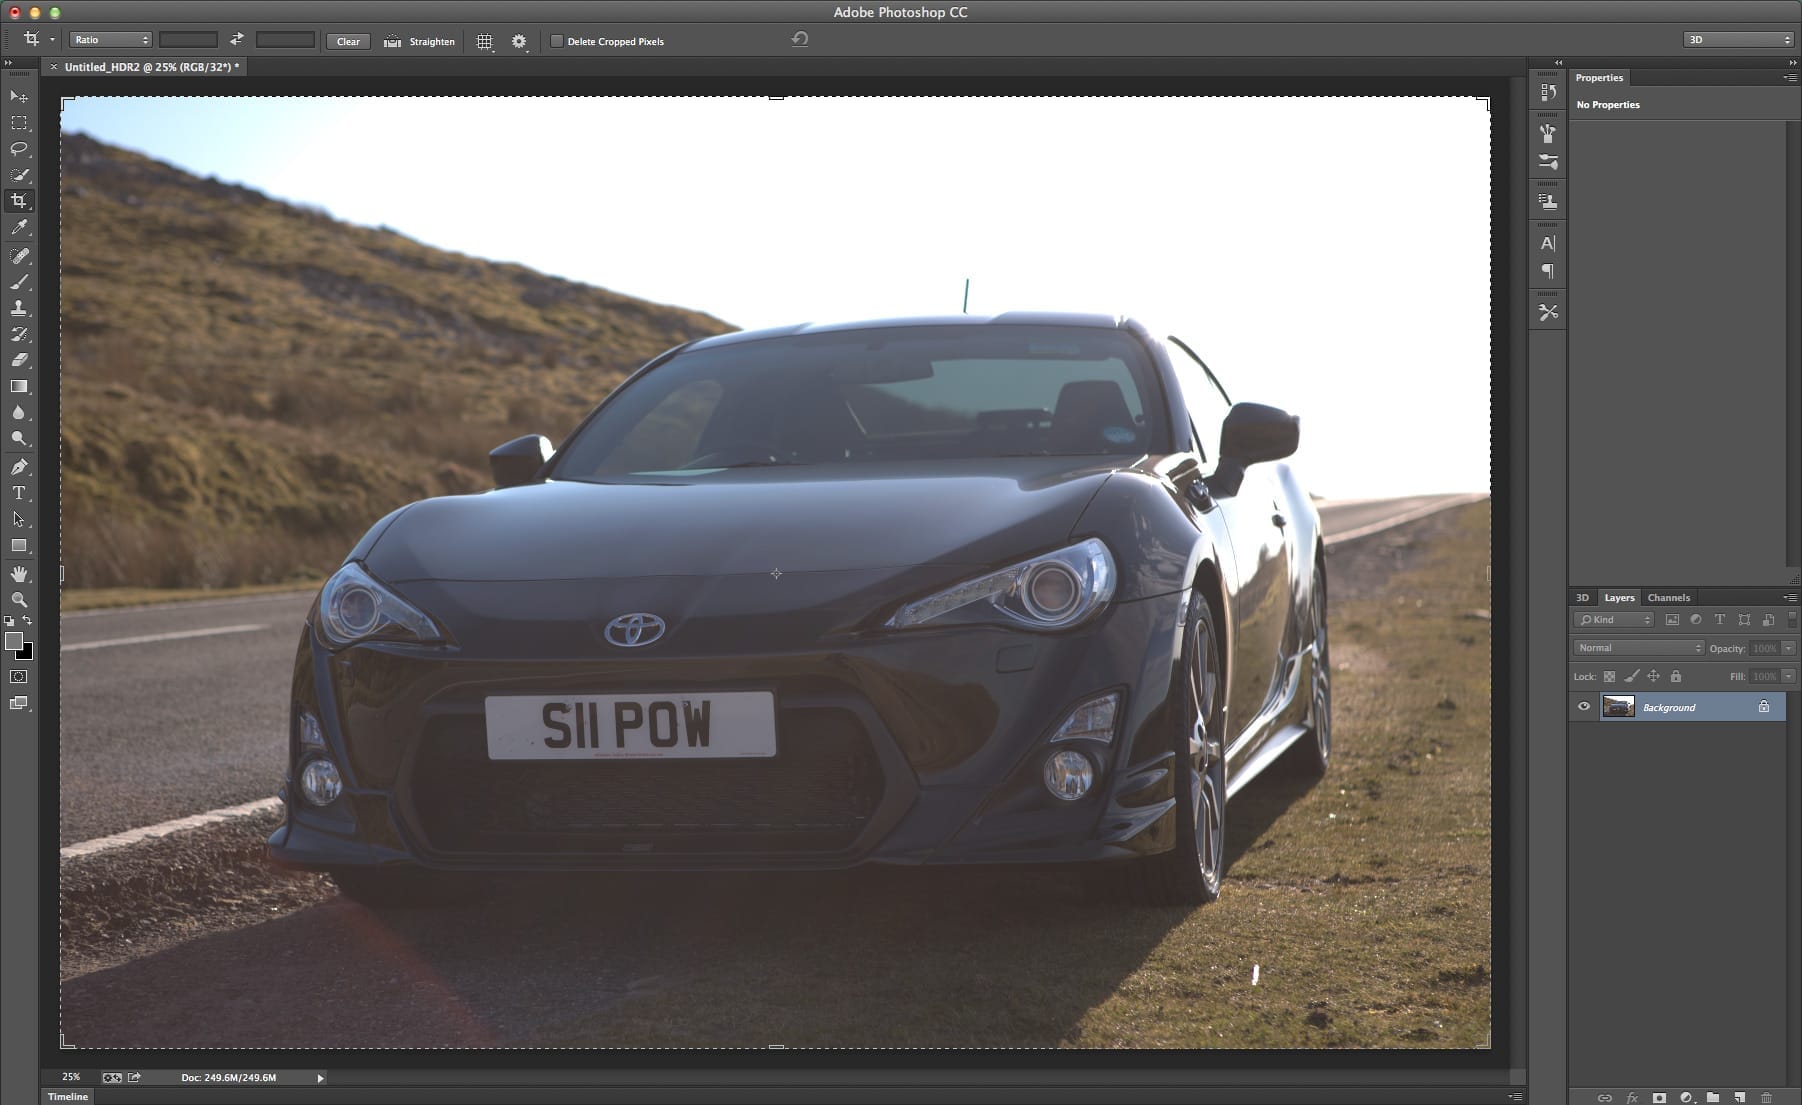
In this case I’m not doing my toning in Camera RAW, so the image goes straight into Photoshop looking like this: Dull and flat. Some technique huh?
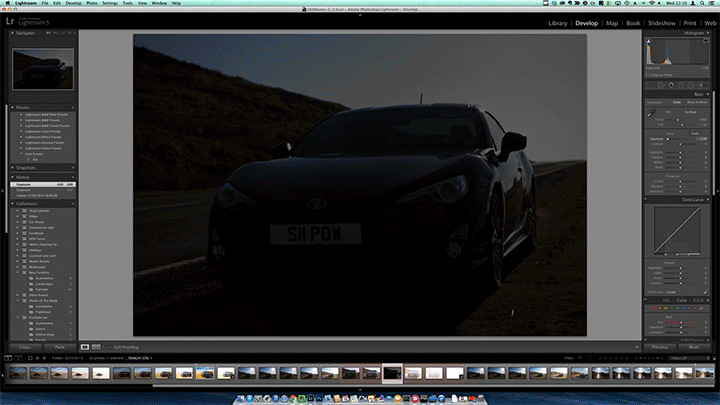
But this is the beginning, not the end. This is where I do the toning step that I could have done in ACR but instead I sent the file back to Lightroom to edit there. The RAW processing engines are the same it’s just personal preference and I’m a big Lightroom fan.
The most important thing we’ve done here is take five 14bit RAW files and combine them to make one 32bit TIFF.
What does that actually mean? In a 8bit JPG file, you have 256 levels each of red green and blue that can make up your image. It sounds like a lot but it’s why you see banding in a smooth gradients like skies – there’s just not enough shades of blue to make it smooth. 14bit RAW files are much better. they have 16000 shades of each colour, that’s much more levels between solid black and solid white. With 32bit, the numbers get silly: 4 and a quarter billion (with a B!) levels! Combine that with all the info you captured in your bracketed 5 shots and you have a boat load of info to play with in that single file.
Now this is the cool bit – load that 32bit file into CameraRAW or Lightroom and play with the sliders. Everything goes to 11. Well not quite but the Exposure slider for example goes to +/- 10 stops. That’s 20 stops of highlight and shadow detail that you can call upon using all the usual tools in Lightroom. Take a look a the difference:
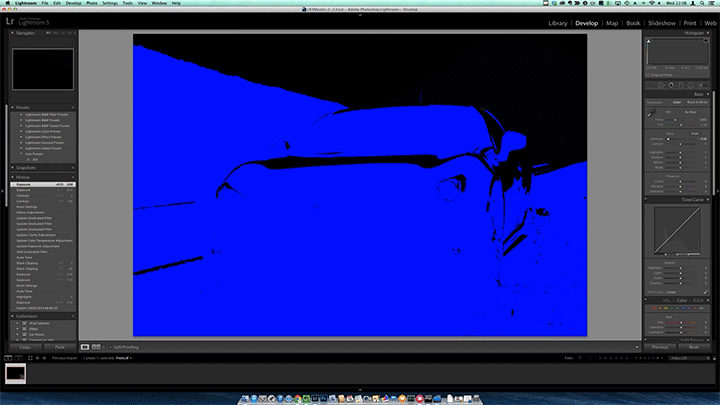
This is a properly exposed 14bit RAW file straight from my 5DMkIII. I’m dragging the Exposure slider from left to right, that’s from -5 stops to +5. I’ve got Lightroom’s clipping warnings turned on so anything highlighted blue is completely black, anything red has blown to white.
Now this is the same deal with the 32 bit file. From -10 to +10 stop this time and you can see how much further I can push the file, from almost fully clipping to black to completely blown out. There’s clearly a lot more detail here at both ends of the exposure.
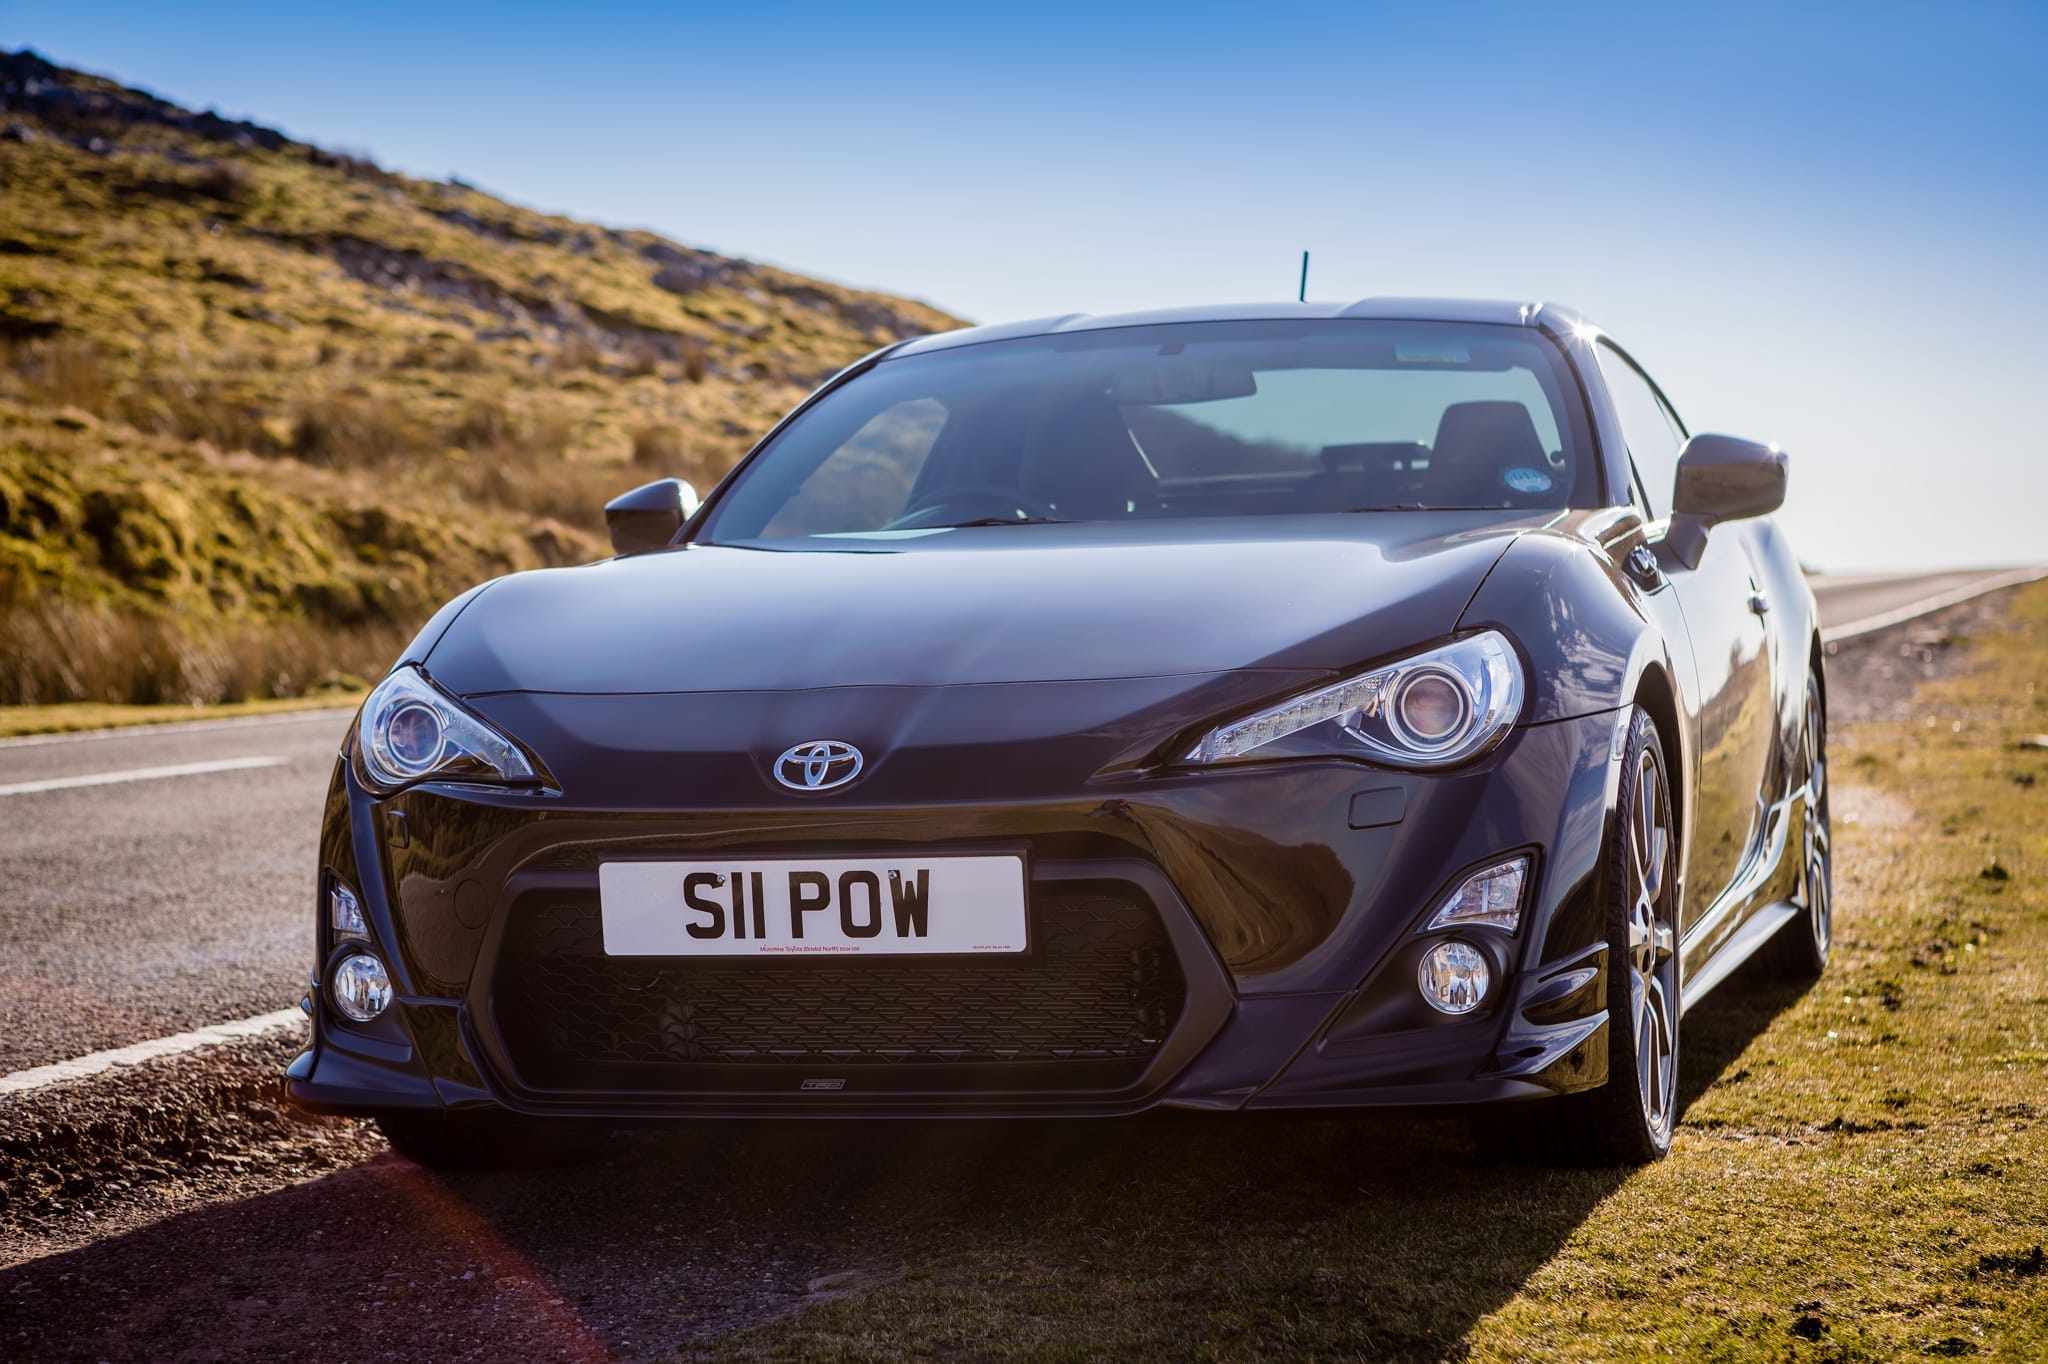
Going to the extremes though is not what this is about. It’s about pulling back the detail where you need it using the Highlight, Whites, Blacks and Shadows sliders. So without further ado, here’s the final image, edited with nothing more than Lightroom. As always I’d love hear what you think in the comments.
0 Comments