Today’s Photo of the Week is dedicated to Stephen Dowset who sent me a message on Facebook asking how this image was made. In camera or in Photoshop?
The answer is: Both.
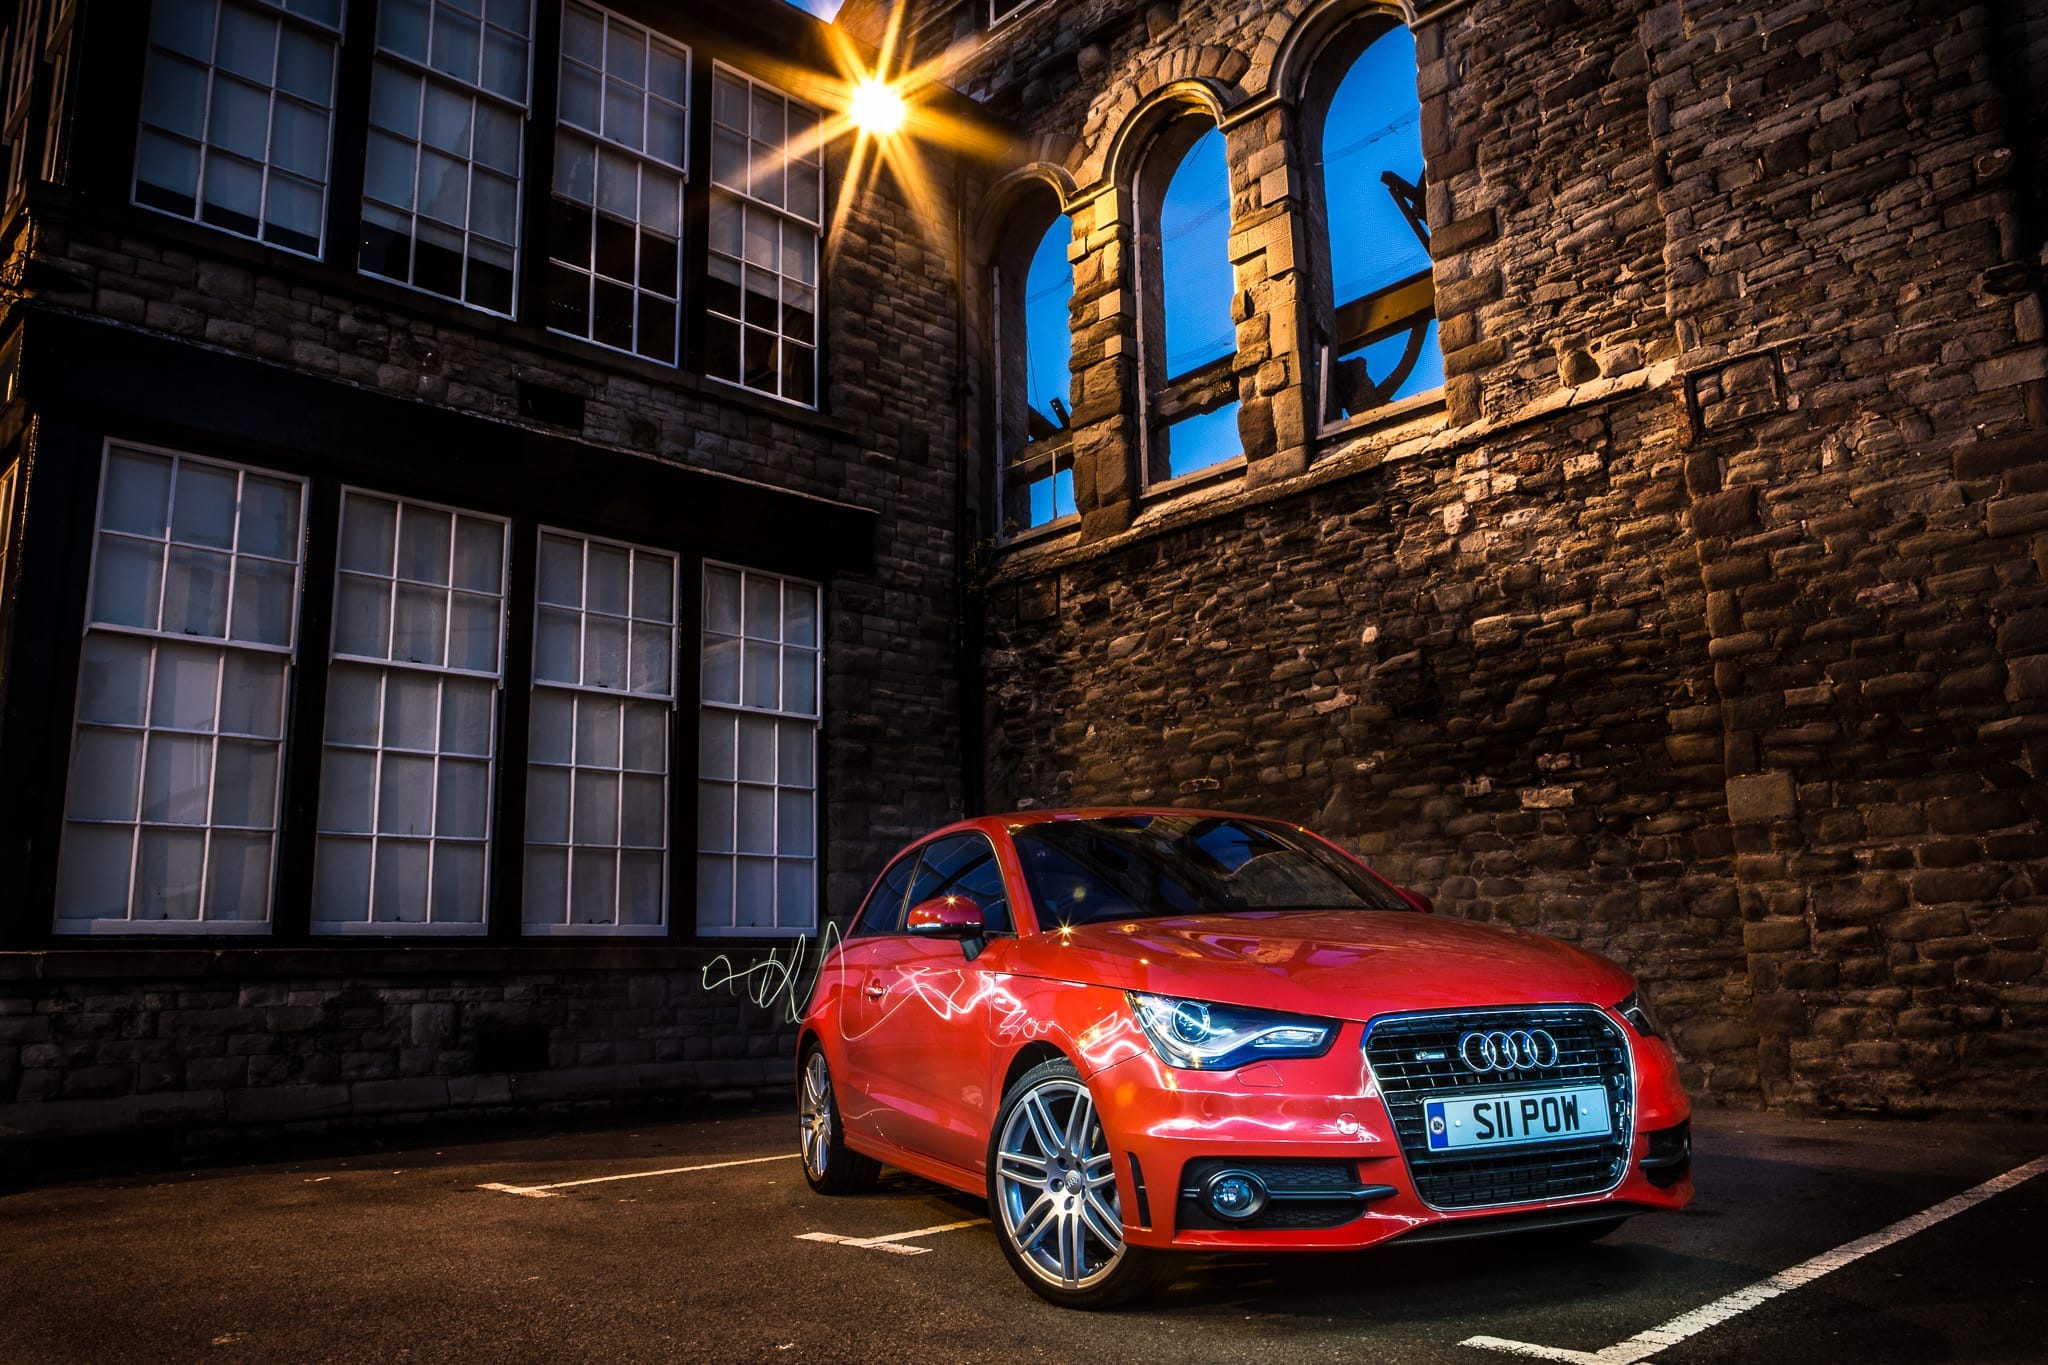
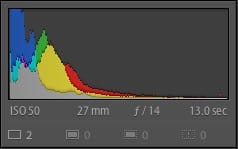 I have a more detailed write up on light painting cars and to be honest, the technique on this one is pretty much the same. The only real difference was the ambient light in the scene which dictated my shutter speed. 13 seconds at f/14 was the sweet spot and gave me time to cover about a quarter of the car per exposure. The main thing to remember is that you need to need to light the roof of the car from behind to stop it blending in with the darker background and to take more images than you think you need so you have plenty to chose from in post production. So after many clicks of the shutter and lots of running around waving a Quadra head (with modelling light on) I was left with a selection of images to sort through in Lightroom and layer up in Photoshop.
In this case I was shooting from a tripod so the images were already aligned but Photoshop is very good at auto-aligning layers if you are working freehand and have an assistant to move your lightsource.
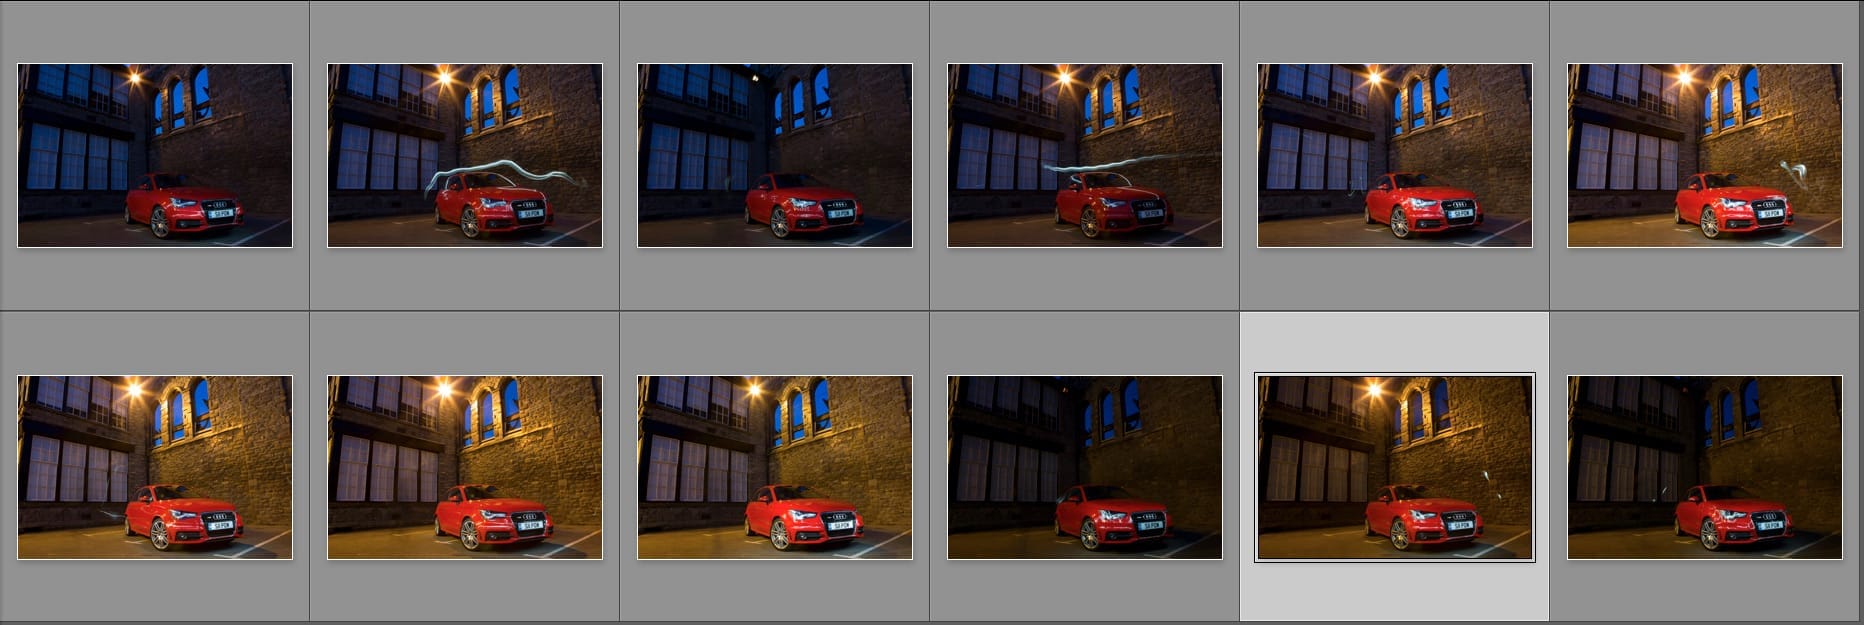
Once in Photoshop, it was simply a case of switching all but the bottom layer to ‘Lighten’ blend mode (so only areas that are lighter than the layer below show up) and adding a few layer masks to cover up where my light, rather than it’s reflection in the car, had been captured. You’ll notice I left one of those “mistakes” in as I like how the light trail seems to come off the car and drift away.
The final contrast tweaks on the brickwork and the car were added in Lightroom.
0 Comments