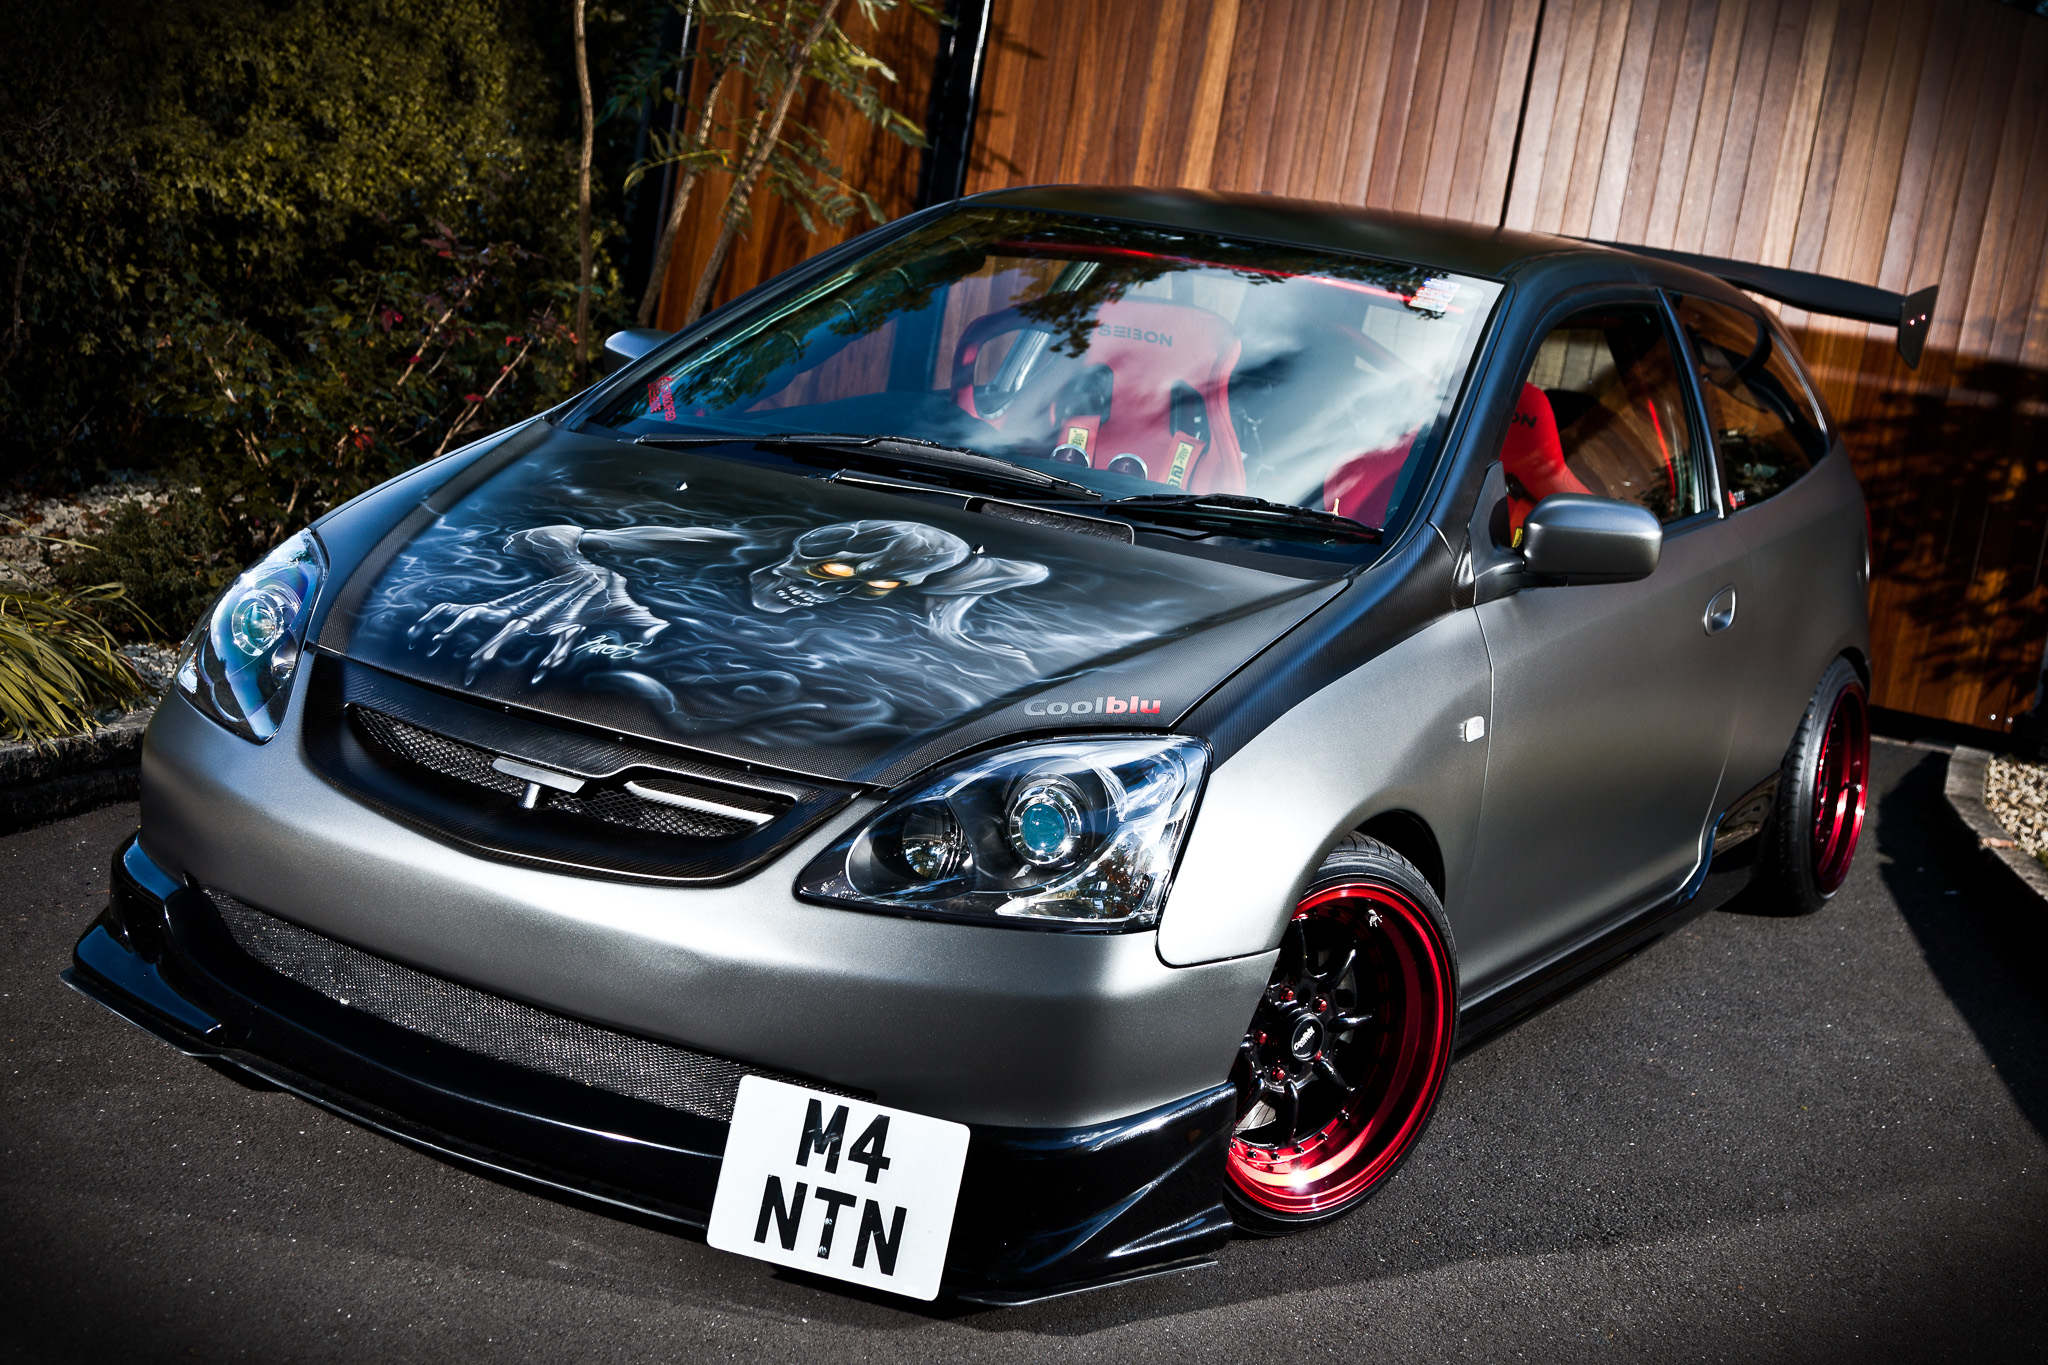
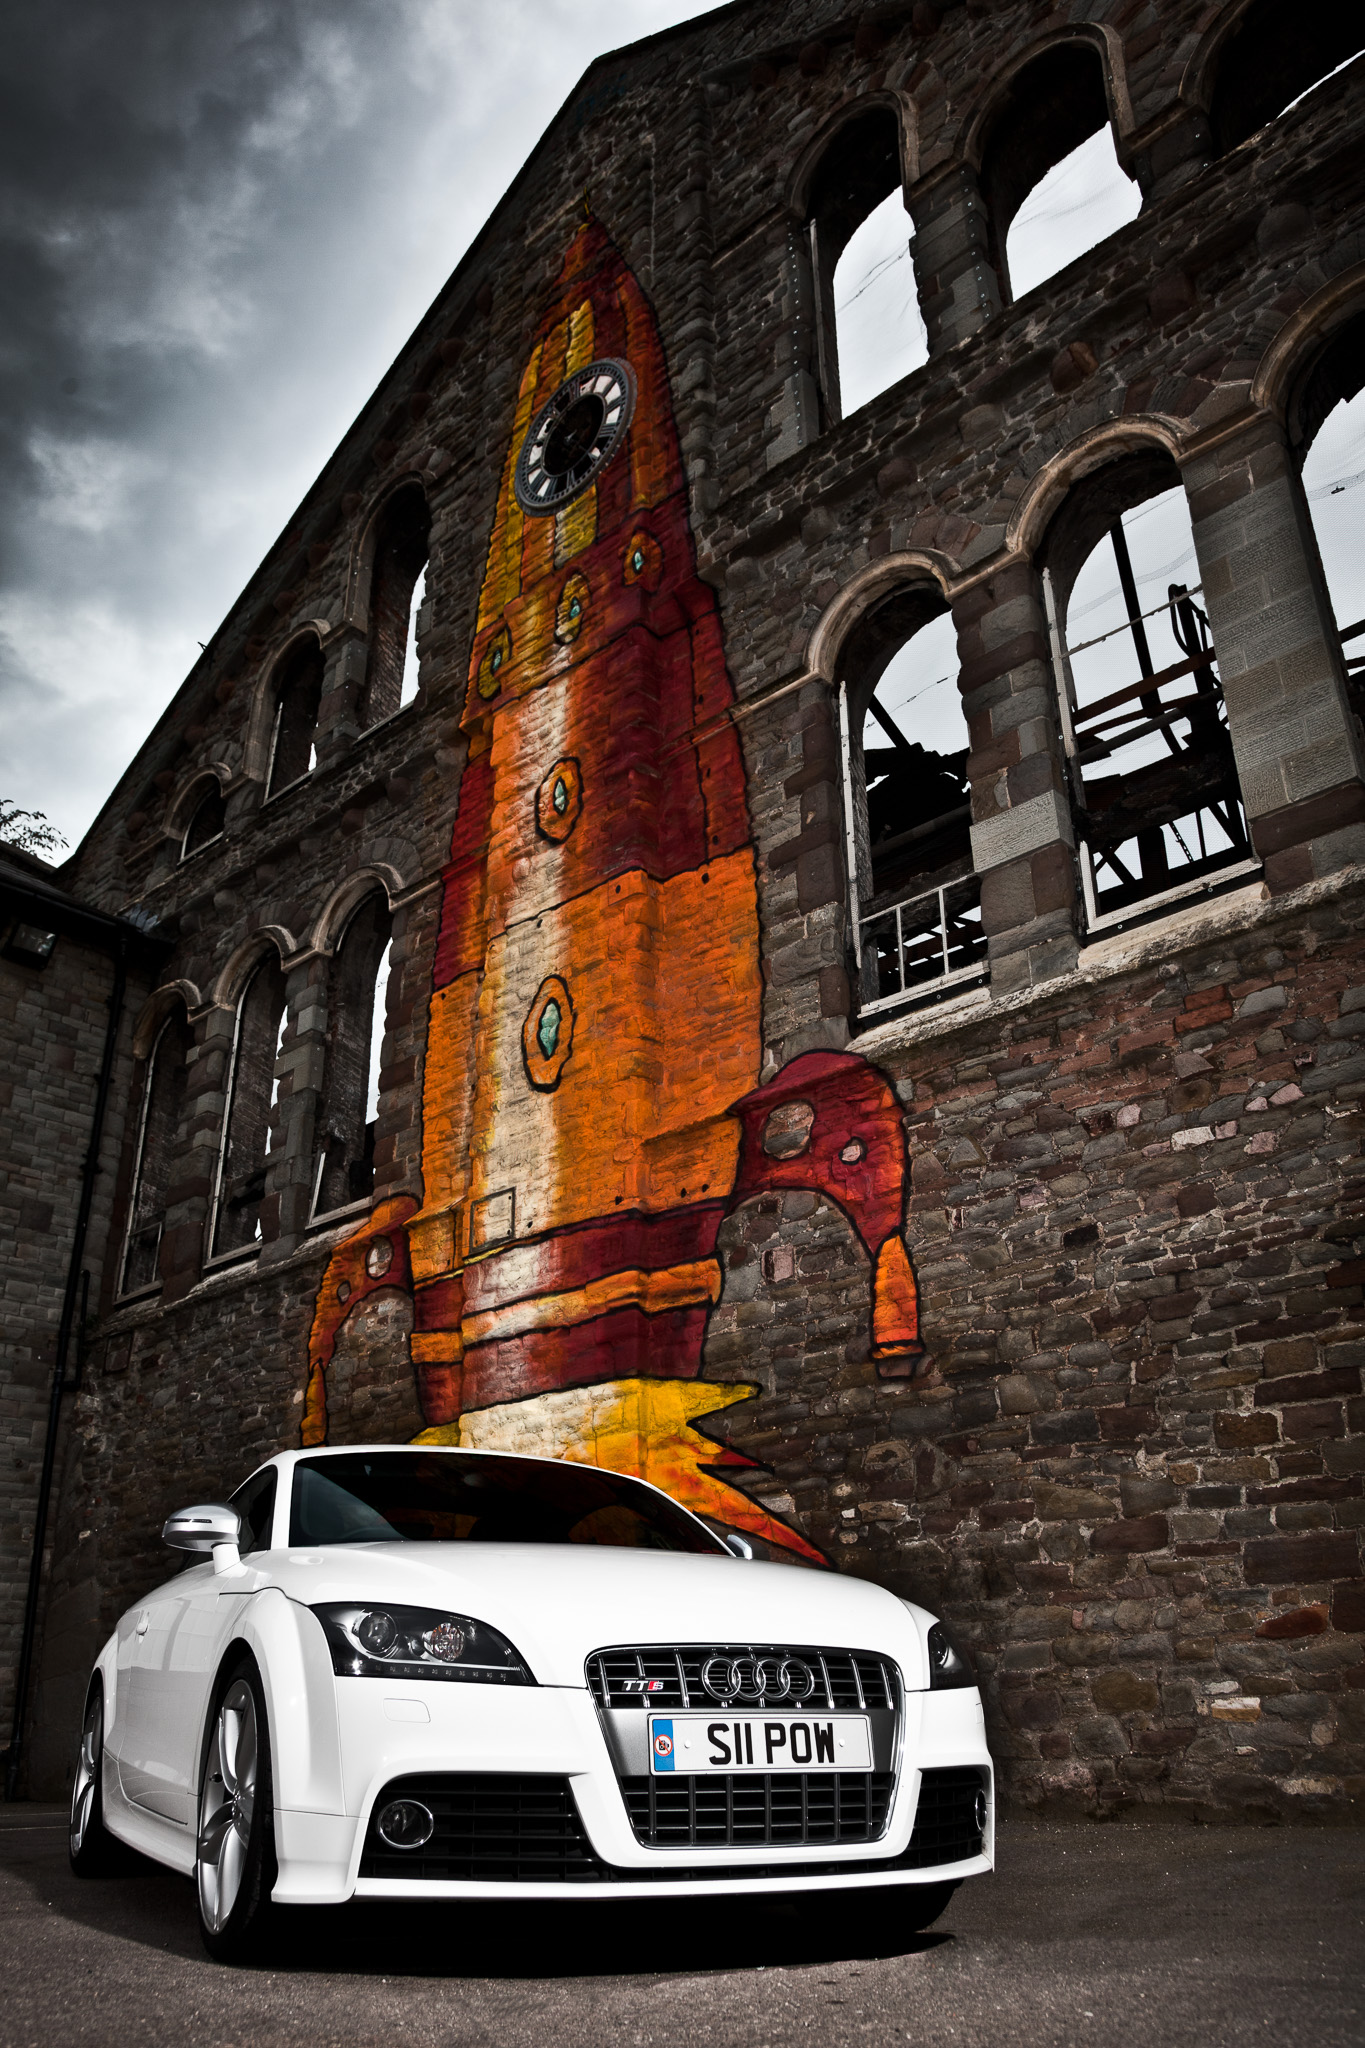
Ash Manton’s Type R Civic has been part of the UK modified car scene for several seasons and keeps coming back with a fresh look each year. It’s current stripped out, carbon clad, airbrushed look has just won it the cover feature in Max Power.
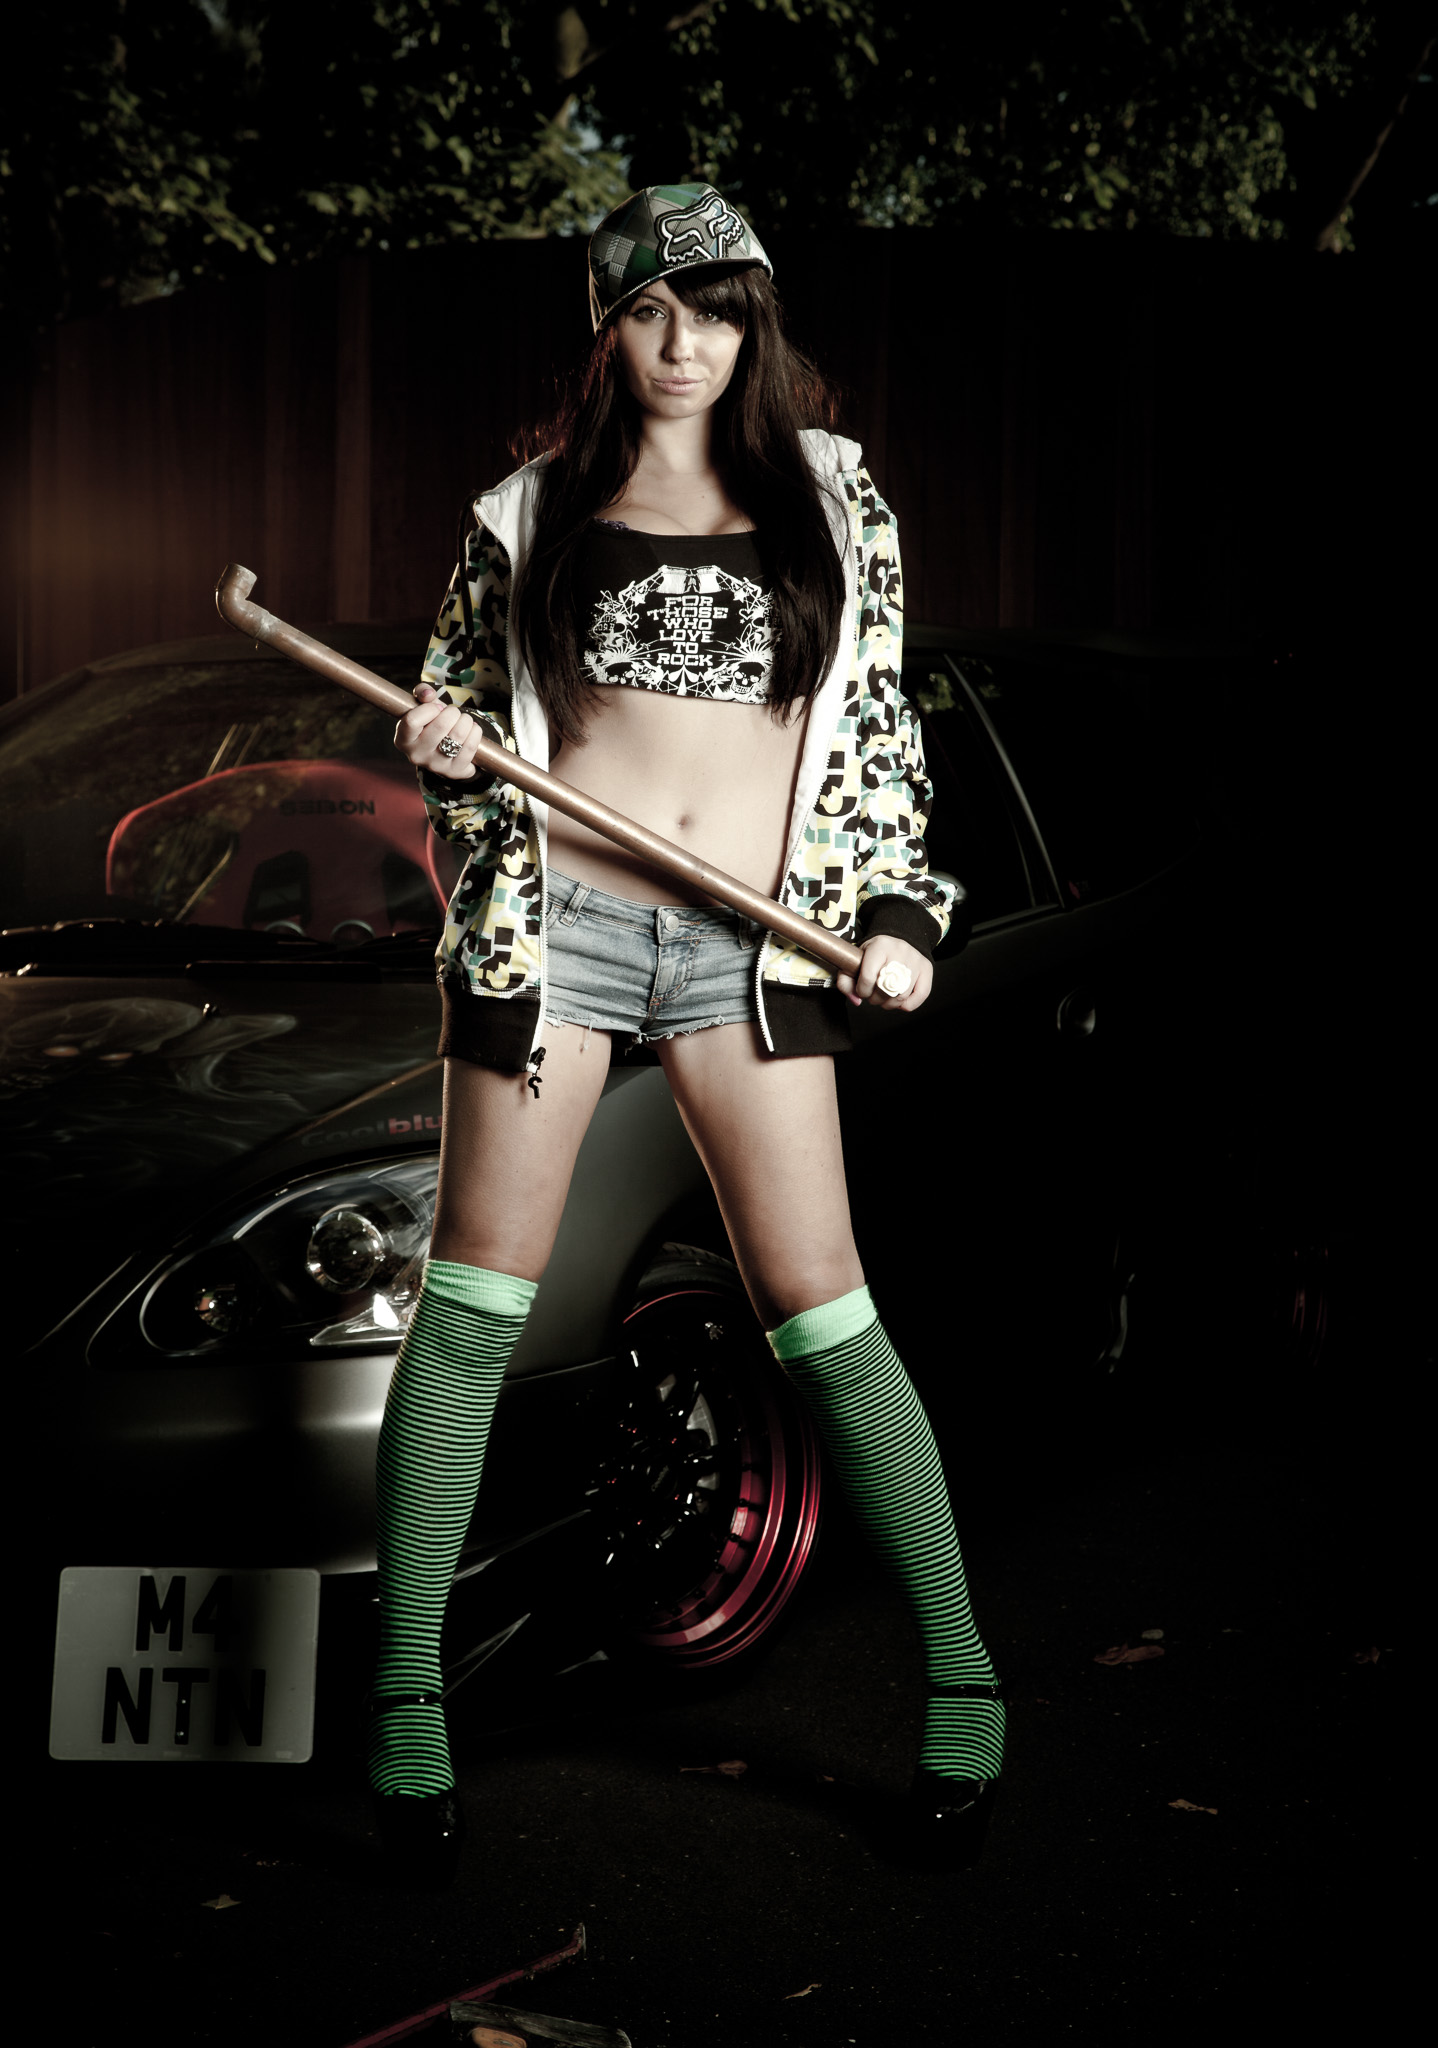
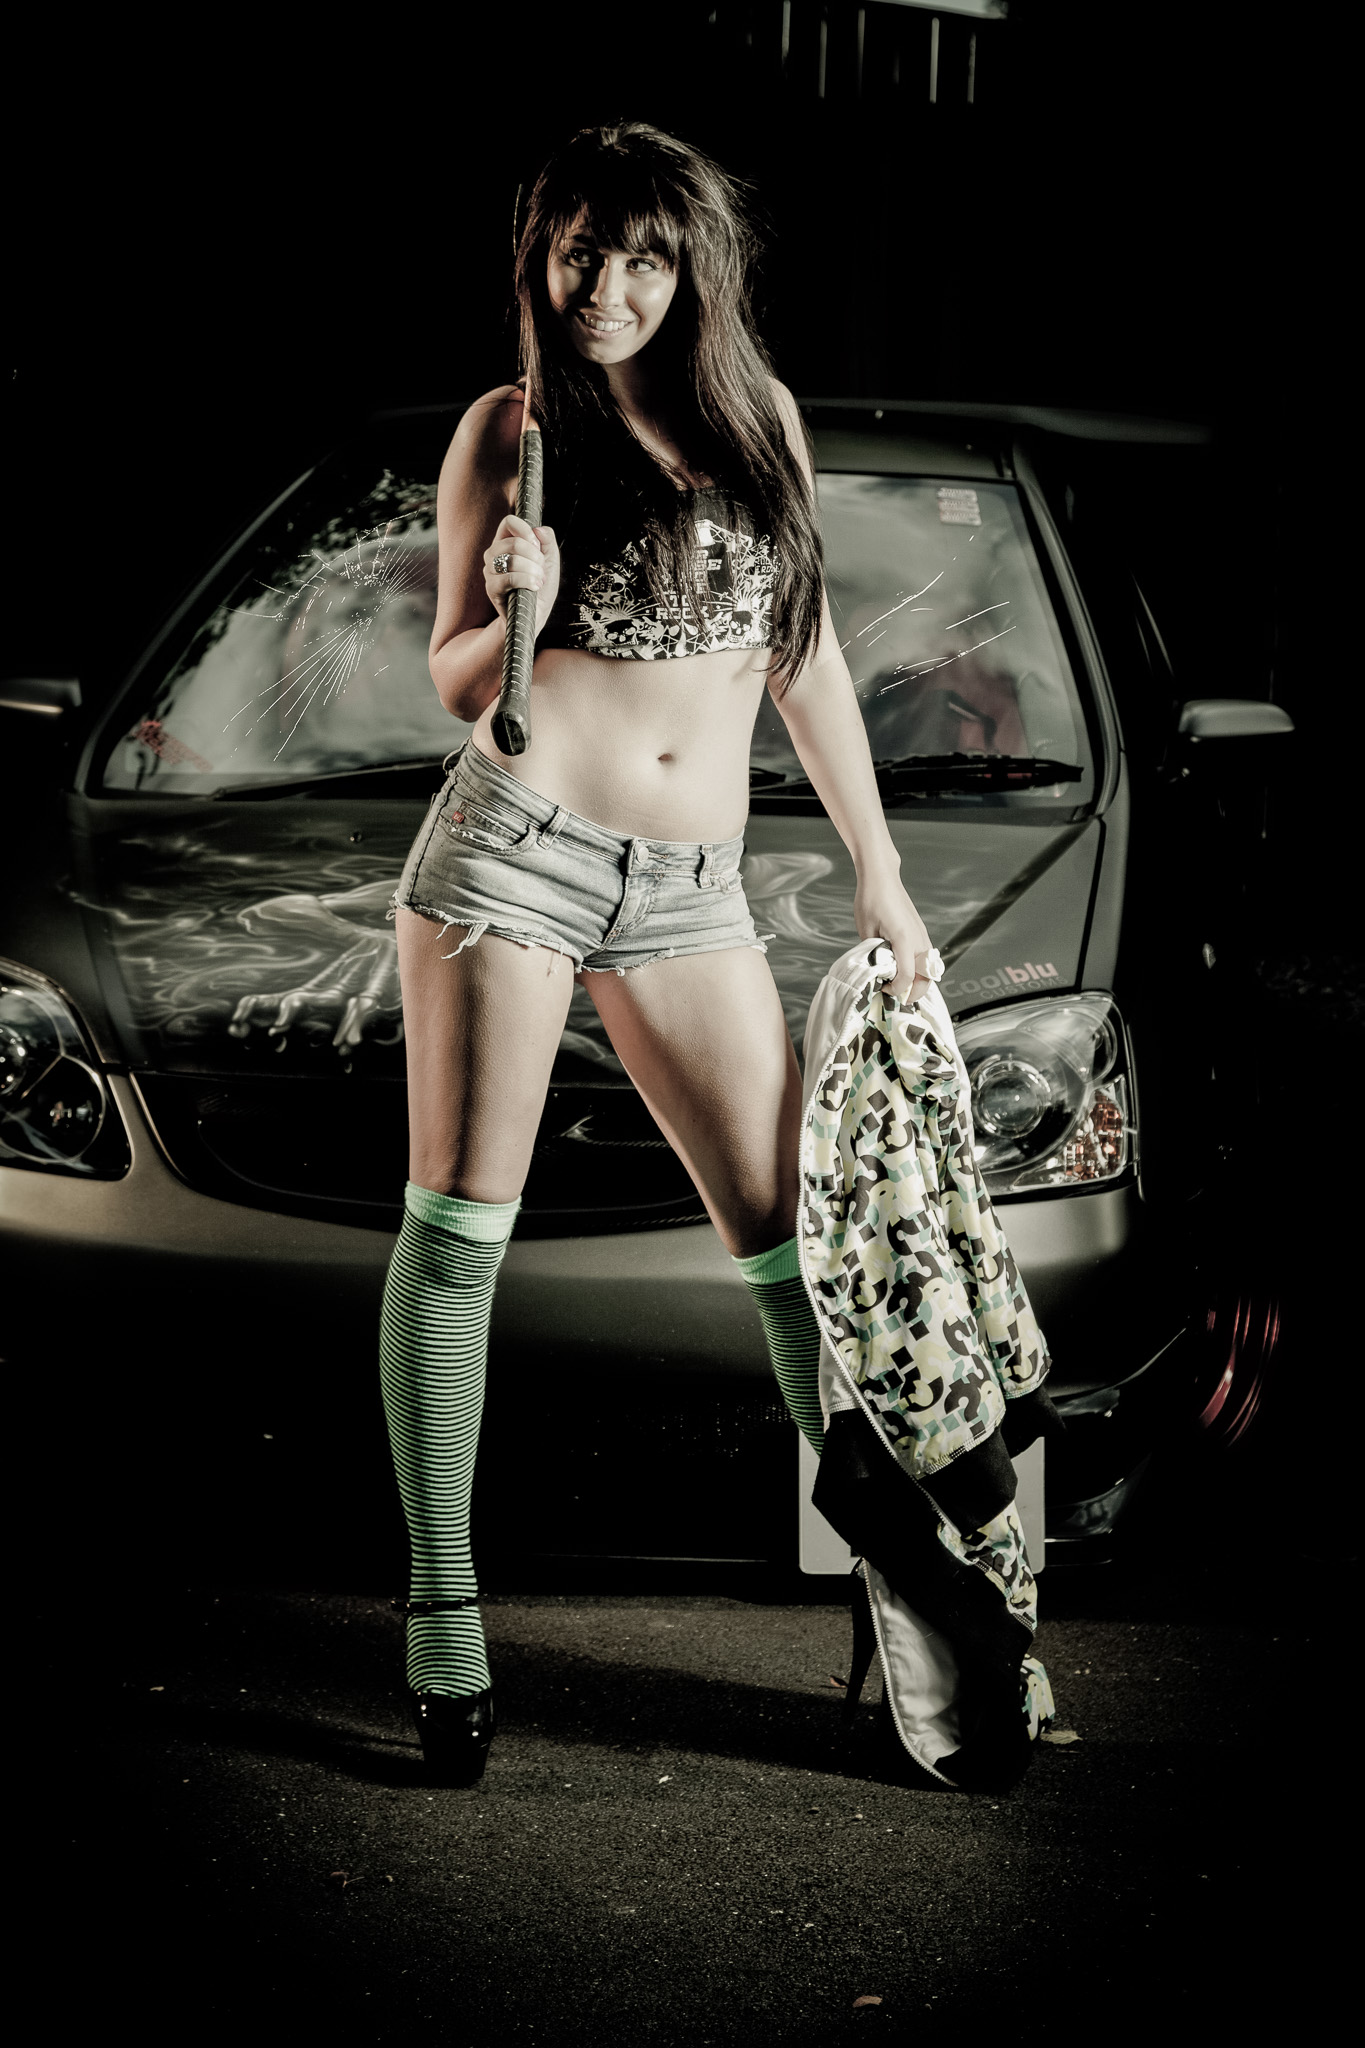
As it’s had the Max photo shoot treatment, I wanted to try something different. Enter Georgia Graham, Ash’s girlfriend, showing that hell really does hath no fury like a woman scorned!
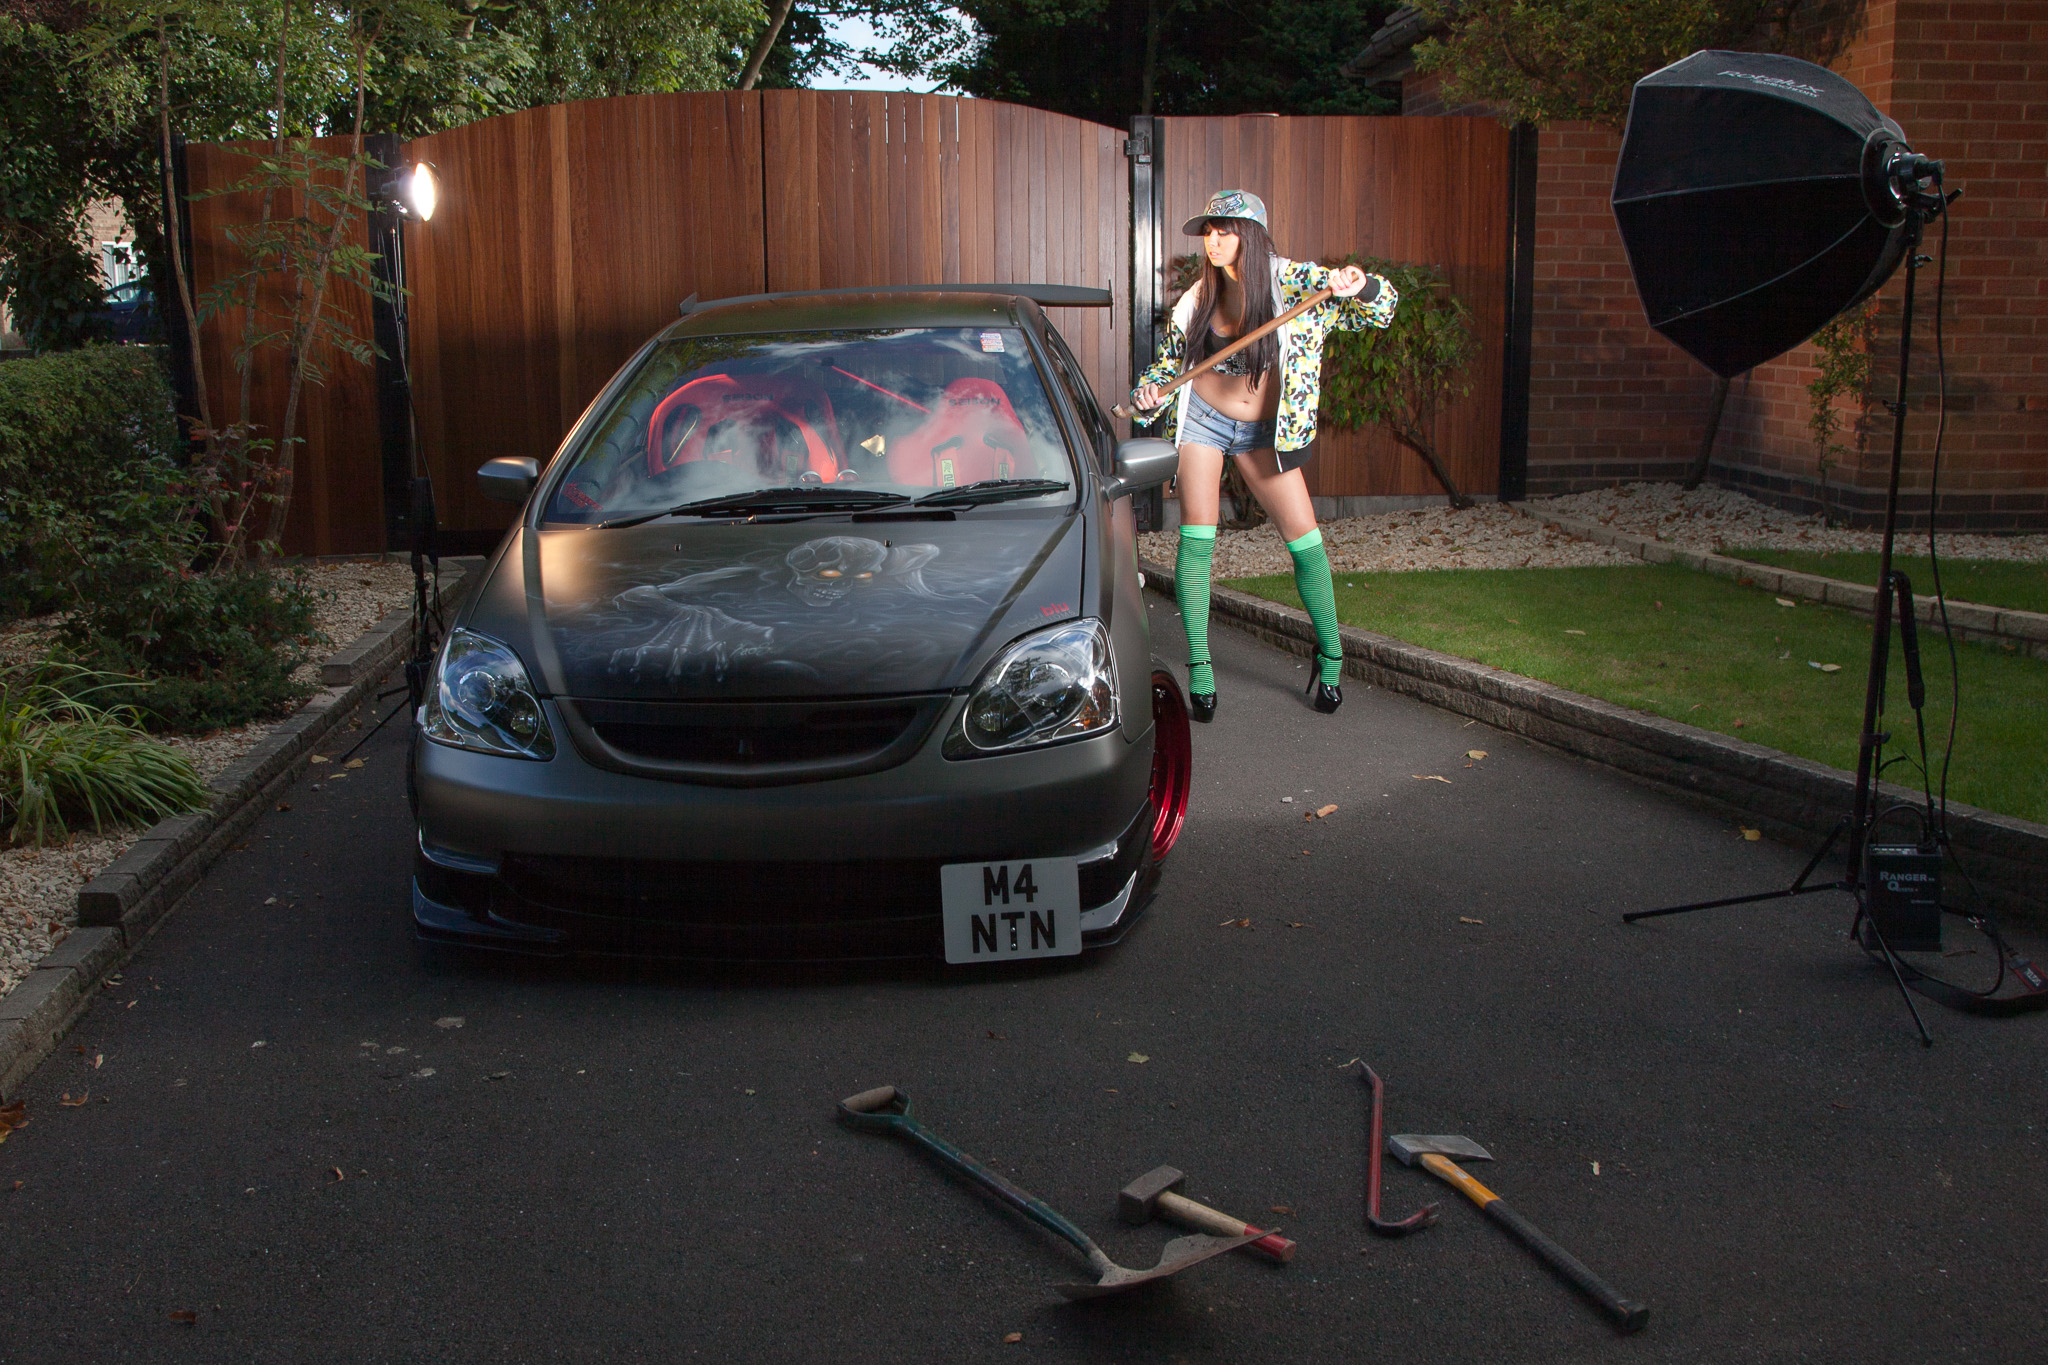
The plan here was to go for a dark and moody look so out came the Quadras again to enable me to stop down far enough at my max sync speed to take the daylight – f/9 at 1/200th did the job. One bare, CTO gelled strobe was positioned camera left adding a rim light to both Georgia and the car to separate them from the dark background and a second strobe, in a 70cm Deep Octa in “beauty dish mode”, as the main light.
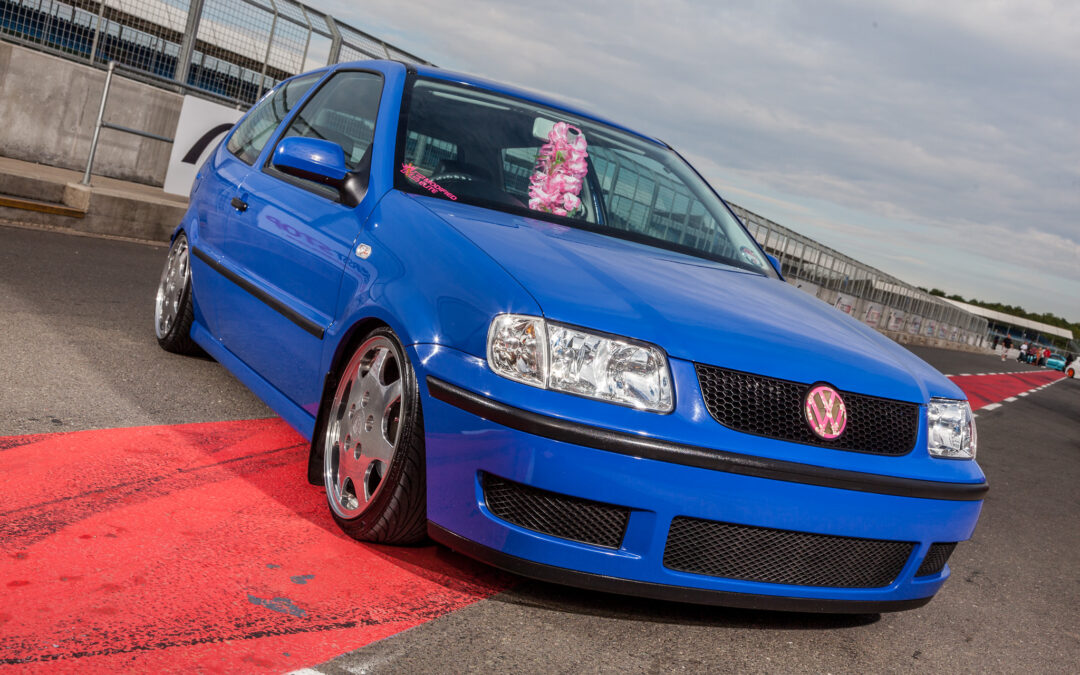
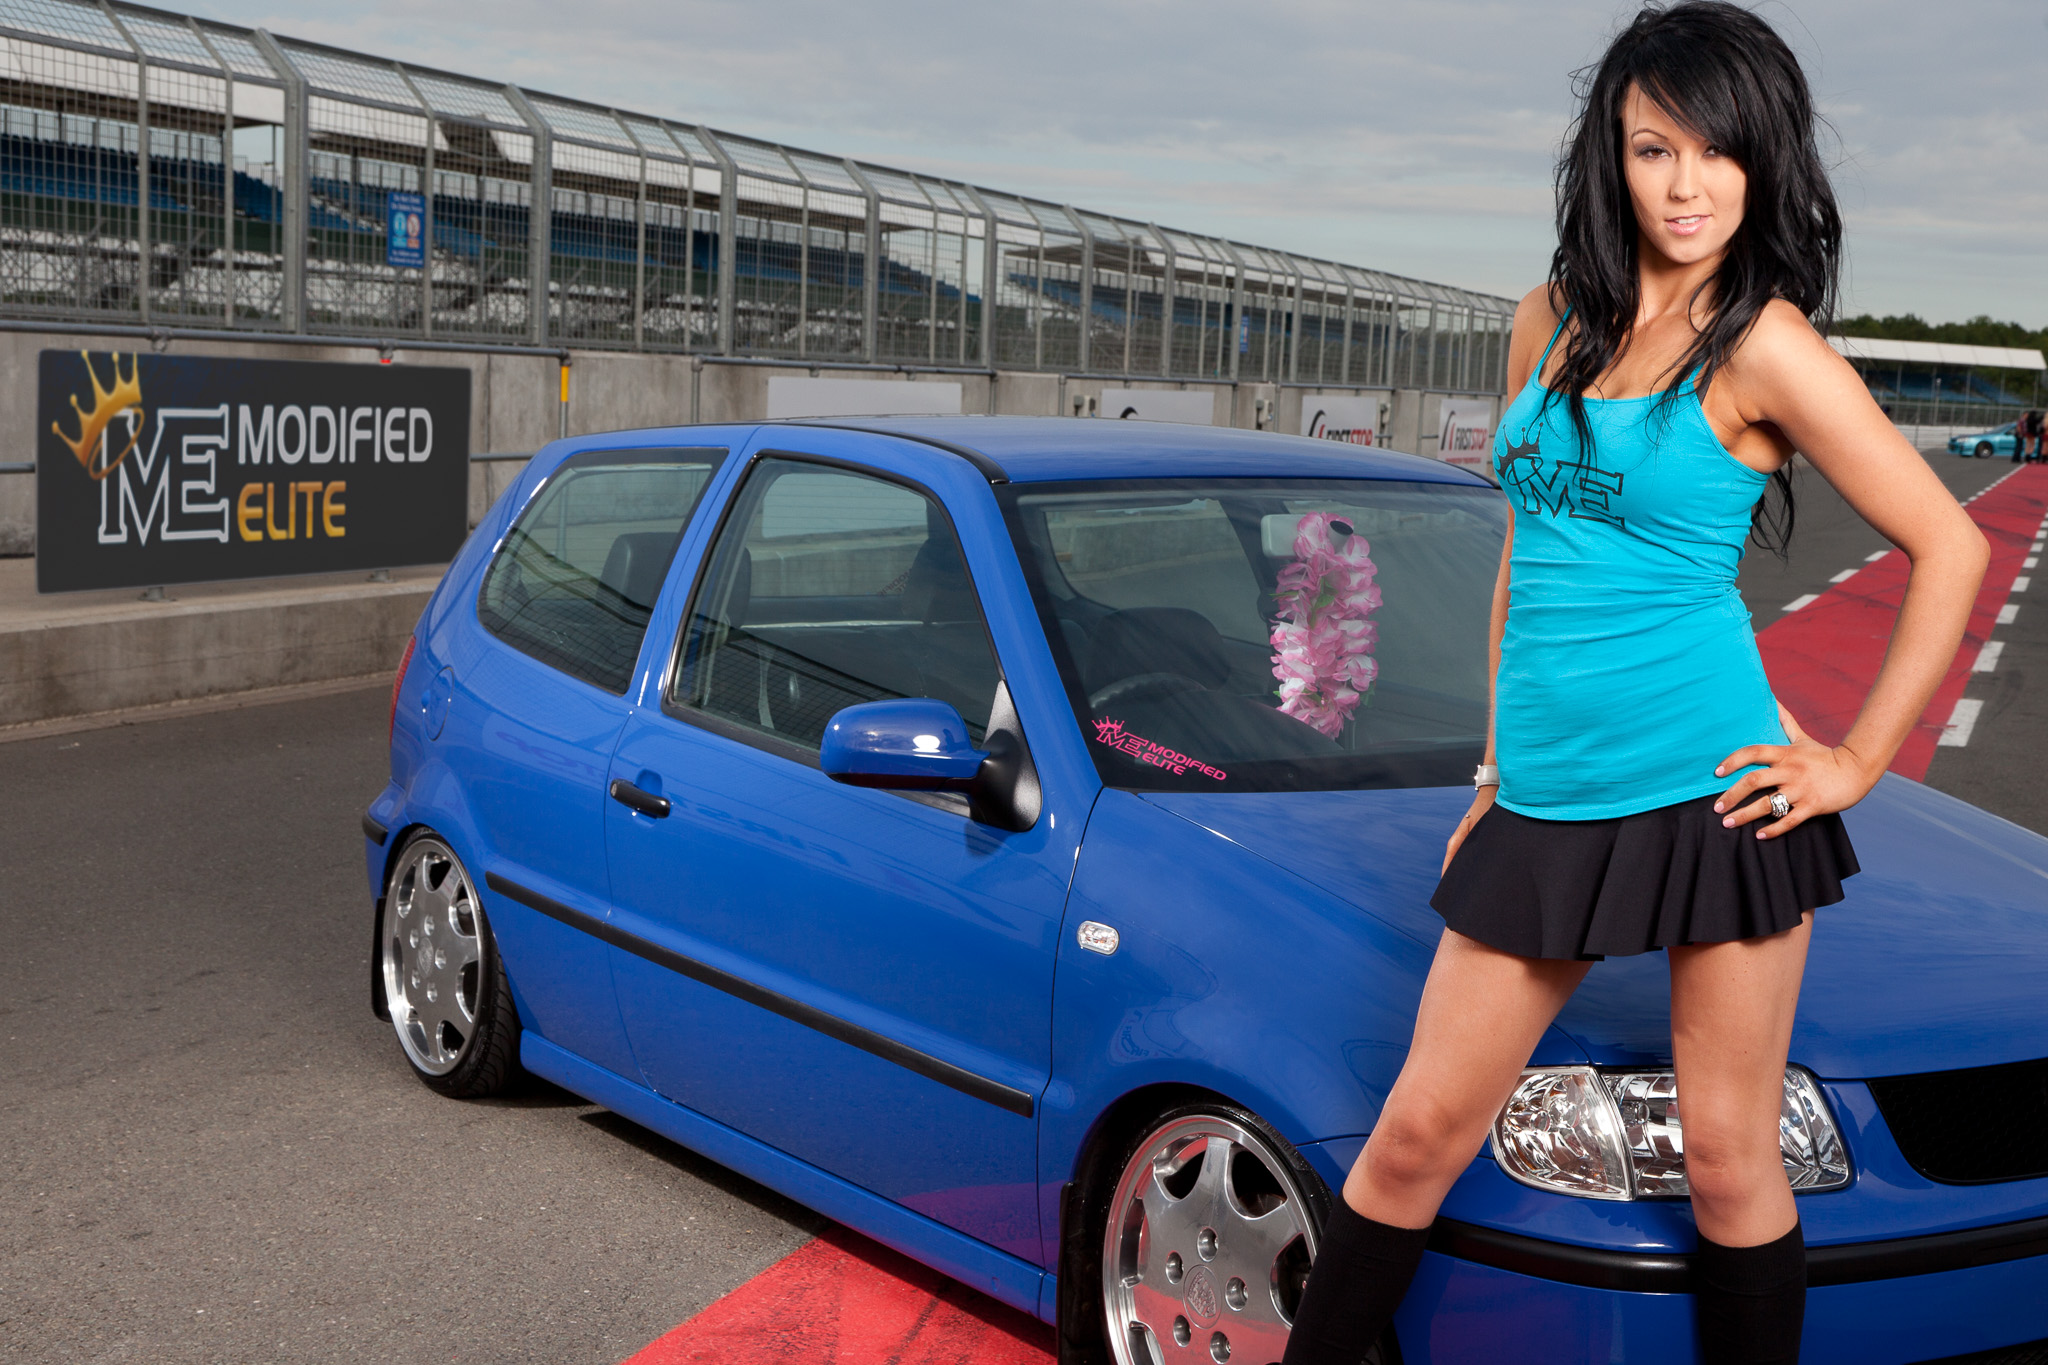
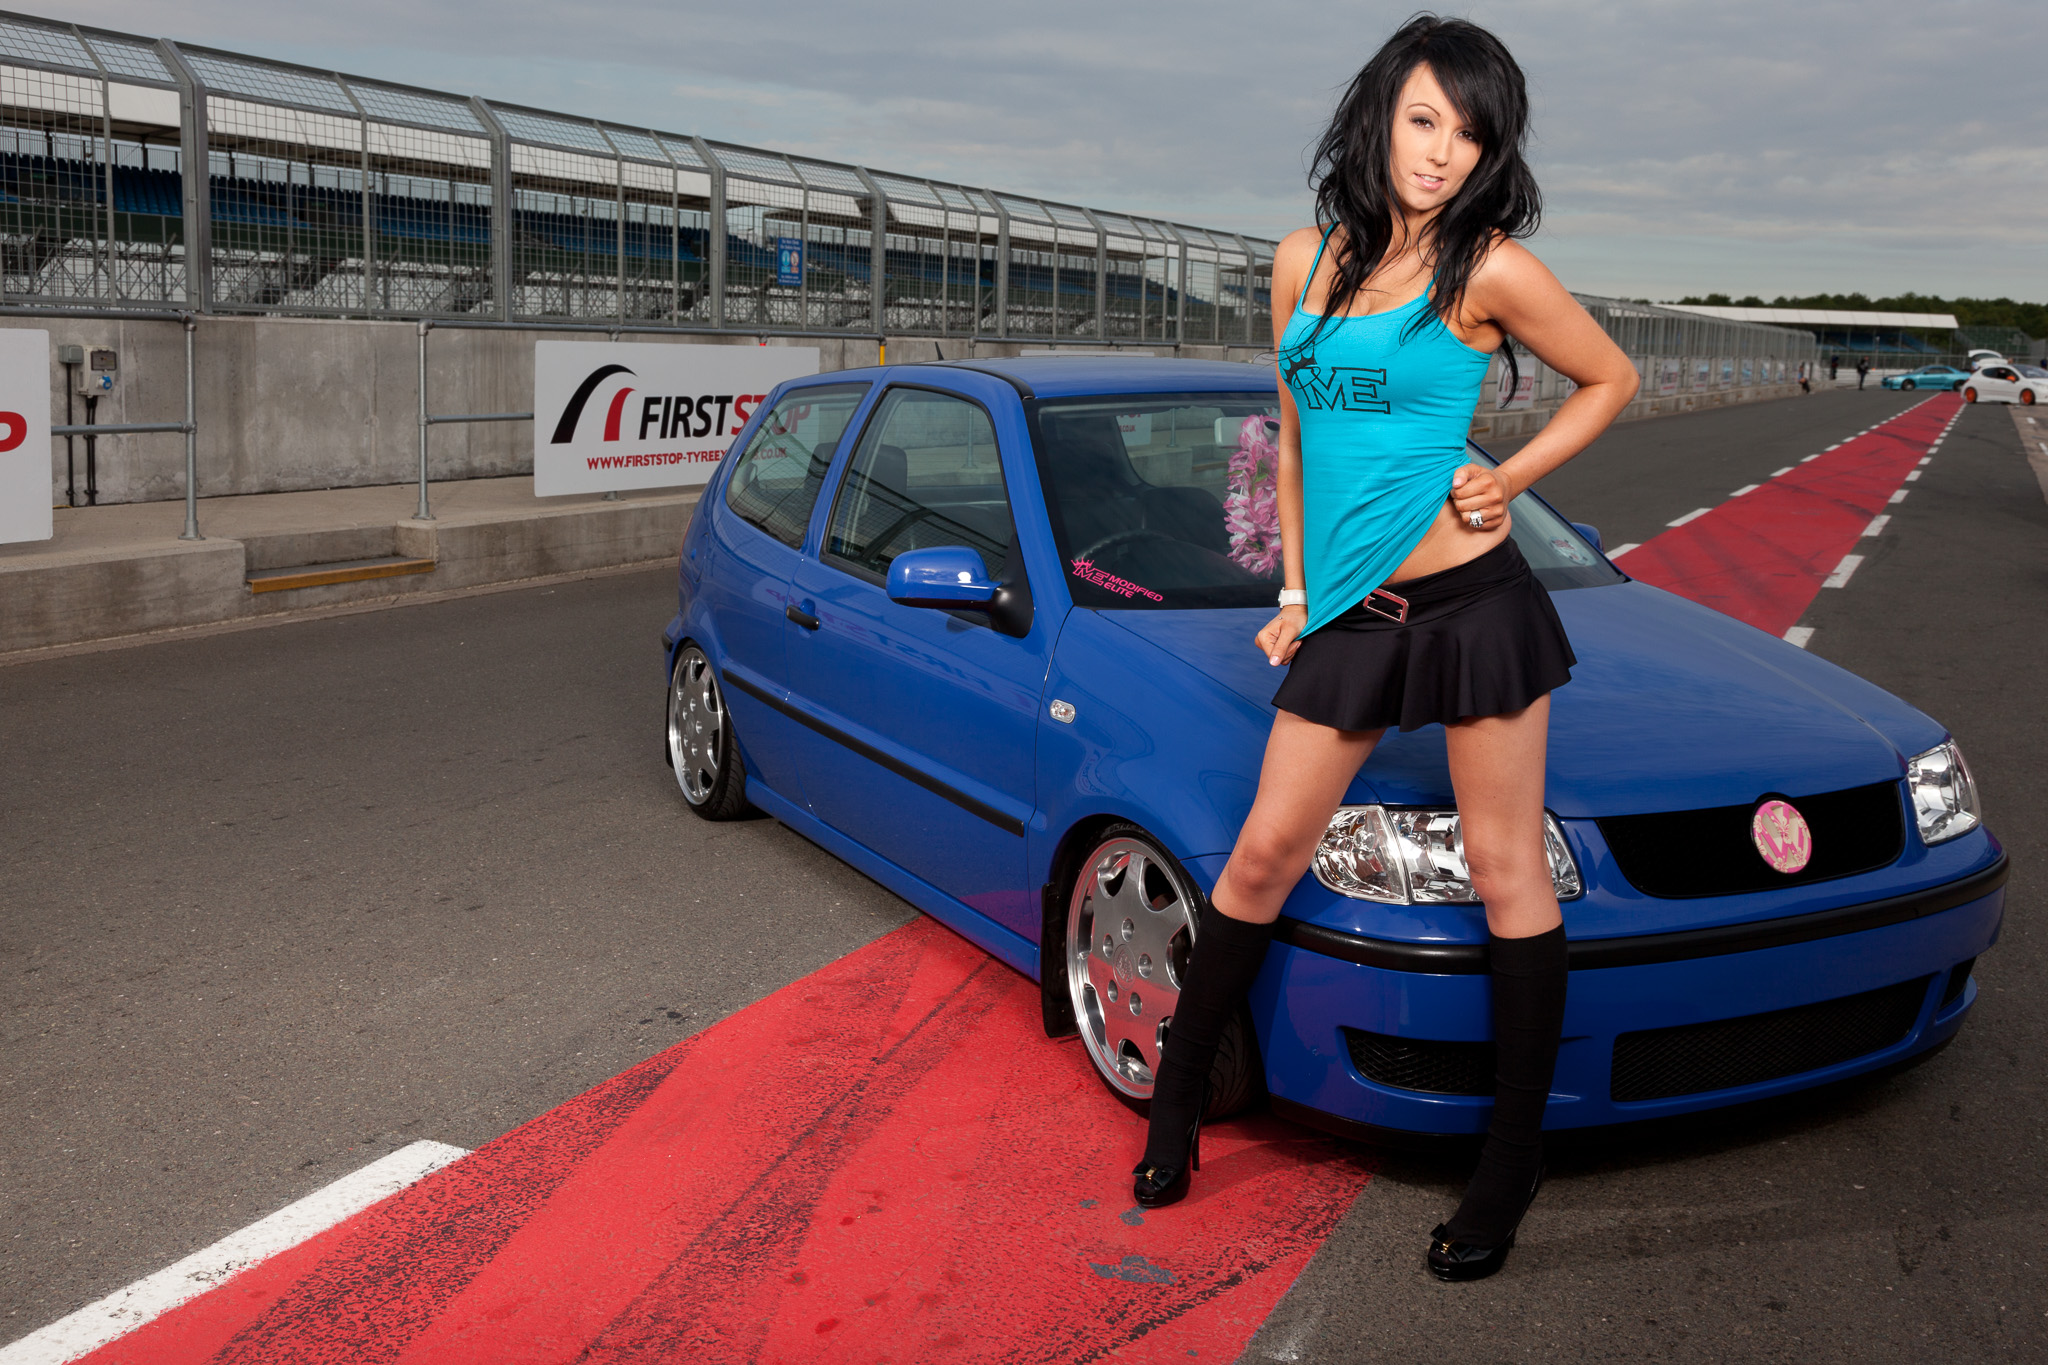
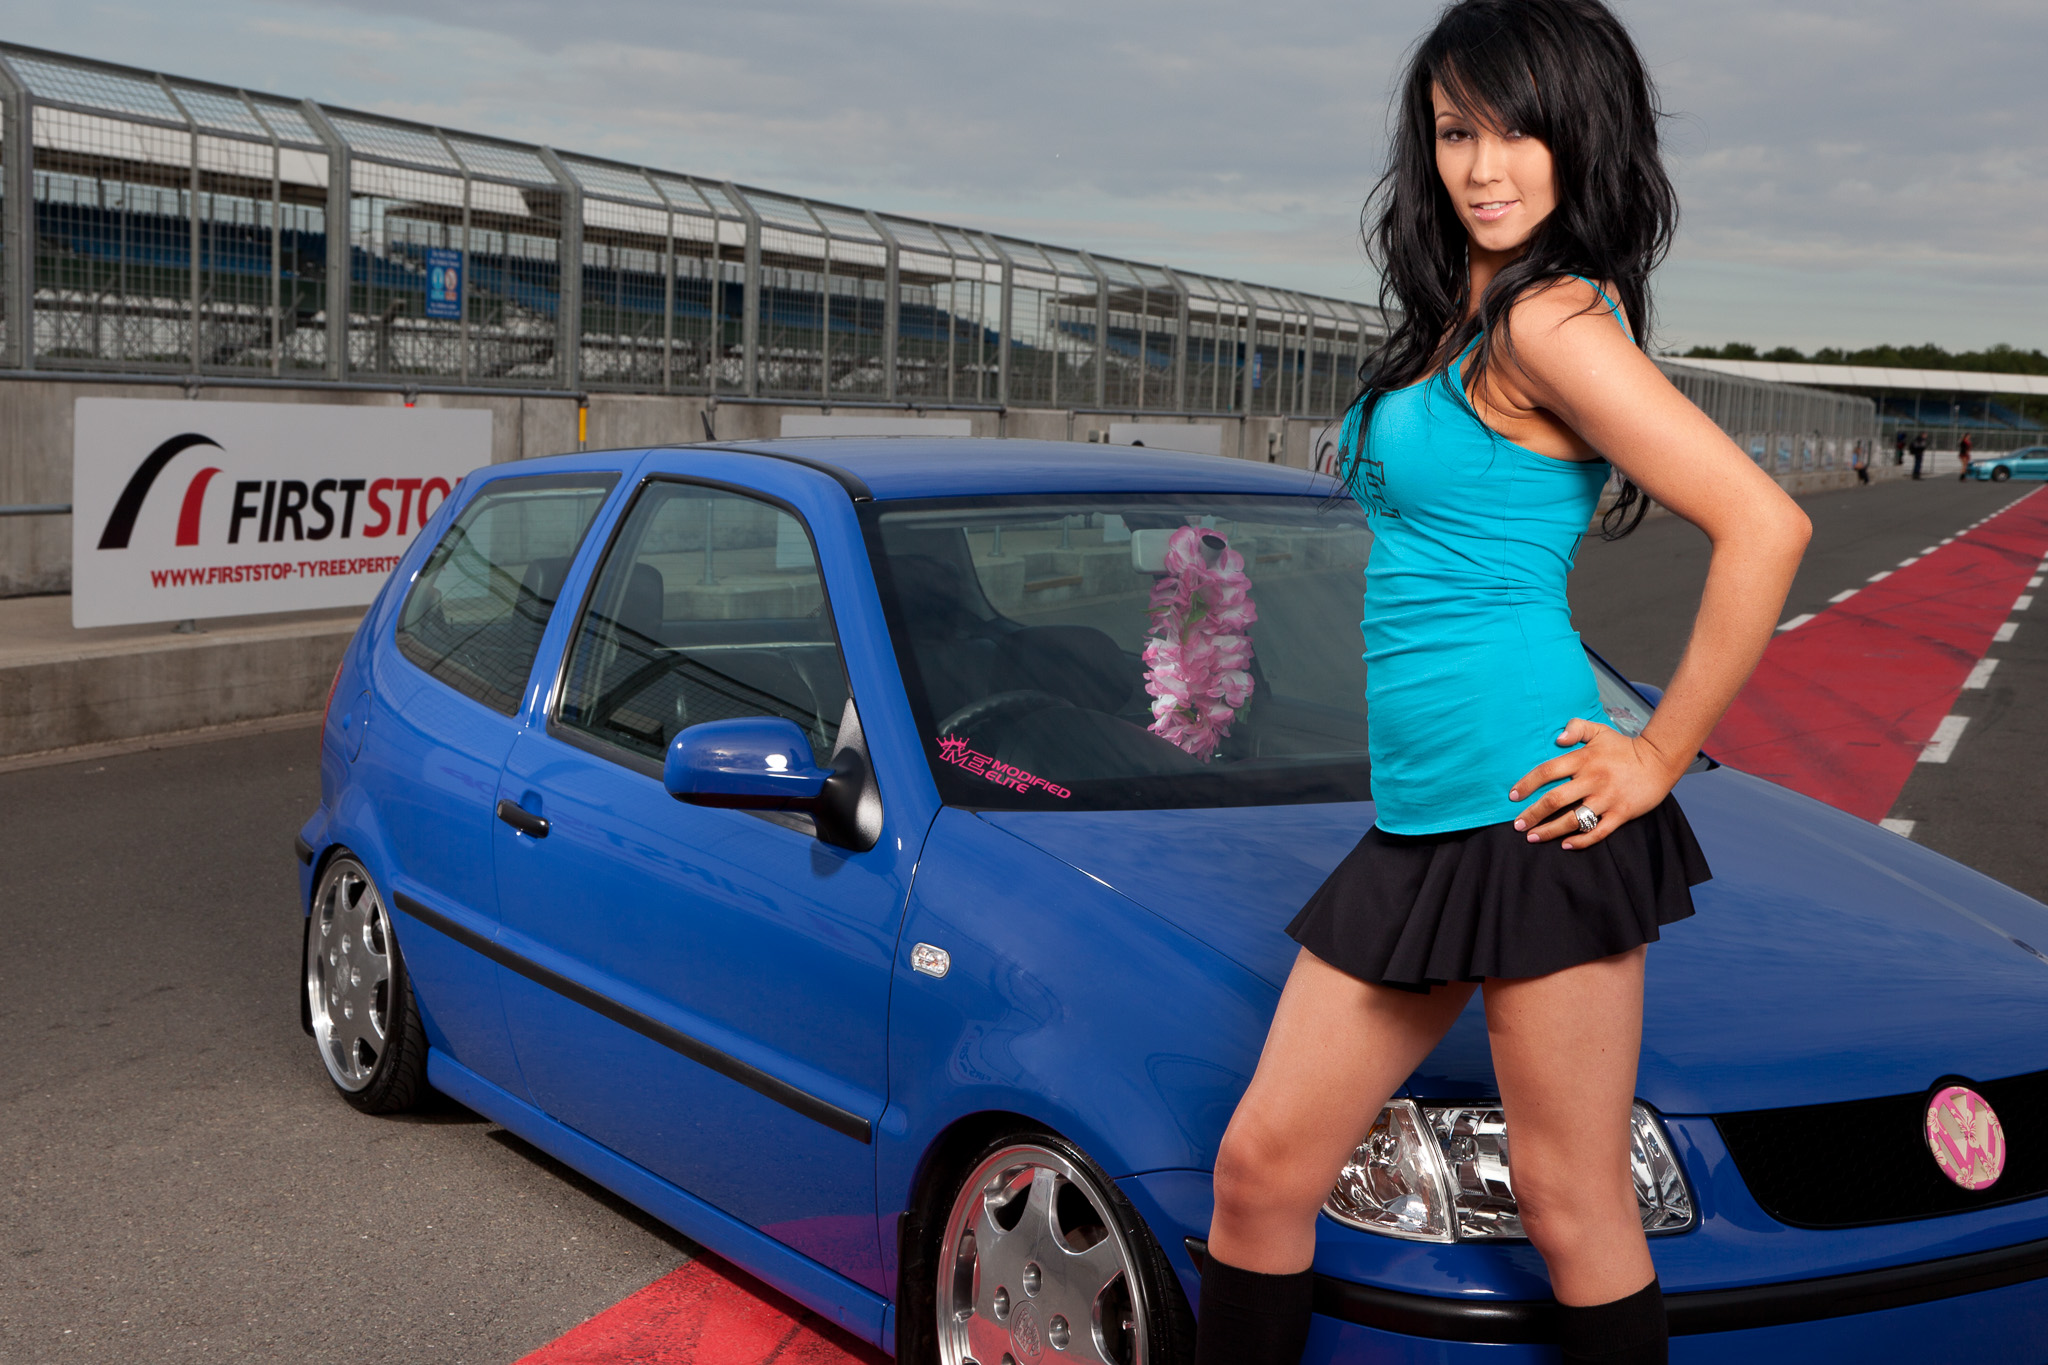
When you are at the World famous Silverstone circuit and you’ve got access to the pit lane, it’s just plain rude not to use it as a location. Especially when you’ve got the lovely Sarah and her equally lovely VW Polo as your subject.
The plan here was twofold – firstly I wanted to get some good shots in the can for Sarah and secondly I wanted to find out just how well my new lighting rig coped in a typical car show situation. Fortunately, it passed with flying colours.
To work in this situation, a lighting rig, for me at least, needs to be;
Light enough to carry: No matter how close you can park, it’s always a distance to anywhere you would want to shoot. I’ve got both heads, both packs and all cabling in a Crumpler Company Gigolo 9500 bag. With my light stands, a few modifiers, and some grip equipment in a fishing rod bag, I am able to move the whole lot short distances on my own. Although this time I had help from Chris Wynne and Darren Skidmore.
Quick to set up: You’ve got to move quickly at a car show as you’ve likely borrowed the girls from a trade stand or a car from a Show n Shine area so time is limited. Another box ticked by the Quadras. The heads are small enough for a Manfrotto Nano 001B stand to support with the pack hanging to add stability and the Elinchrom Deep Octa goes up swiftly. Cheaper eBay softboxes take a while to assemble though.
Power: I don’t always get to choose when a shoot is going to happen and areas in shade aren’t always the best looking locations, so I need some punch to overpower and control the ambient light. For this shoot the solution was to use 3 hot shoe flashes for example. At 400w/s the Quadra packs aren’t the most powerful, but still had plenty to tame the light spilling into the pit lane in this case. Although I’ve yet to try, I am certain 2 bare heads could handle full sun.
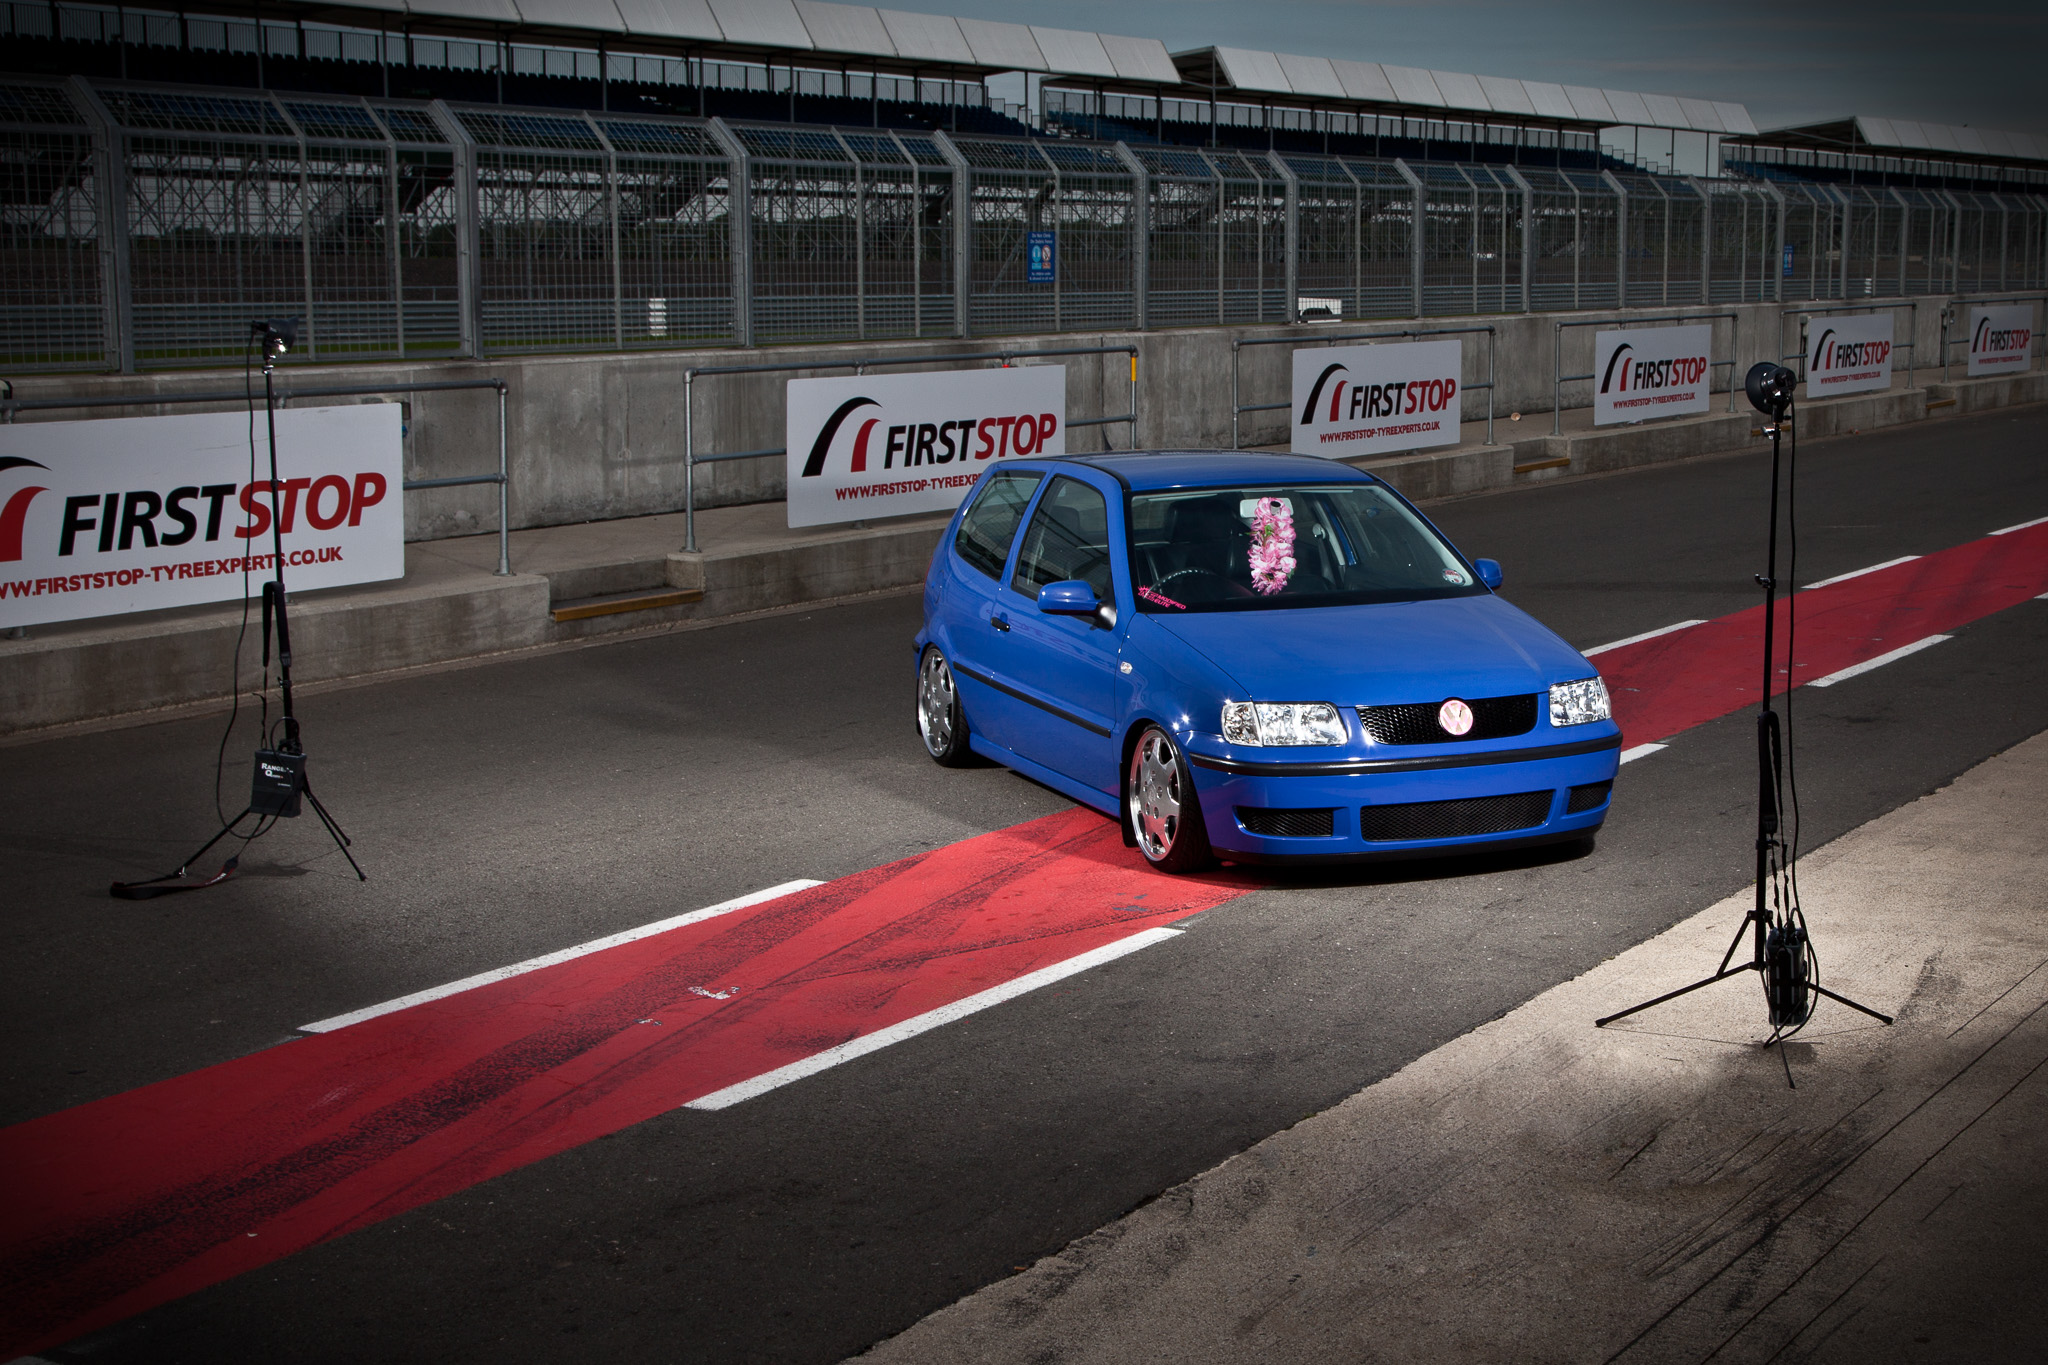
Enough talk, onto some images! Firstly to underexpose the pit lane enough to be able to add my own light I had to shoot at around f/18 at my max sync speed. I should probably take this opportunity to mention the Elinchrom Skyport Speed controller syncs withe the receivers in the Quadra packs at my max sync speed of 1/200th without trouble.
All I had to do now was bring in the lights. A simple, bare head setup for just the car and the Deep Octa softbox (in beauty dish mode) added to the camera right flash for the shots with Sarah.
Here are a few more images fr the shoot, feel free to leave a comment.
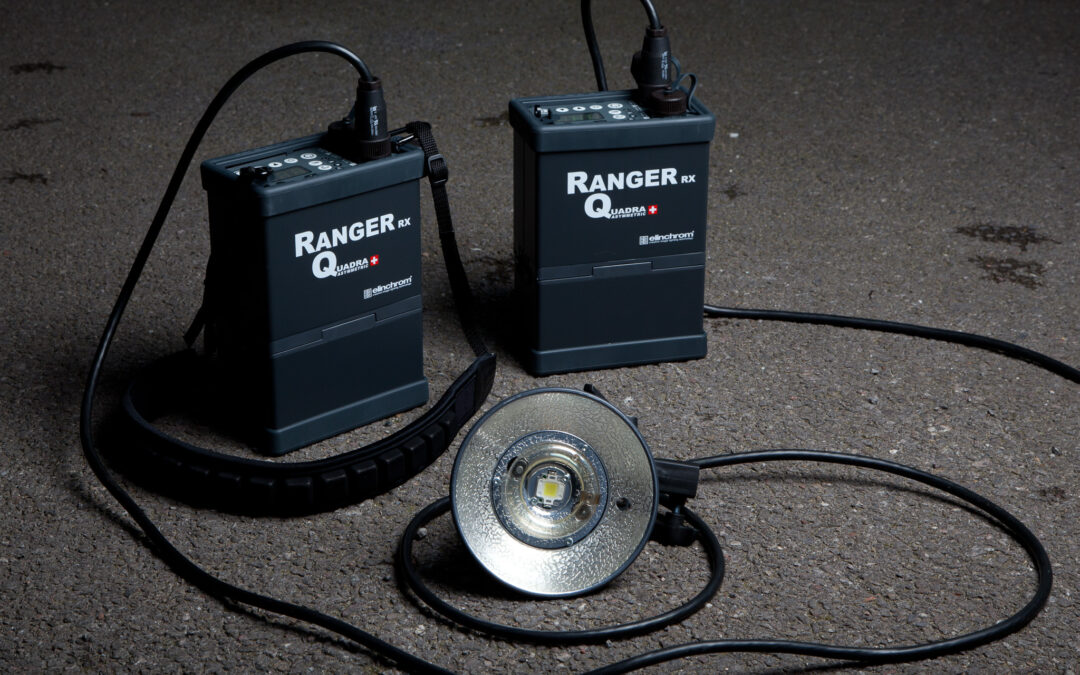
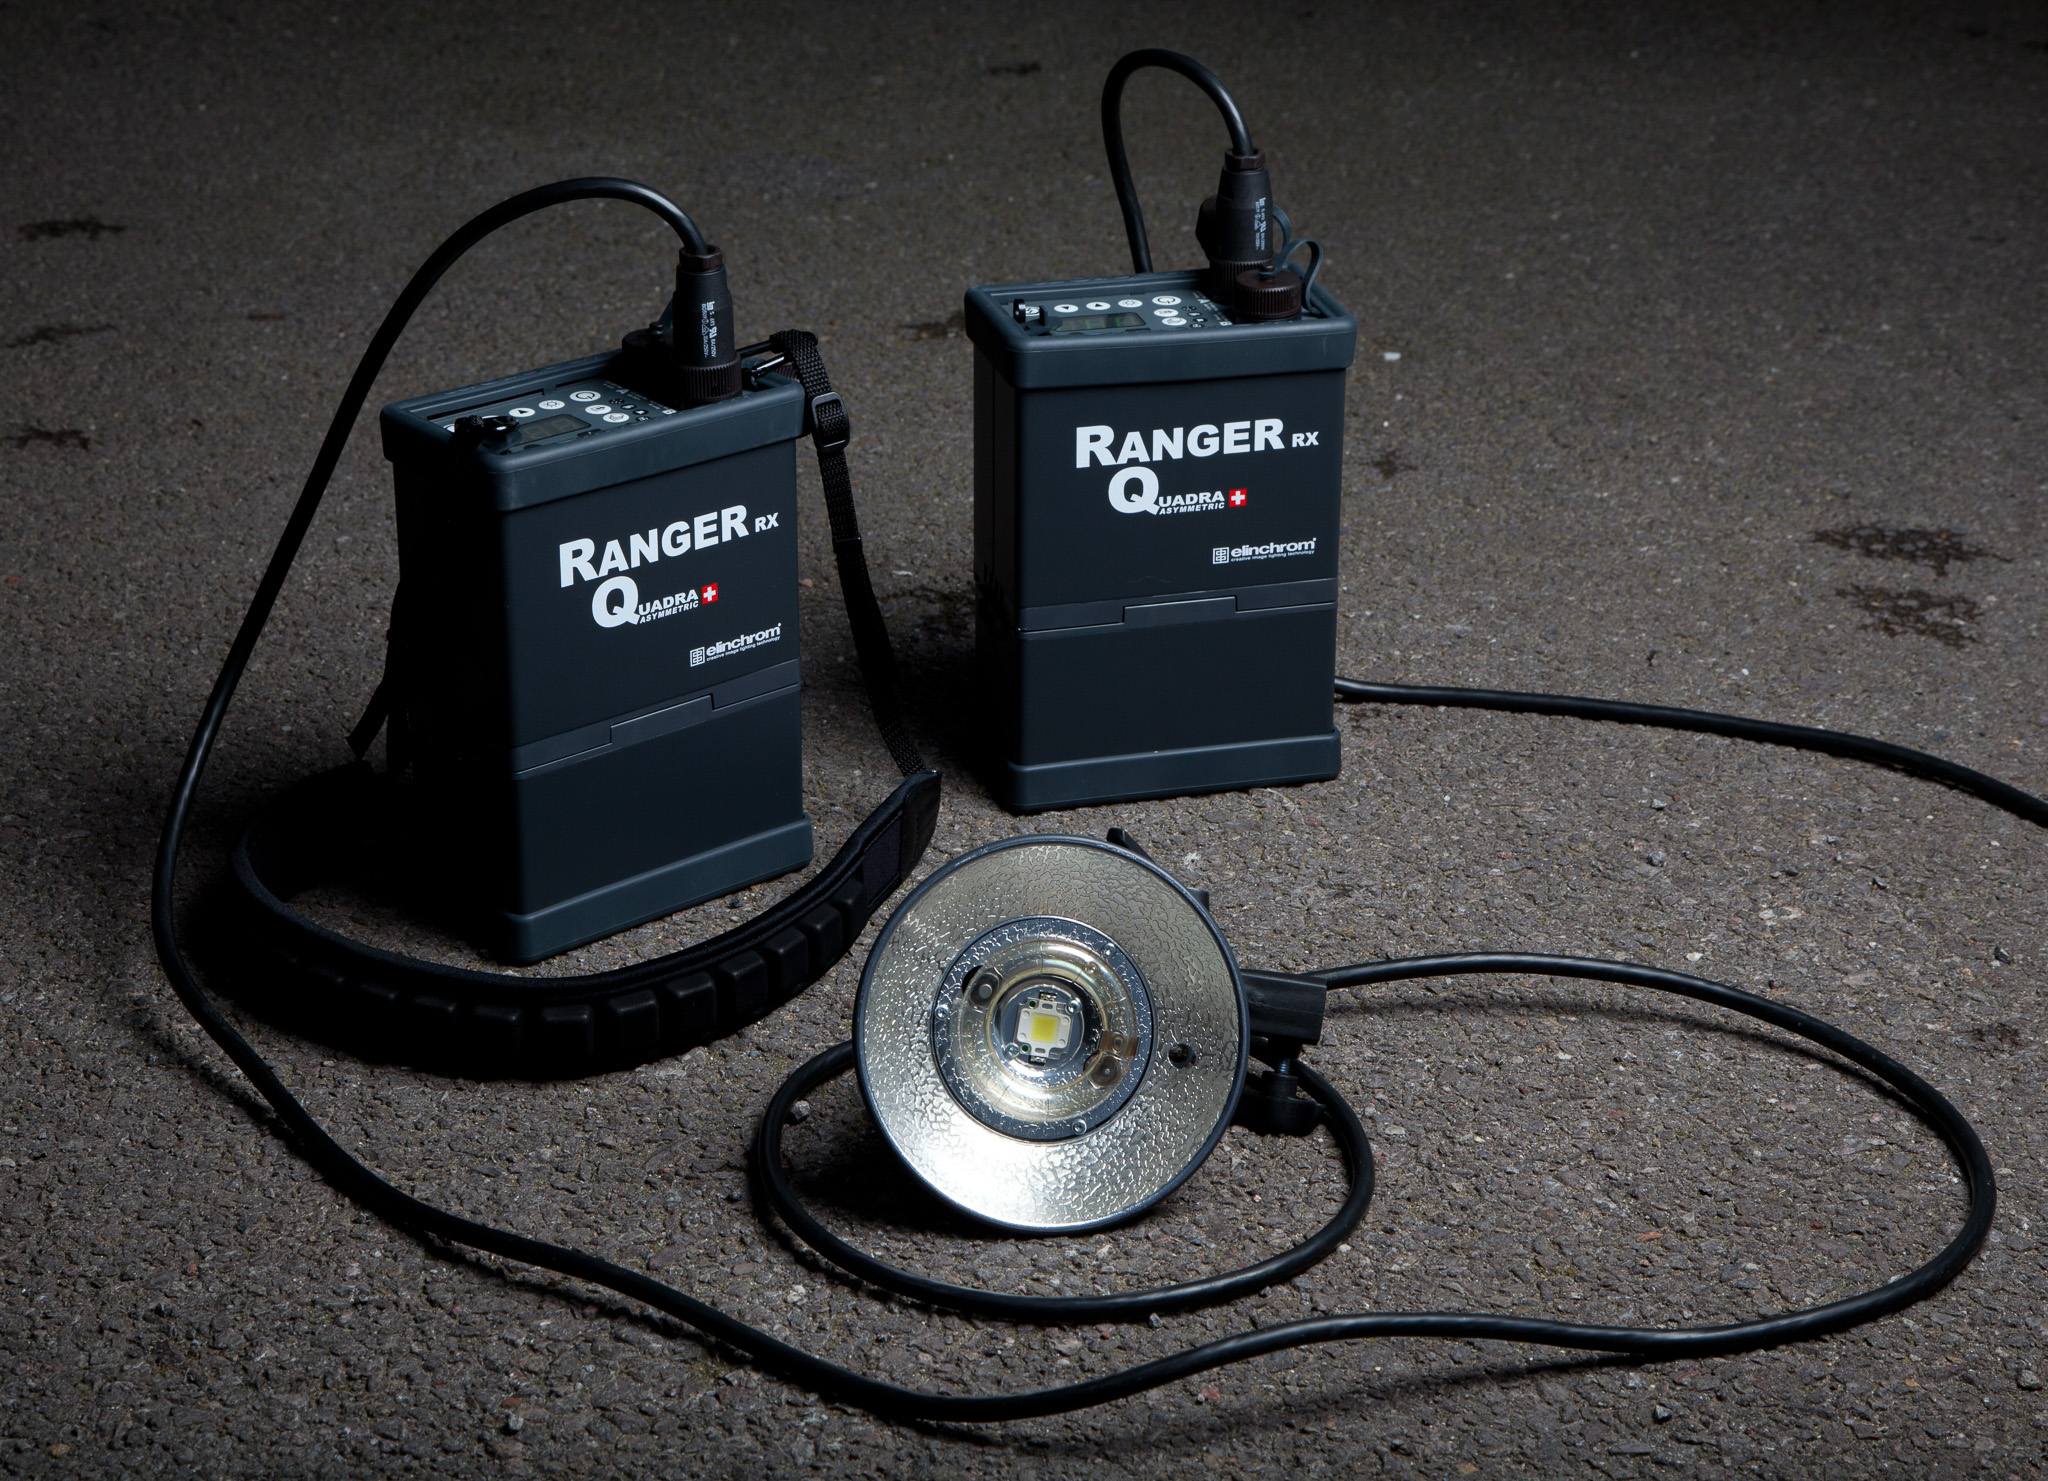
Last week I finally pulled the trigger on some more powerful lighting.
Originally I was drawn to the Elinchrom Quadra’s but the price and the reported issues (poor battery clips and no protective caps for the heads while in transit) put me off. So I looked into alternatives like the Bowens TravelPak system and the Lencarta Safari but held off from making a purchase because both were far bulkier. Then Elinchrom released the Quadra RX – basically a Quadra with bug fixes!
So far I can’t praise these Quadra RX’s enough – solid build quality, power, speed and the ability to adjust power from camera.
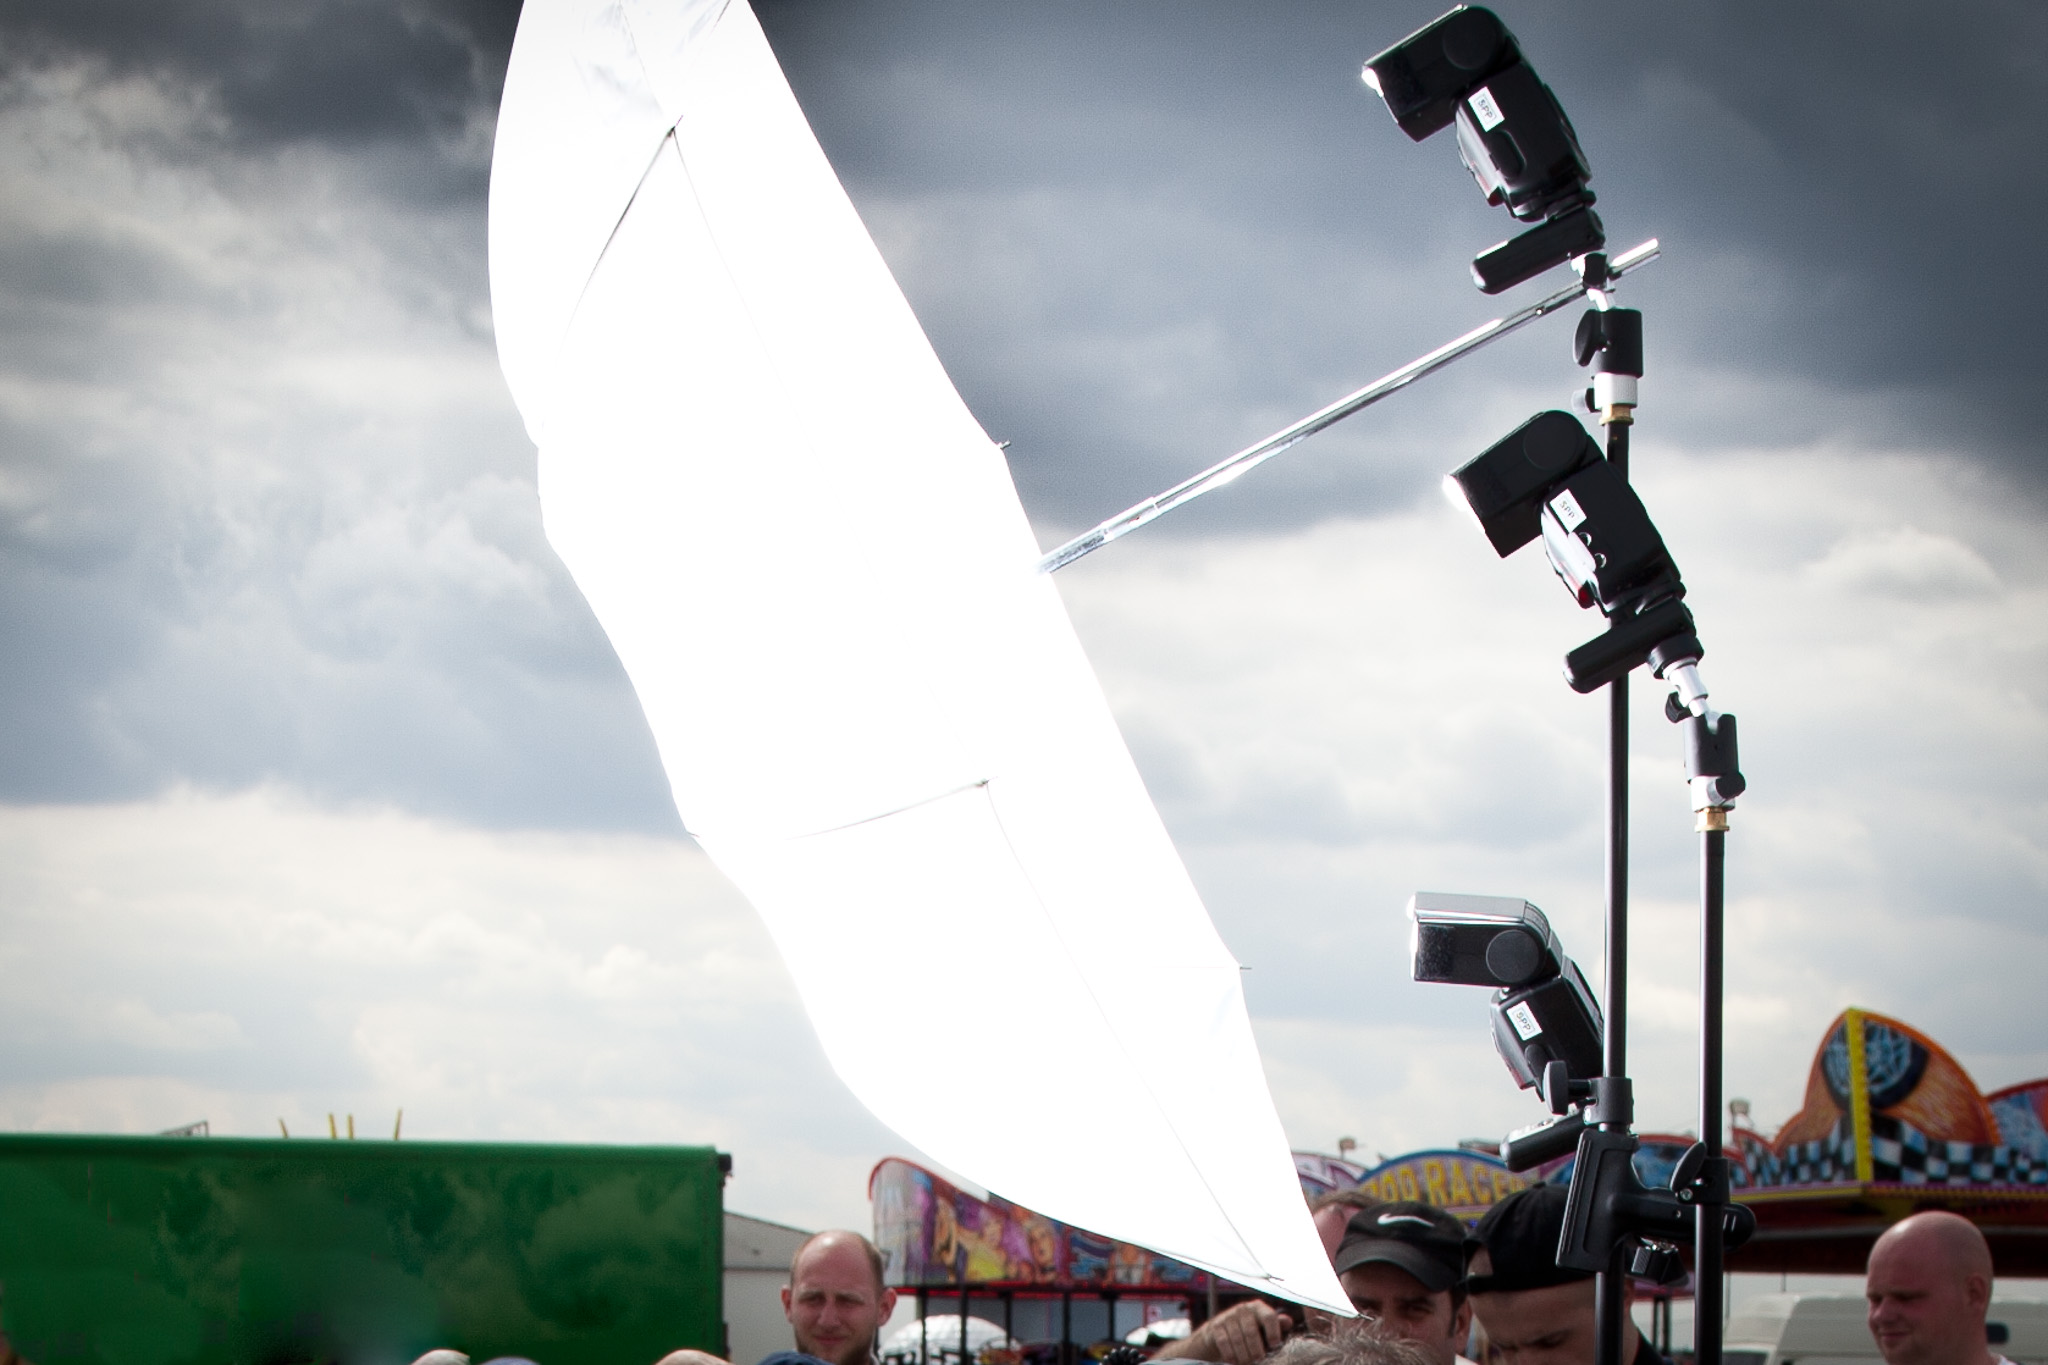
The only slight downside are the included reflectors. They don’t focus or control the light at all, giving almost 180 of spill as you can see in the image below. I shall be ordering the 18cm ones today.
Stay tuned for some more sample images and opinions.
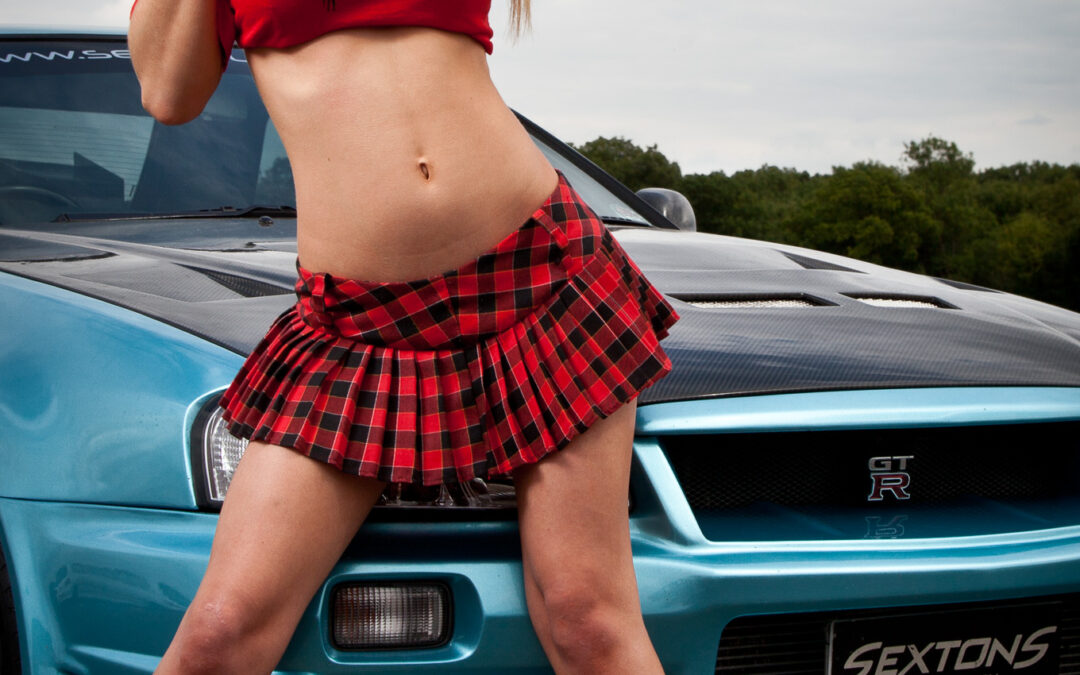
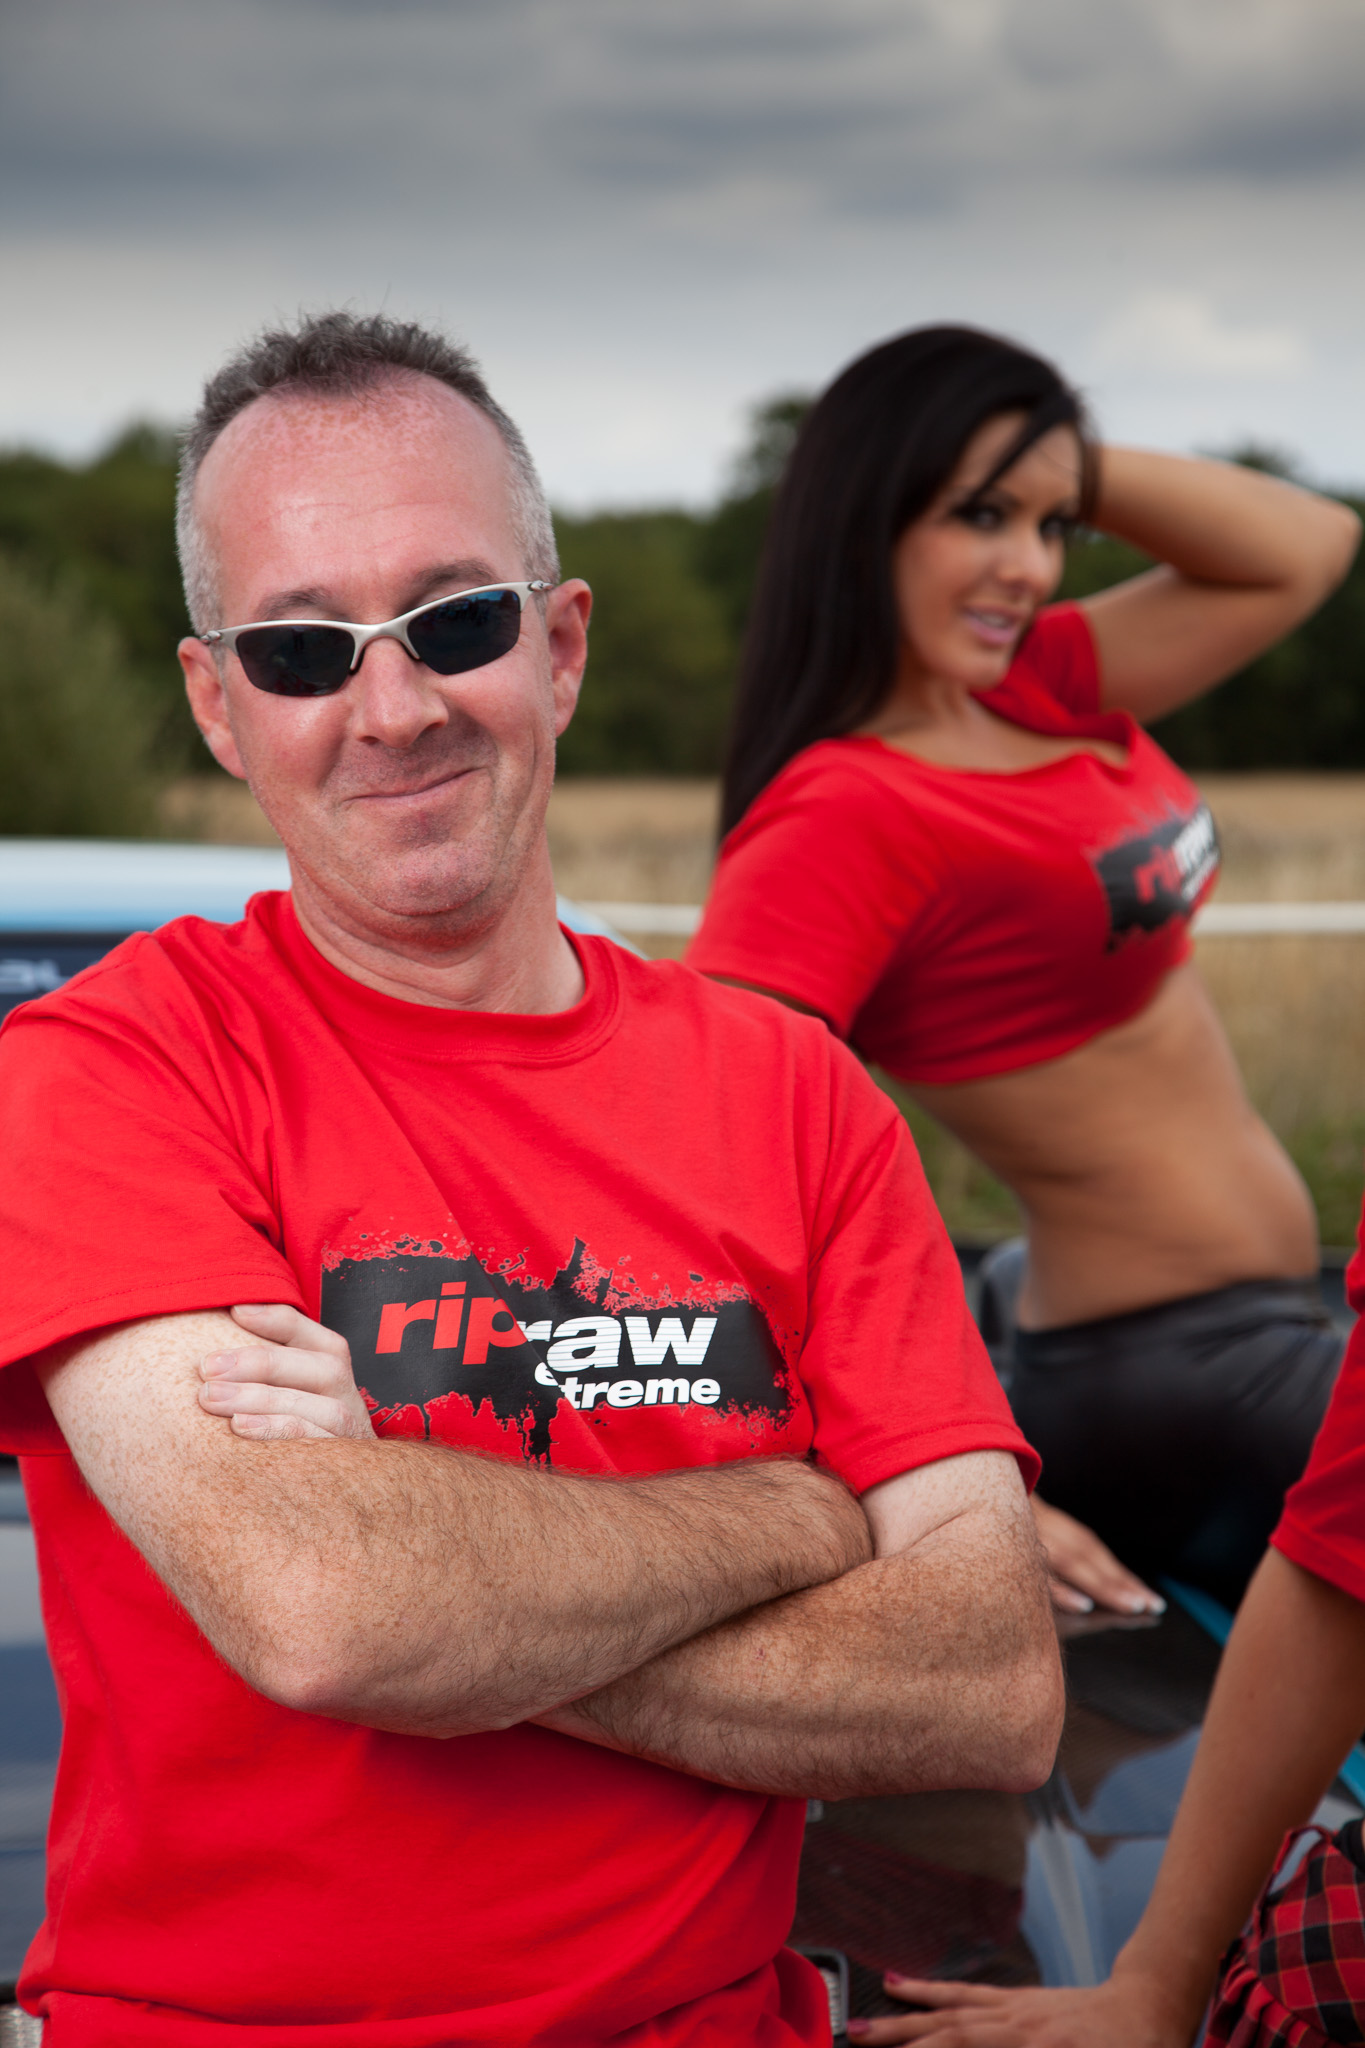
I wasn’t lucky enough to have any secluded barns to shoot in this time so it was a case of making the best of a bad lot. And at car shows, it’s a very bad lot – even when your subjects are the Sextons Direct / Ripraw girls!
You’ve got cluttered backgrounds, harsh mid afternoon light and crowds.
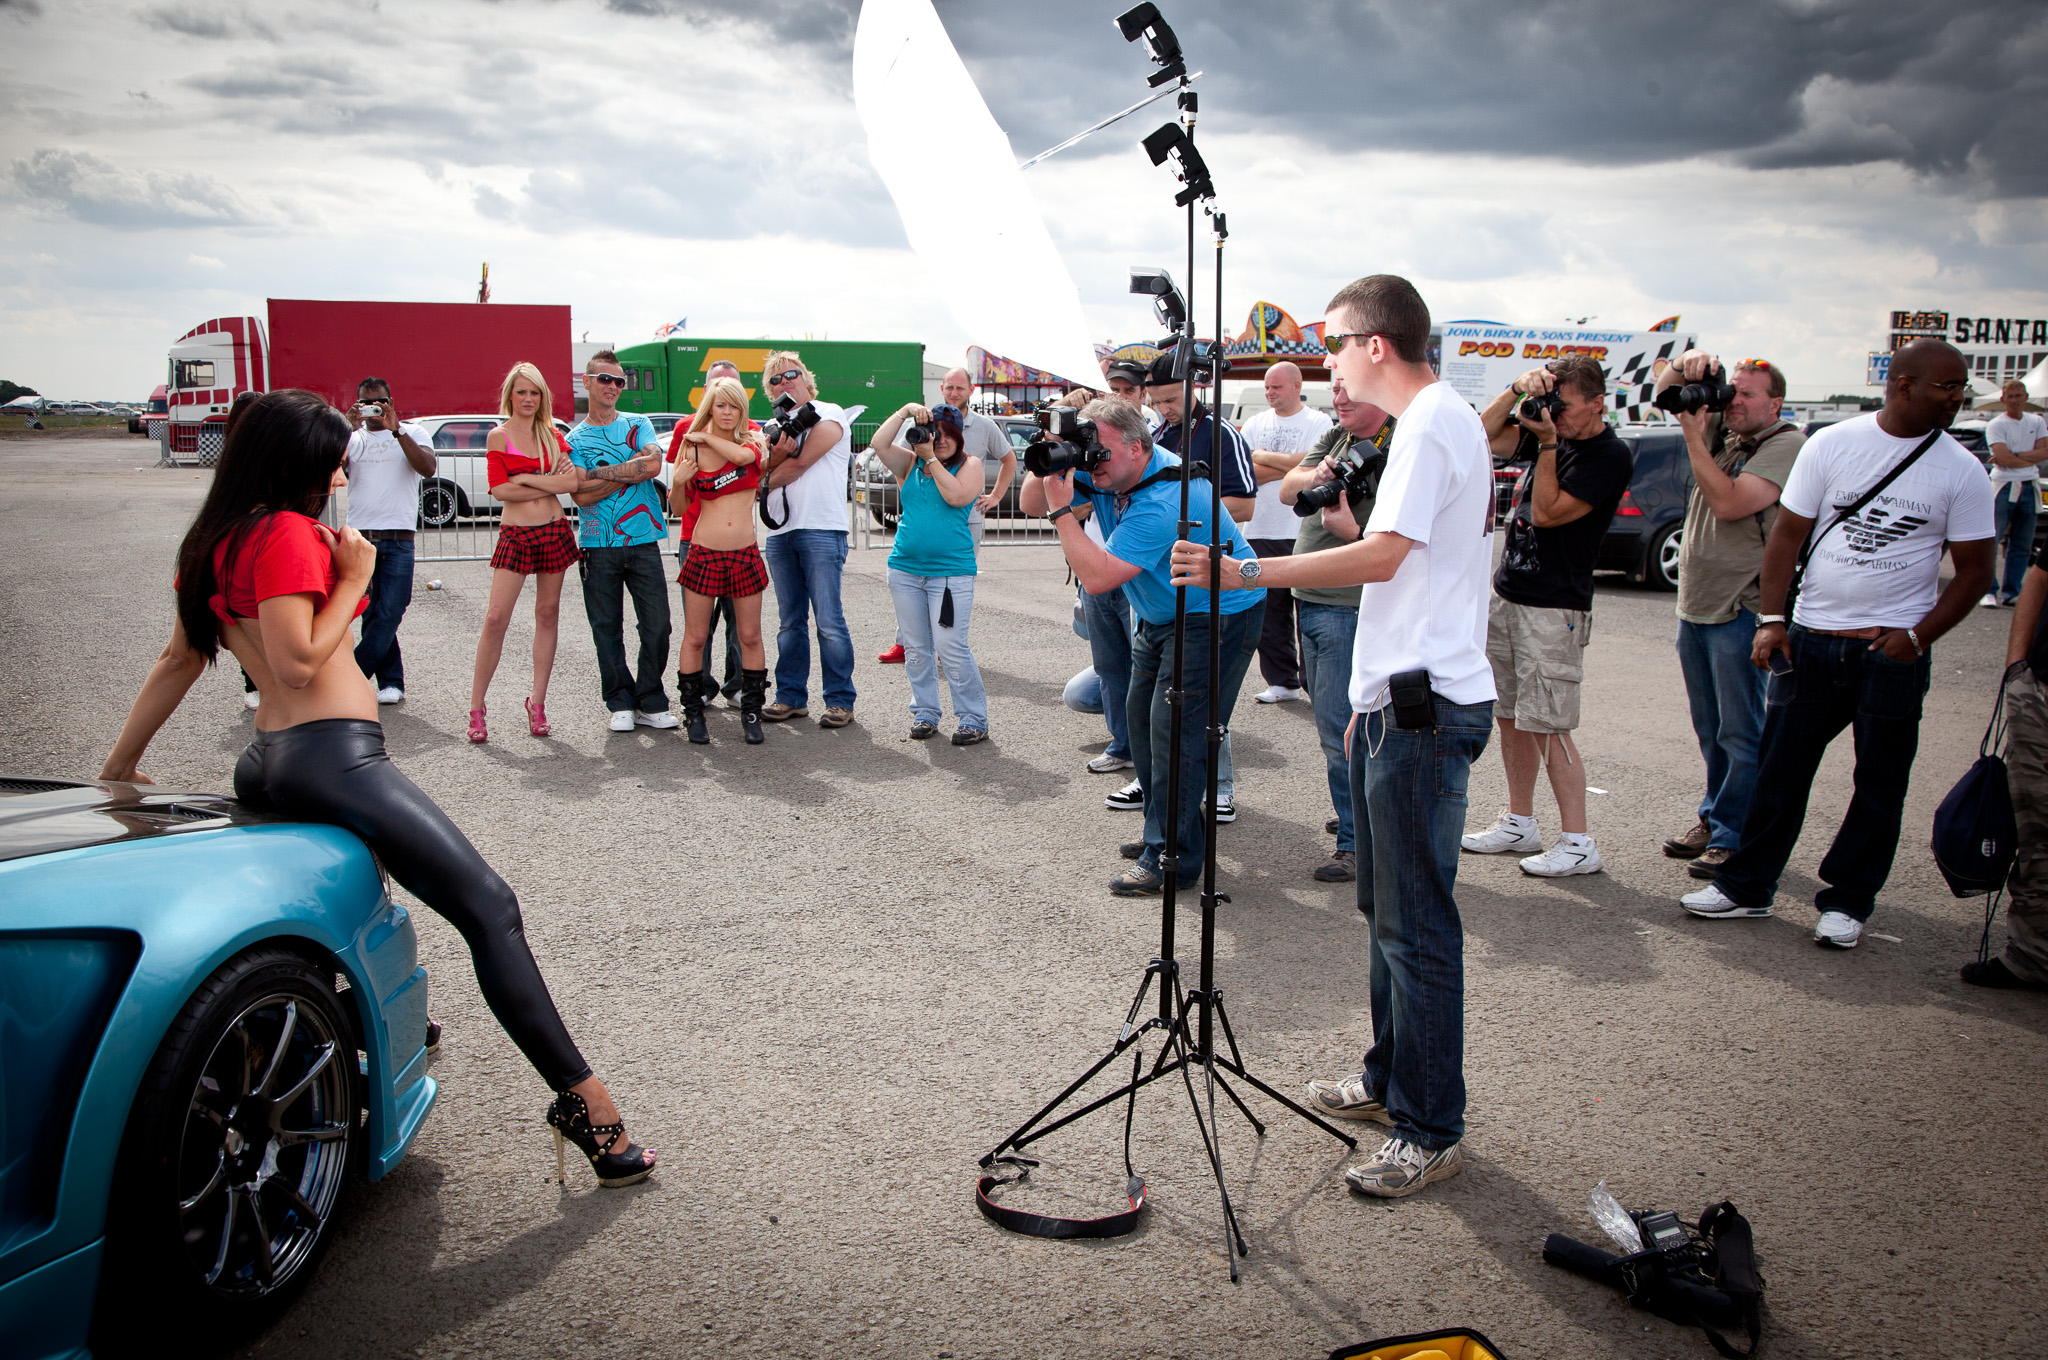
First of all, I toured Santa Pod looking for a location without people, cars or fairground rides lurking in the background. Luckily Santa Pod is out in the middle of the Northamptonshire countryside and backs onto some open fields and I was able to find this on the edge of the showground.
I chose this partly for the view but also as facing in the this direction the sun was be coming from behind the subjects – about 2 o’clock from this view. This way, the girls weren’t squinting into the bright light and I’d be able to add my own soft, diffused light from camera left.
Which leads nicely onto Problem Number 2 – the harsh sunlight. As it was coming from over the left shoulders of the girls it served as a nice separation light which, if I under exposed the background slightly, would make them really ‘pop’. But that would also leave faces in shadow, so out came the lighting.
Working in manual mode, I set my 5D MkII to sync at it’s max sync speed (1/200th) but in order to get some detail in the bright sky I was having to shoot at f/10 which meant needing to drive the flashes hard. So hard in fact that in order to keep a decent recycle time I had to gang 3 SB-28 at 1/2 power though a single shoot through umbrella. Think Joe McNally‘s speedlight tree on a budget!
With lights and locations sorted, it was time to bring on the car and the girls. This always draws an instant crowd at car shows but due to the location, apart from a few passing cars, the onlookers were behind the camera.
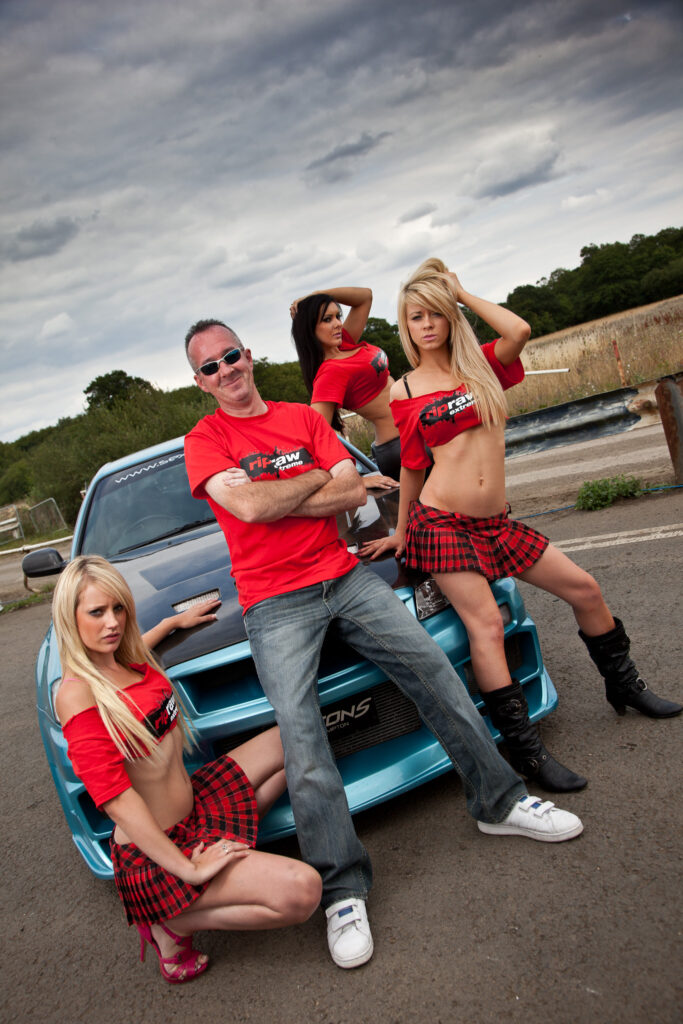
And onto the results. Well worth a bit of location scouting and 5 minutes of set-up I think.
Big thanks to Chris for the loan of the car and of course for the girls for doing their thing in front of my camera.
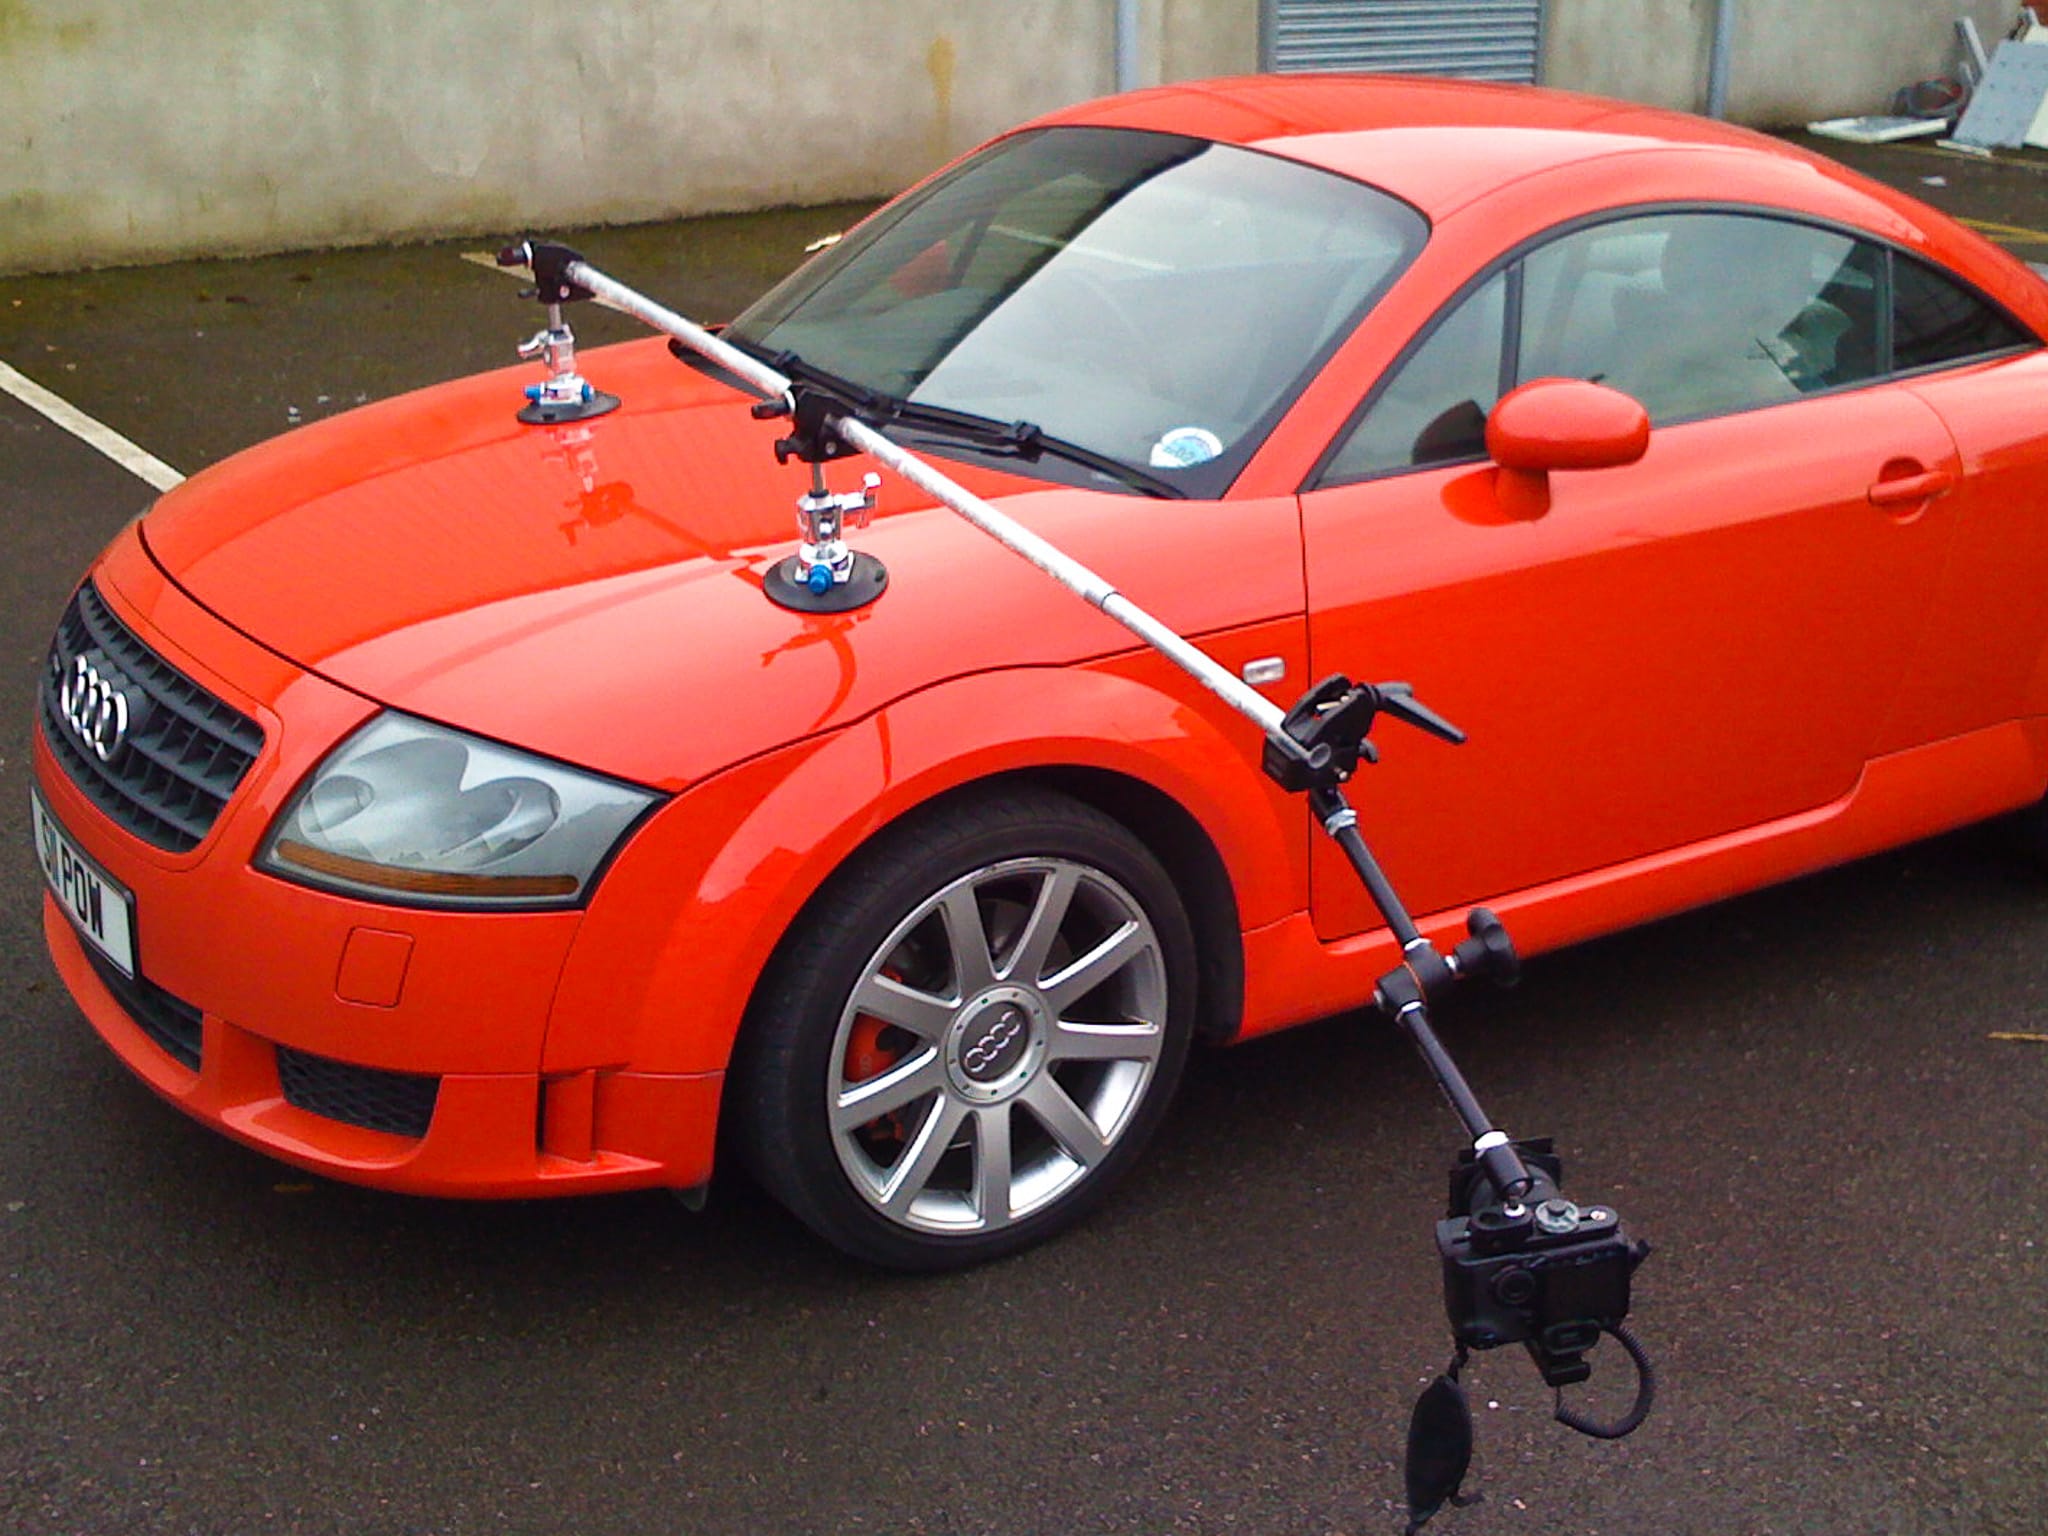
Even if you’ve not heard the phrase “rig photography” before, you’ve almost certainly seen examples of it. It’s the technique used to capture those images of cars speeding down the open road you see in adverts.
Only it’s not half as dramatic as it looks. The cars aren’t speeding for starters. They have a long metal boom attached with a camera on the end and they are being pushed to minimise vibration.
It doesn’t sound like rocket science or witchcraft but for some reason, almost nobody involved in rig photography will discuss their particular method of mounting the camera to the car, let alone show pictures of their rig.
Why? I have no idea. To me it’s like being cagey about what tripod I use, or what shoes I prefer to wear when taking photographs!
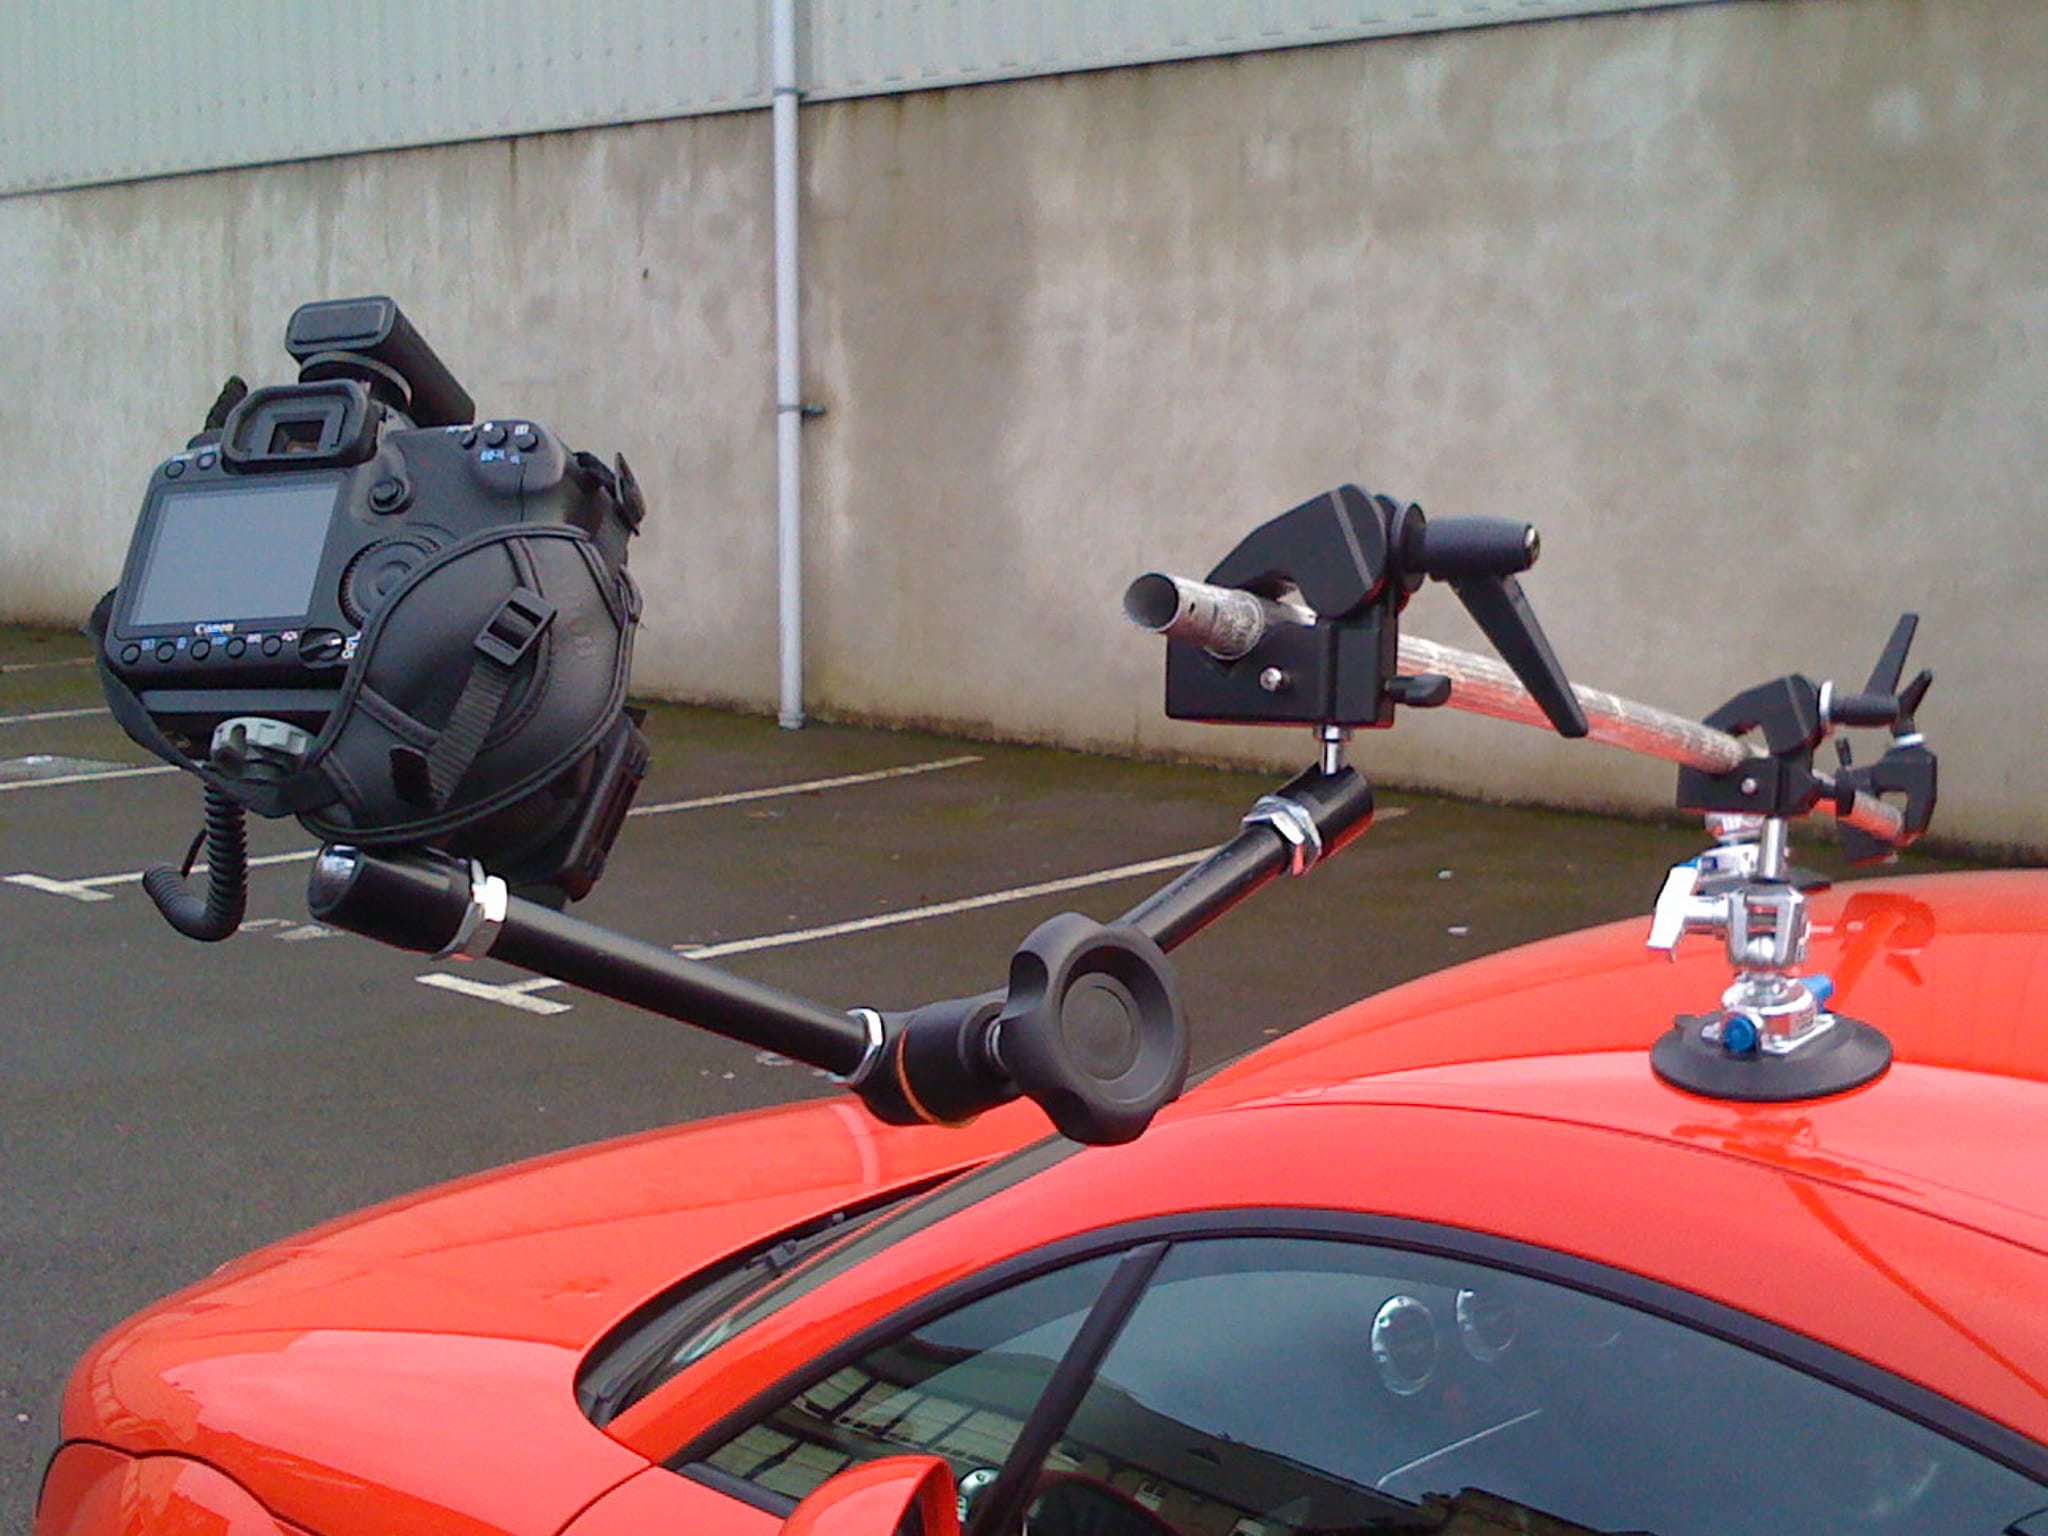
And on that note, Ladies and Gentlemen, I present to you, version 2 of my rig. I say version 2, but I am not sure my first attempt, comprising B&Q suction cups, a pole I found in the shed and duct tape, even warrants a number. This ones made from slightly better quality kit:
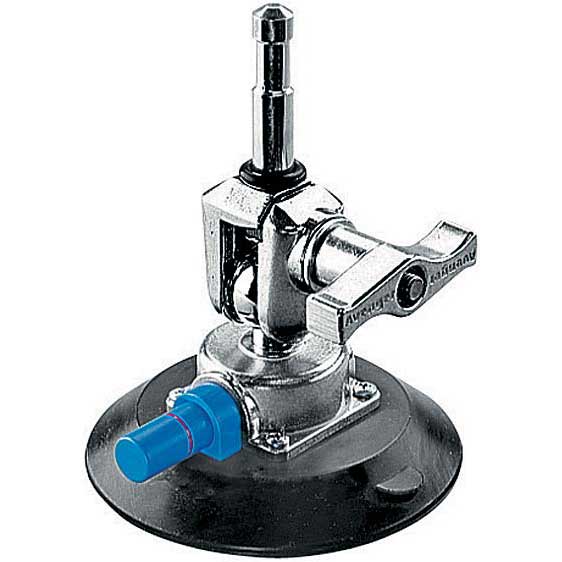
Manfrotto/Arri LF10000A Pump Cup
2x Manfotto/Arri LF.1000.A Pump Cups: These 6″ suction cups are the core of my rig. Because the bases are flexible rubber, they cope well with the curvature of car body panels and they won’t just let go suddenly like cheaper suction cups. The red line around blue pump button only appears when the cup is loosing grip and is your cue to tap the button a few times to restore full suction. The spigot adjusts to any angle via a heavyweight ball & socket joint and slots perfectly into the next time on the list. Make sure the cup is clean and you wont mark the paint work either.
Manfrotto MN035 Superclamp
3x Manfrotto Superclamps MN035: Basically THE clamp. Built like a tank and designed to work with all manner of standard lighting and photo kit. Press the button on the side and push it down onto the pump cups spigot and it won’t come off. Tighten the thumb screw to stop it rotating.
Turning the lever on the side opens and closes the jaws which can grip onto and tube or pipe up to 50mm. Be careful not to over tighten or your crush it. It even comes with a little plastic wedge that will allow you to clamp it onto flat objects like doors, tables and shelves. Seriously useful for mounting anything anywhere, especially when used with a:
Manfrotto 244 variable friction Magic Arm
Manfrotto 244 variable friction Magic Arm: This articulated arm with a pivot in the middle and ball & socket joints on either end (all tightened by a single knob in the middle) lets you position pretty much anything in almost any way you like. Even NASA use these things on the Space Shuttle program. In the case of my rig, I have a SuperClamp on one end and a camera mounting plate on the other.
So that’s 2 pump cups to hold the rig to the car, 2 clamps to attach the boom to the cups and a magic arm at the other end to give some freedom in positioning the camera. Simple, and when assembled and installed it looks like this (and yes, that is an aluminium painters pole acting as the boom! It’ll be replaced in version 3).
The following 3 images show the final the setup, the RAW image as captured and final post processed image from today’s tests.
Straight out of camera:
Not the most exciting rig shot, I’ll admit, but it does show what can be achieved with off-the-shelf kit costing just over £100


Recent Comments