Photography is always a compromise, a constant trade off between shutter speed, aperture and ISO. Even with the latest and greatest sensors a digital camera still can’t capture the 11 stops of dynamic range (the difference between the brightest highlights and the deepest shadows) that the human eye can see. To counter this shortcoming the technique of bracketing was born.
The concept is pretty simple; keep the camera still and take a collection of images that range from very underexposed to very overexposed by varying your shutter speed or ISO. Five images ranging from 2 stops under- to 2 stops overexposed will cover most scenes. It was used a lot in real estate photography so let’s take an image of a room’s interior as an example. The underexposed shots will give you detail in the bright sky visible through the windows while the over exposed shots will let you see into that shady corner of the room. With some layers and masking in Photoshop you could pull together the bits you wanted from each and create an image that looked much more like the scene appeared to the human eye.
Then tone mapping software came along and automated the whole process. Next thing you know, the web is full of those over saturated, surreal images that we all love to hate. Done right it’s beautiful but software like Photomatix has made it one of those technologies that is too easy to abuse. (Topaz, I’m looking at you!)
I want to share a technique with you that delivers all the benefits of HDR without falling in the trap of one-click, same-as-everyone-else tone mapping.
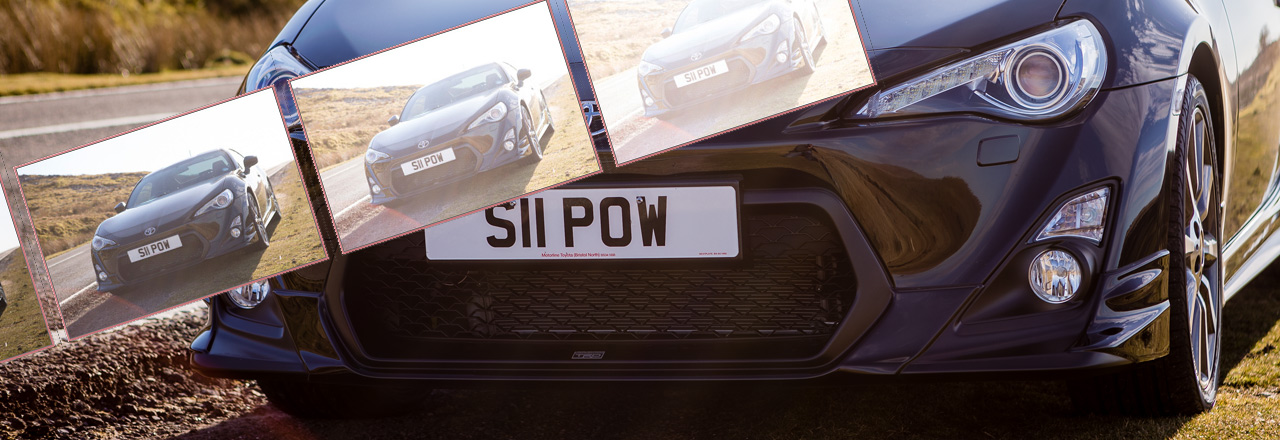
You need a set of bracketed images to work from so here are my five. No tripod in this case as I was at between 1/5000th and 1/125th – safe to hand hold and Photoshop is very good at aligning any slight movements.

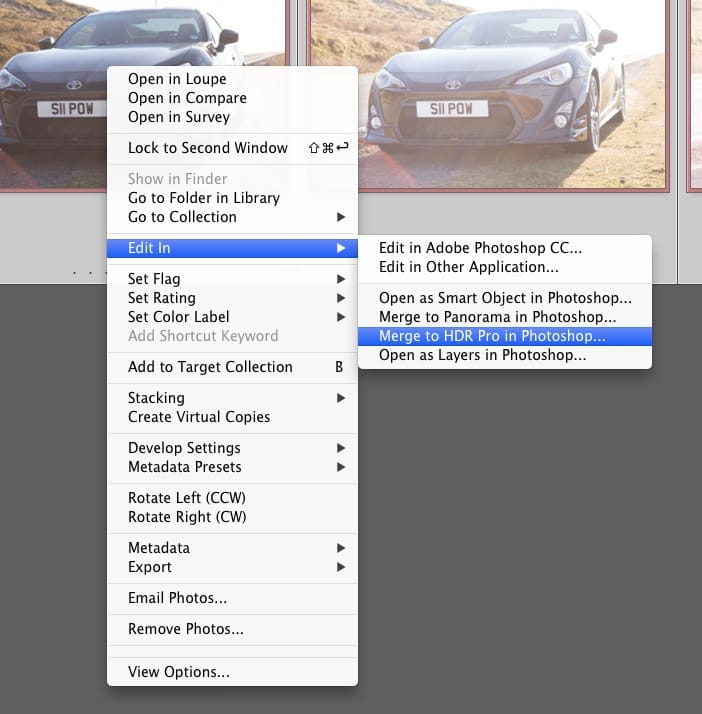
The next step is to export the images from Lightroom and merge them into one file using Photoshop’s HDR Pro function.
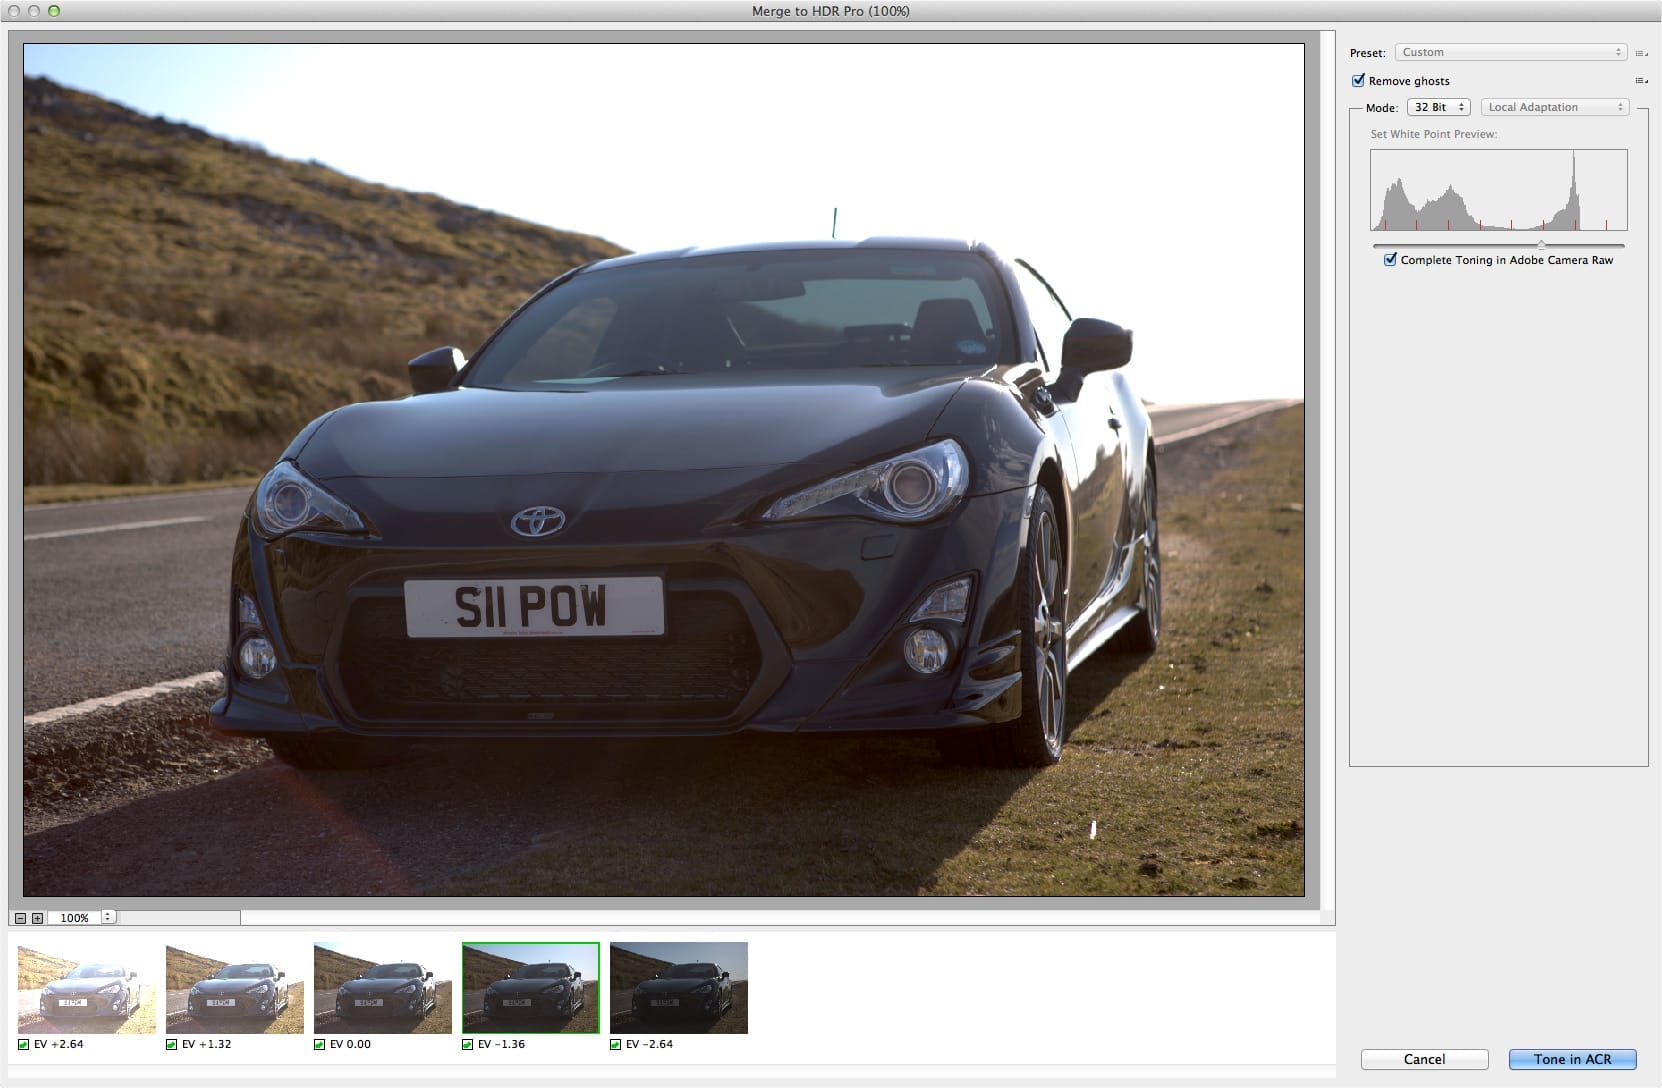
Compared to Photomatix, Photoshop’s tone mapping capabilities are pretty basic, but that’s OK. All I do here is make sure I choose 32 bit mode and click Tone in ACR.
In this case I’m not doing my toning in Camera RAW, so the image goes straight into Photoshop looking like this: Dull and flat. Some technique huh?
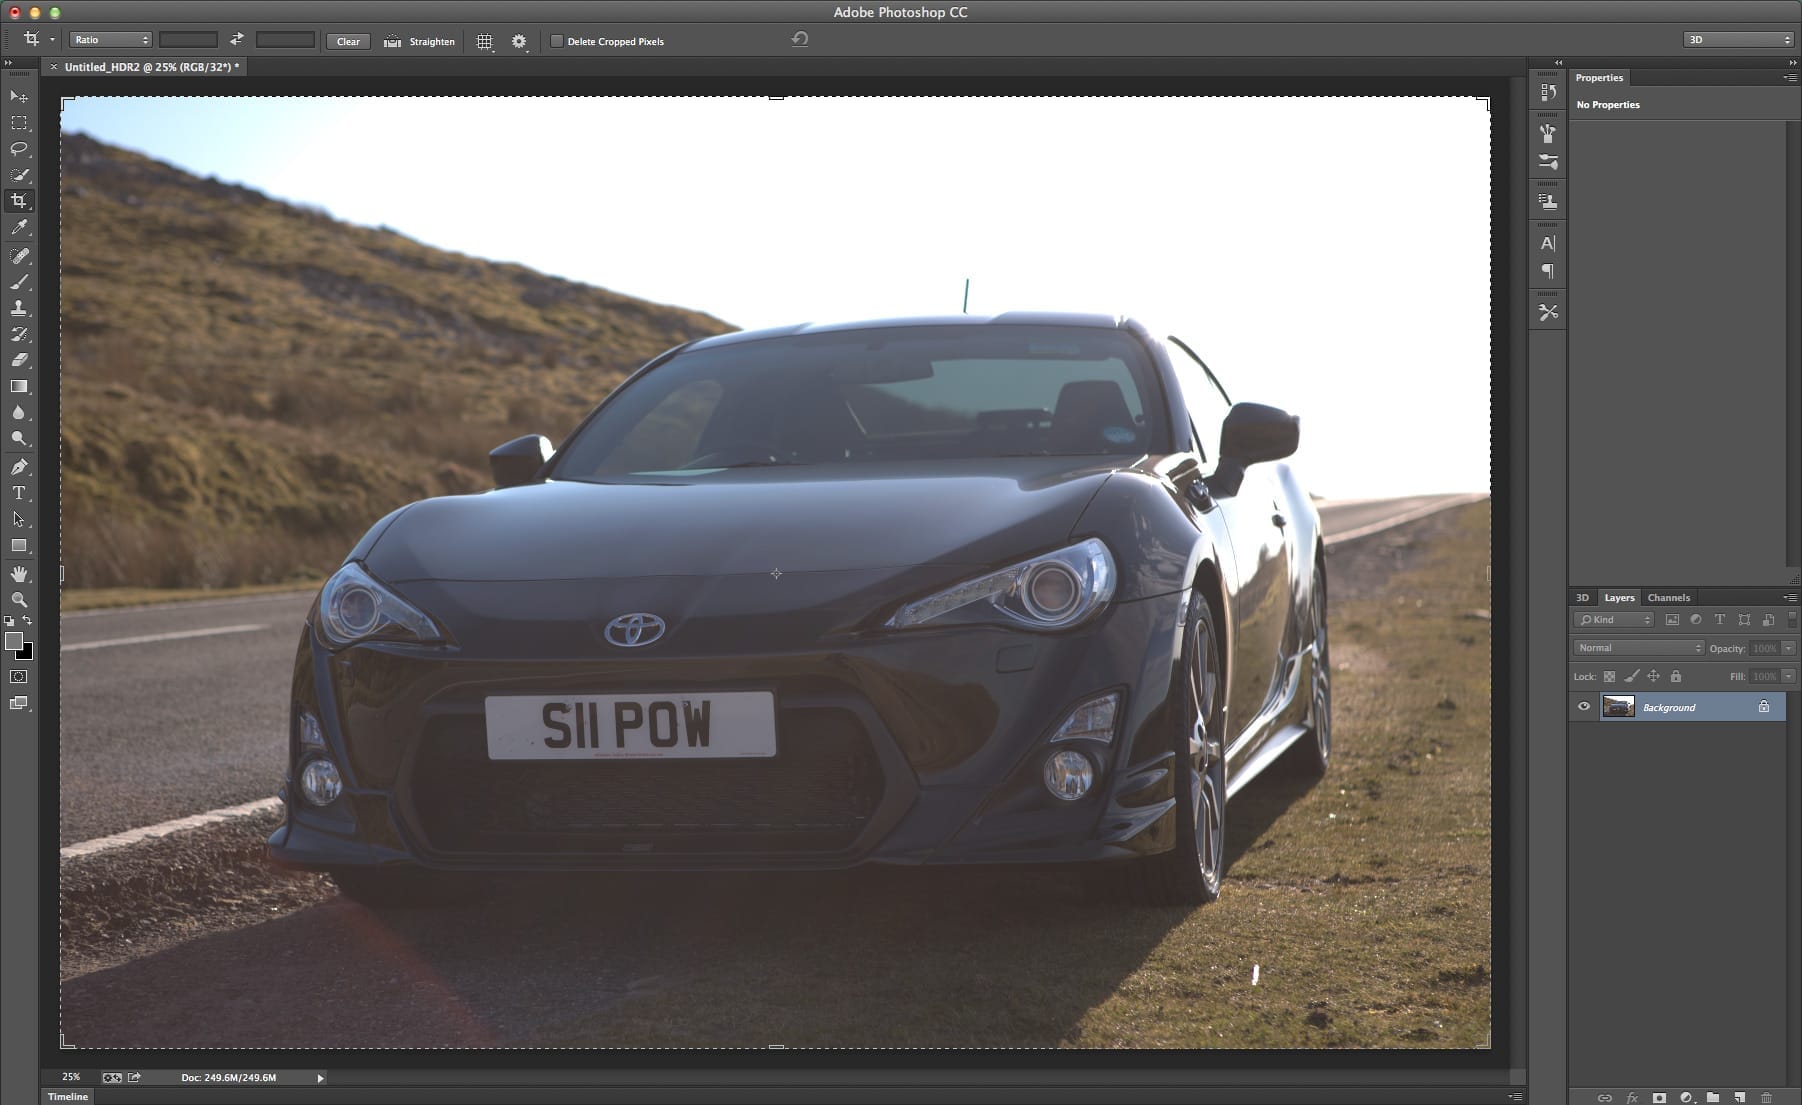
But this is the beginning, not the end. This is where I do the toning step that I could have done in ACR but instead I sent the file back to Lightroom to edit there. The RAW processing engines are the same it’s just personal preference and I’m a big Lightroom fan.
The most important thing we’ve done here is take five 14bit RAW files and combine them to make one 32bit TIFF.
What does that actually mean? In a 8bit JPG file, you have 256 levels each of red green and blue that can make up your image. It sounds like a lot but it’s why you see banding in a smooth gradients like skies – there’s just not enough shades of blue to make it smooth. 14bit RAW files are much better. they have 16000 shades of each colour, that’s much more levels between solid black and solid white. With 32bit, the numbers get silly: 4 and a quarter billion (with a B!) levels! Combine that with all the info you captured in your bracketed 5 shots and you have a boat load of info to play with in that single file.
Now this is the cool bit – load that 32bit file into CameraRAW or Lightroom and play with the sliders. Everything goes to 11. Well not quite but the Exposure slider for example goes to +/- 10 stops. That’s 20 stops of highlight and shadow detail that you can call upon using all the usual tools in Lightroom. Take a look a the difference:
This is a properly exposed 14bit RAW file straight from my 5DMkIII. I’m dragging the Exposure slider from left to right, that’s from -5 stops to +5. I’ve got Lightroom’s clipping warnings turned on so anything highlighted blue is completely black, anything red has blown to white.
Now this is the same deal with the 32 bit file. From -10 to +10 stop this time and you can see how much further I can push the file, from almost fully clipping to black to completely blown out. There’s clearly a lot more detail here at both ends of the exposure.
Going to the extremes though is not what this is about. It’s about pulling back the detail where you need it using the Highlight, Whites, Blacks and Shadows sliders. So without further ado, here’s the final image, edited with nothing more than Lightroom. As always I’d love hear what you think in the comments.
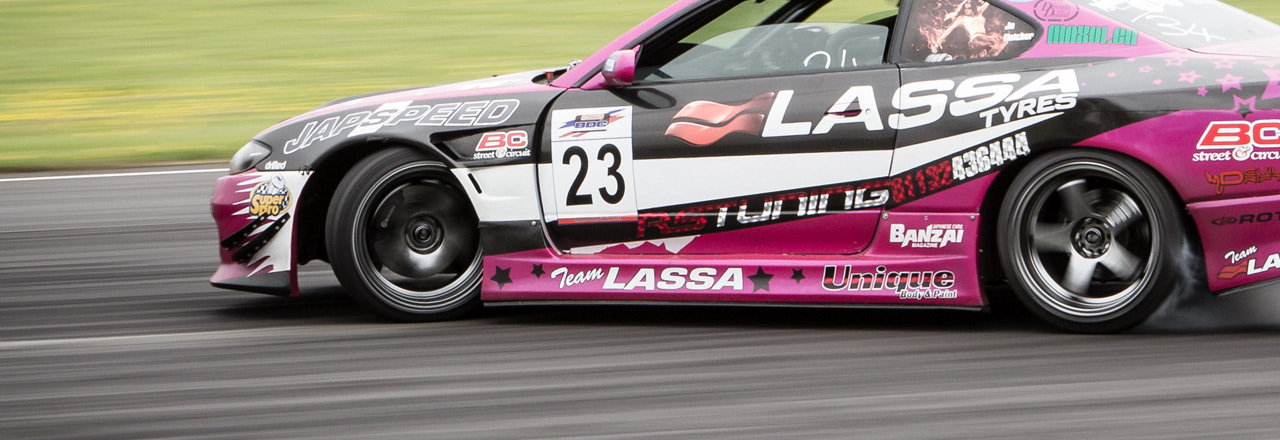
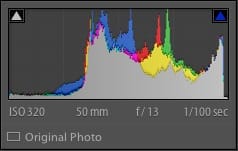
This weeks photo is of BDC SuperPro Jo Fletcher throwing his Lassa Tyres sponsored Nissan S15 into Quarry corner at Castle Combe.
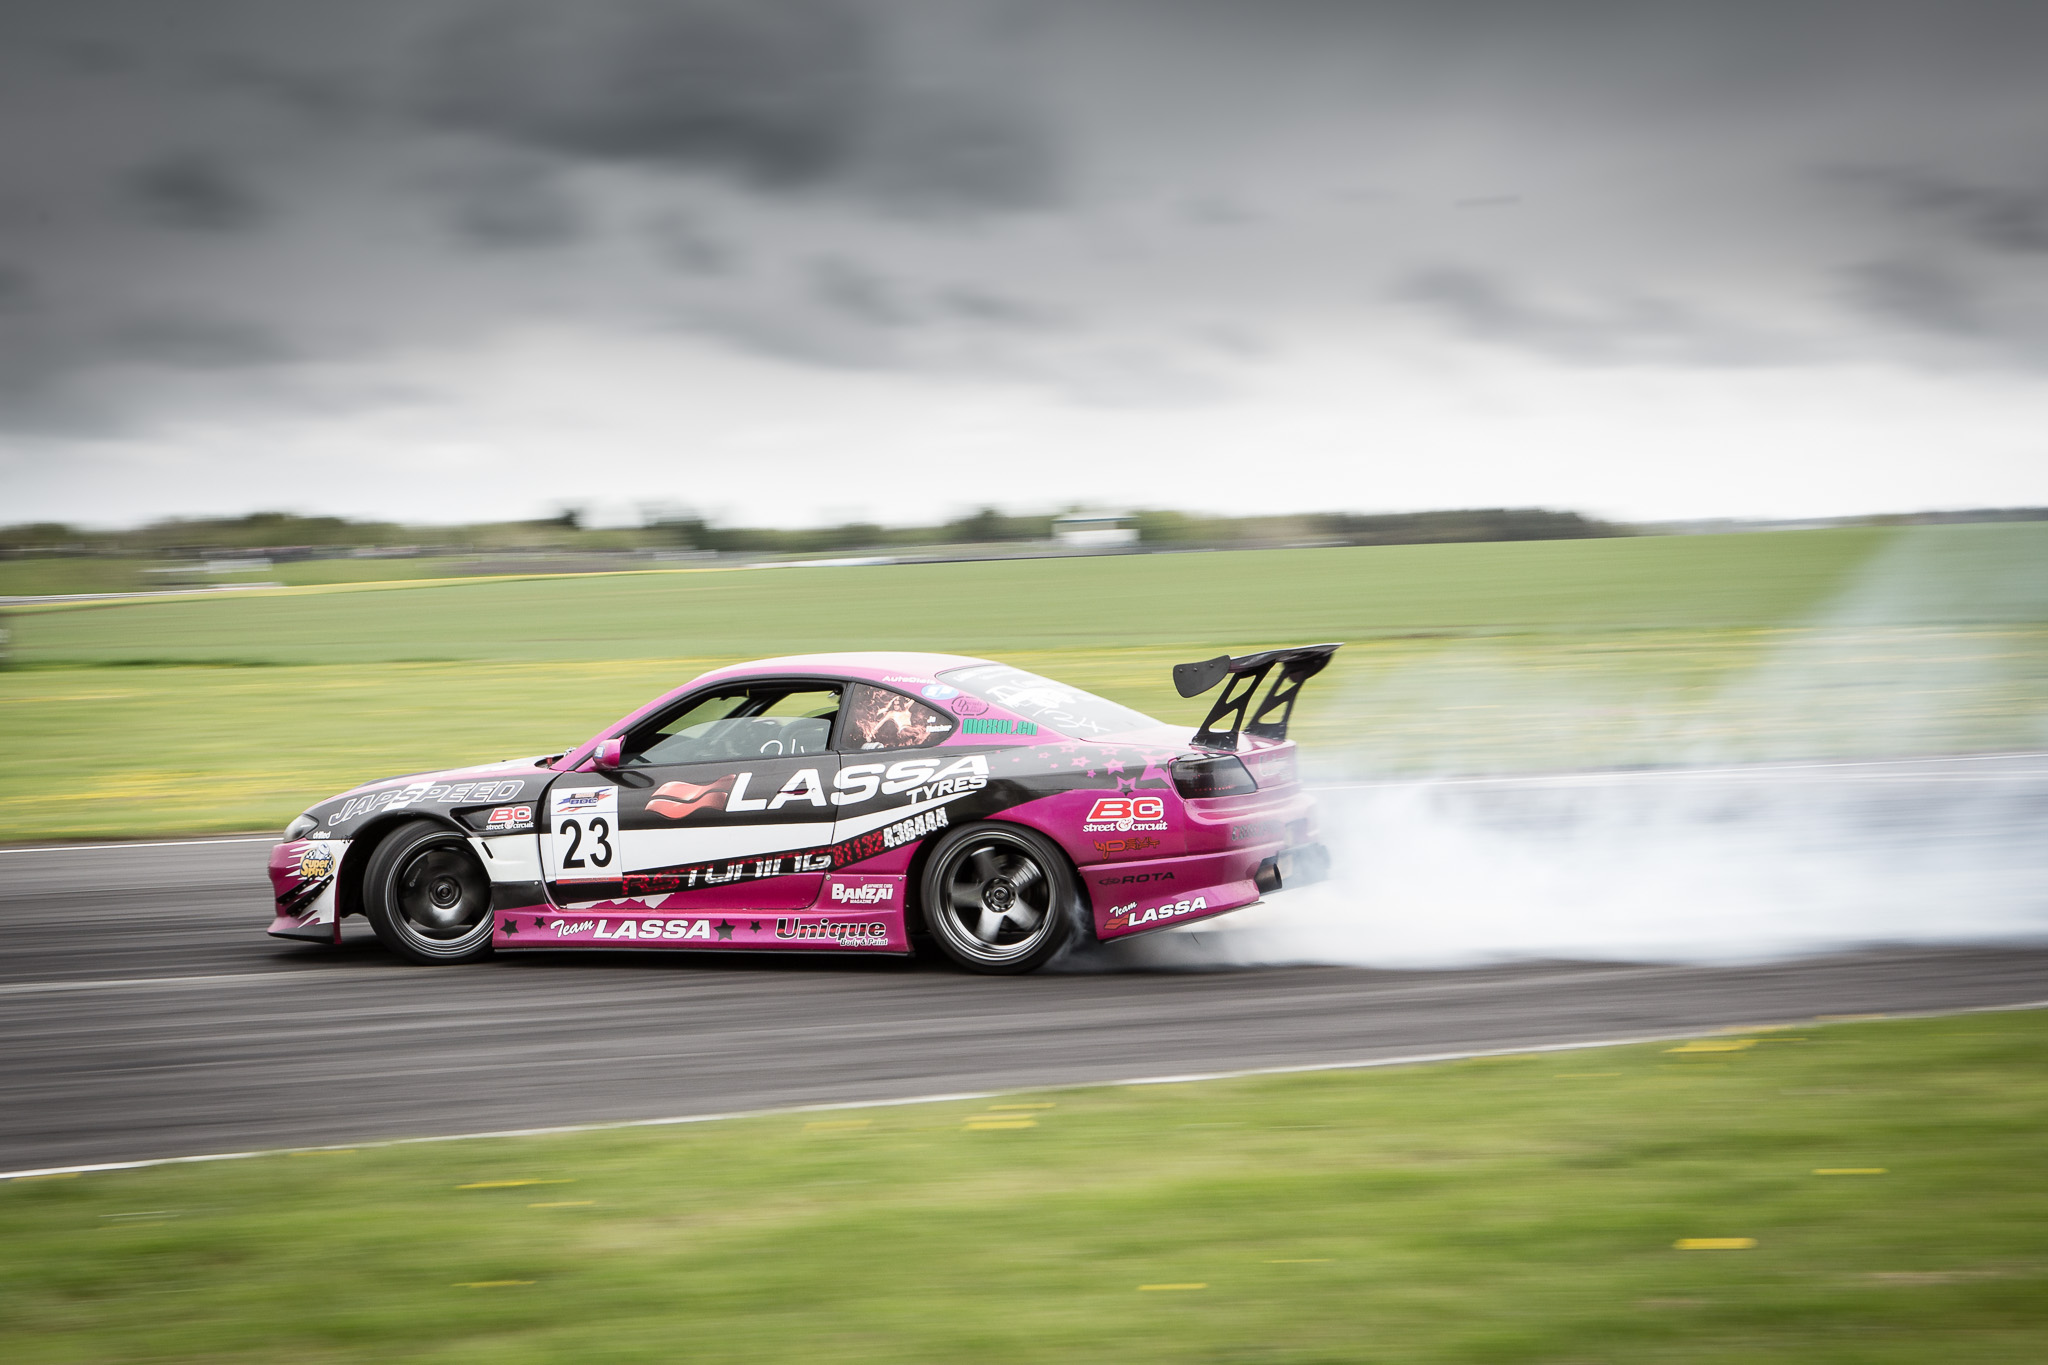
It was taken at Japfest 2013 on the fastest entry to a corner I have shoot in drifting. Cars come over Avon Rise at almost 100mph before initiating about 25 feet away from where I was stood.
 That explains why there is so much motion blur in this image when the shutter speed isn’t particularly slow. 1/100th of a second wouldn’t normally get such a long, streaking background blur. The closer you are, or the faster the car is moving, or both, means you’re spinning on the spot pretty quickly as you pan. The shutter speed can be faster than usual but your keeper/fail rate will be pretty low until you get into the groove.
I’m shooting in manual mode here as the lighting wasn’t changing and I wanted to keep at 1/100th and have my aperture at f/13 so I had enough depth of field to get the car sharp and when panning you don’t need to worry about knocking the background out of focus as it’s blurred by the camera motion.
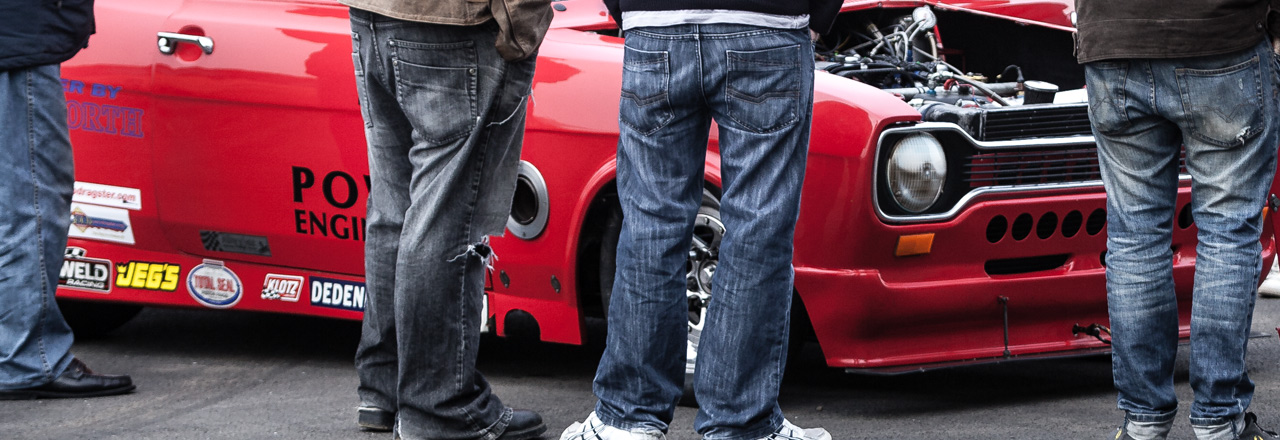
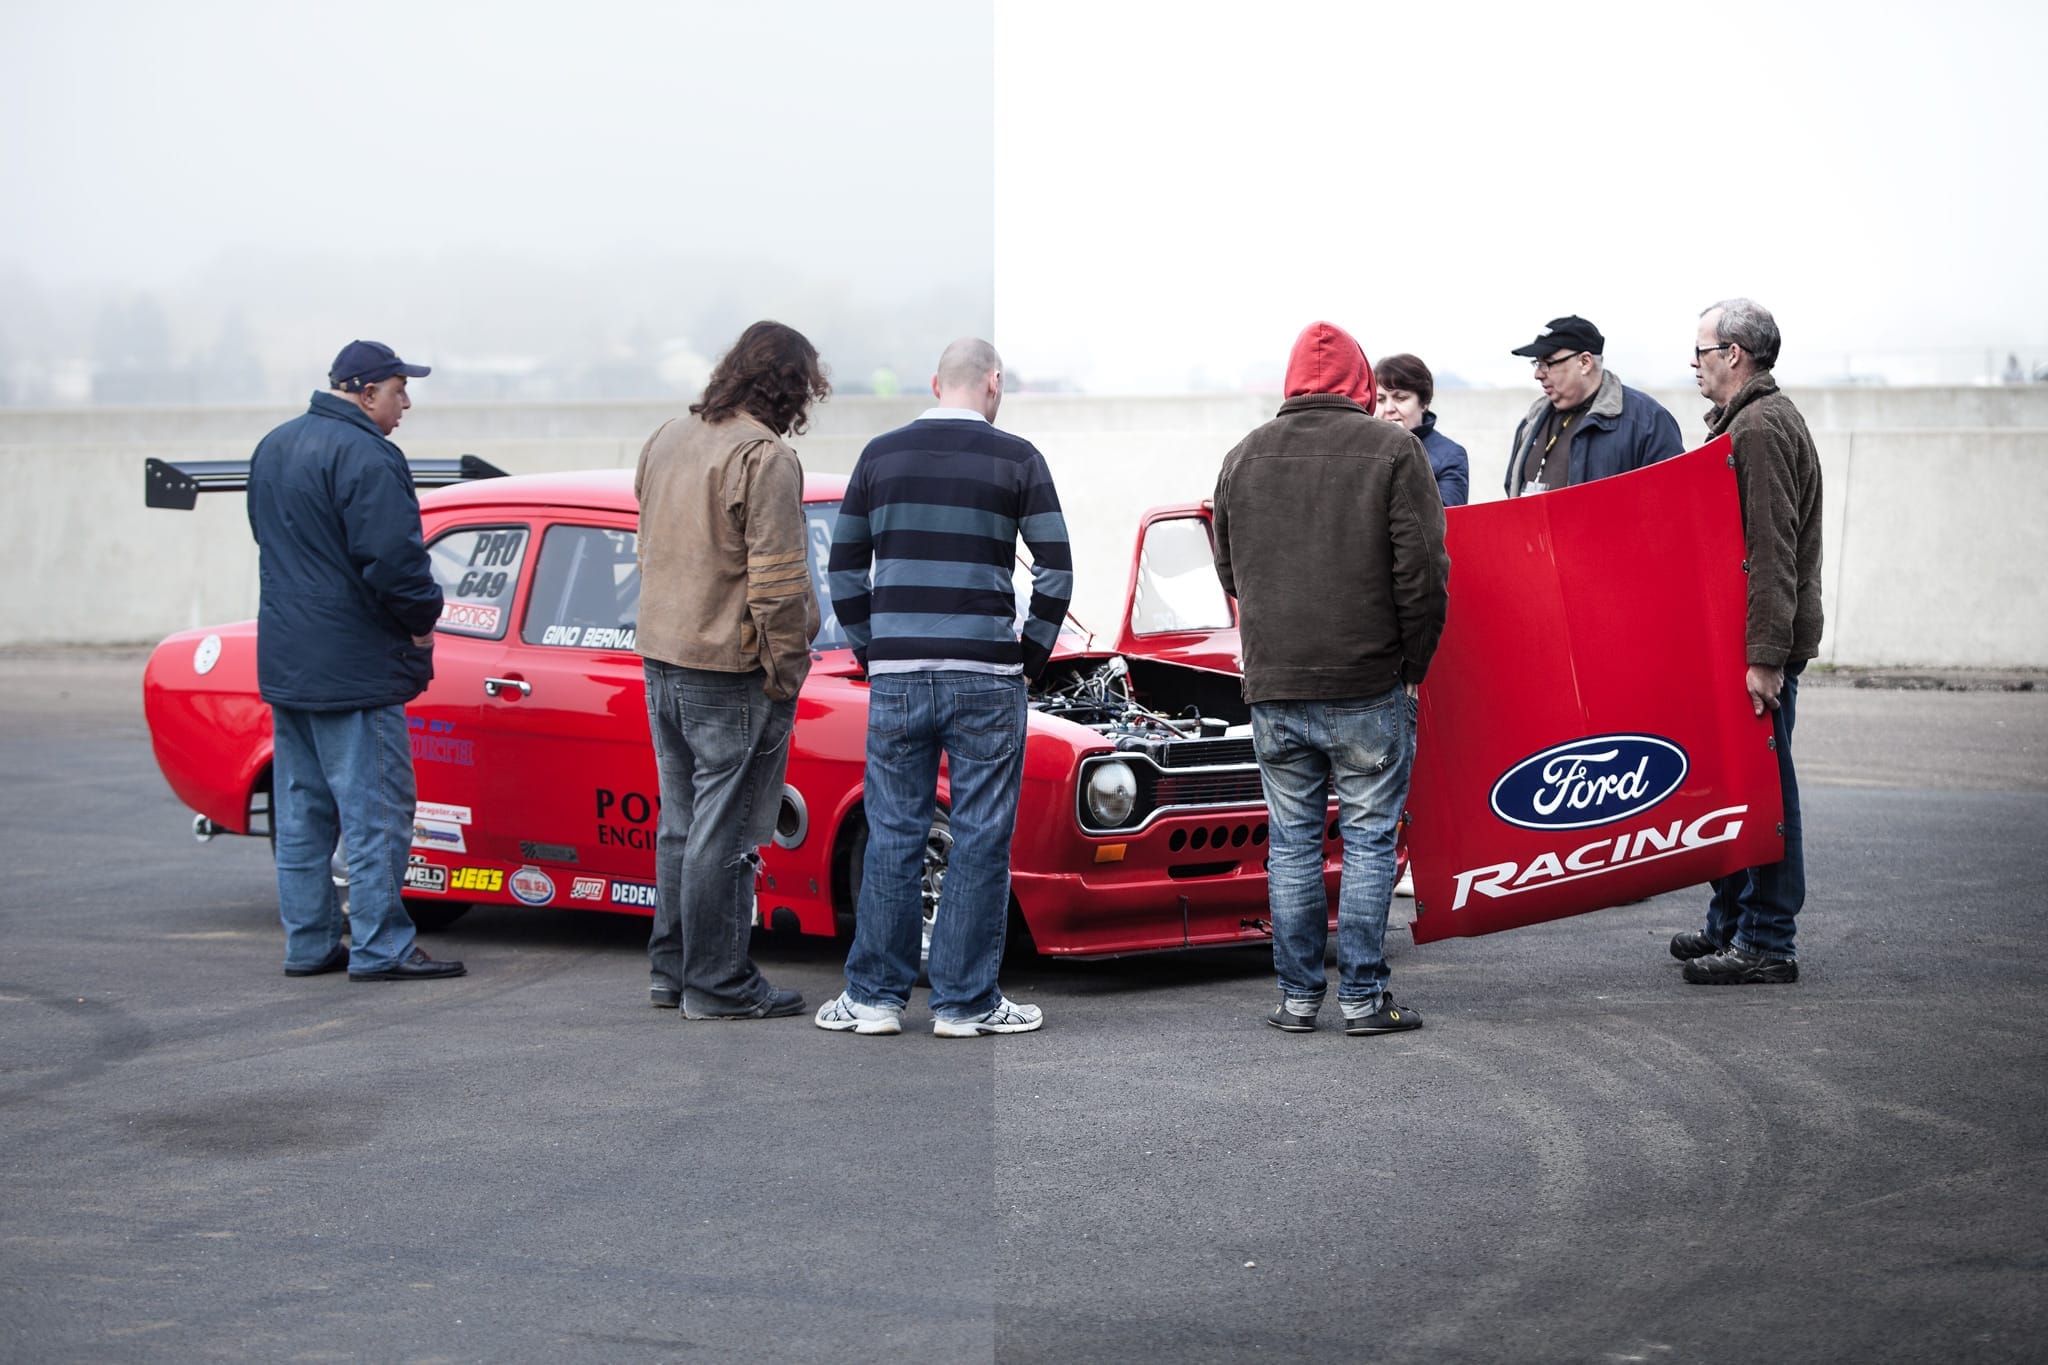
I’ve gone back into my archive for today’s Photo of the Week. I saw this monster Mk I Ford Escort at The Fast Show 2012 being wheeled out by a group of people and fired off a few shots but got nothing special. It wasn’t until the bonnet was lifted and they gathered around the engine bay, neatly spaced, all looking at the same spot that the image came together.
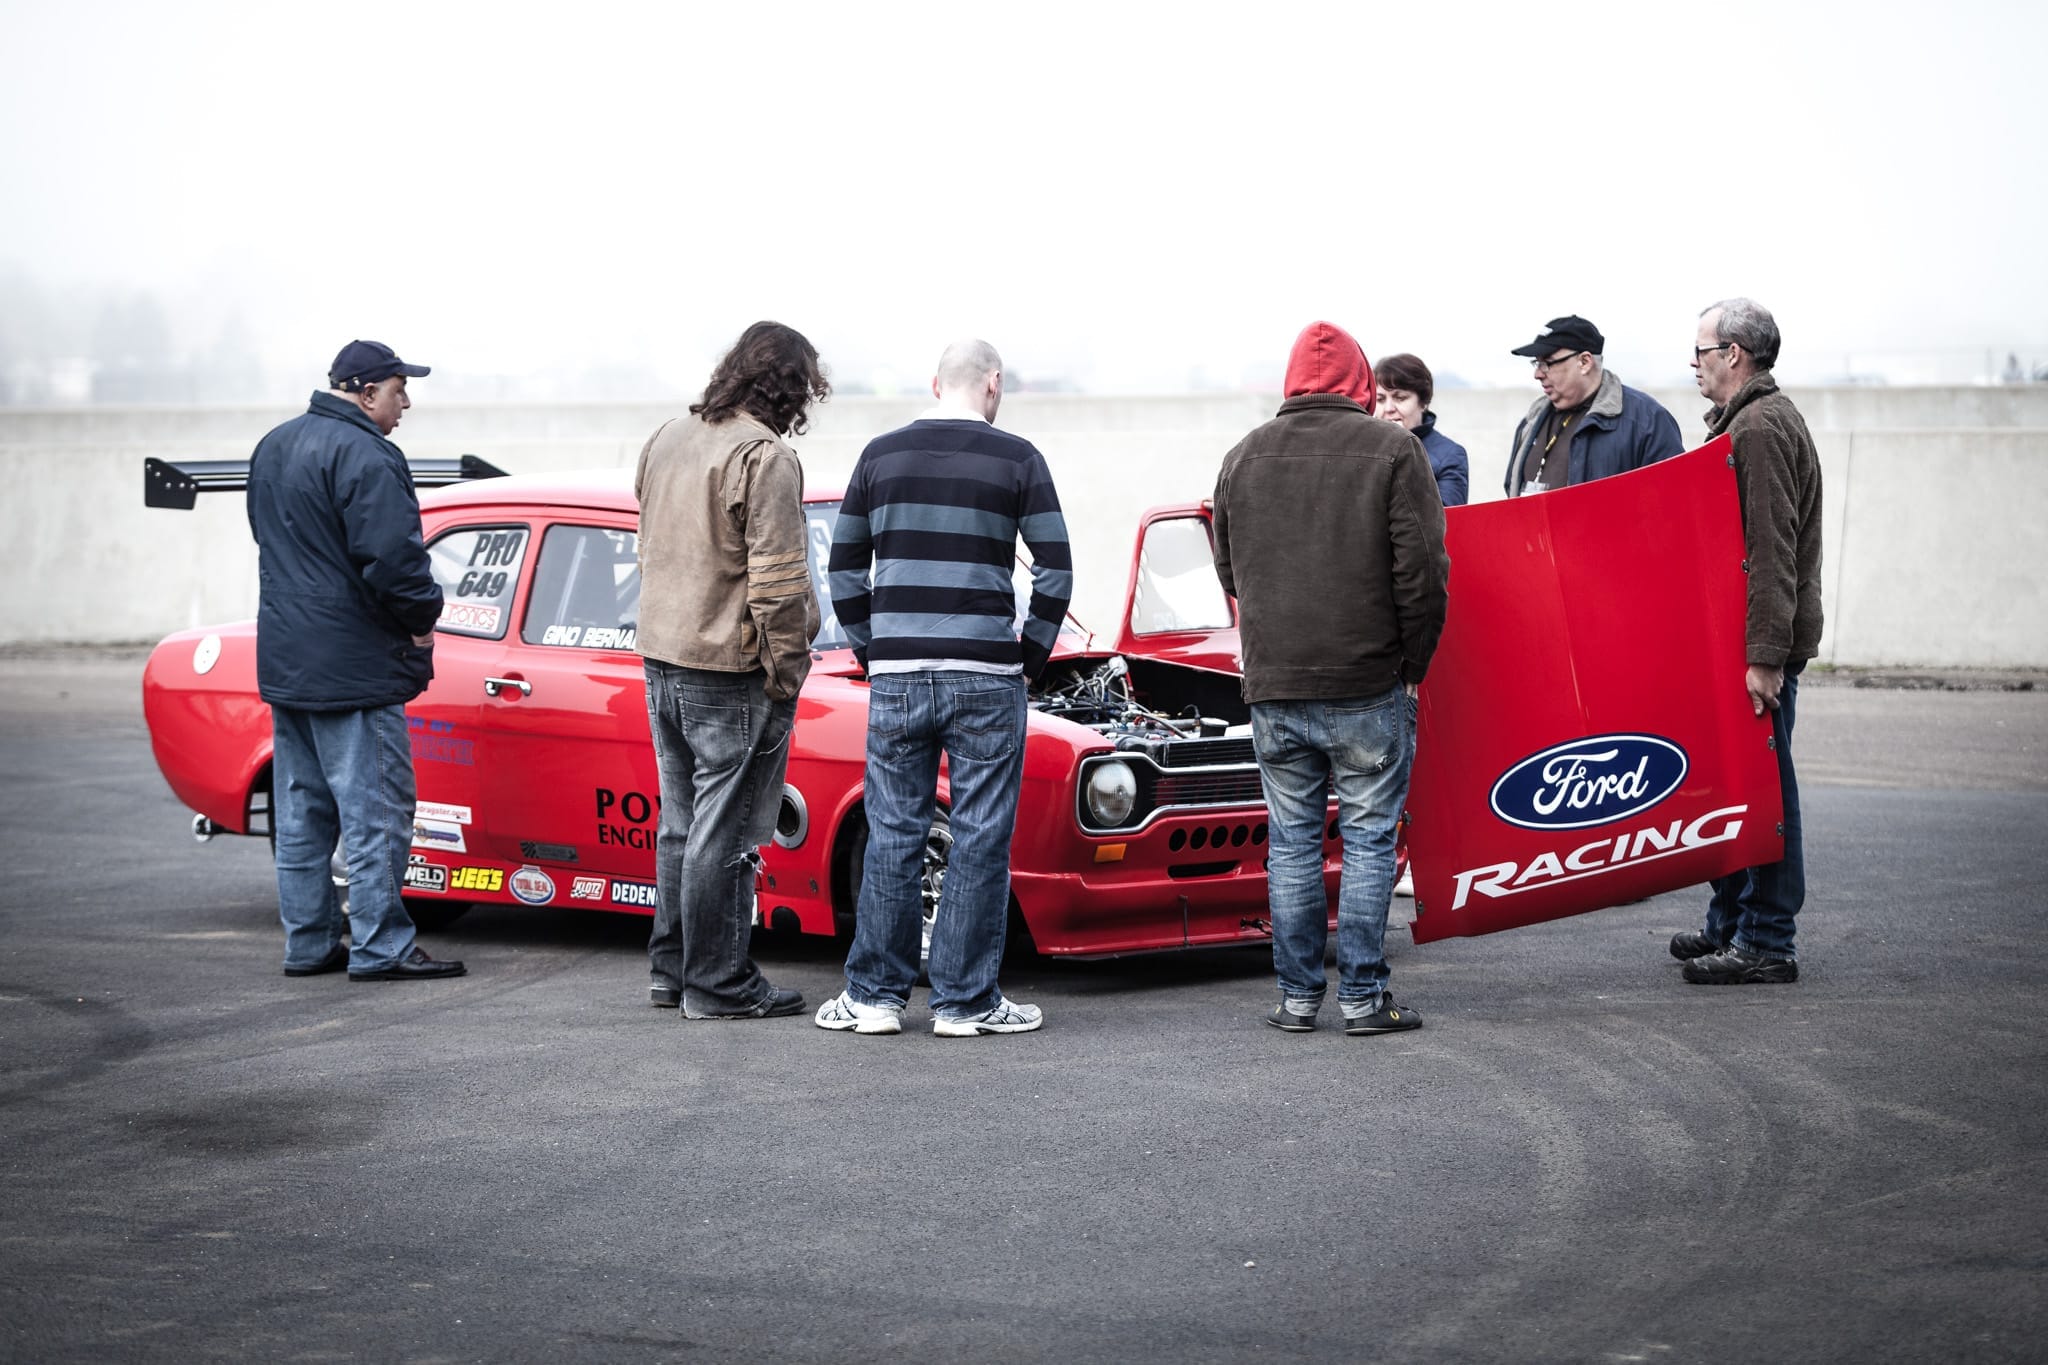
I shot this with my 70-200mm f2.8 at 95mm so I could stay at a distance to not influence the scene. I’m at f3.2 for a shallow depth of field and at ISO 800 to allow me to keep my shutter speed up.
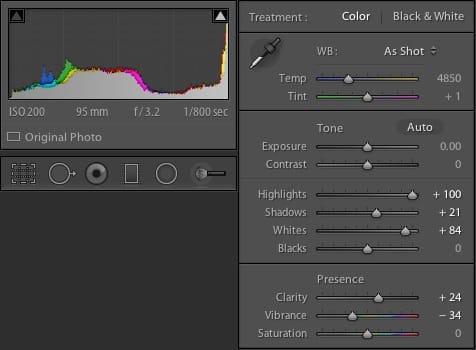
I had 1 and 1/3 stops of exposure compensation dialed in as despite being a flat grey, the sky was quite bright and I wanted it to blow to white, simplifying the background and making for a more peaceful image.
I took that a little further in Lightroom by pumping up the highlights and muting the colours a little.
It’s not a huge edit (it didn’t even leave Lightroom) but I think it smoothes out the background and focuses the eye on the subject well. Here’s the before and after:
Any shows at the National Exhibition Centre are notoriously difficult to shoot. Orange overhead lights, red carpet, messy backgrounds and crowds of people make it hard to come away with anything other than snapshots.
I like the challenge though. It makes me think about my composition more, keep an eye out for moments and think about what I can do with a cheeky bit of off-camera lighting.
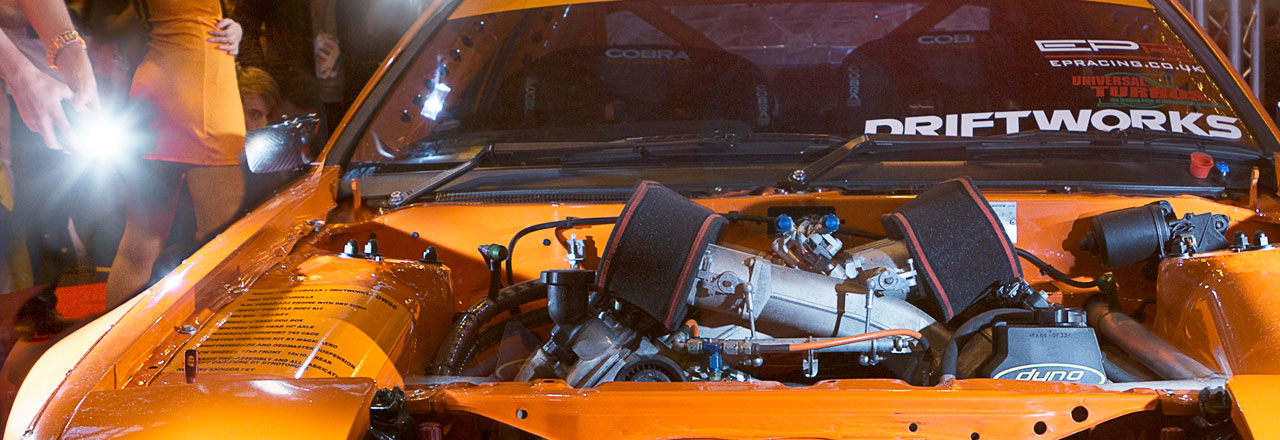
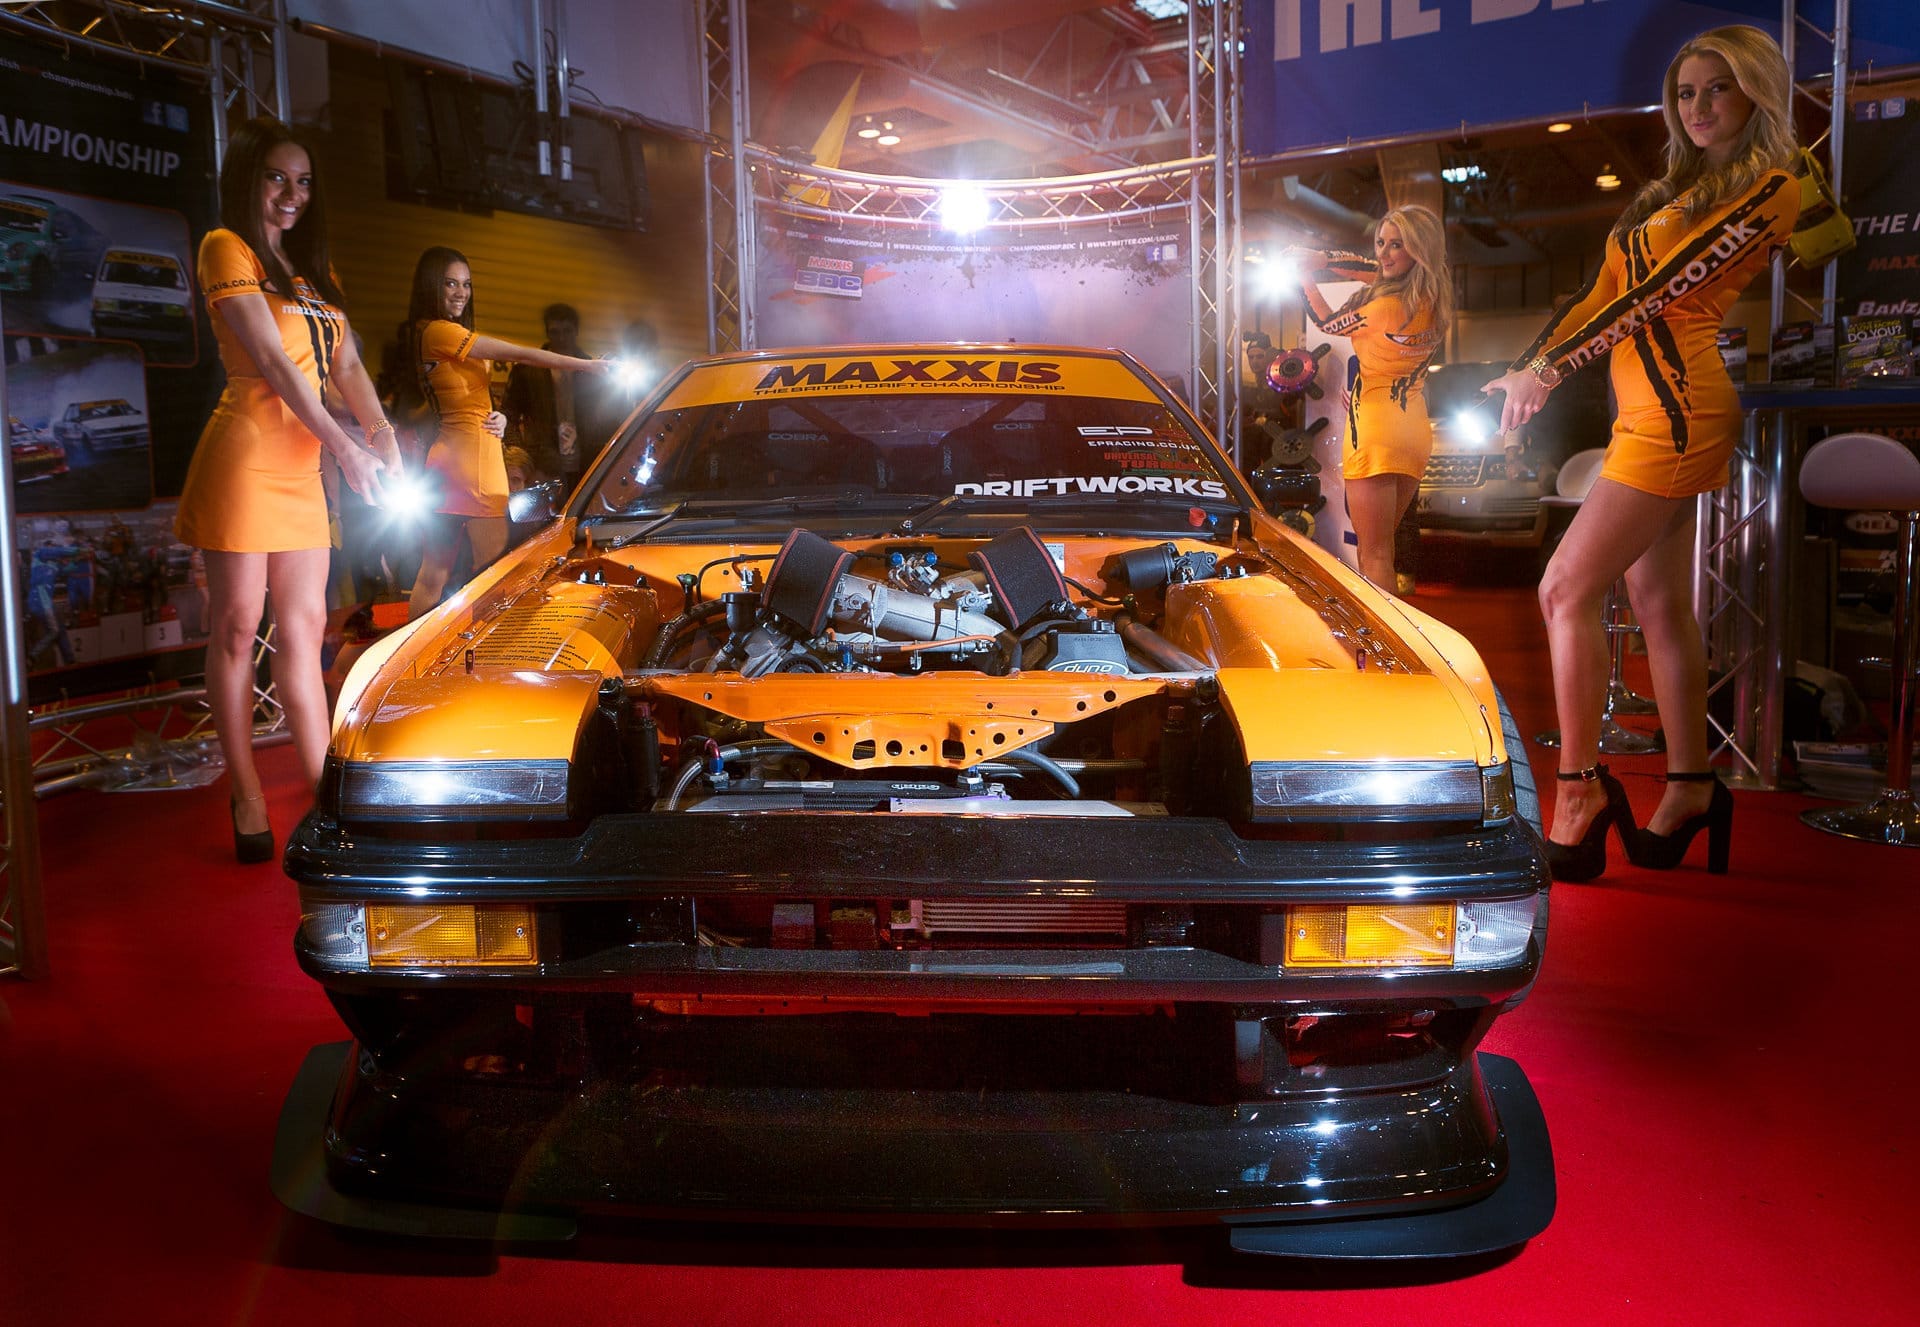
In this case I thought I’d do something a bit different with the star of the British Drift Championship stand at this years Autosport International – the new Driftworks AE86. This car was getting a lot of attention and the stand was crowded all day, compounded by the presence of Maxxis girls Holly and Michelle.
My idea was pretty simple – I wanted to light the car so my shot looked different from the thousands of others taken over the course of the 4 day show but there was no chance of closing the stand or even keeping people back so I had to work fast
With no time or space for lightstands, I’d typically set the camera up on a tripod and walk around the car holding a flash and remotely fire the shutter to capture a range of images to combine in Photoshop later… But I had no tripod.
This is where Holly and Michelle came in handy. Not only were they my Voice Activated Lightstands, but they added a bit of colour co-ordinated glamour to the shot.
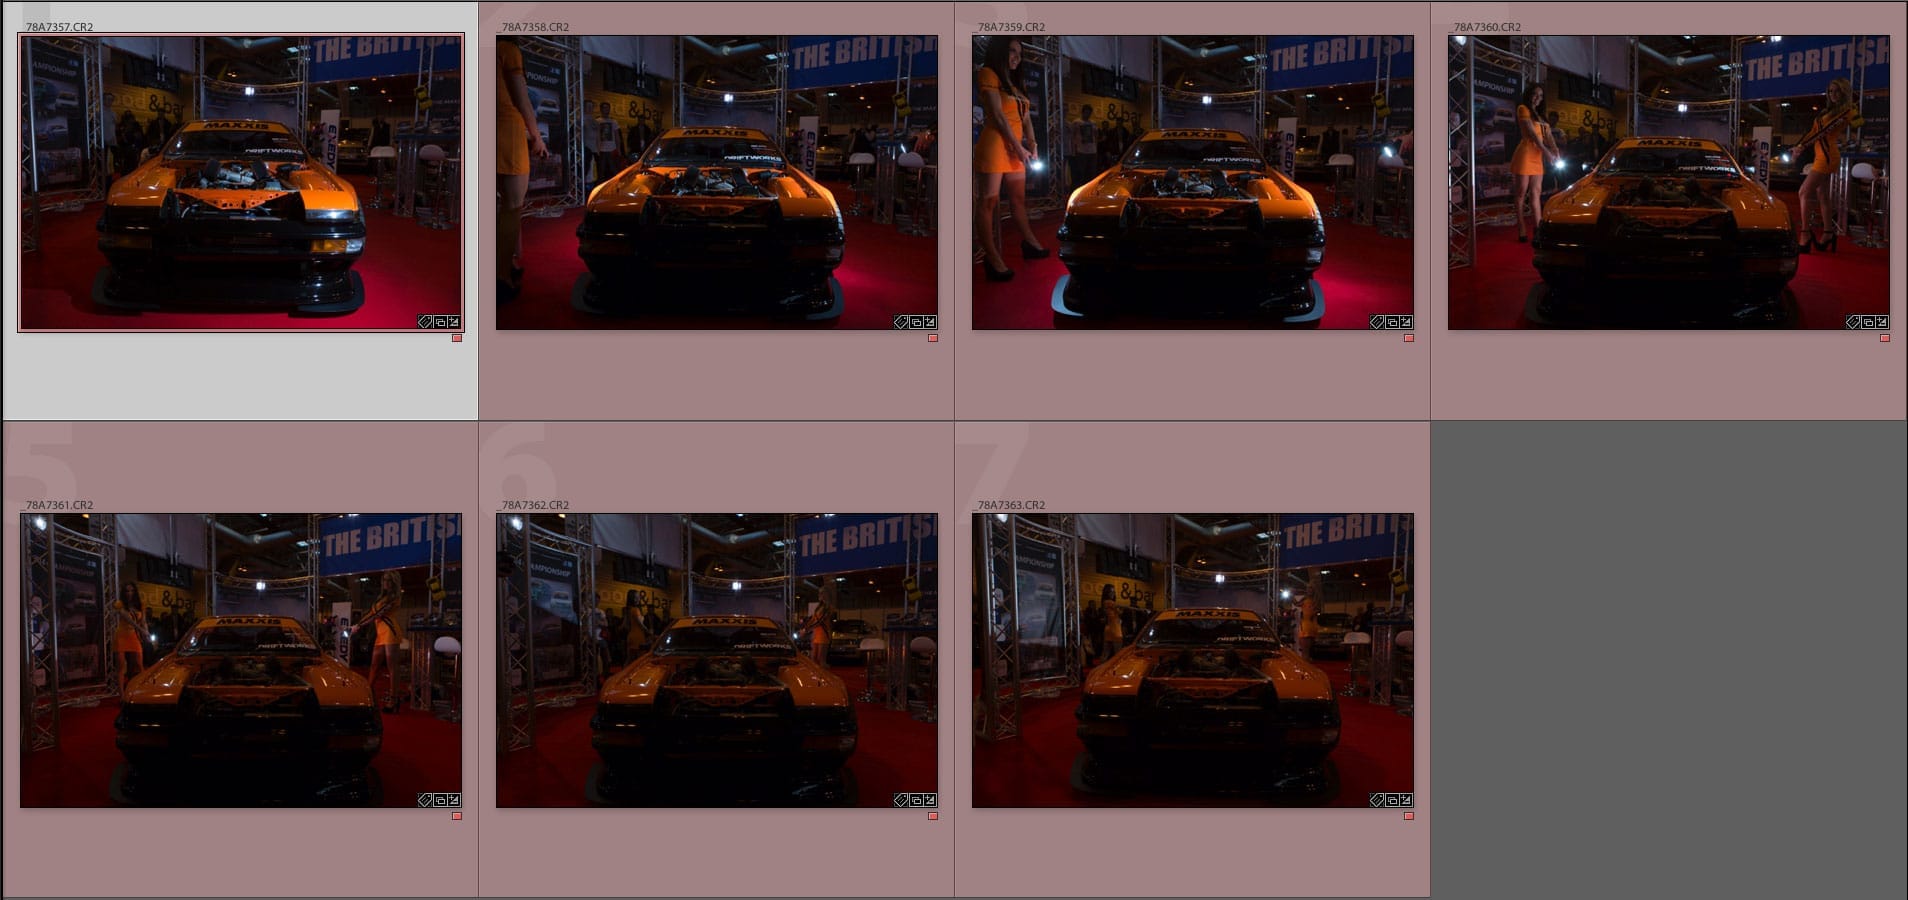
I fired a few test shots holding the flash about one meter from the car to get my exposure and flash power dialed in then briefed the girls on what I needed them to do. I was going to be stuck in position at the front of the car staying as steady as possible to make aligning the images easier so I wouldn’t be able to coach them.
Then it was time to shoot. The girls got into position holding my speedlights and triggers, I convinced the gathered crowd to move back a couple of meters and 20 seconds and 7 frames later we were done.
Then it was over to Photoshop. Because the component images were shot in such a rush and in difficult conditions, this needed a little more work with curves than I’d have liked. I’m a big exponent of getting it right in camera but when you don’t have the opportunity to re-shoot or add a fill light you just have to rely on fixing things in post production.
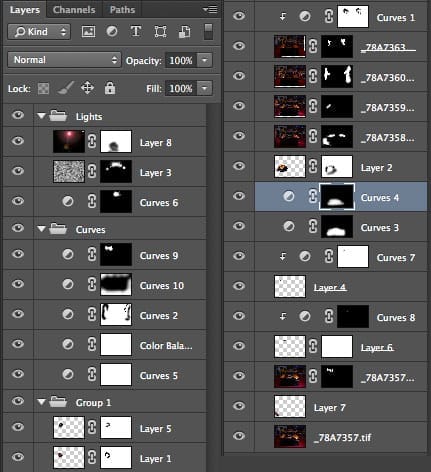
As you can see, there a quite a few layers involved but they can be split into 4 main groups. There are visible layers like the background layer with the unlit car and on top of that are masked layers to add light and girls. Then there are curves adjustment layers clipped to those layers to correct exposure. Above those are more far-reaching curves adjustment layers for overall colour and exposure correction and finally there are a few layers to add a little haze to the visible light sources.
So here’s the final image – As always I’d love to hear what you think in the comments below.

This weekend was a particularly high tide in the UK and lucky my part of the world managed to avoid the worst of the storms. That meant high tide this morning was less life threatening than it could have been but still gave a an unusual view of the waterfront at Portishead.
This the highest I have ever seen the water here.

This pier is usually a favourite with local fishermen

12.6m of water pushing against the lock gates


Recent Comments