
It struck me recently that between my Tuesday Photo of the Week and Friday opinions and how-to posts I’m not sharing as much new work as I should be here on my blog. So, to correct this, here are some of the images I shot last weekend.
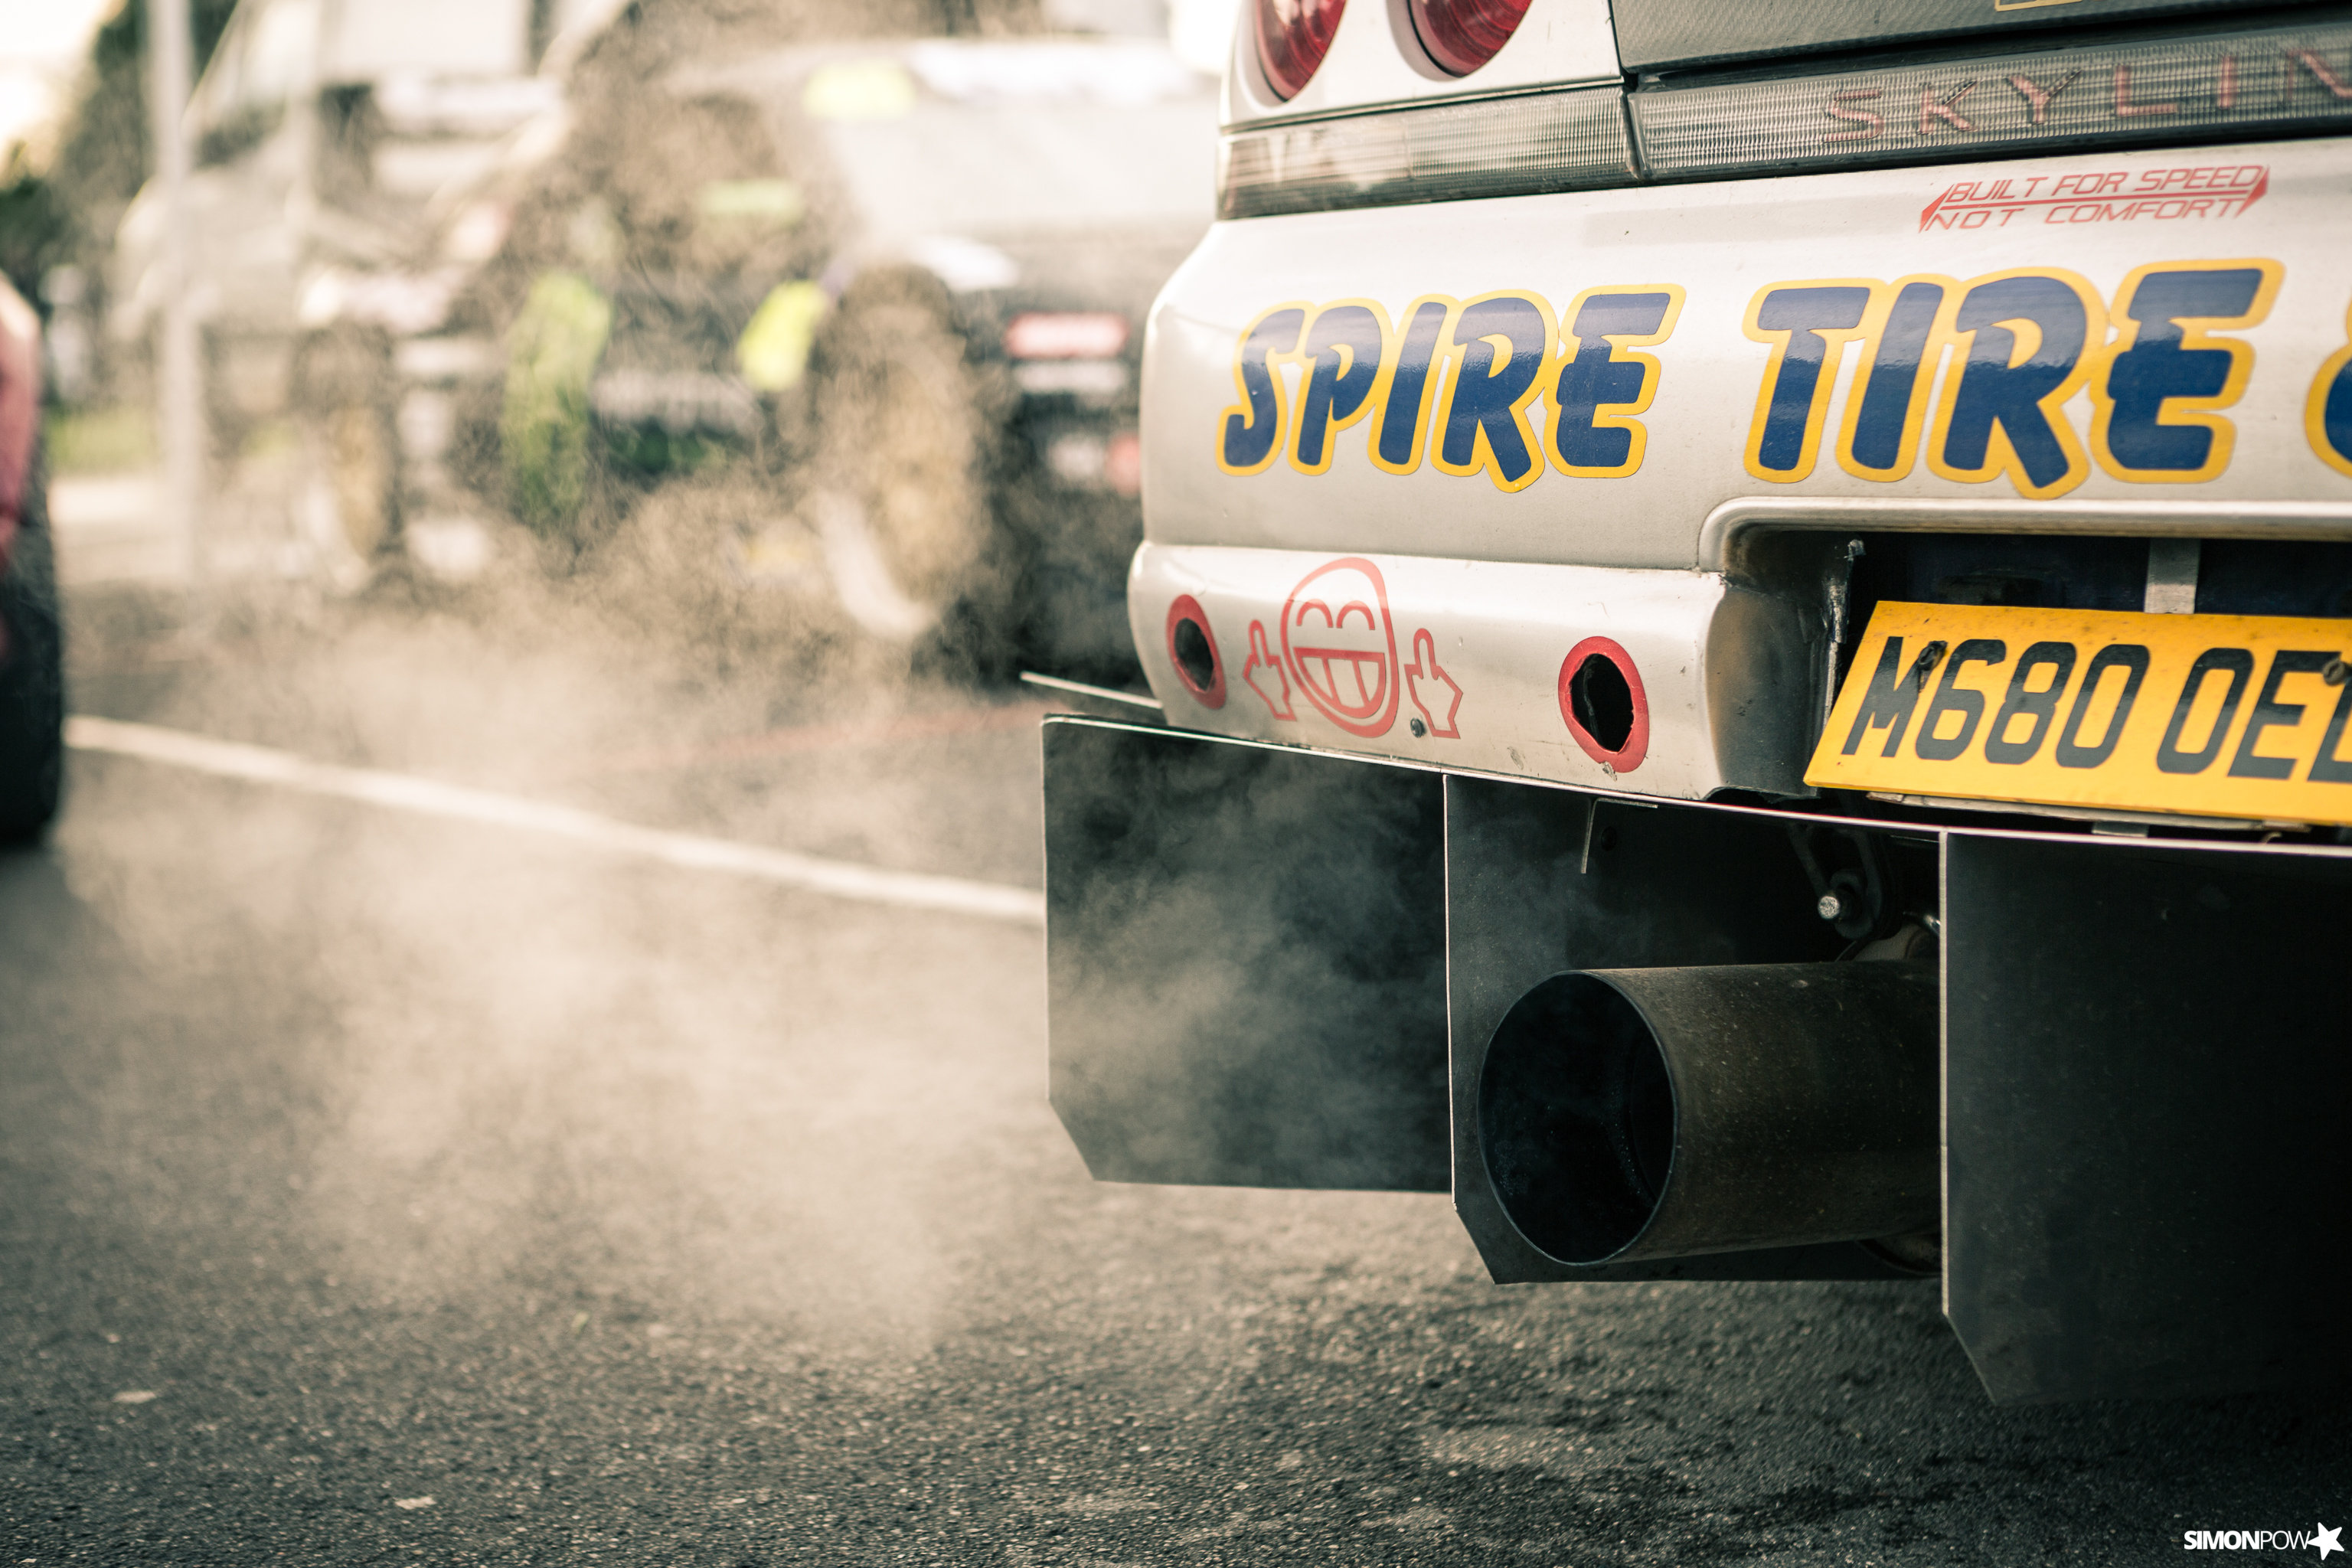
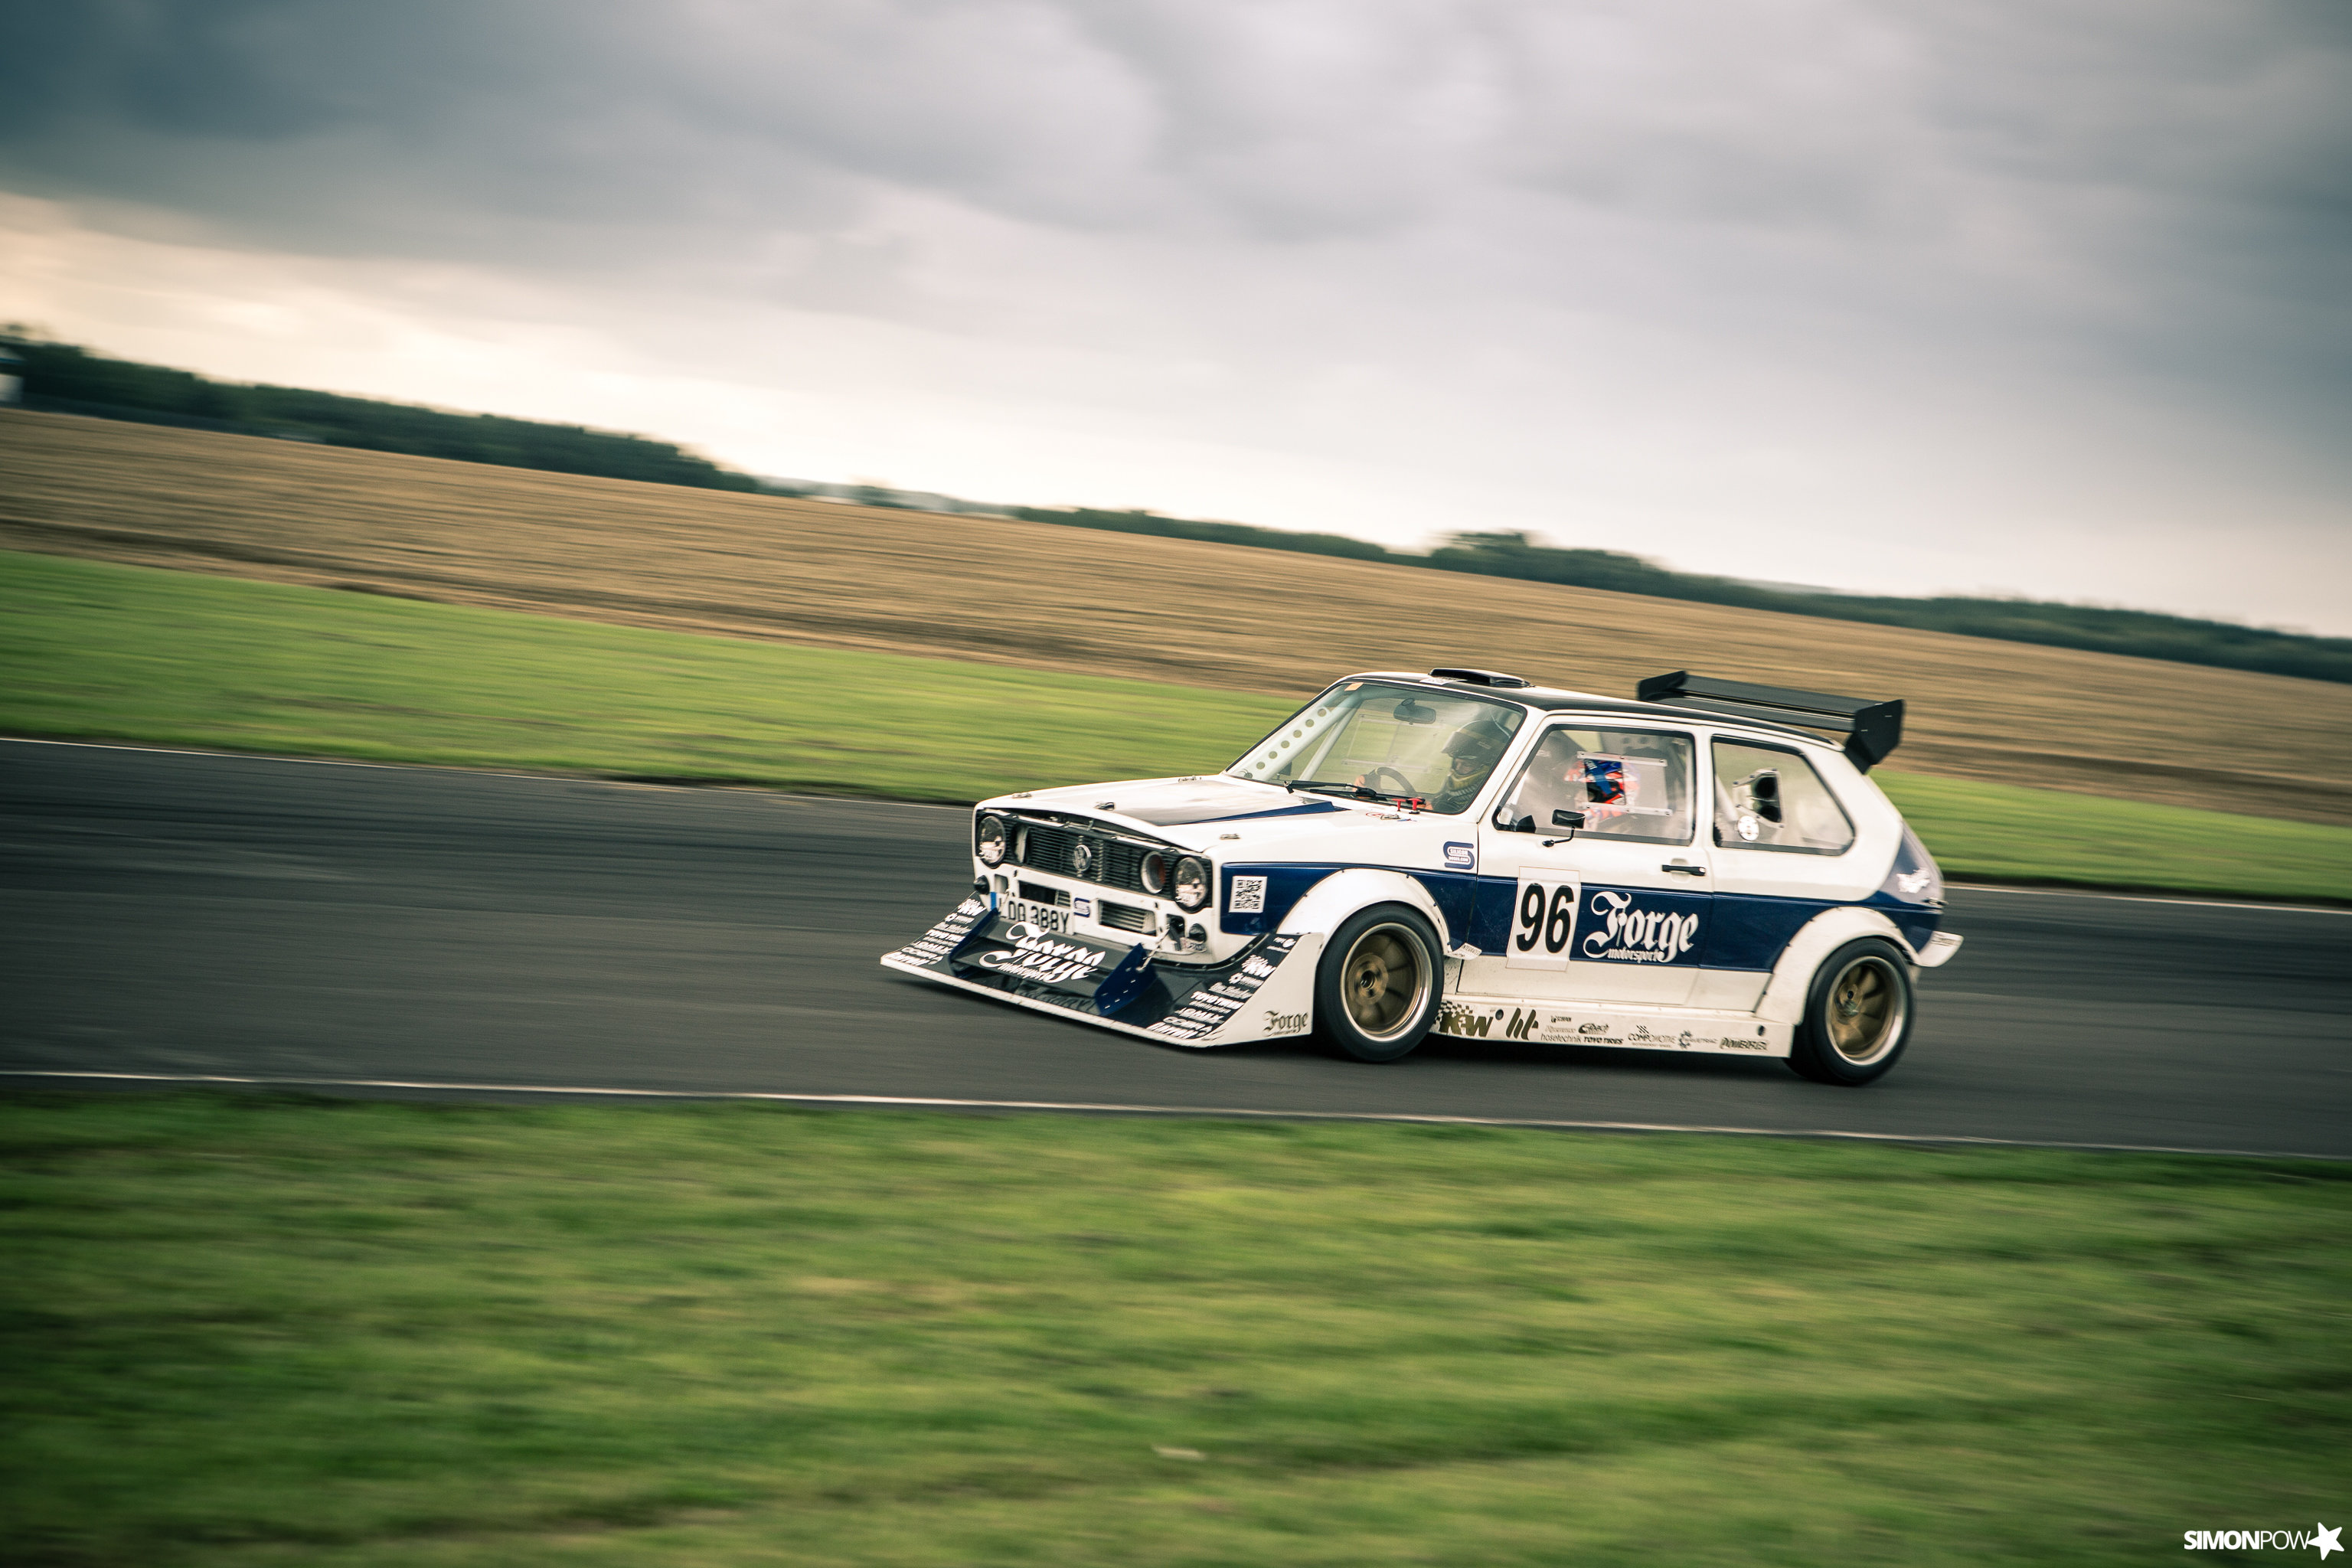
I was lucky enough to be working with Aatomotion and Performance Direct at both the Forge Motorsport Action Day at Castle Combe and Players Show at North Weald airfield.
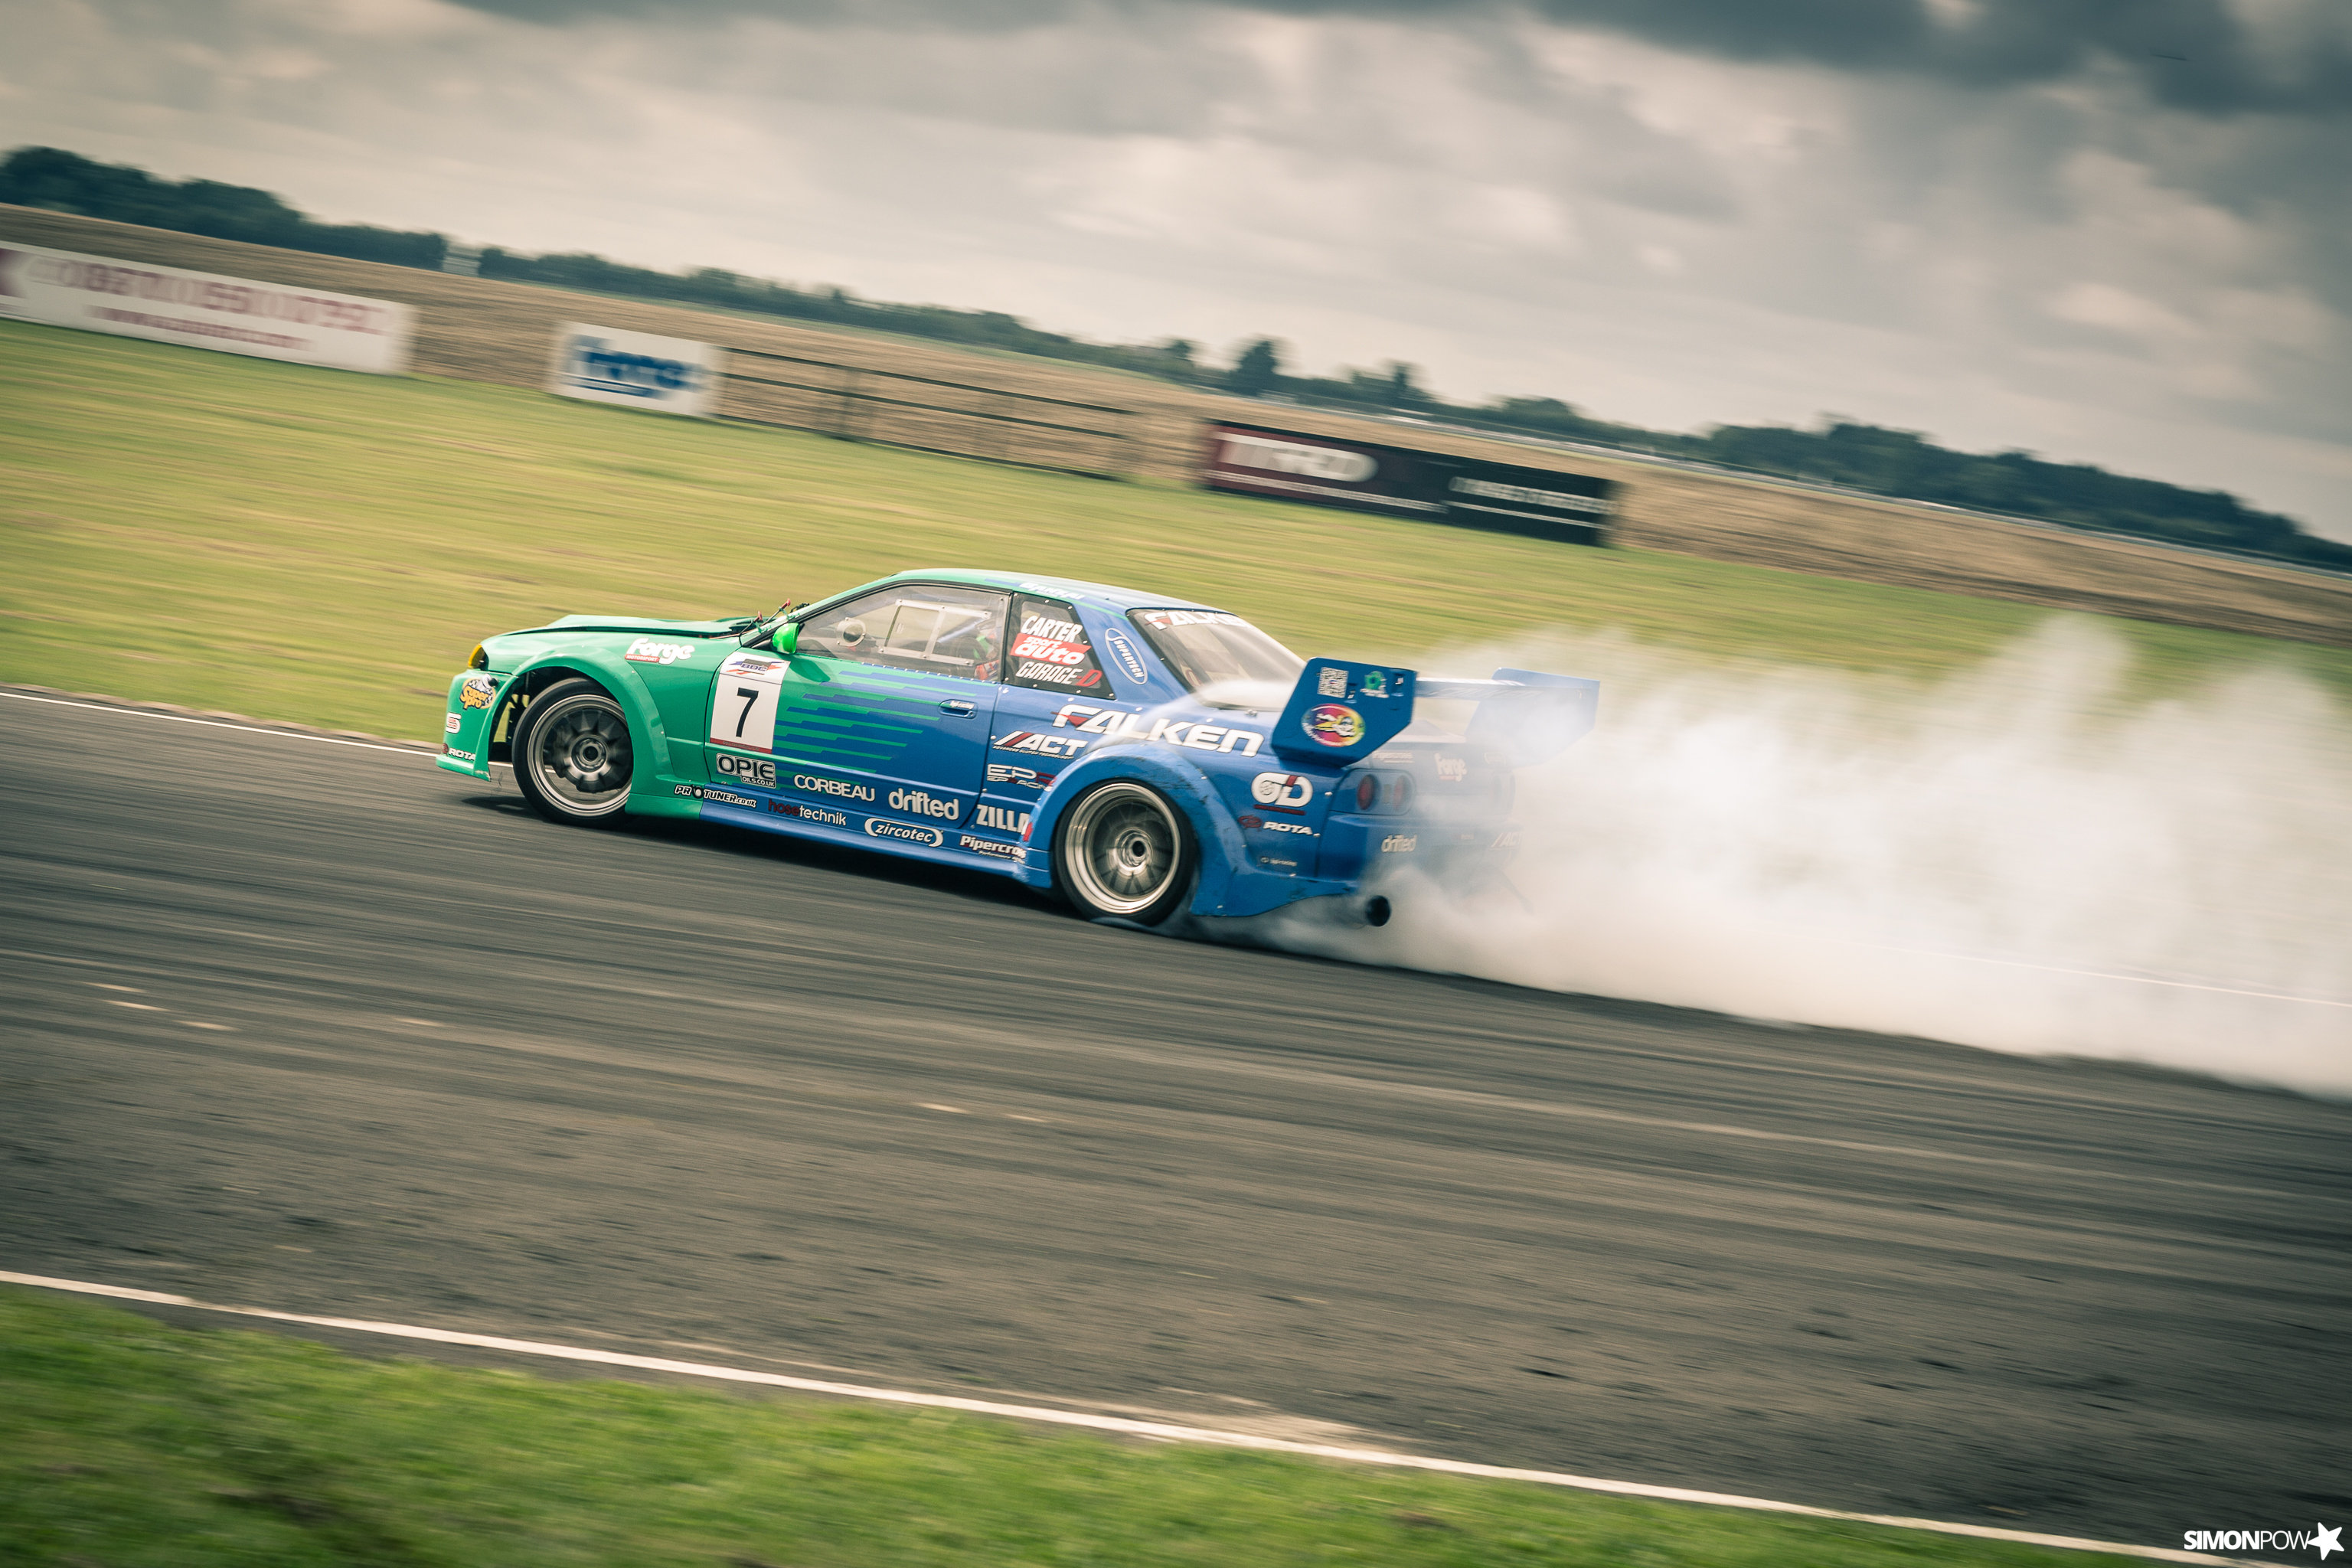
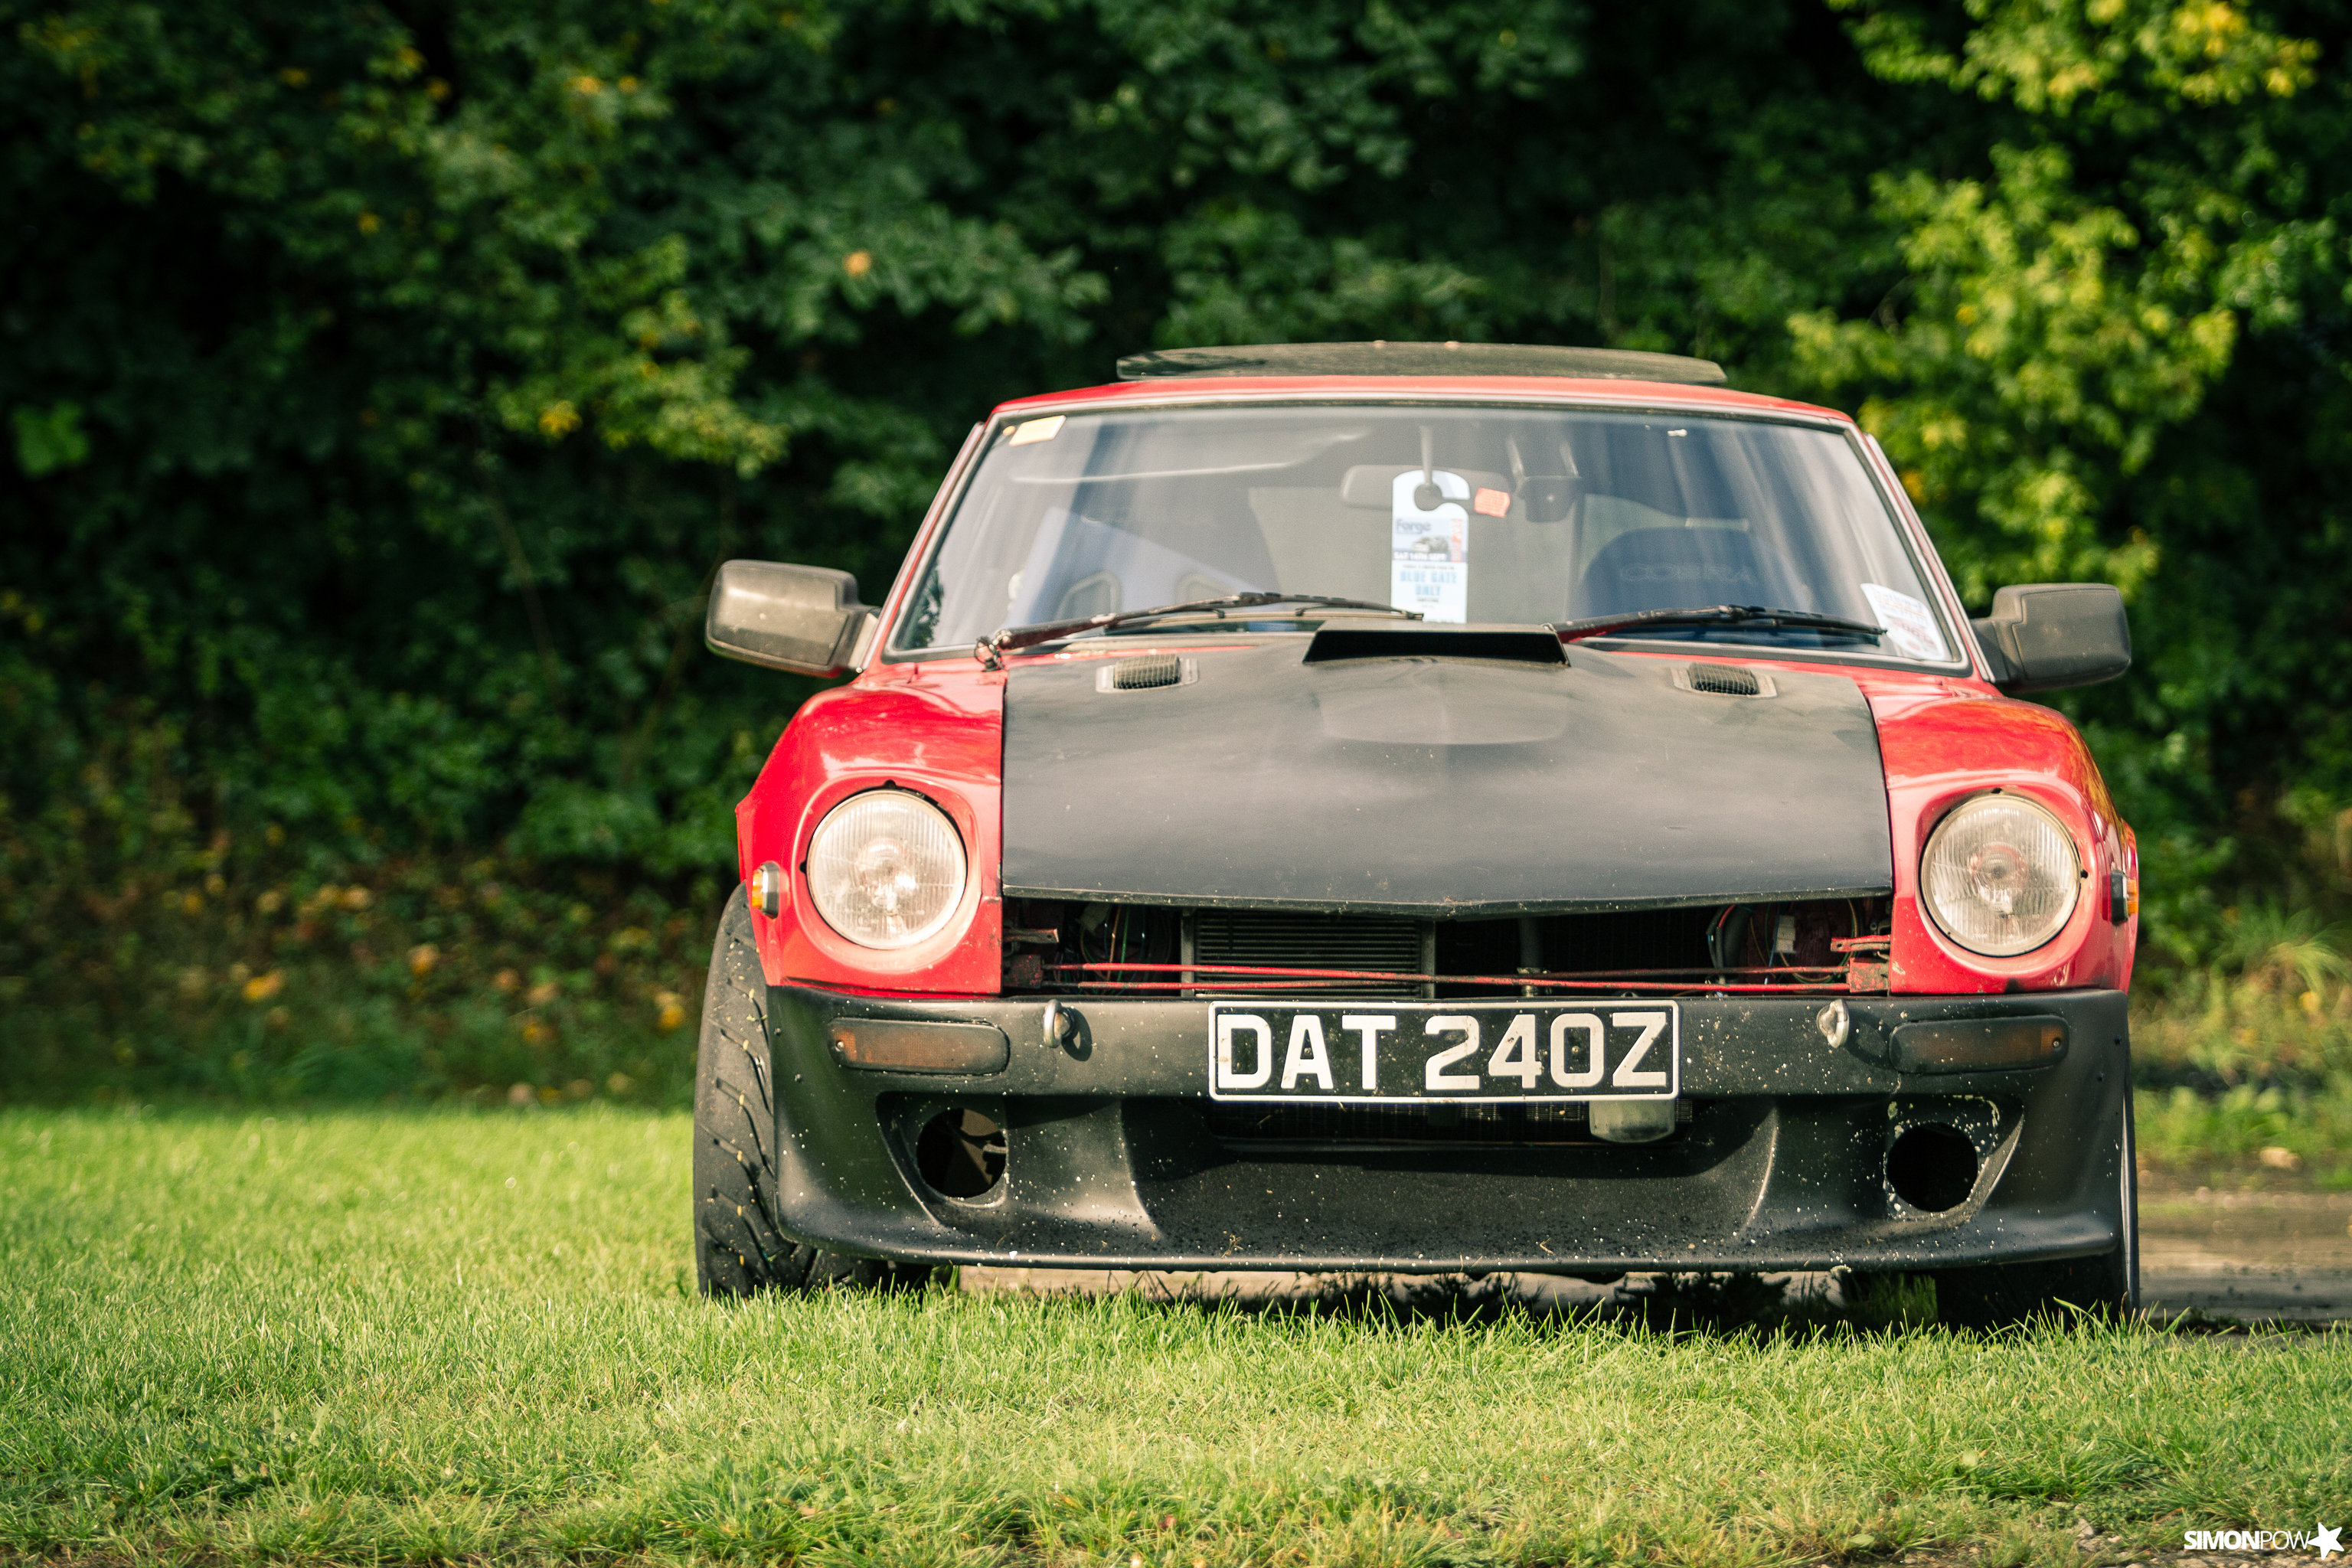
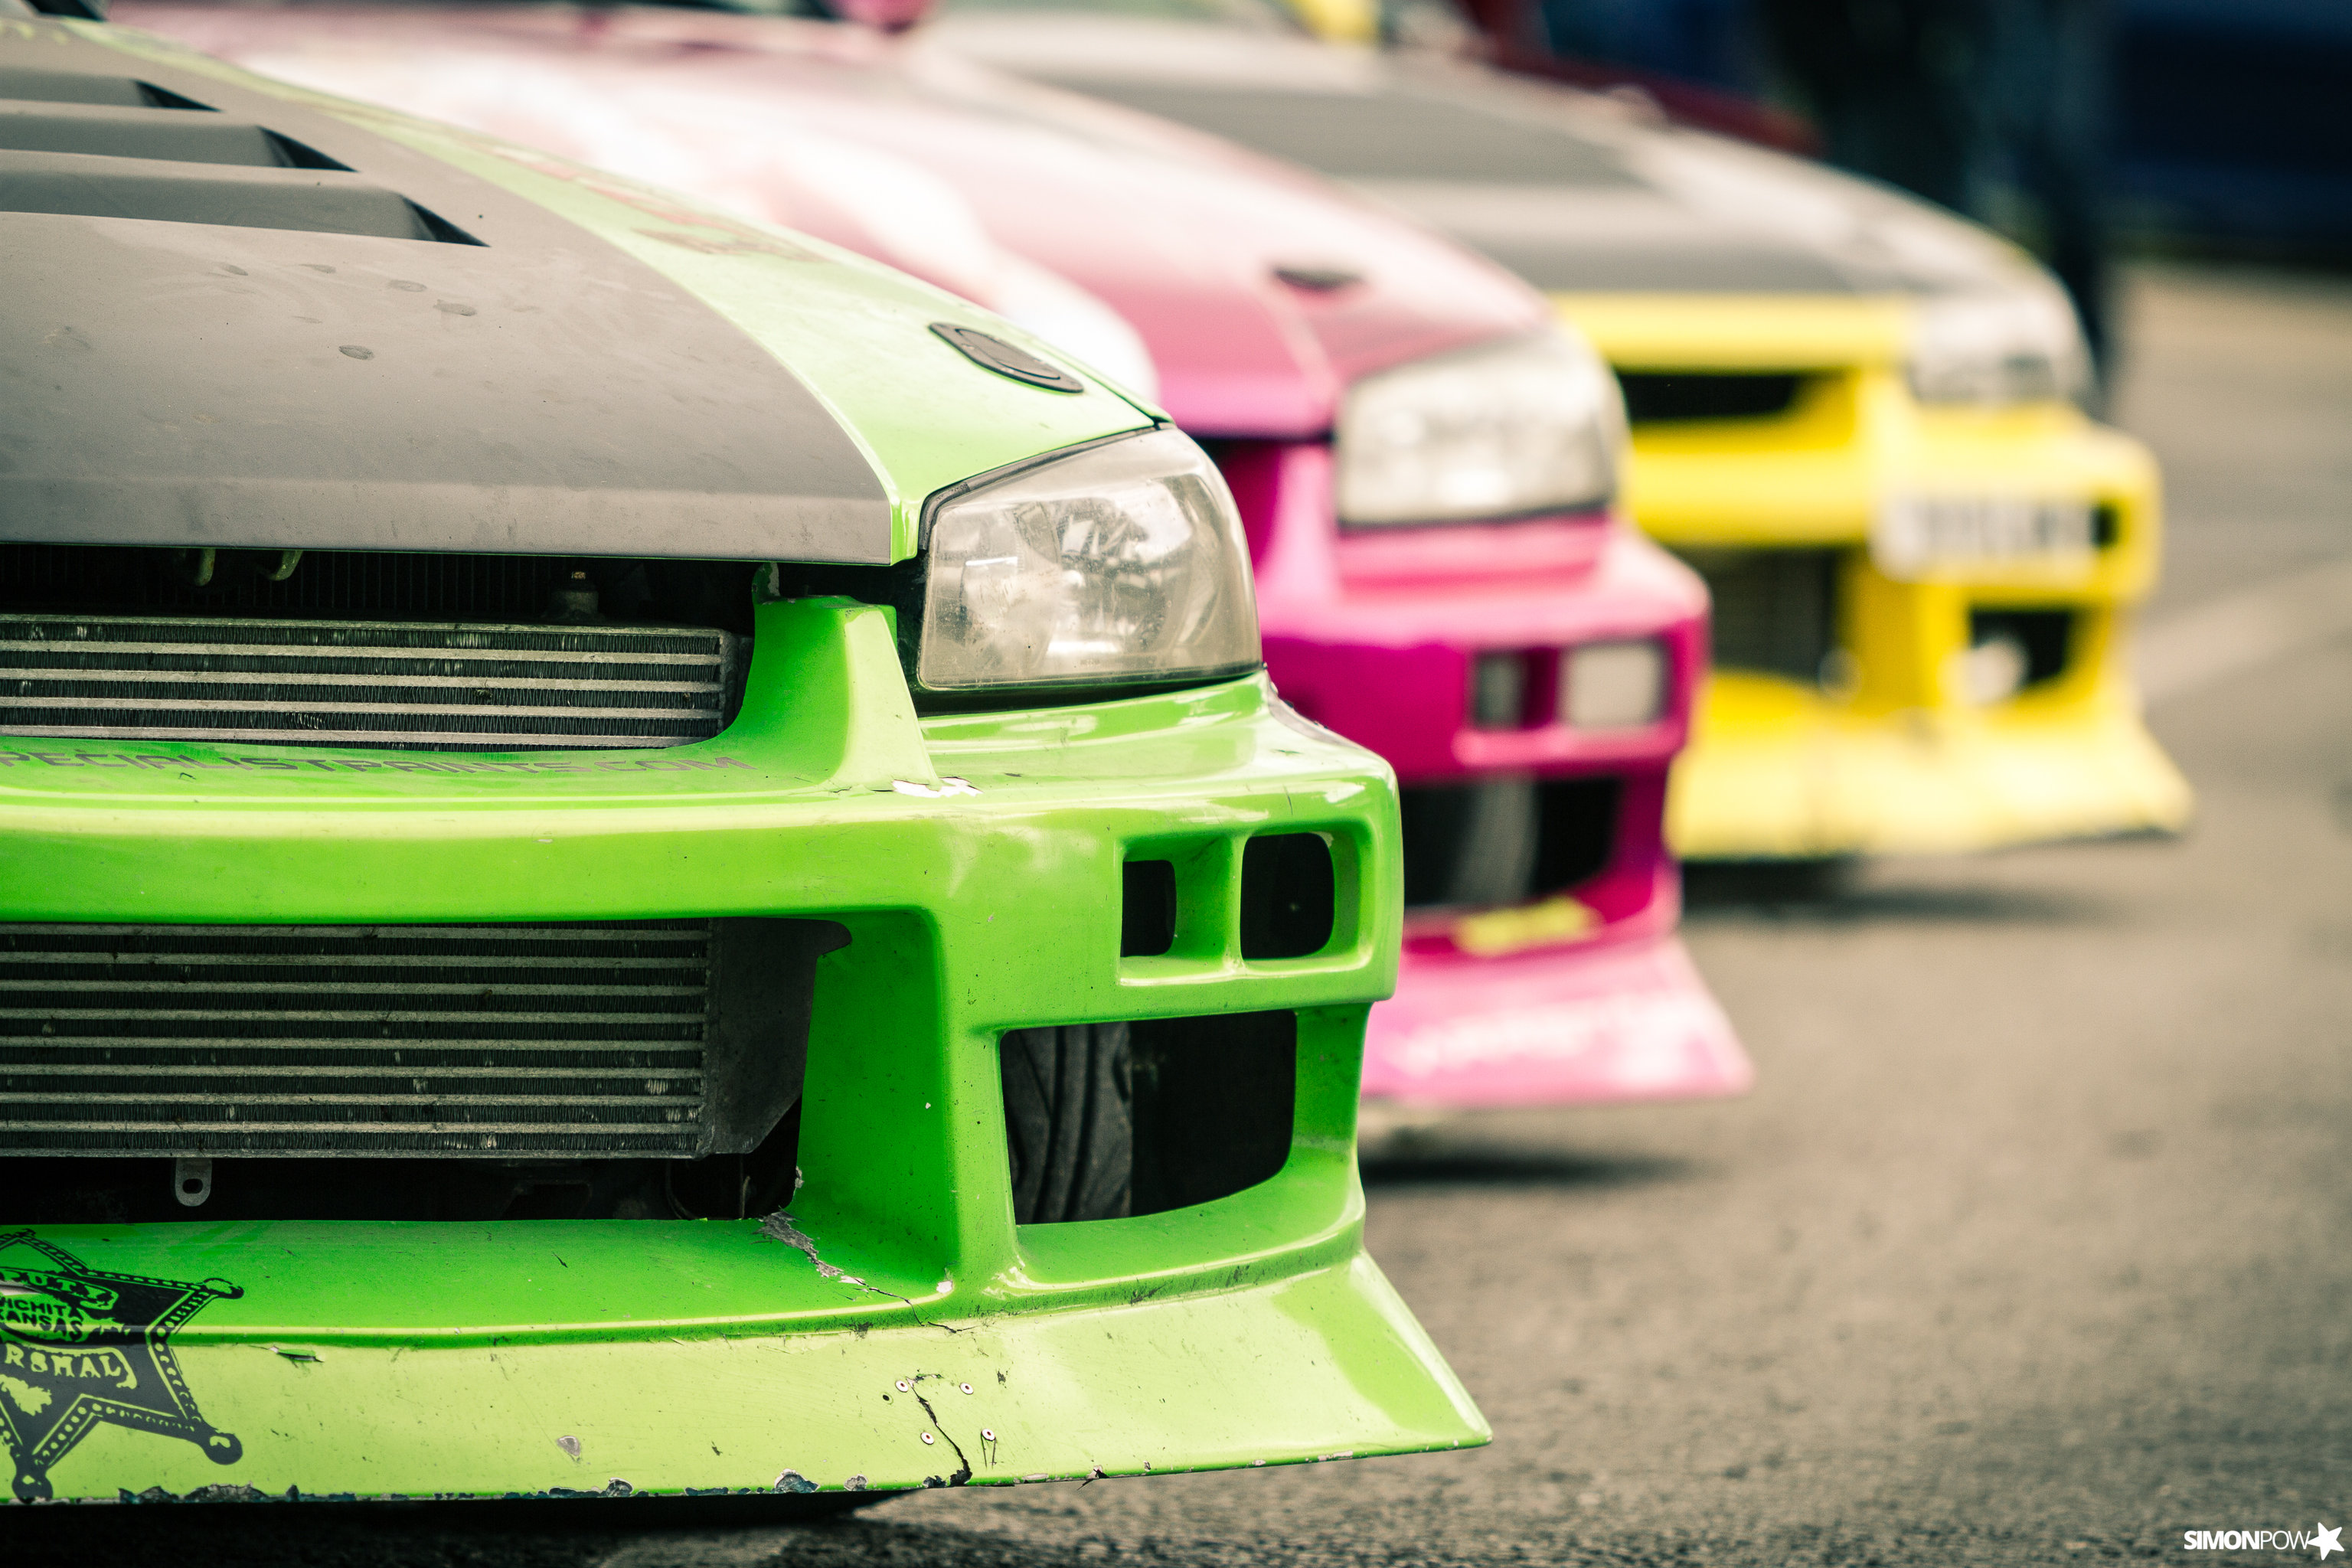
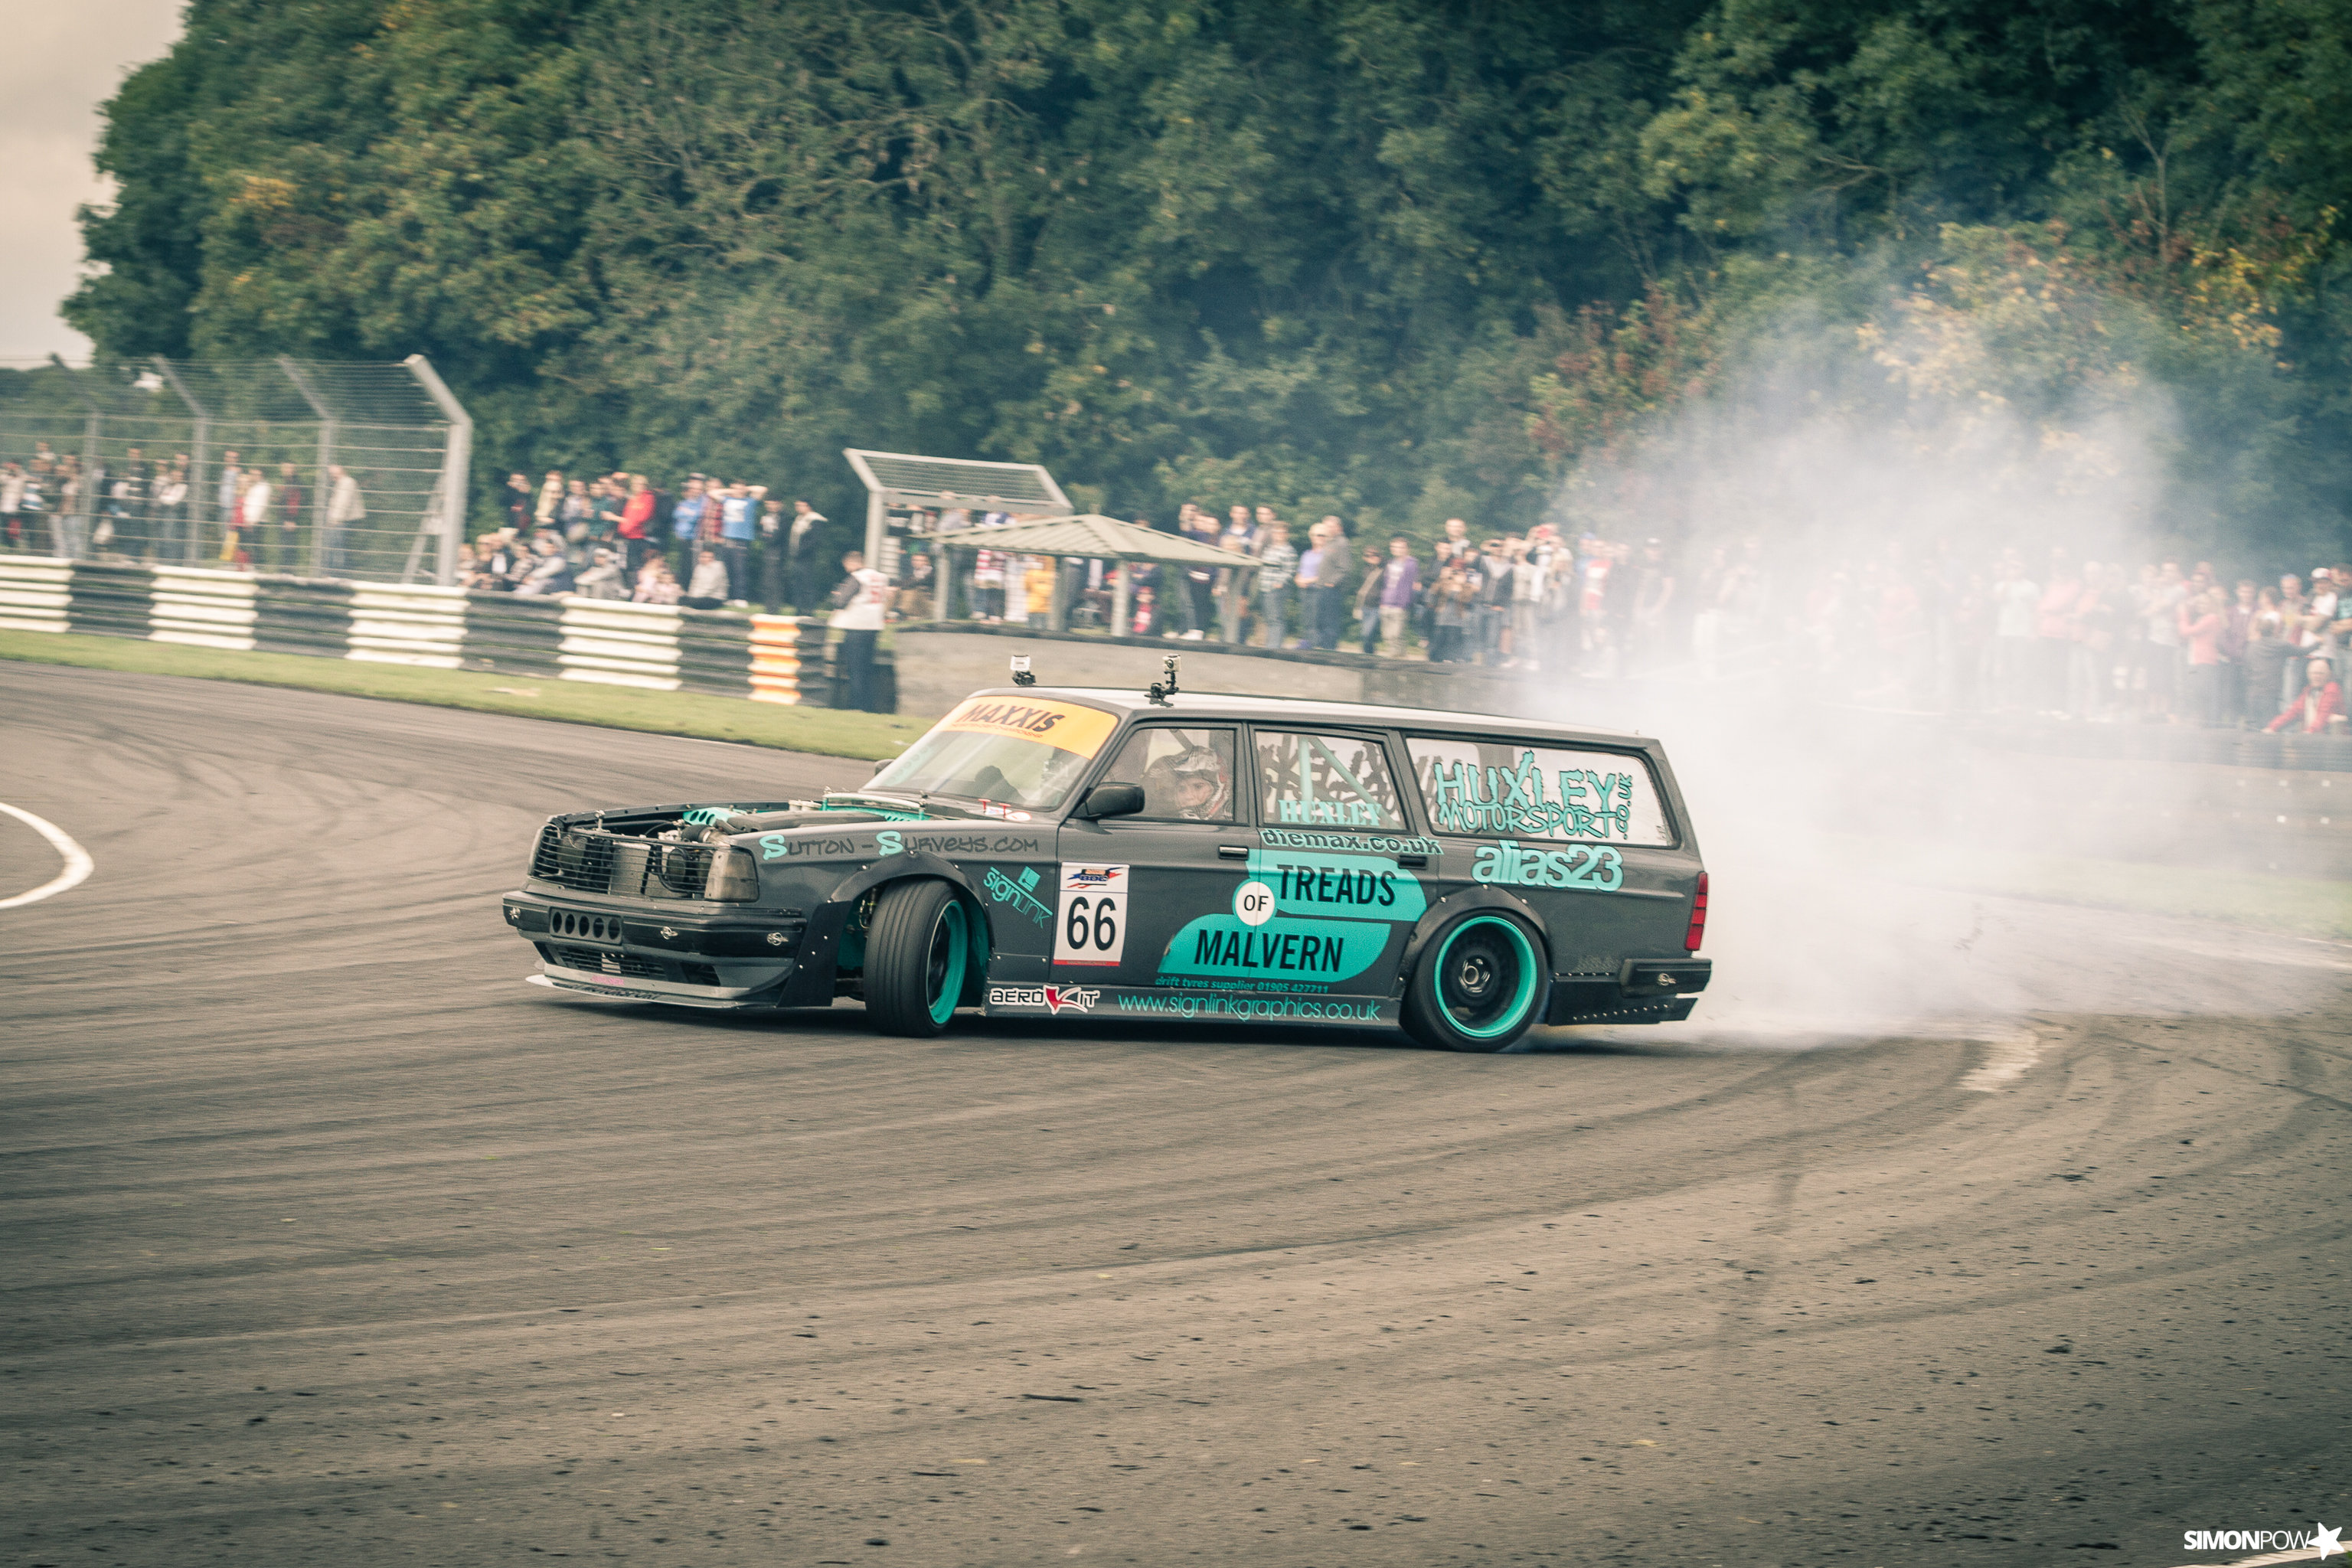
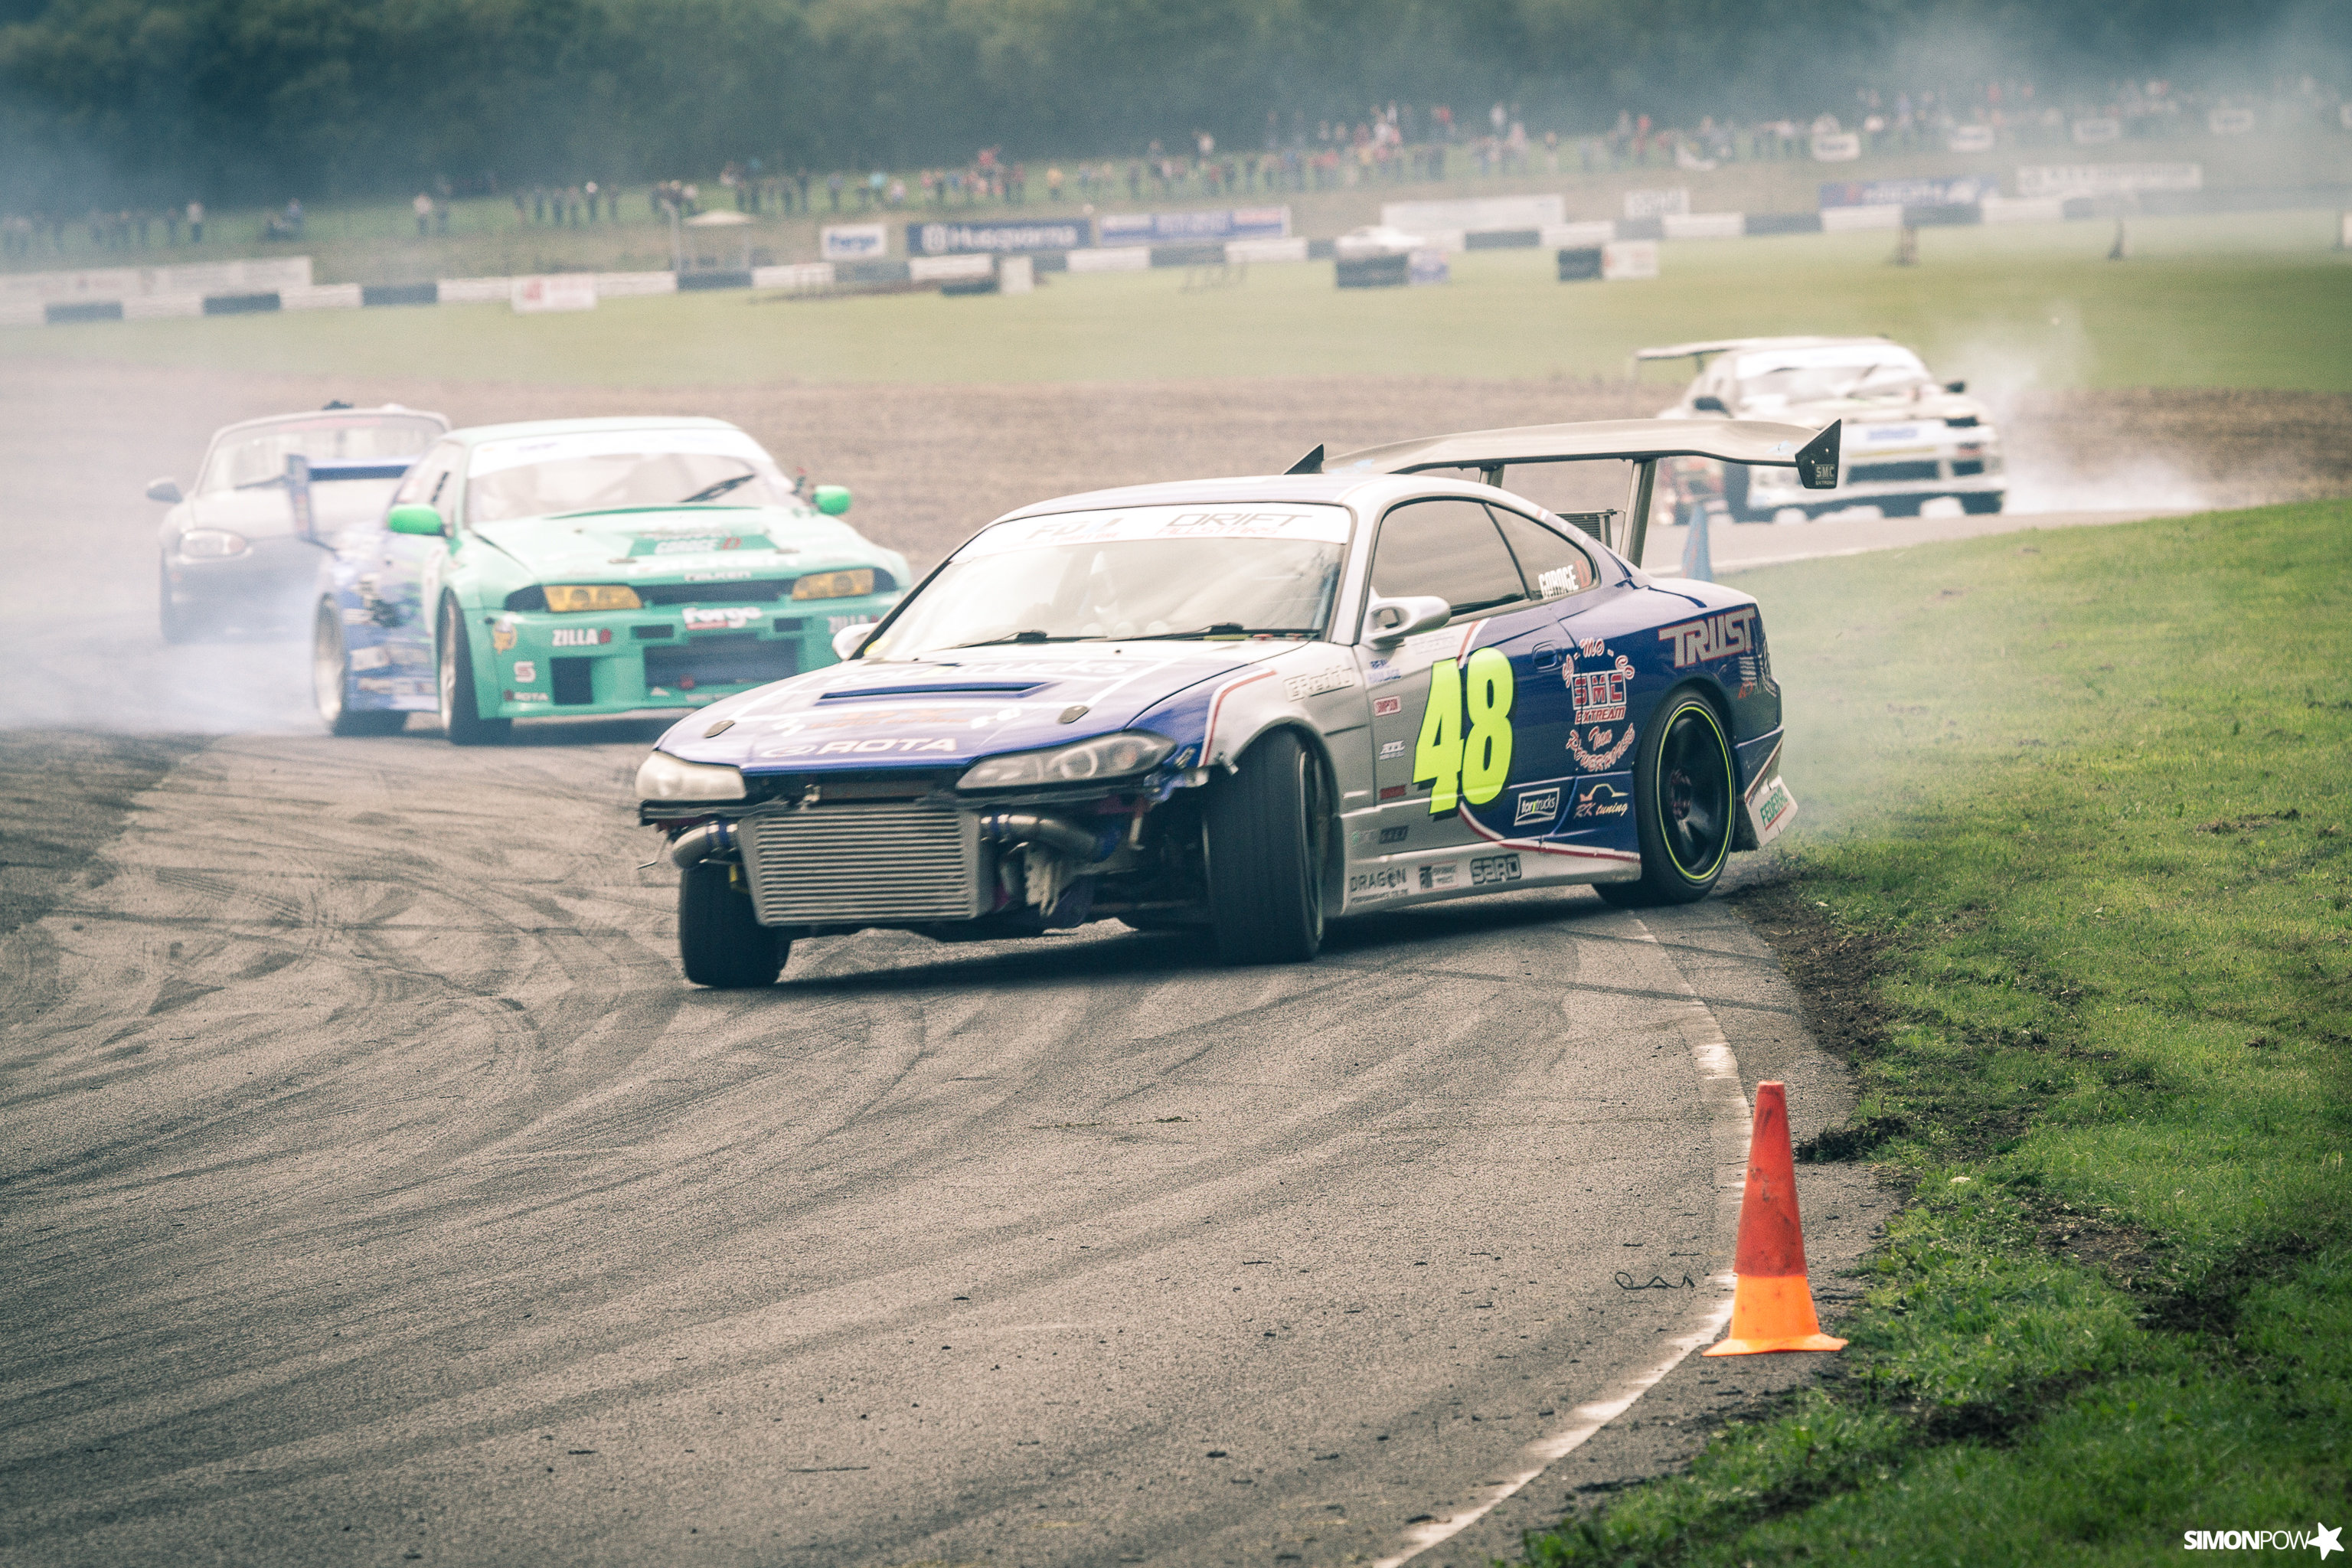
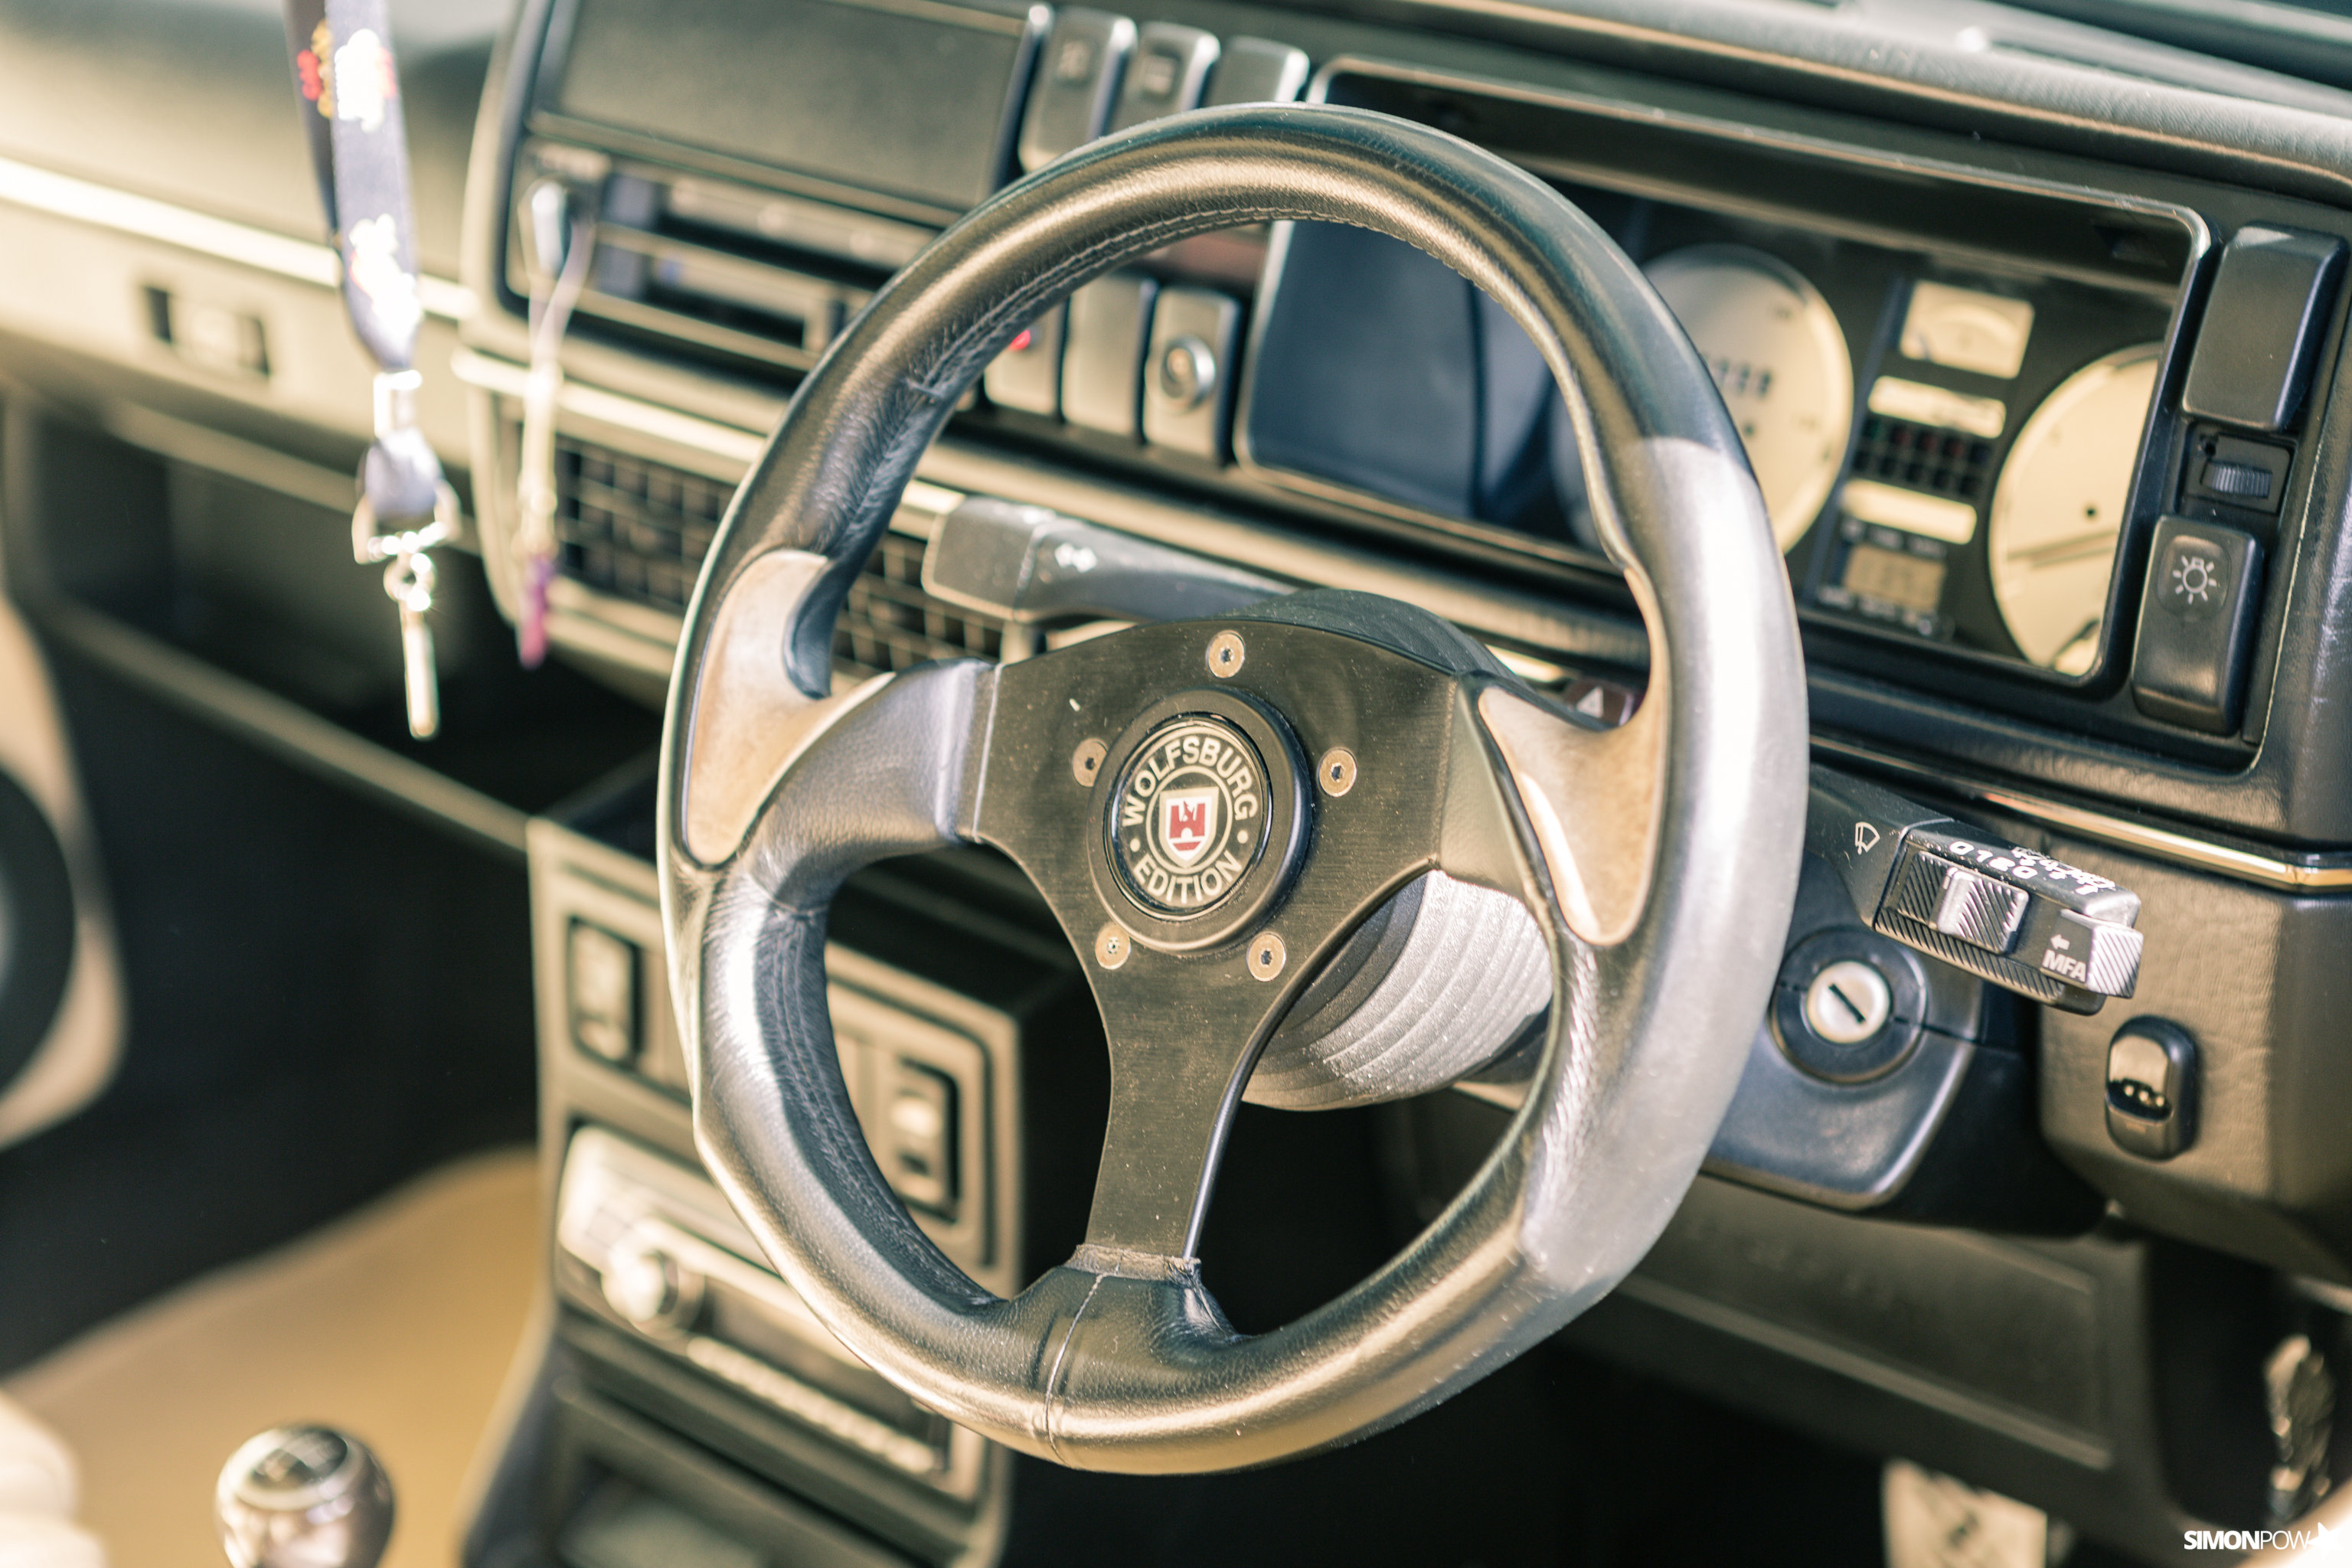
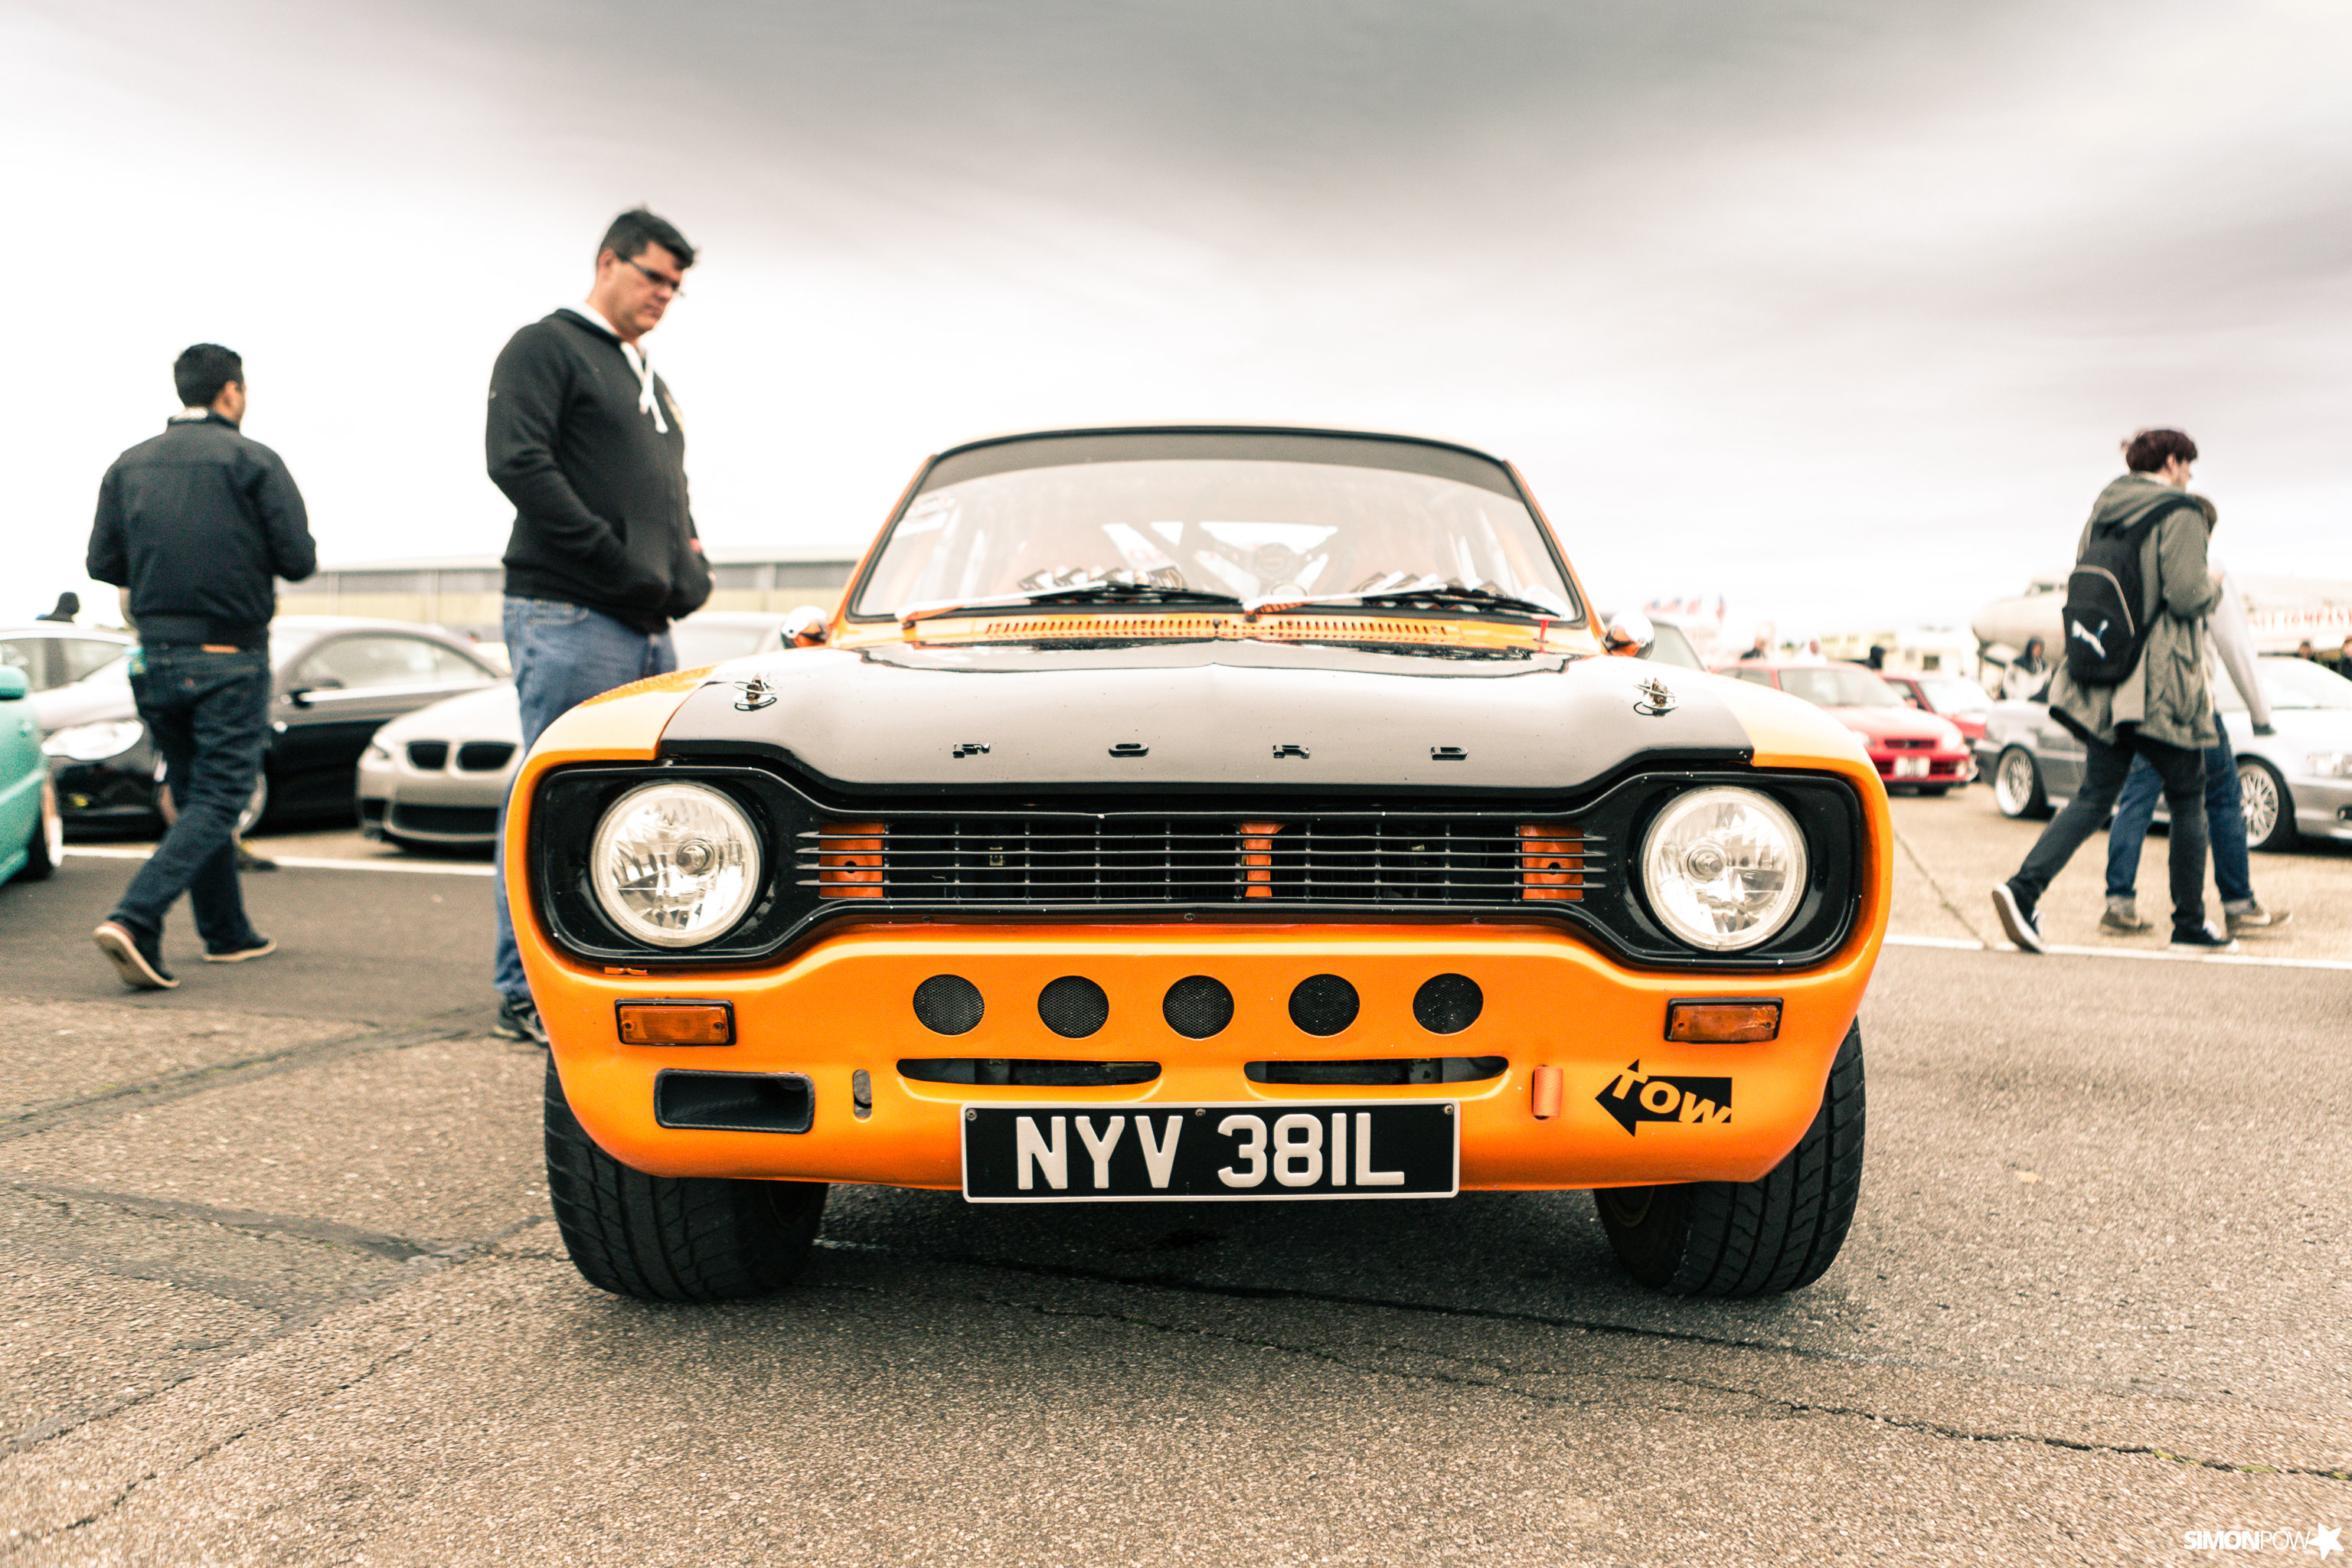
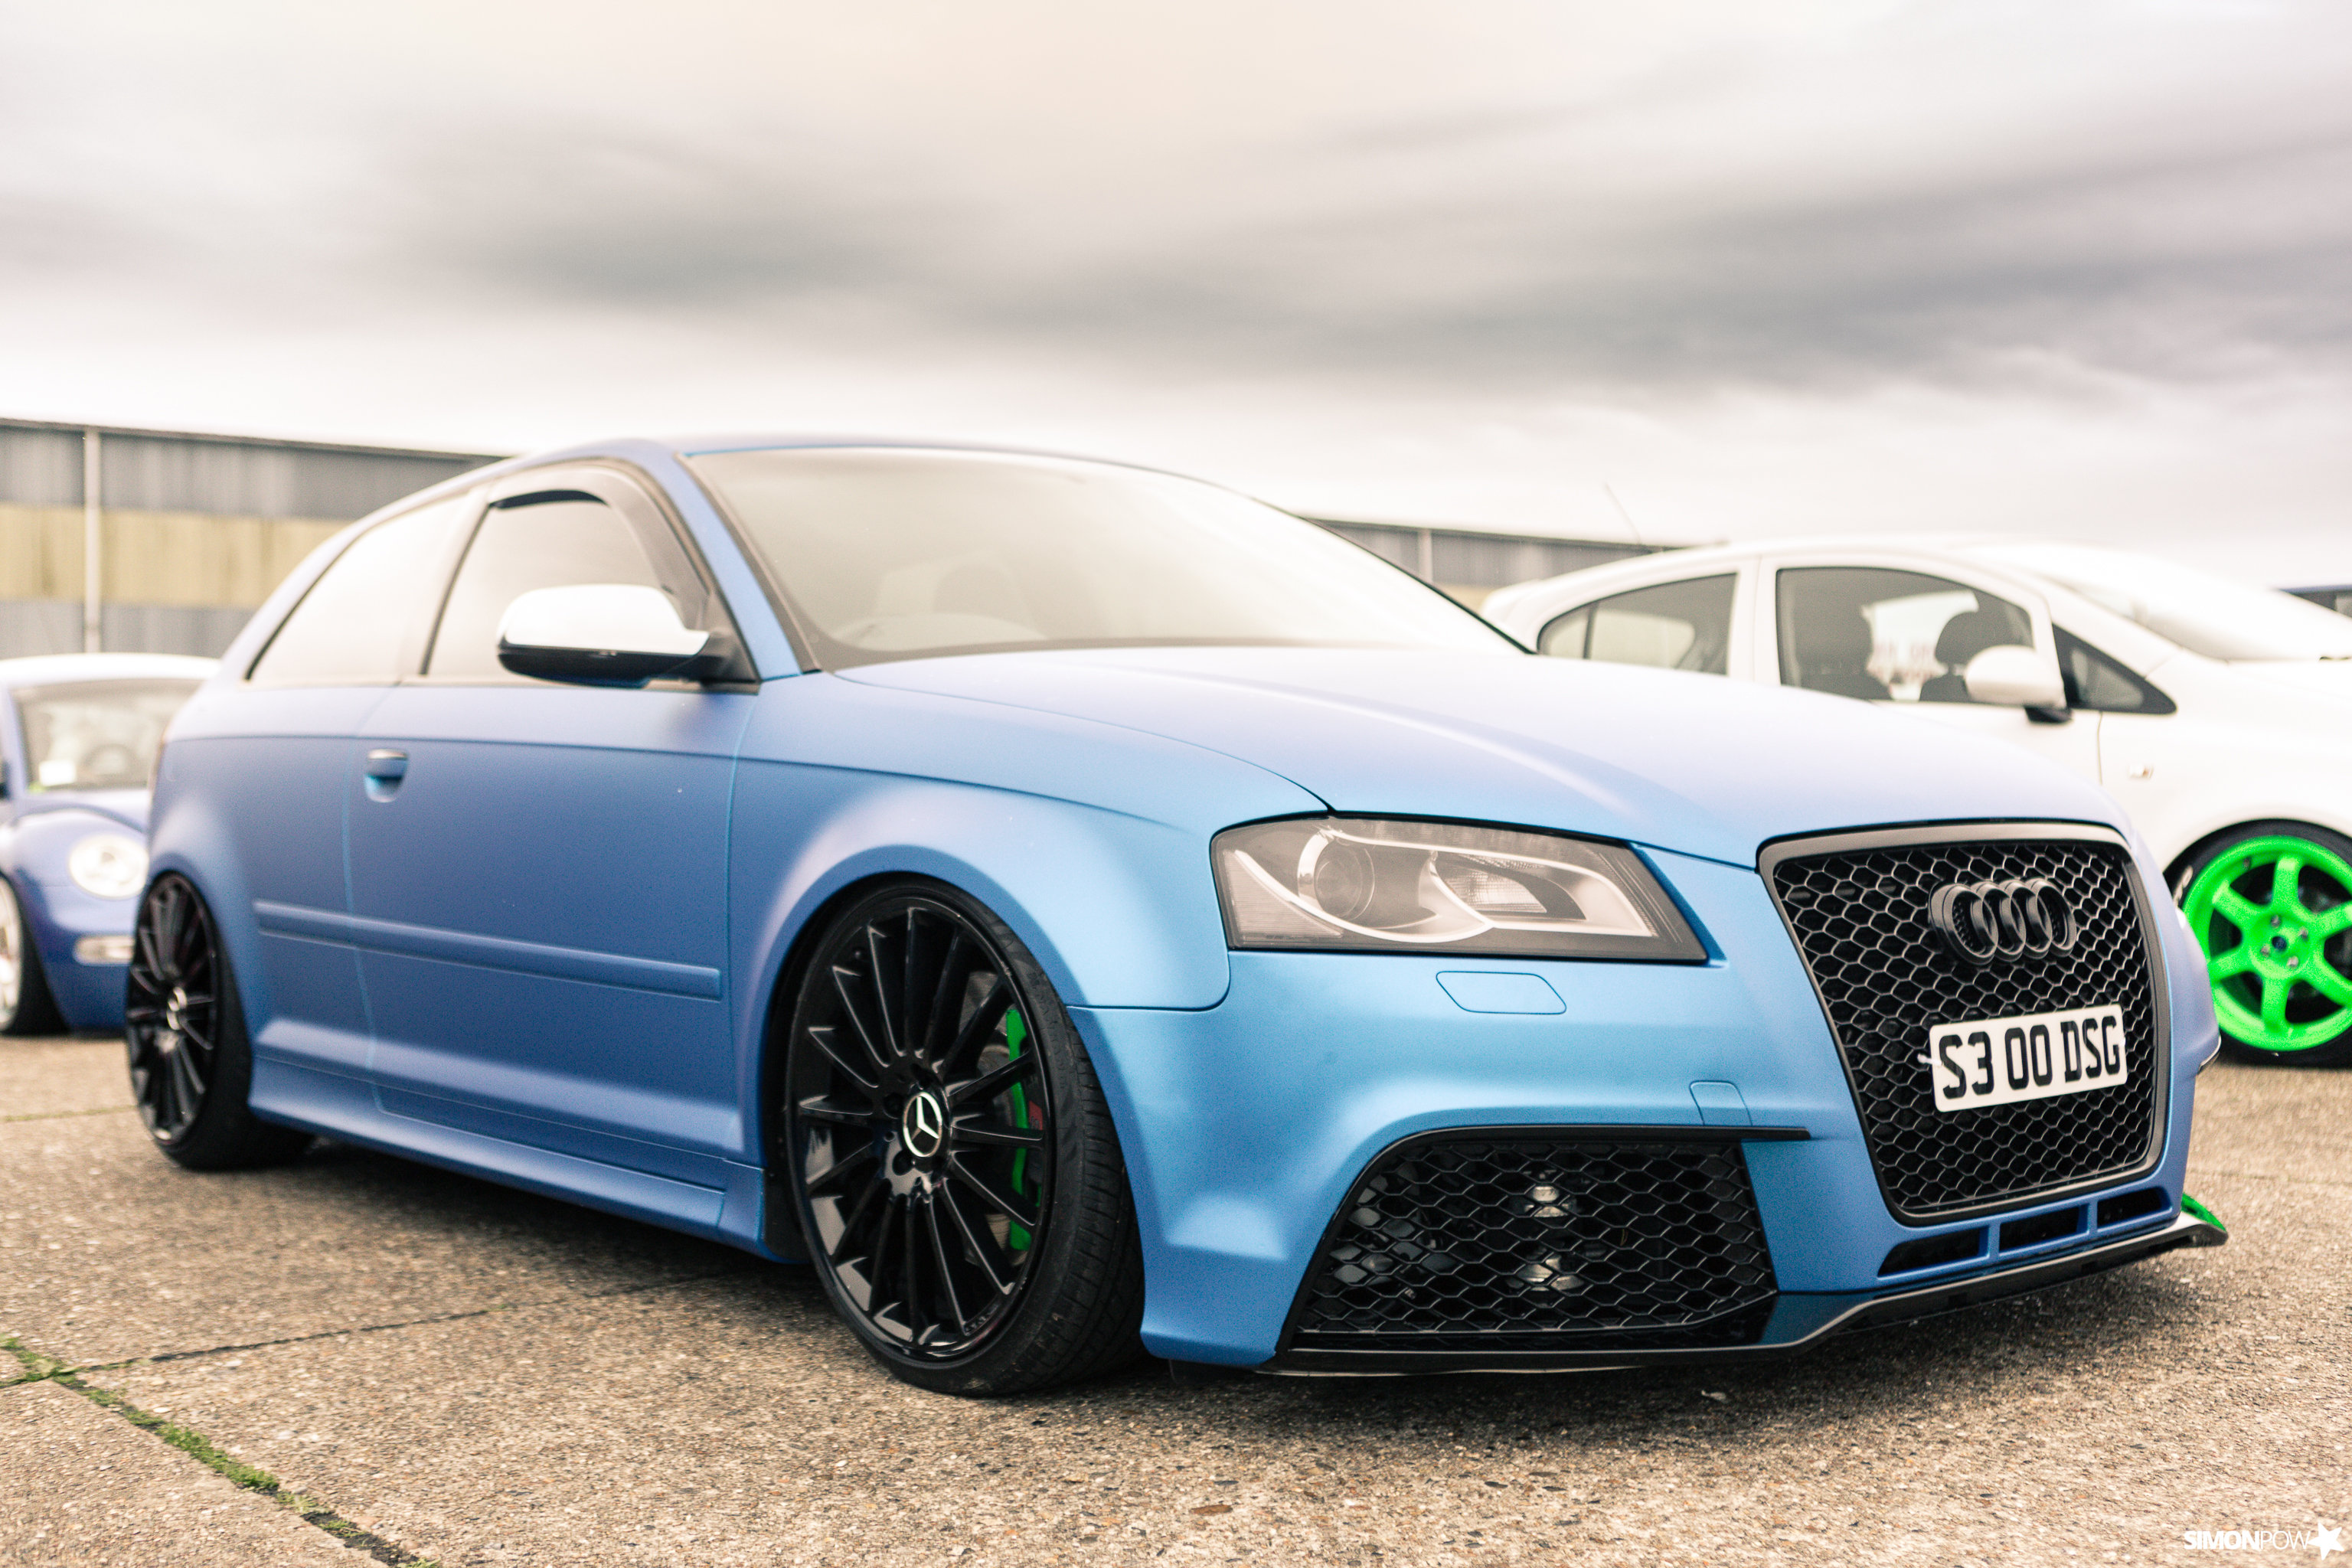
First up are the shots from Castle Combe. The Forge Day is very much about “go” whereas Players is more about the “show” side of things. Almost every car you see in the paddock gets thrown around the track at some point during the day and there’s always a good show put on by the drift lads.


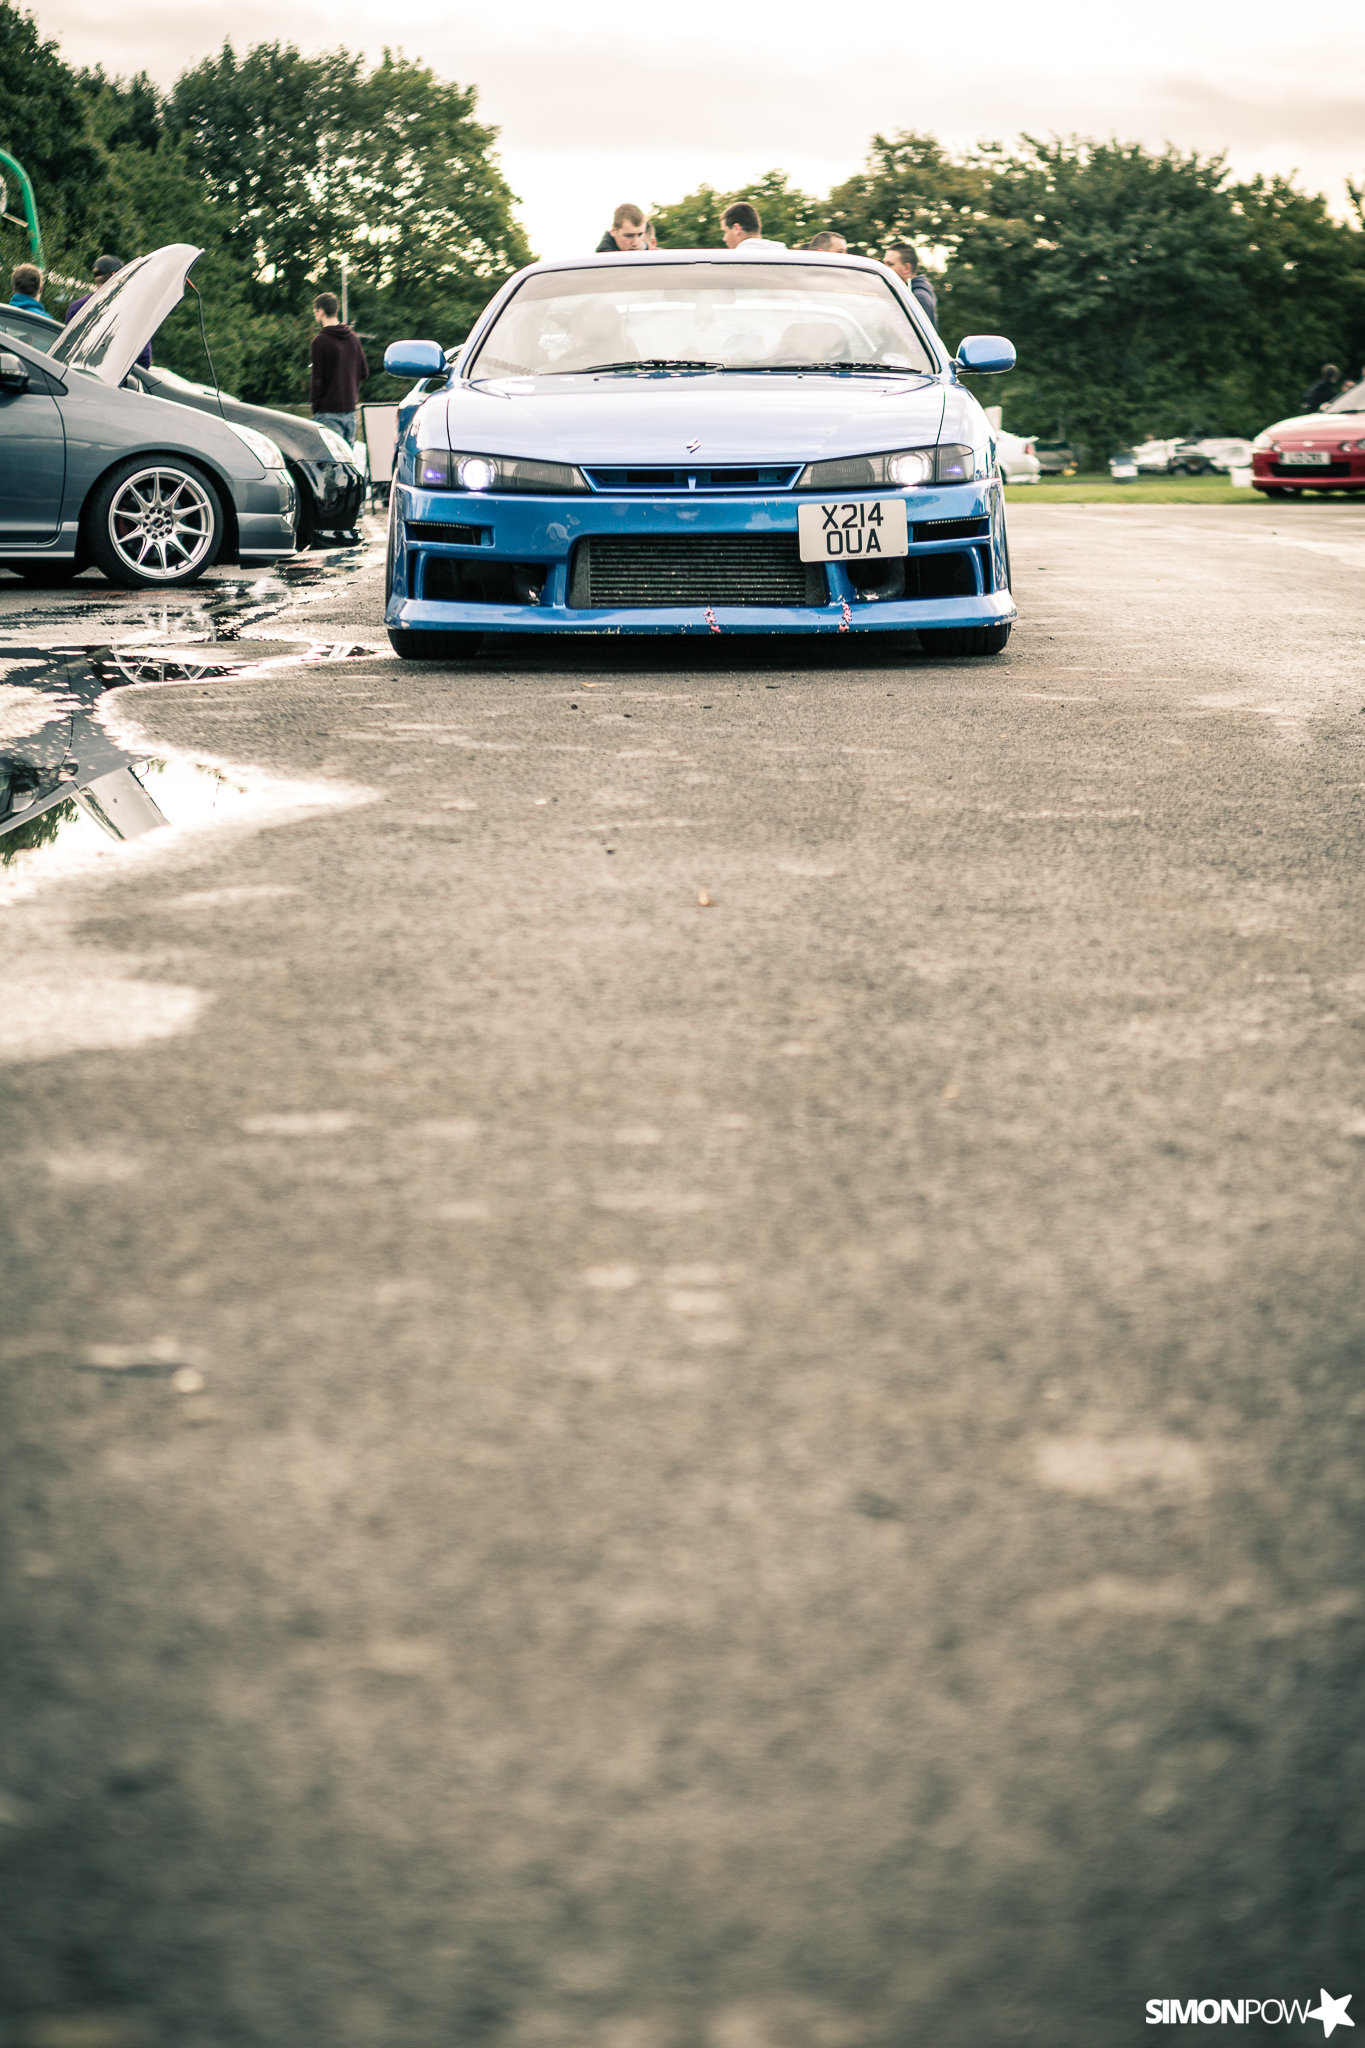
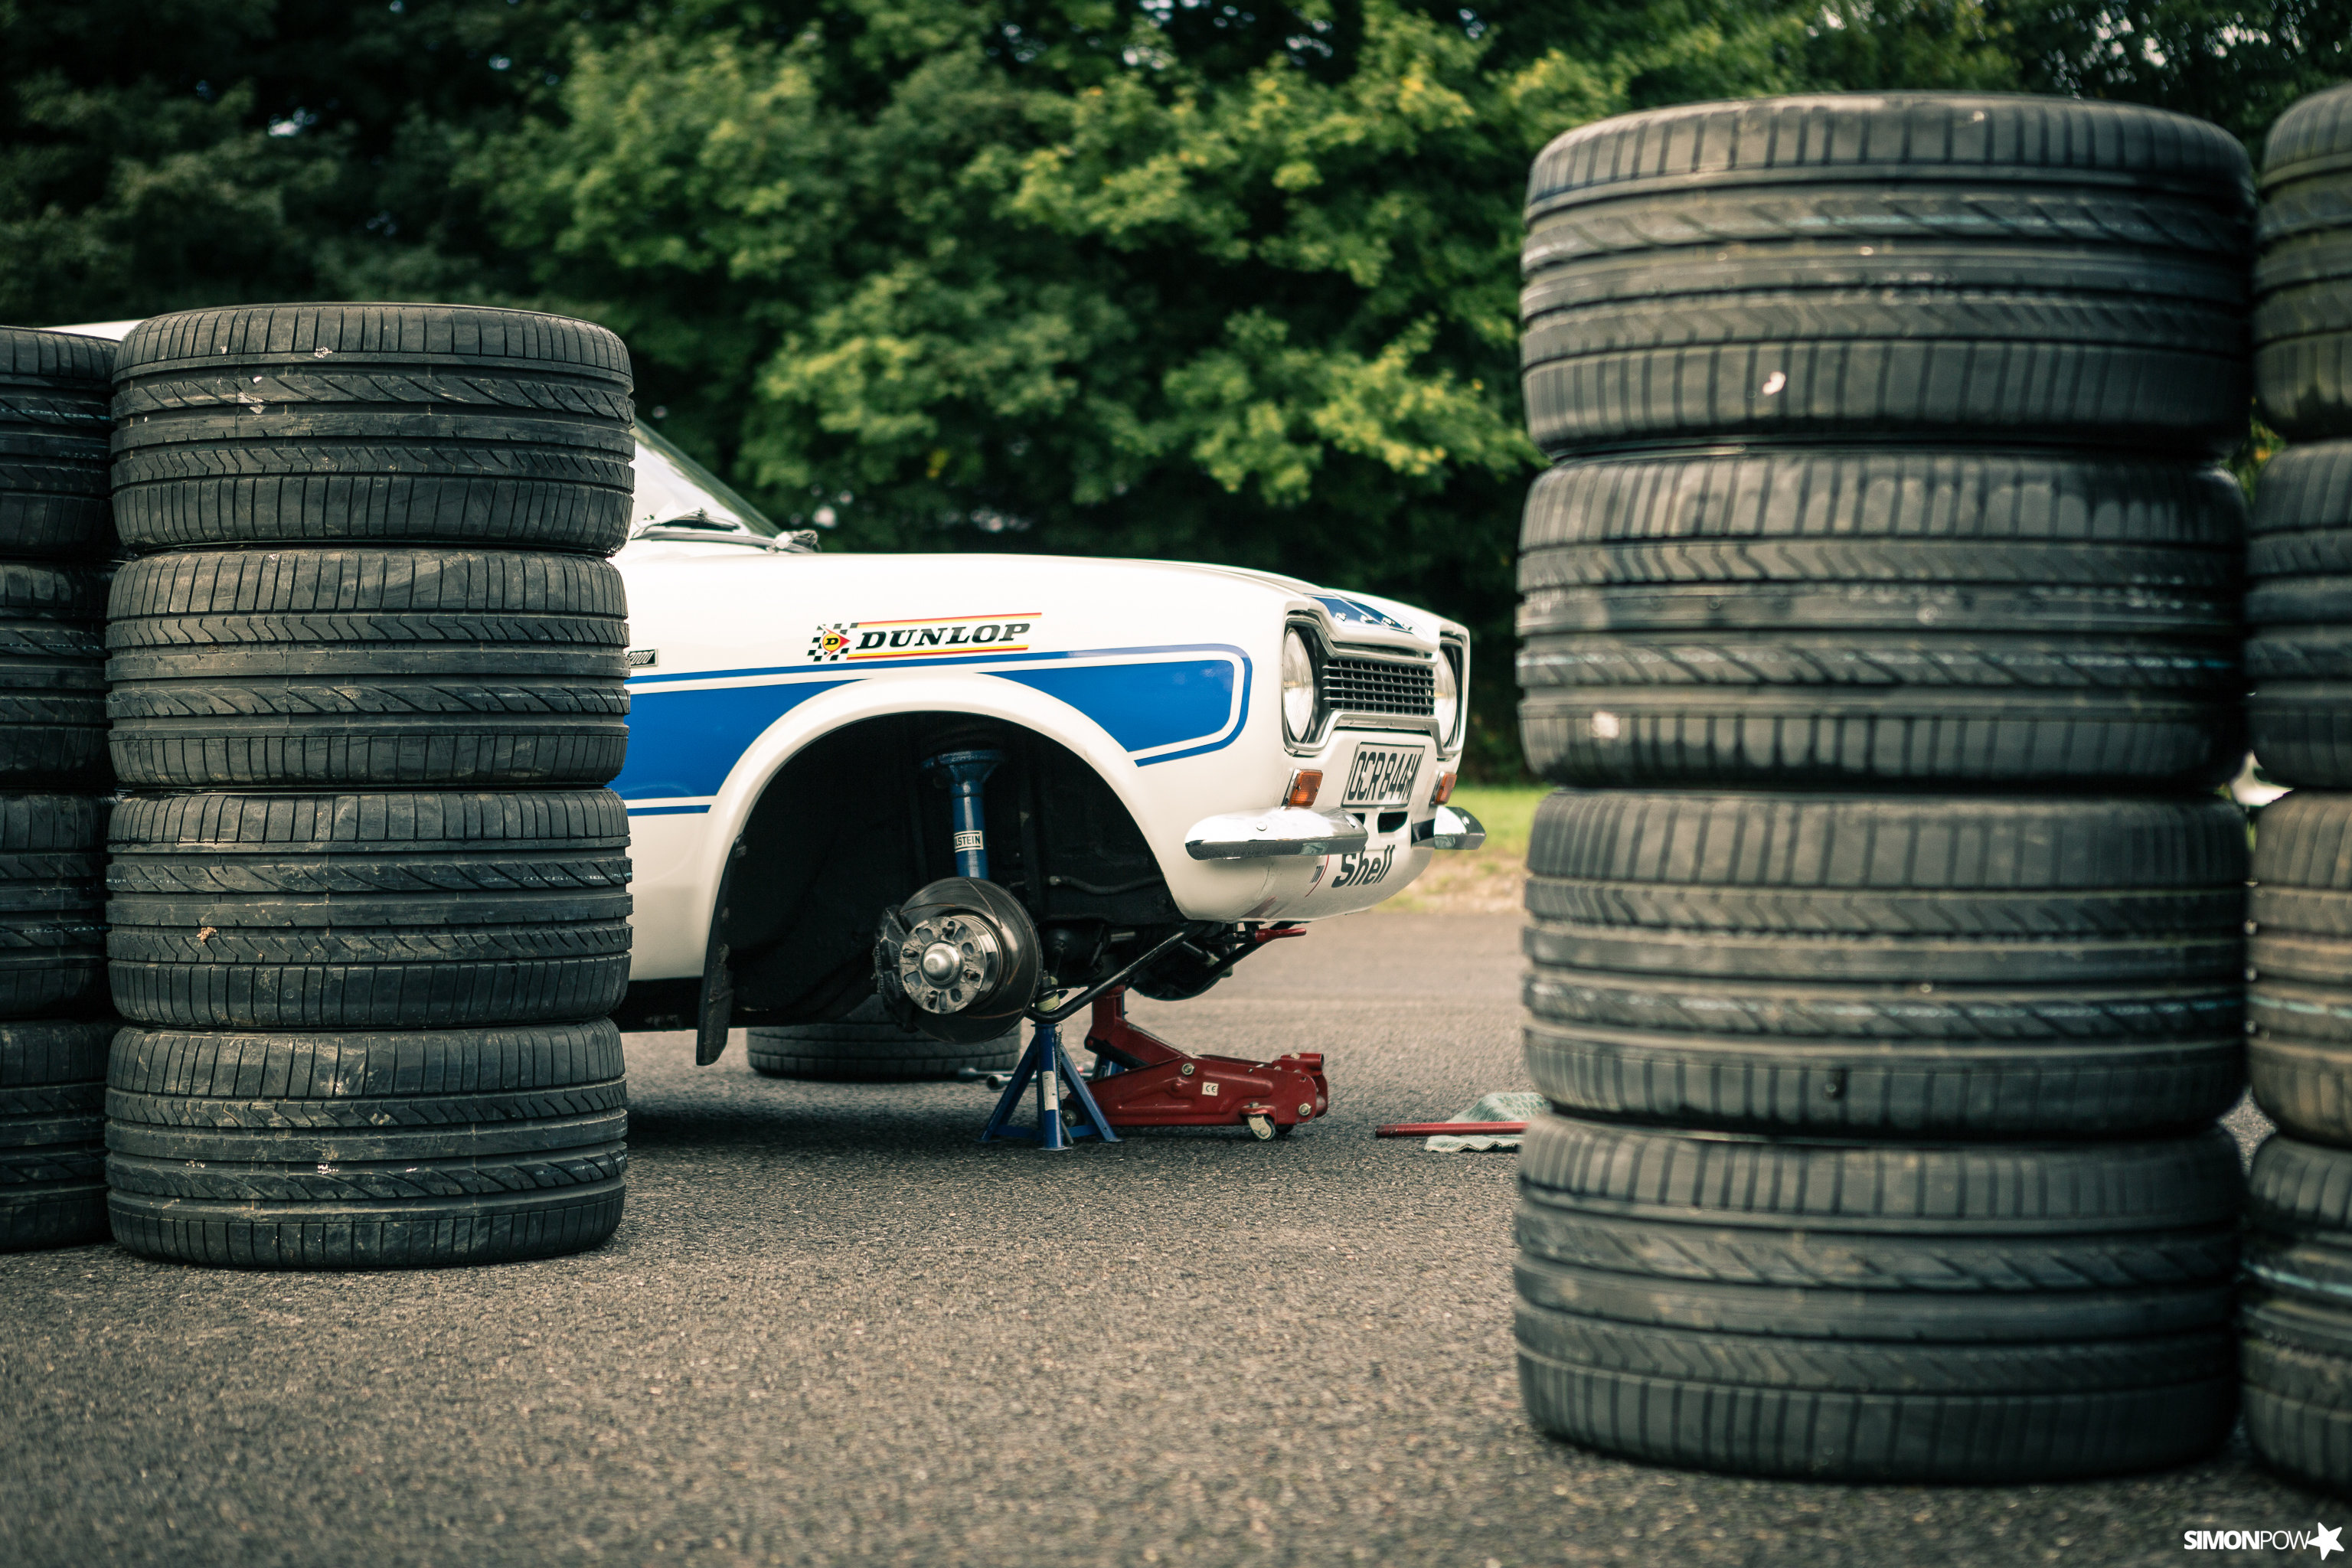
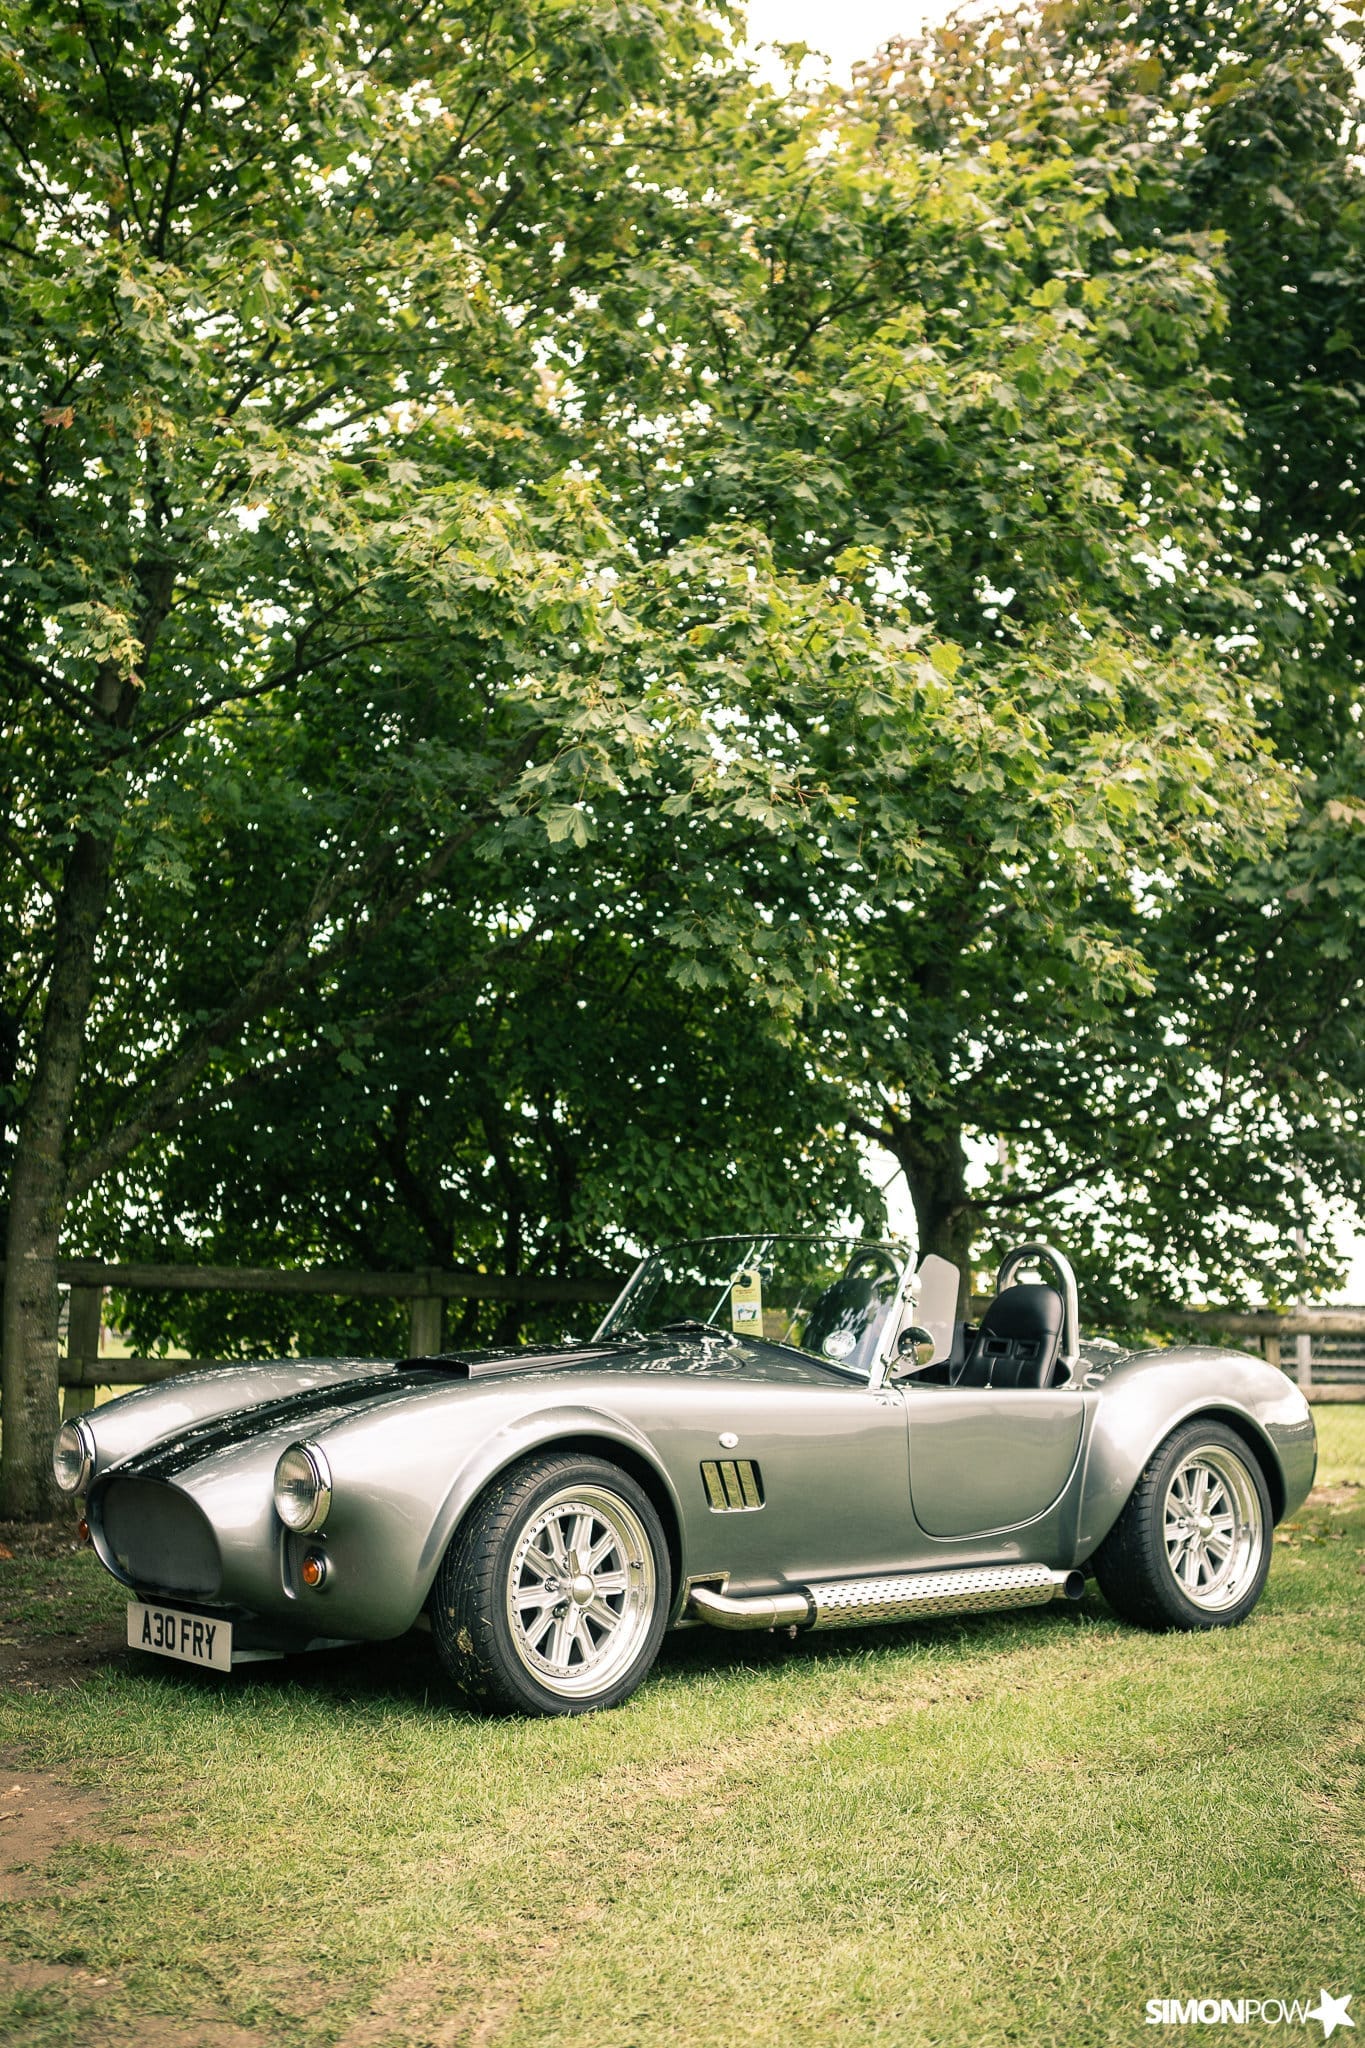


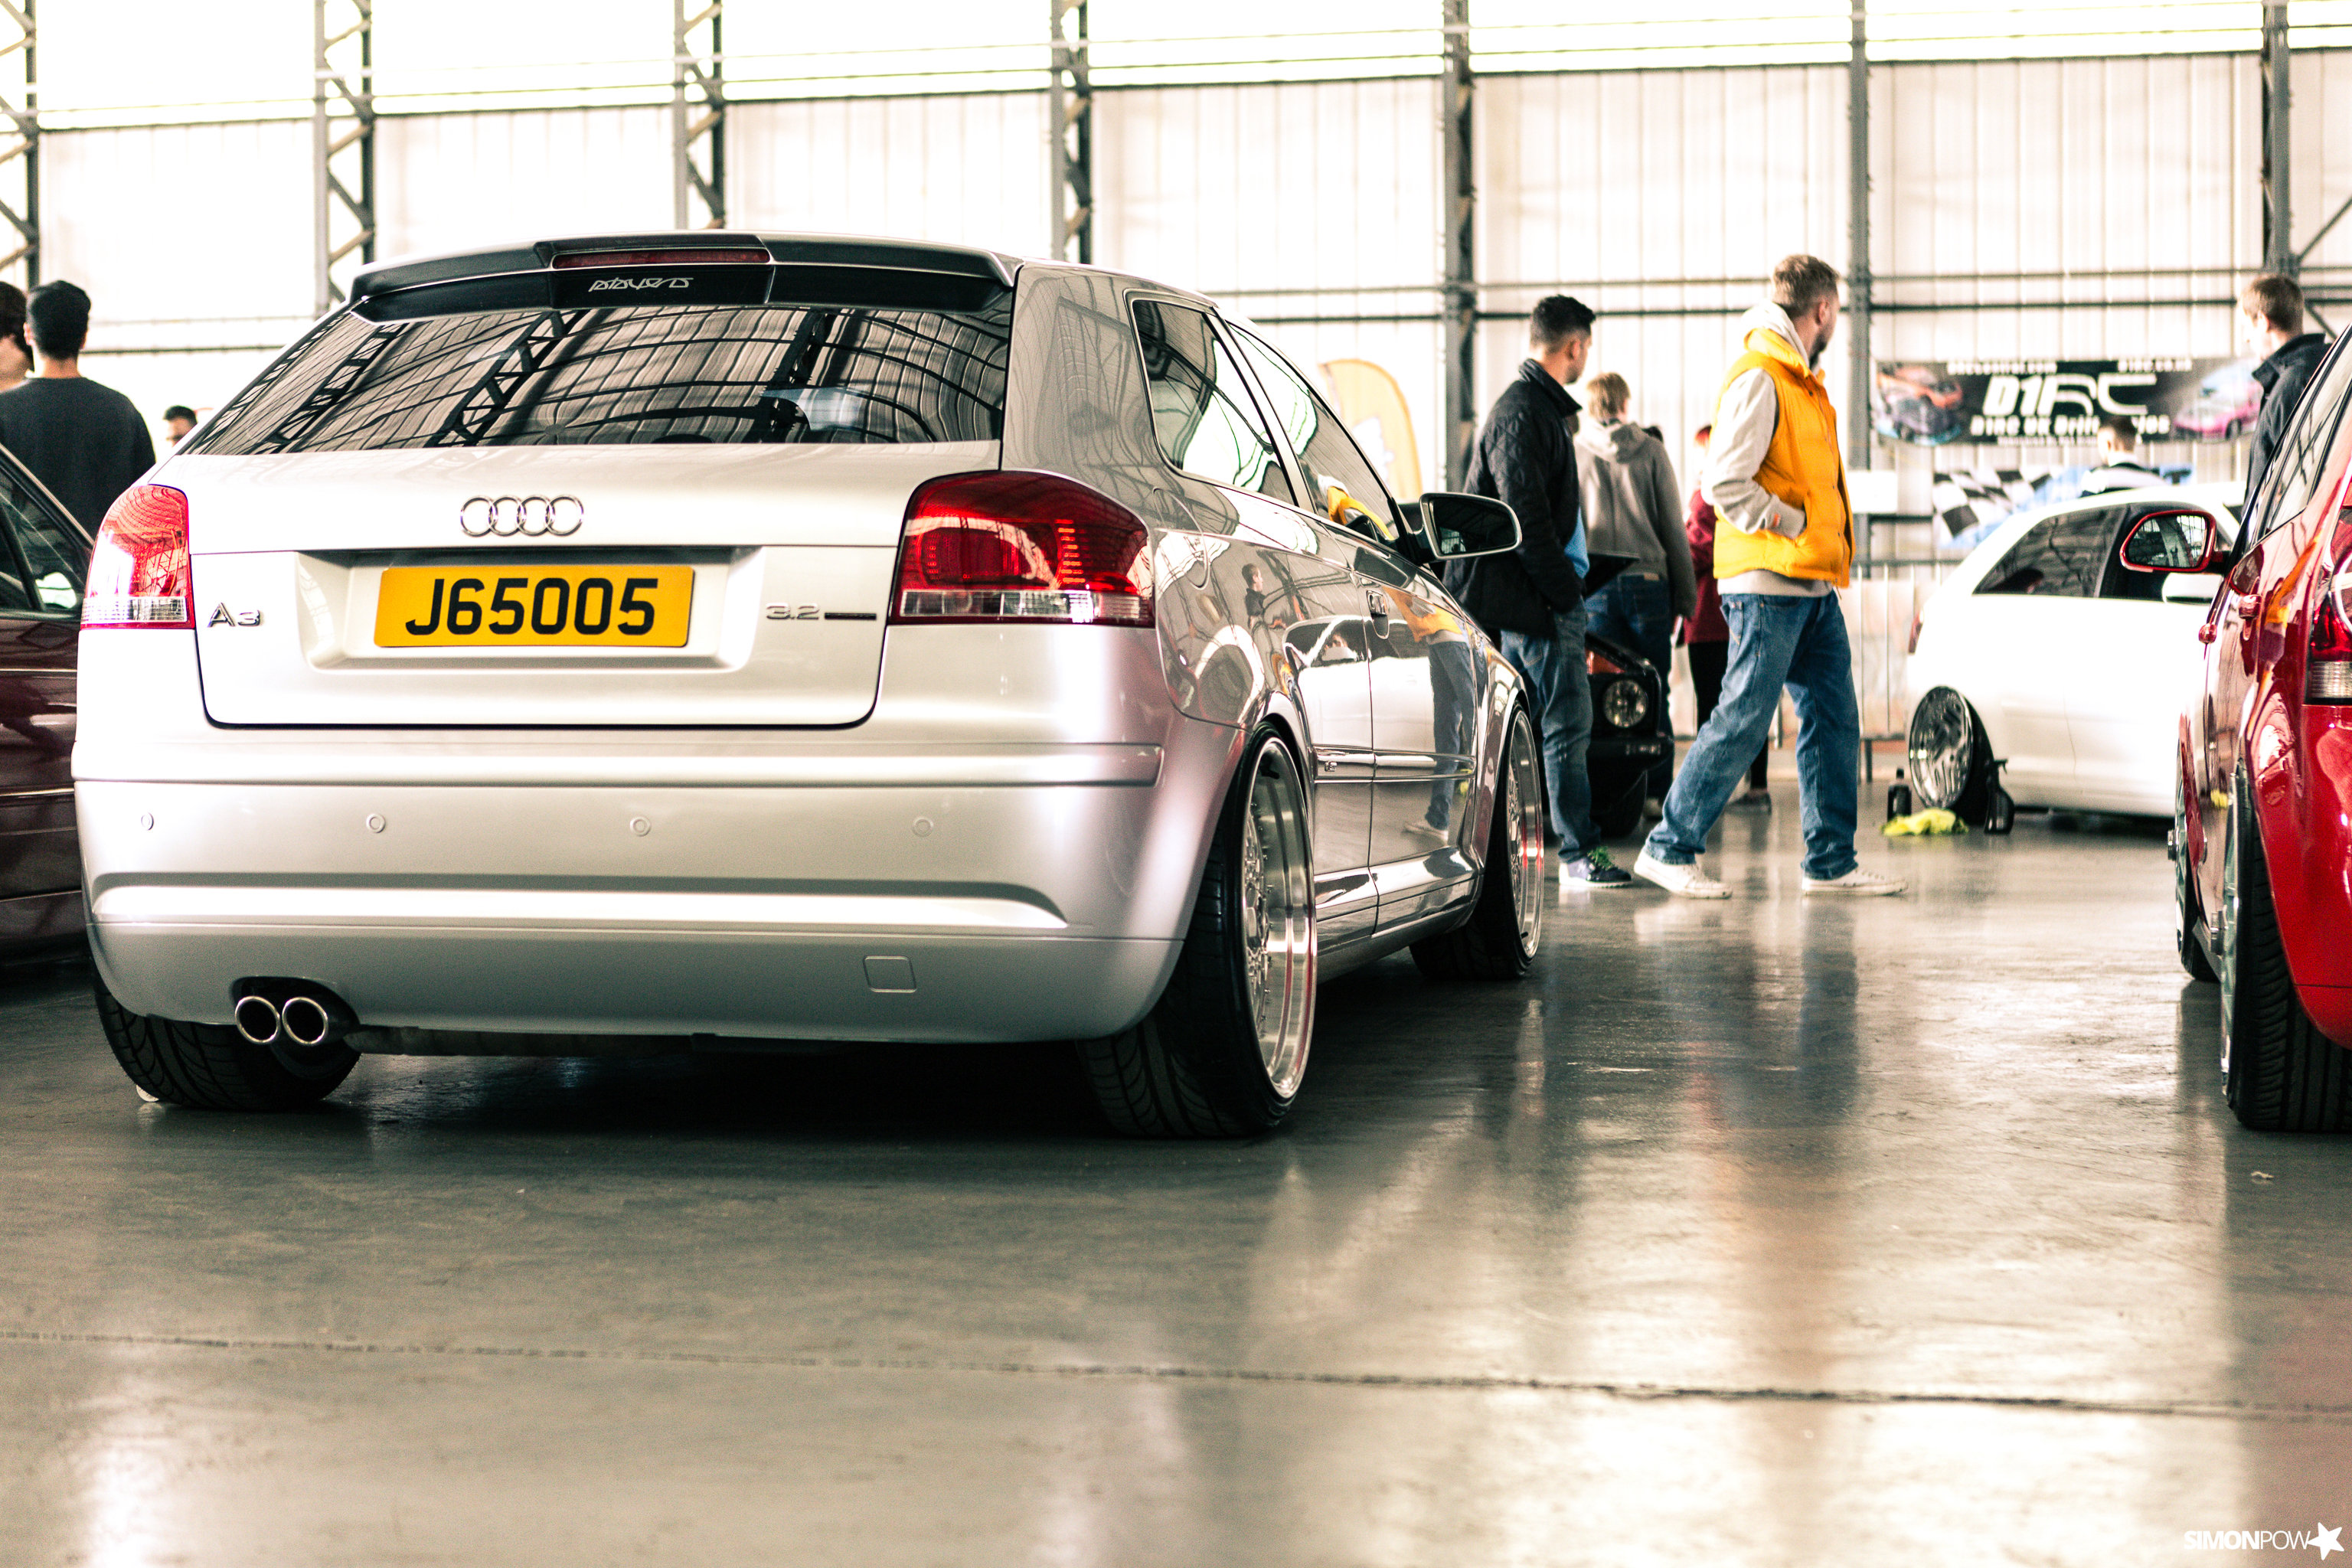
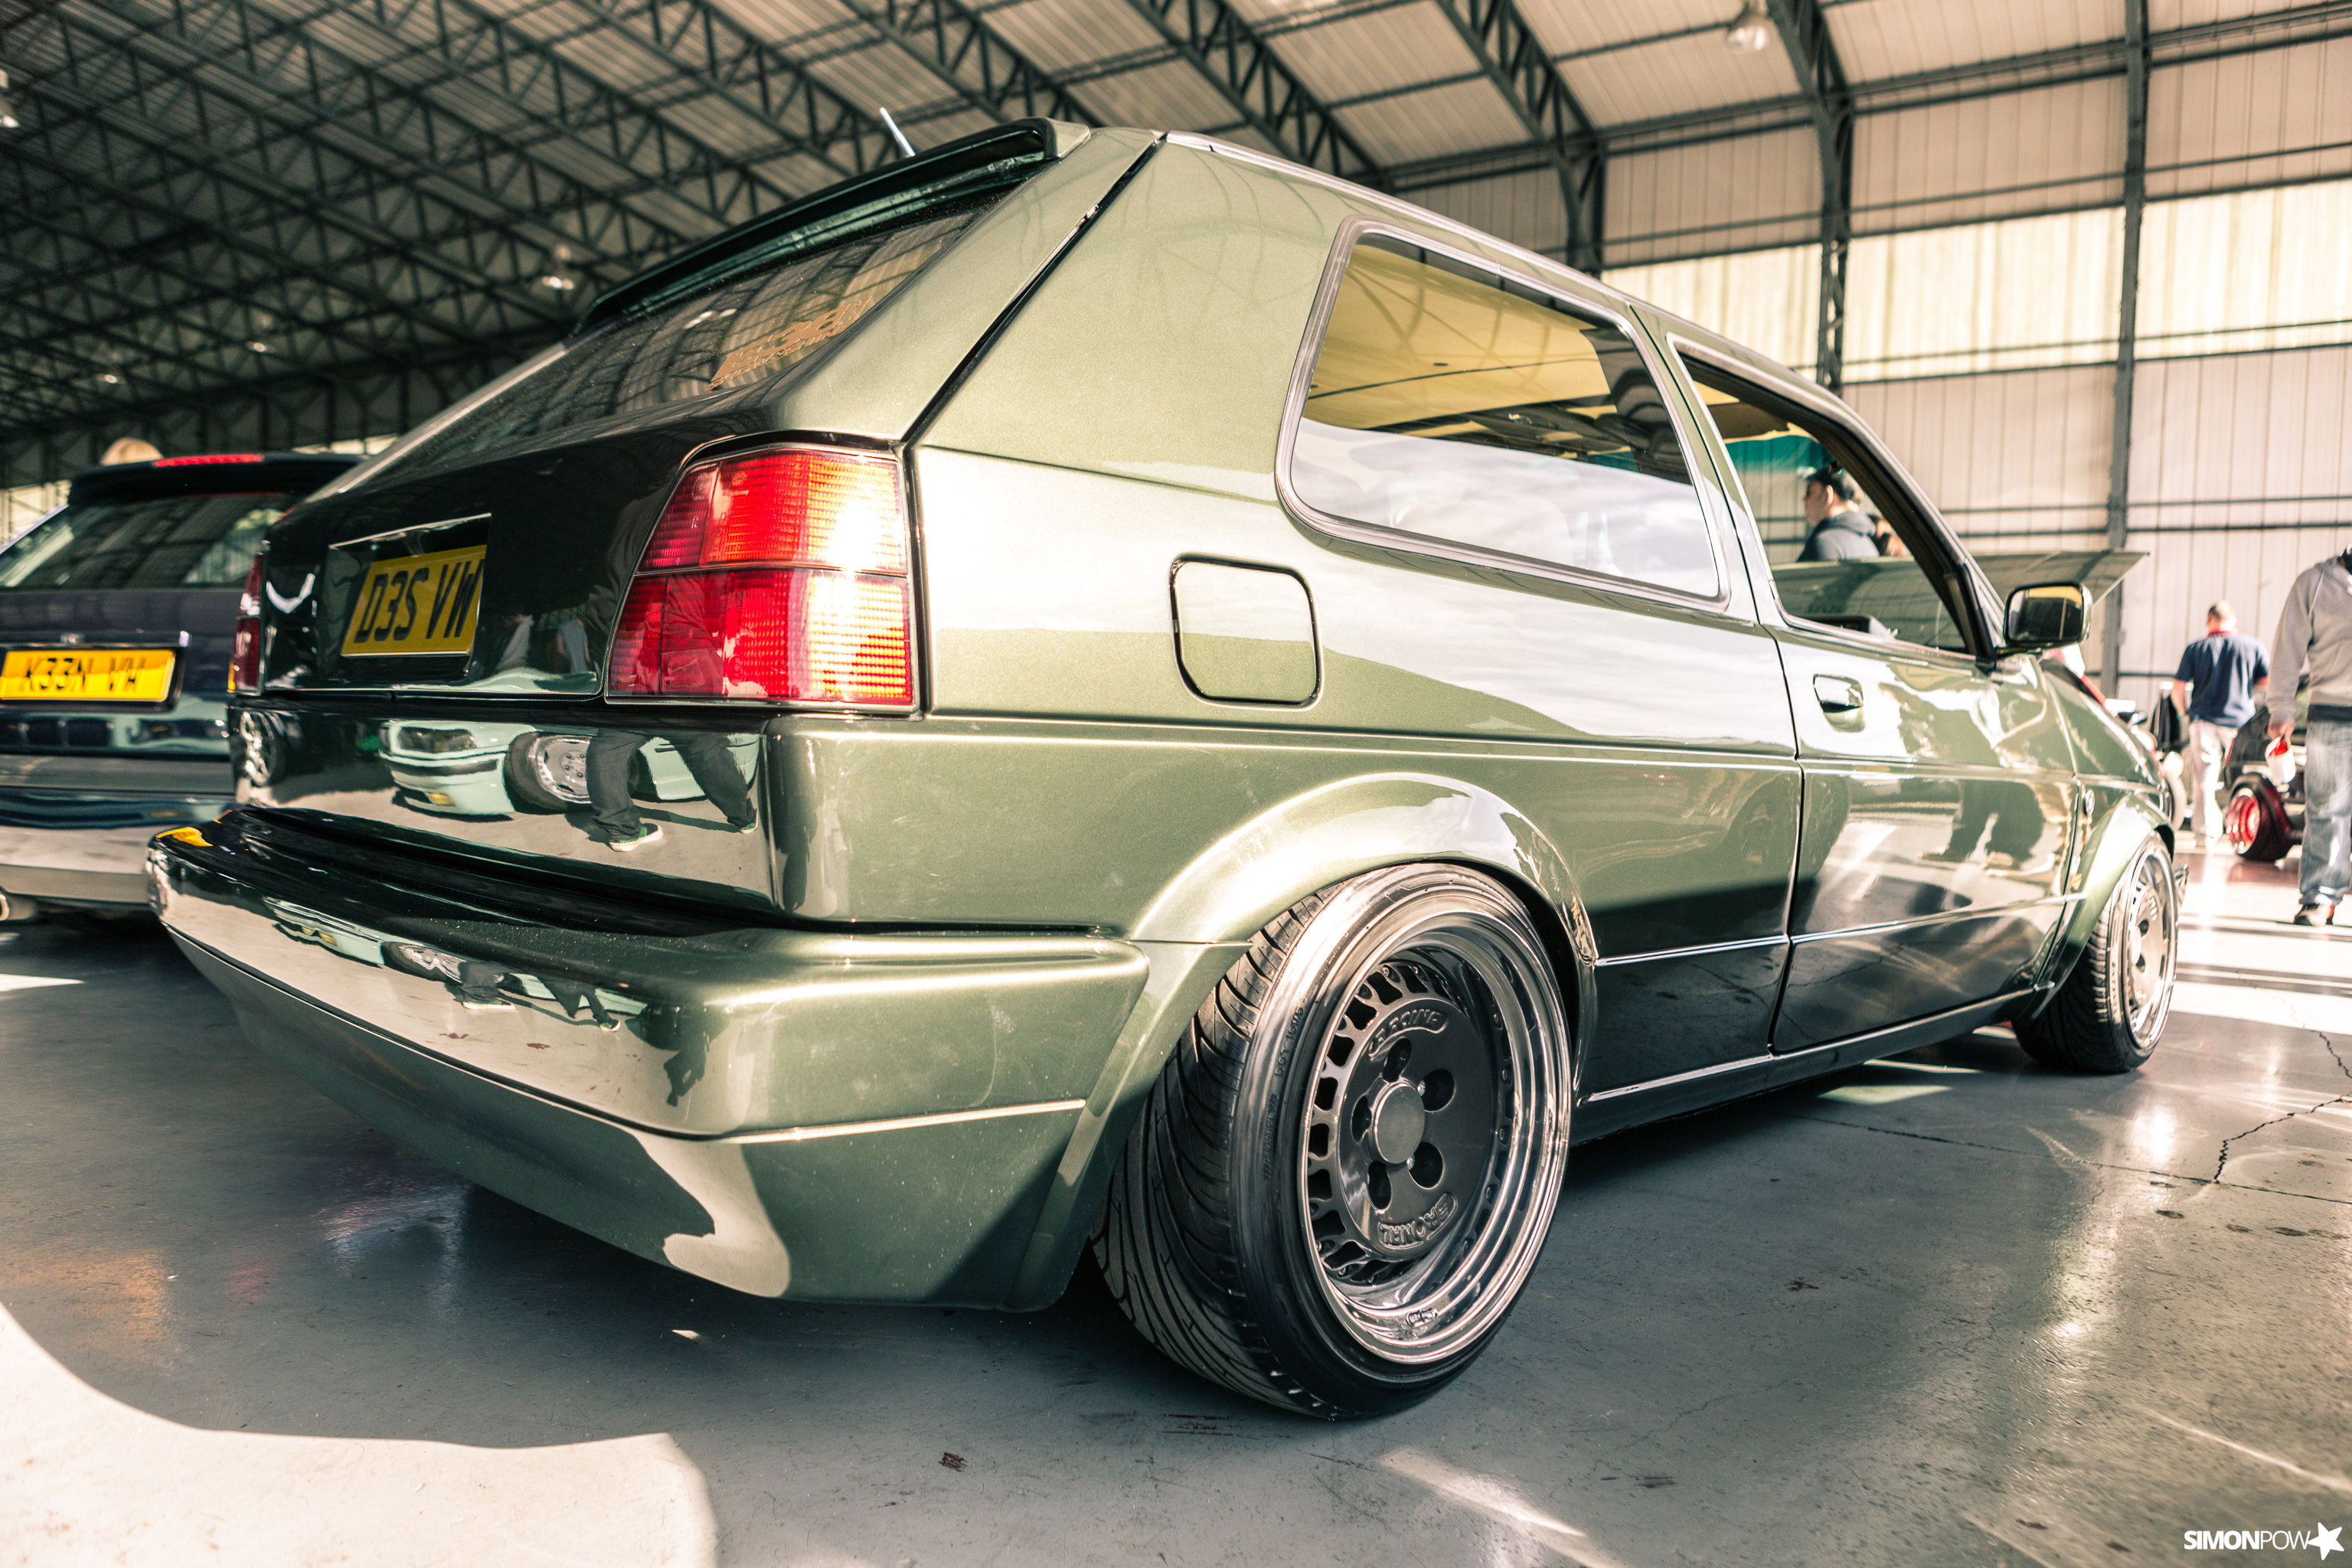
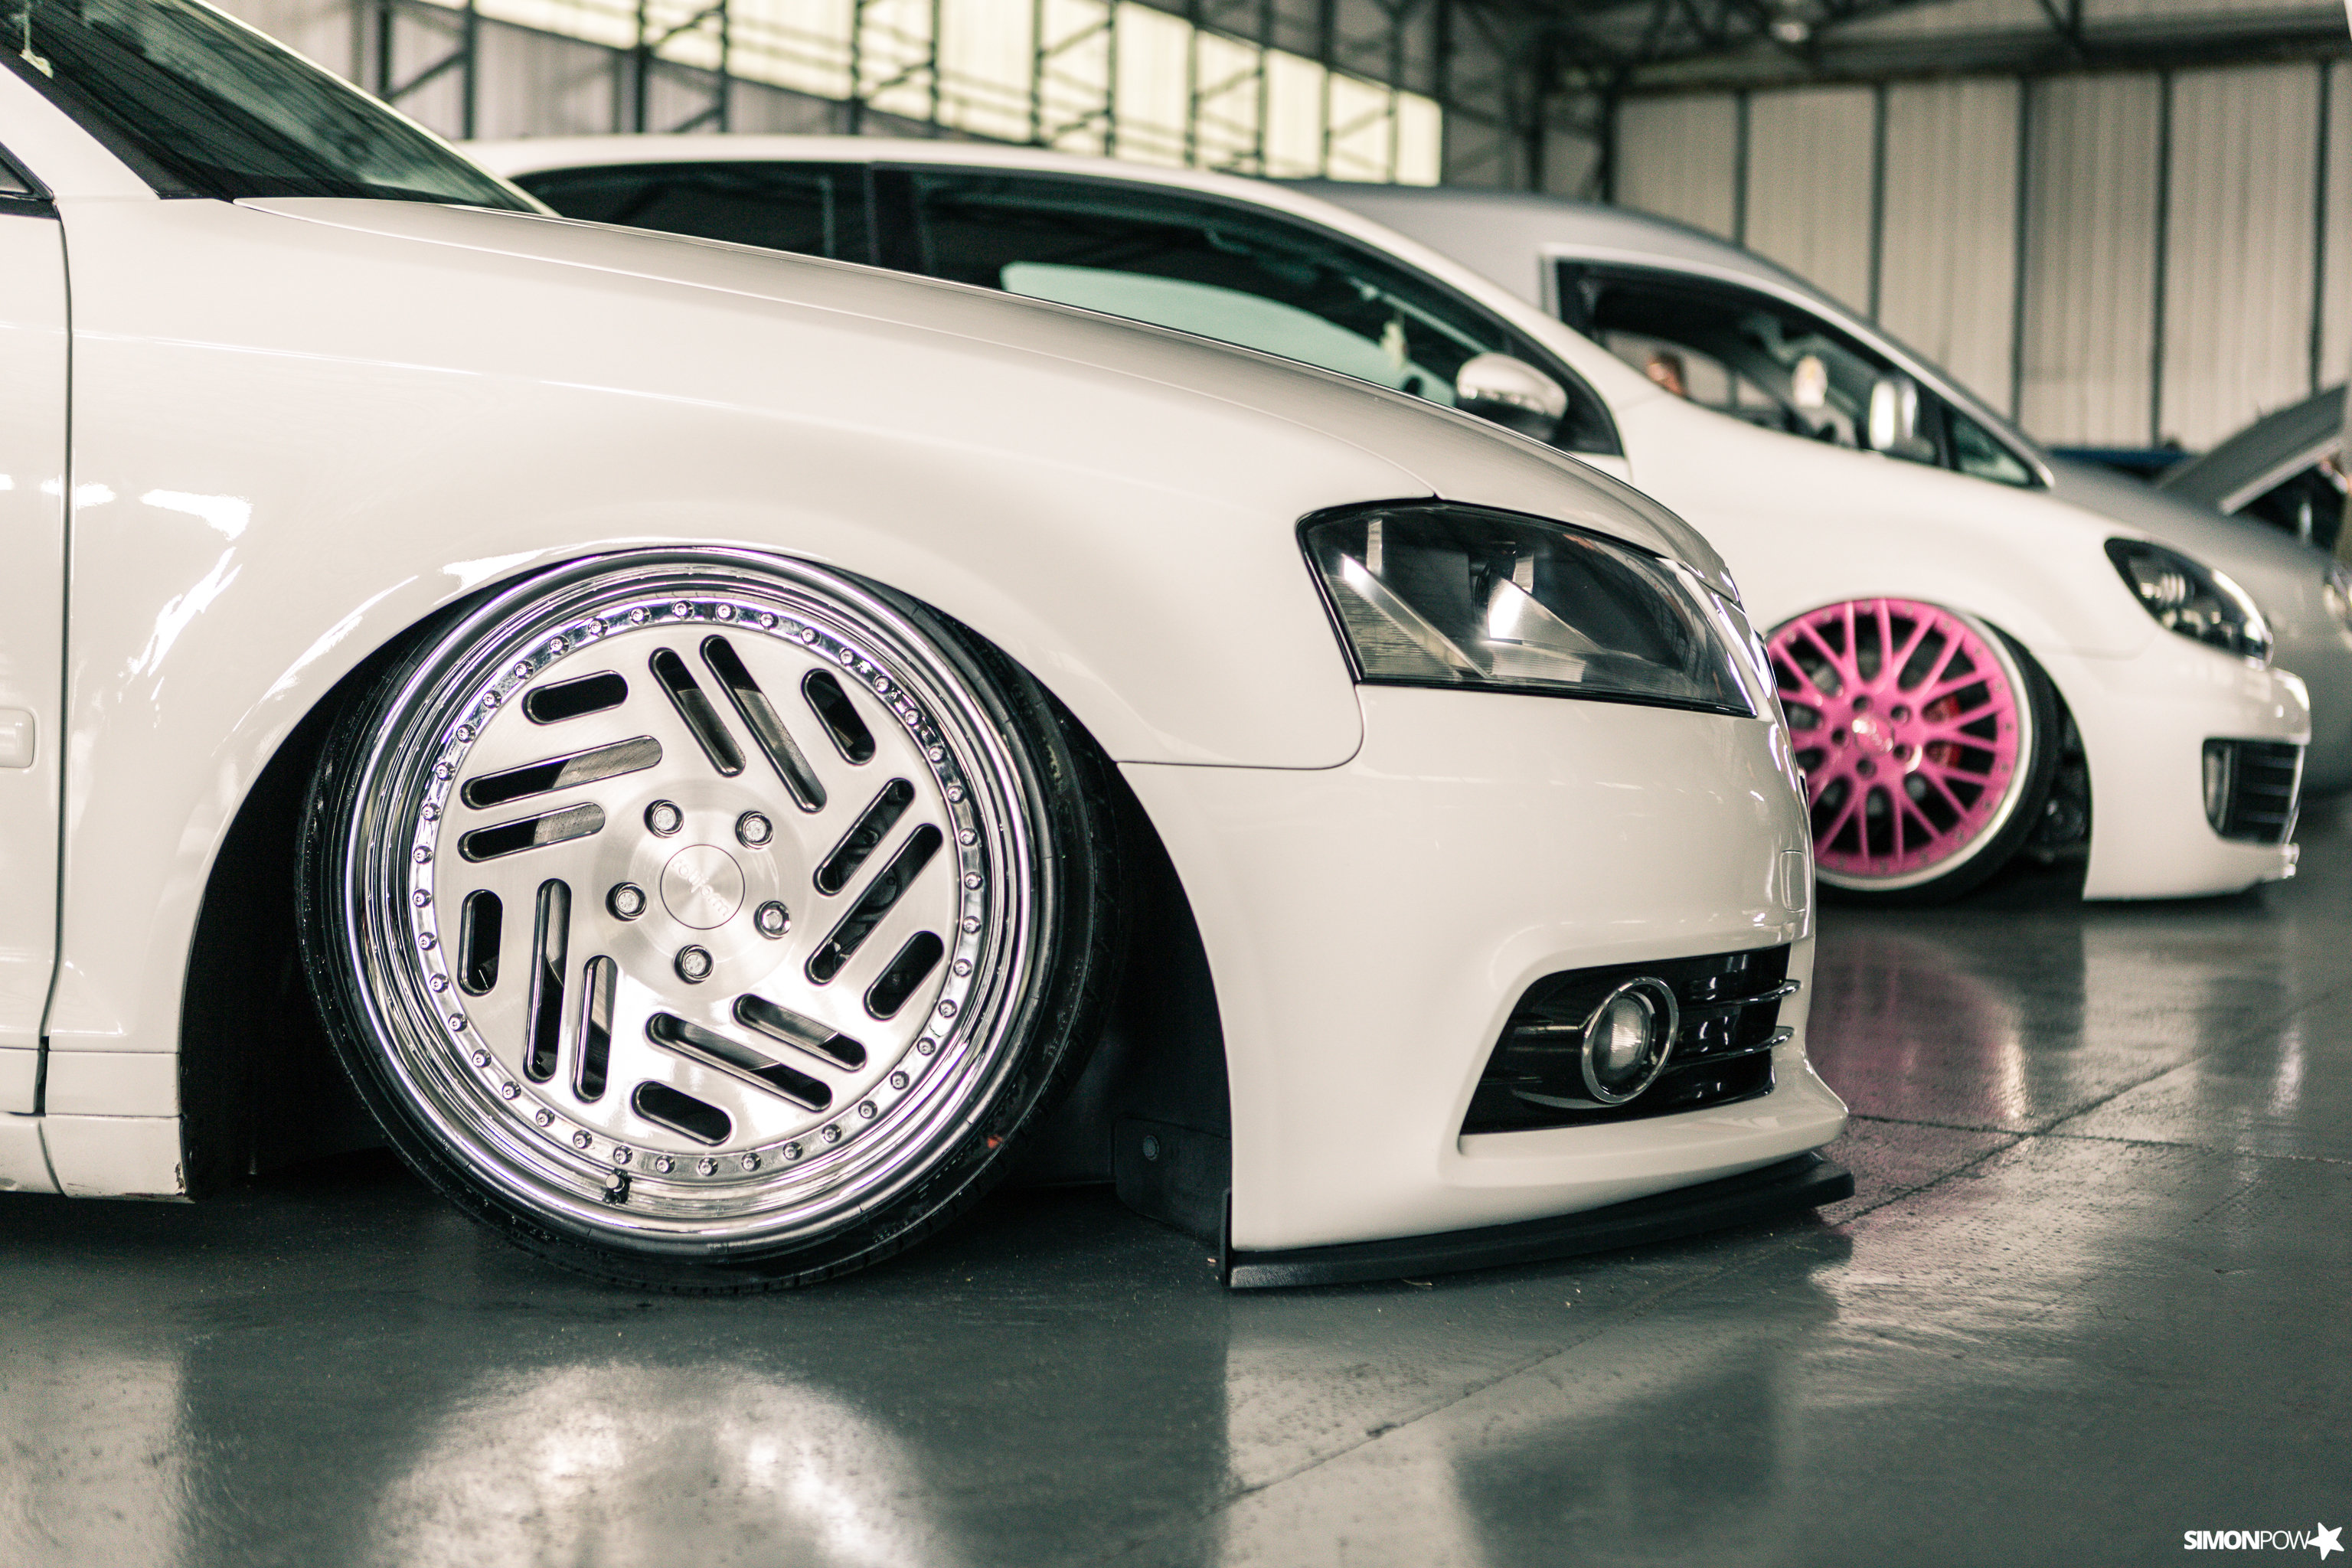
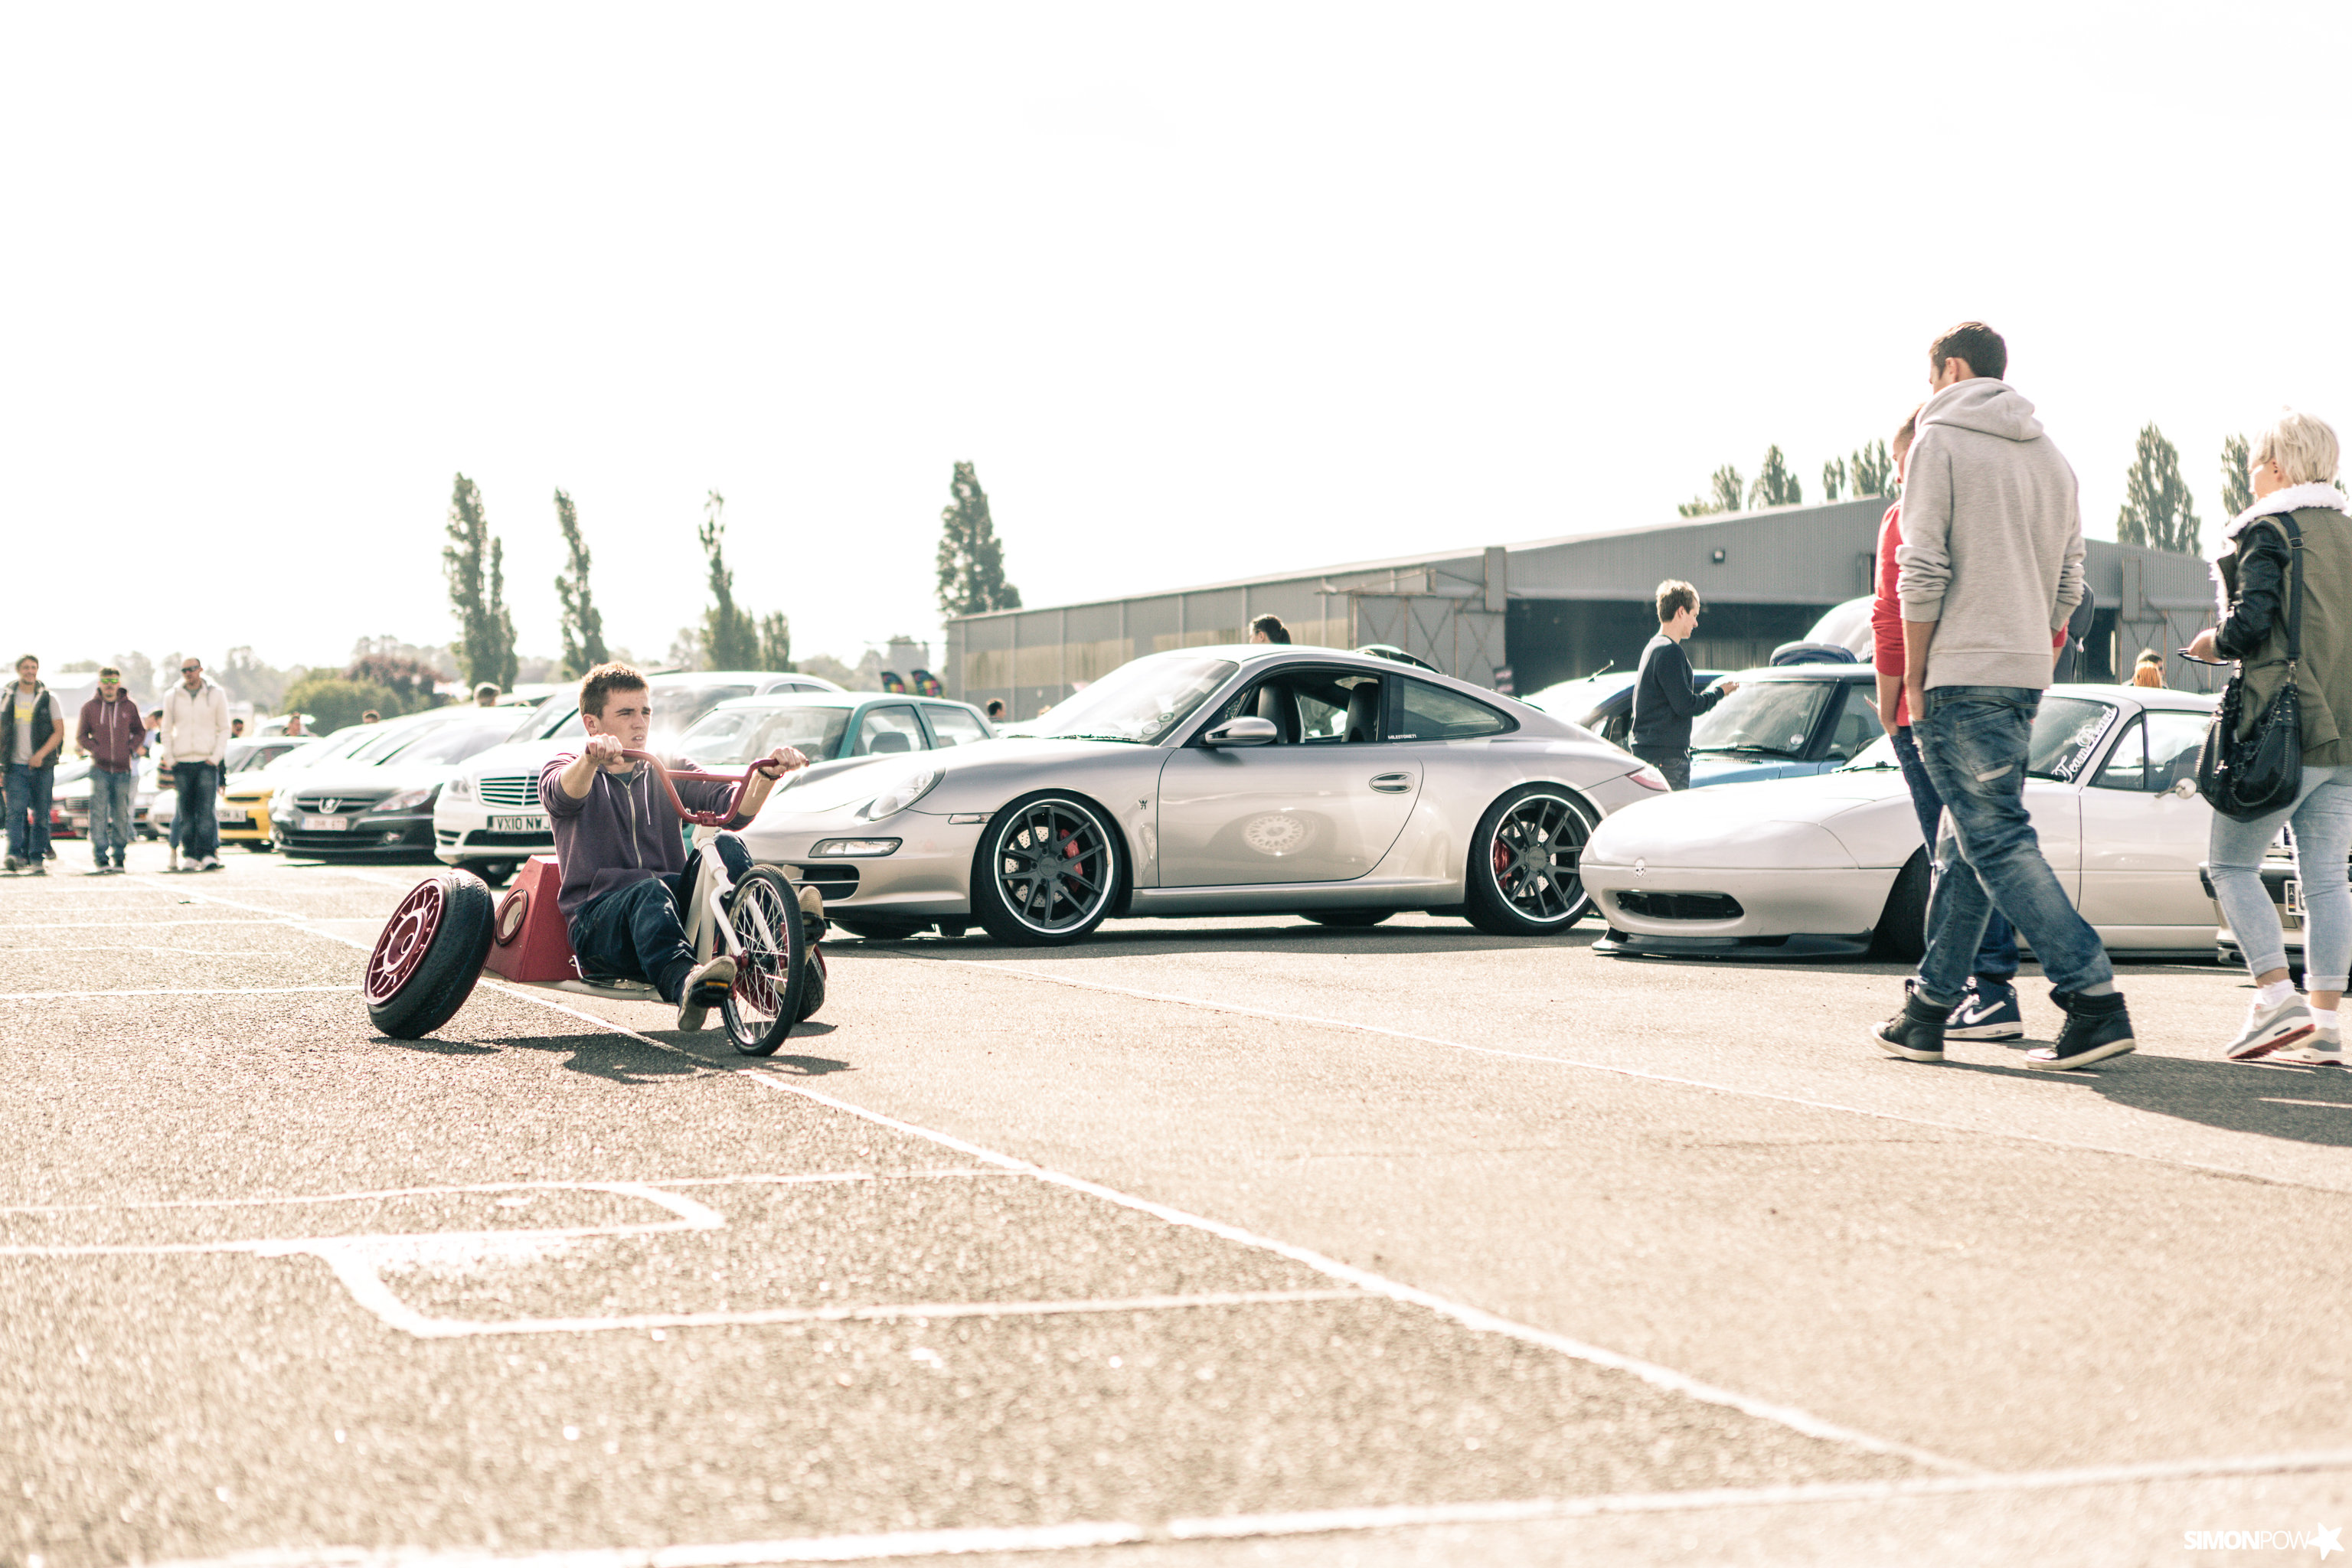
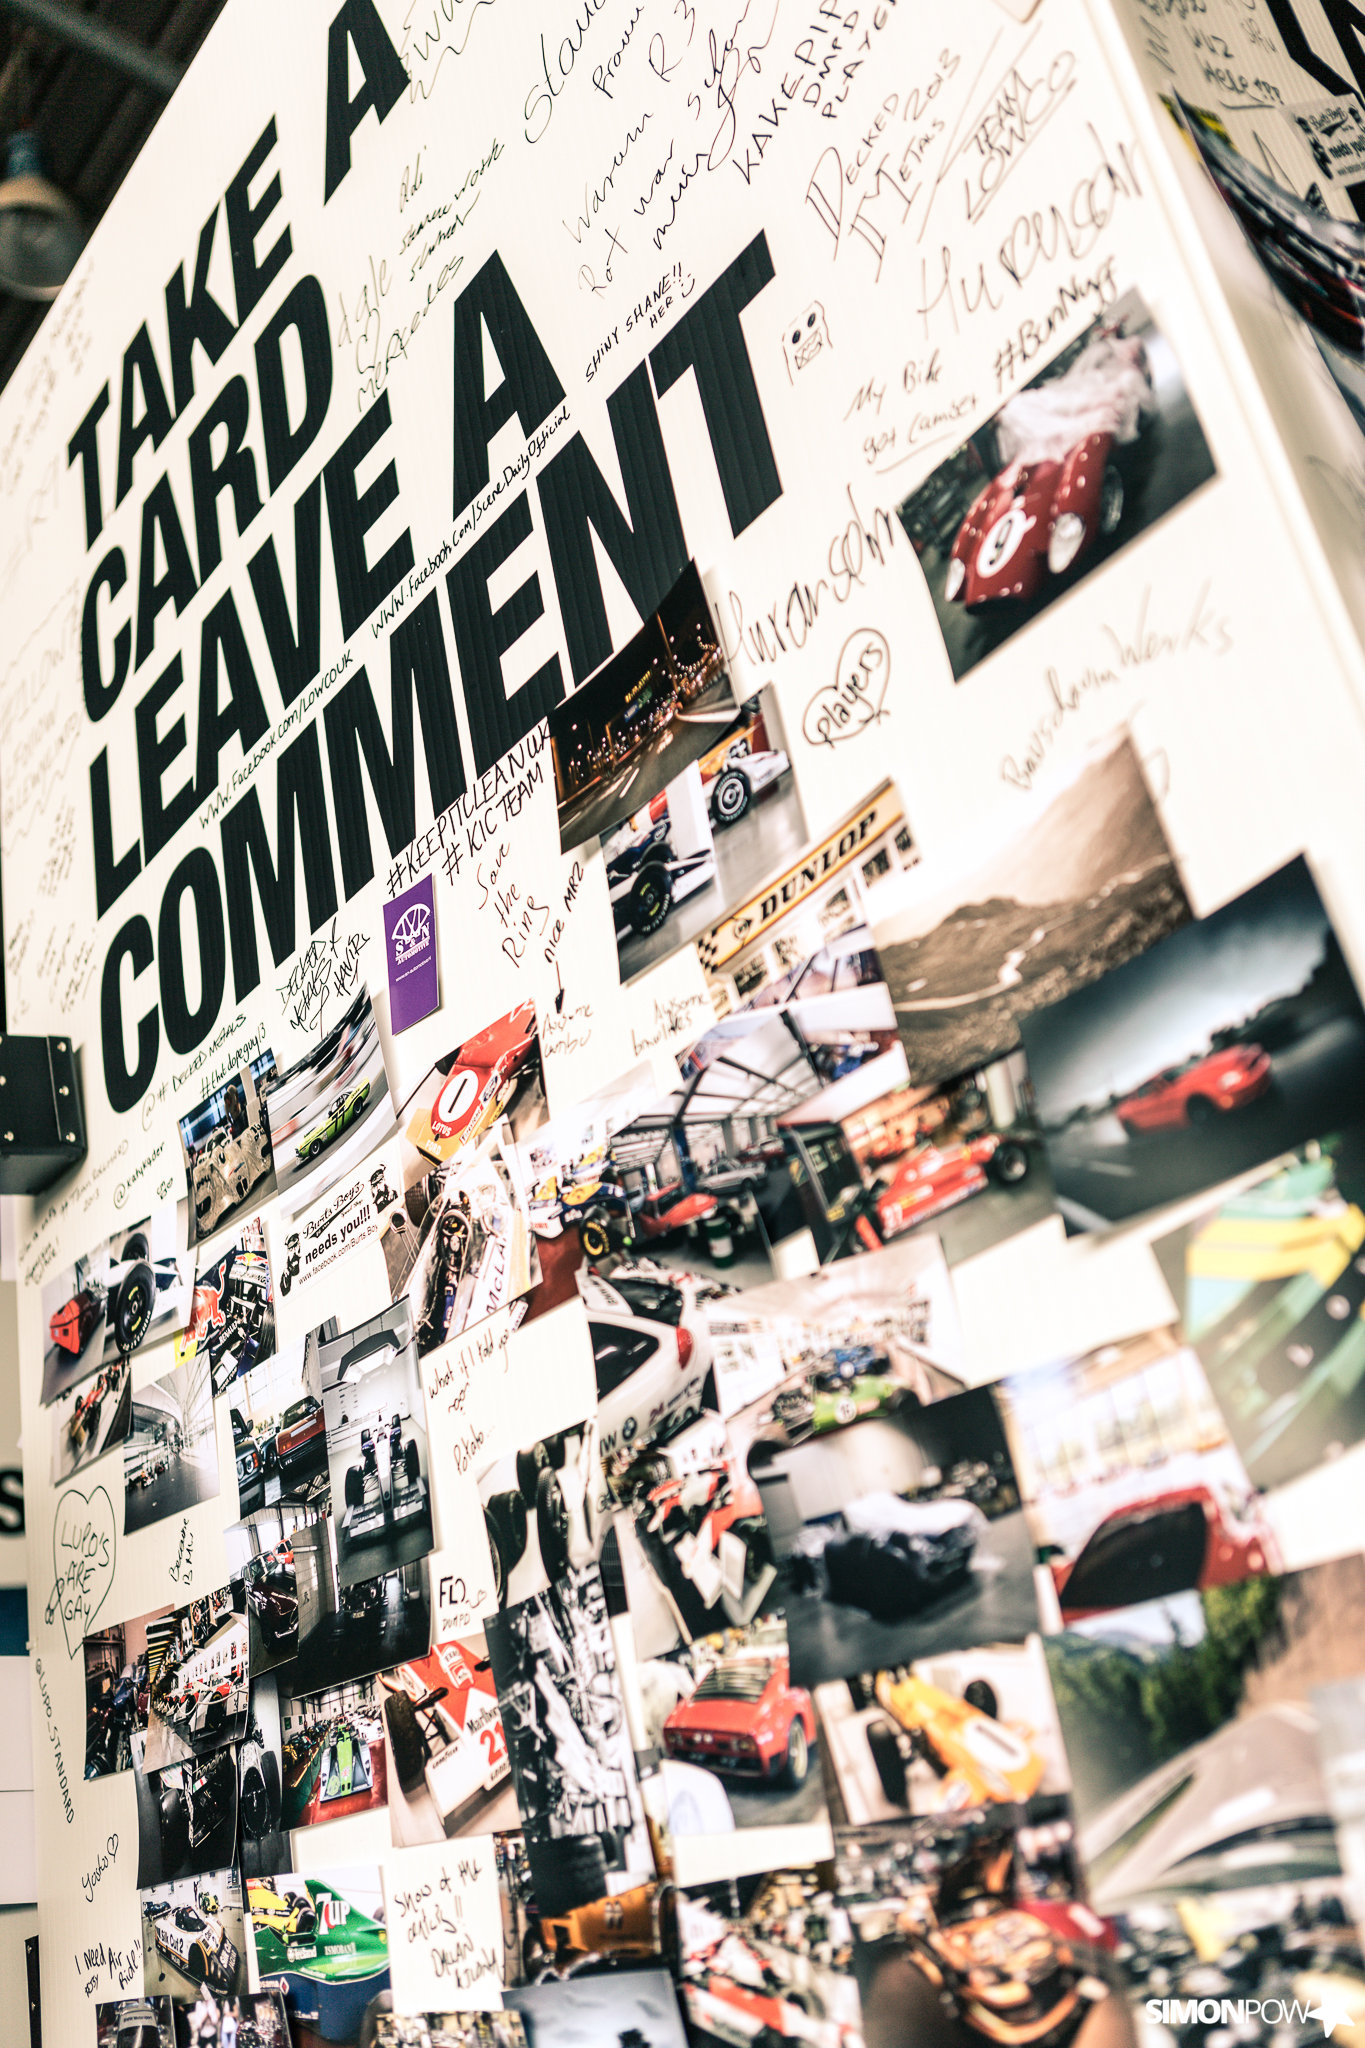
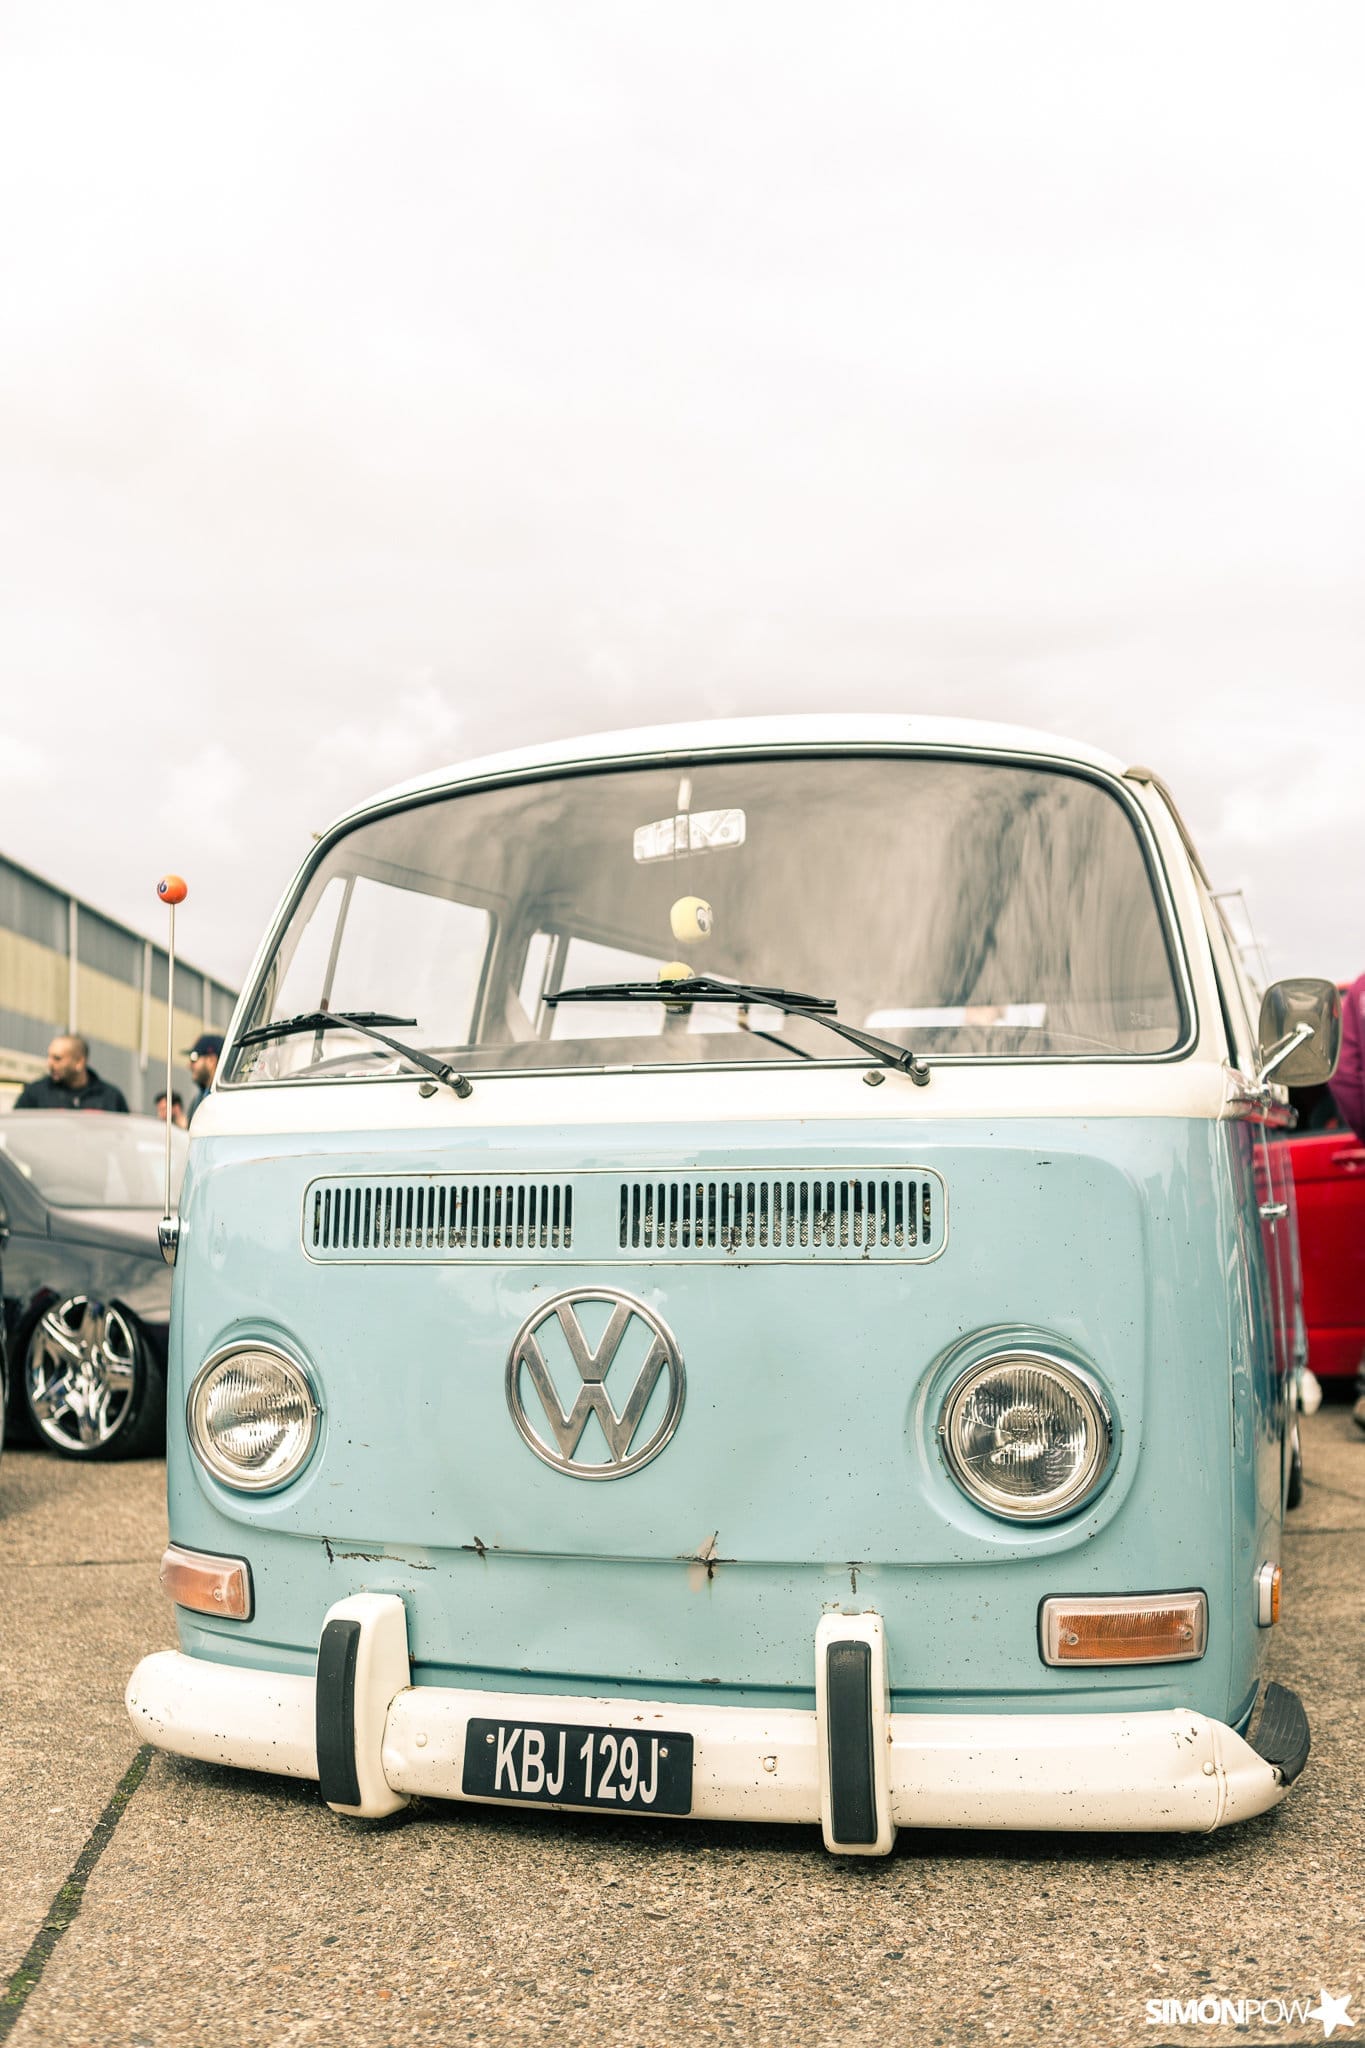
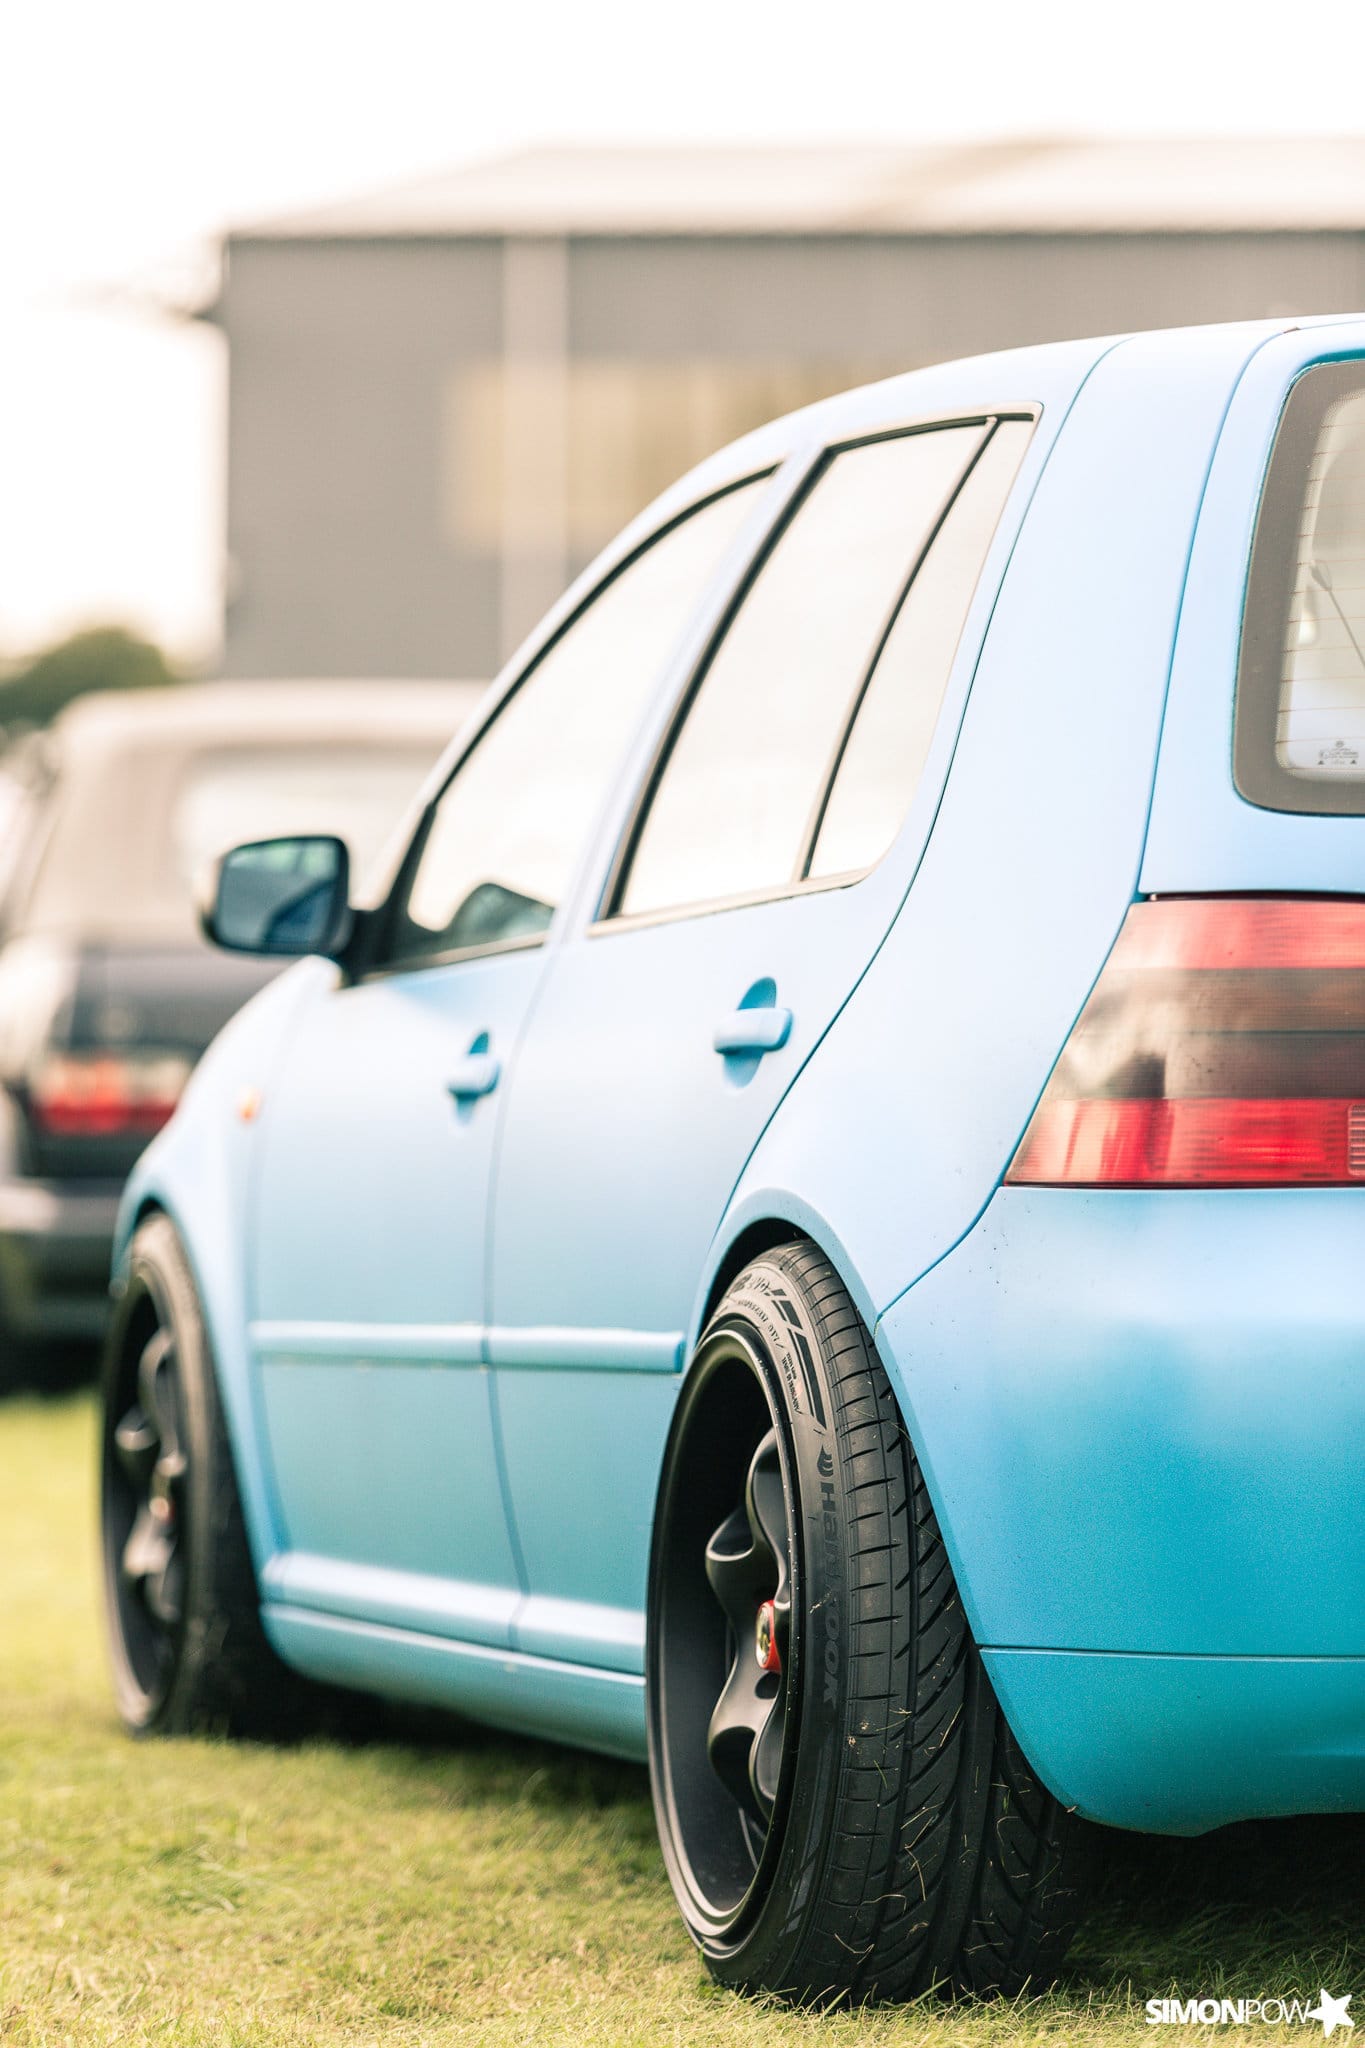
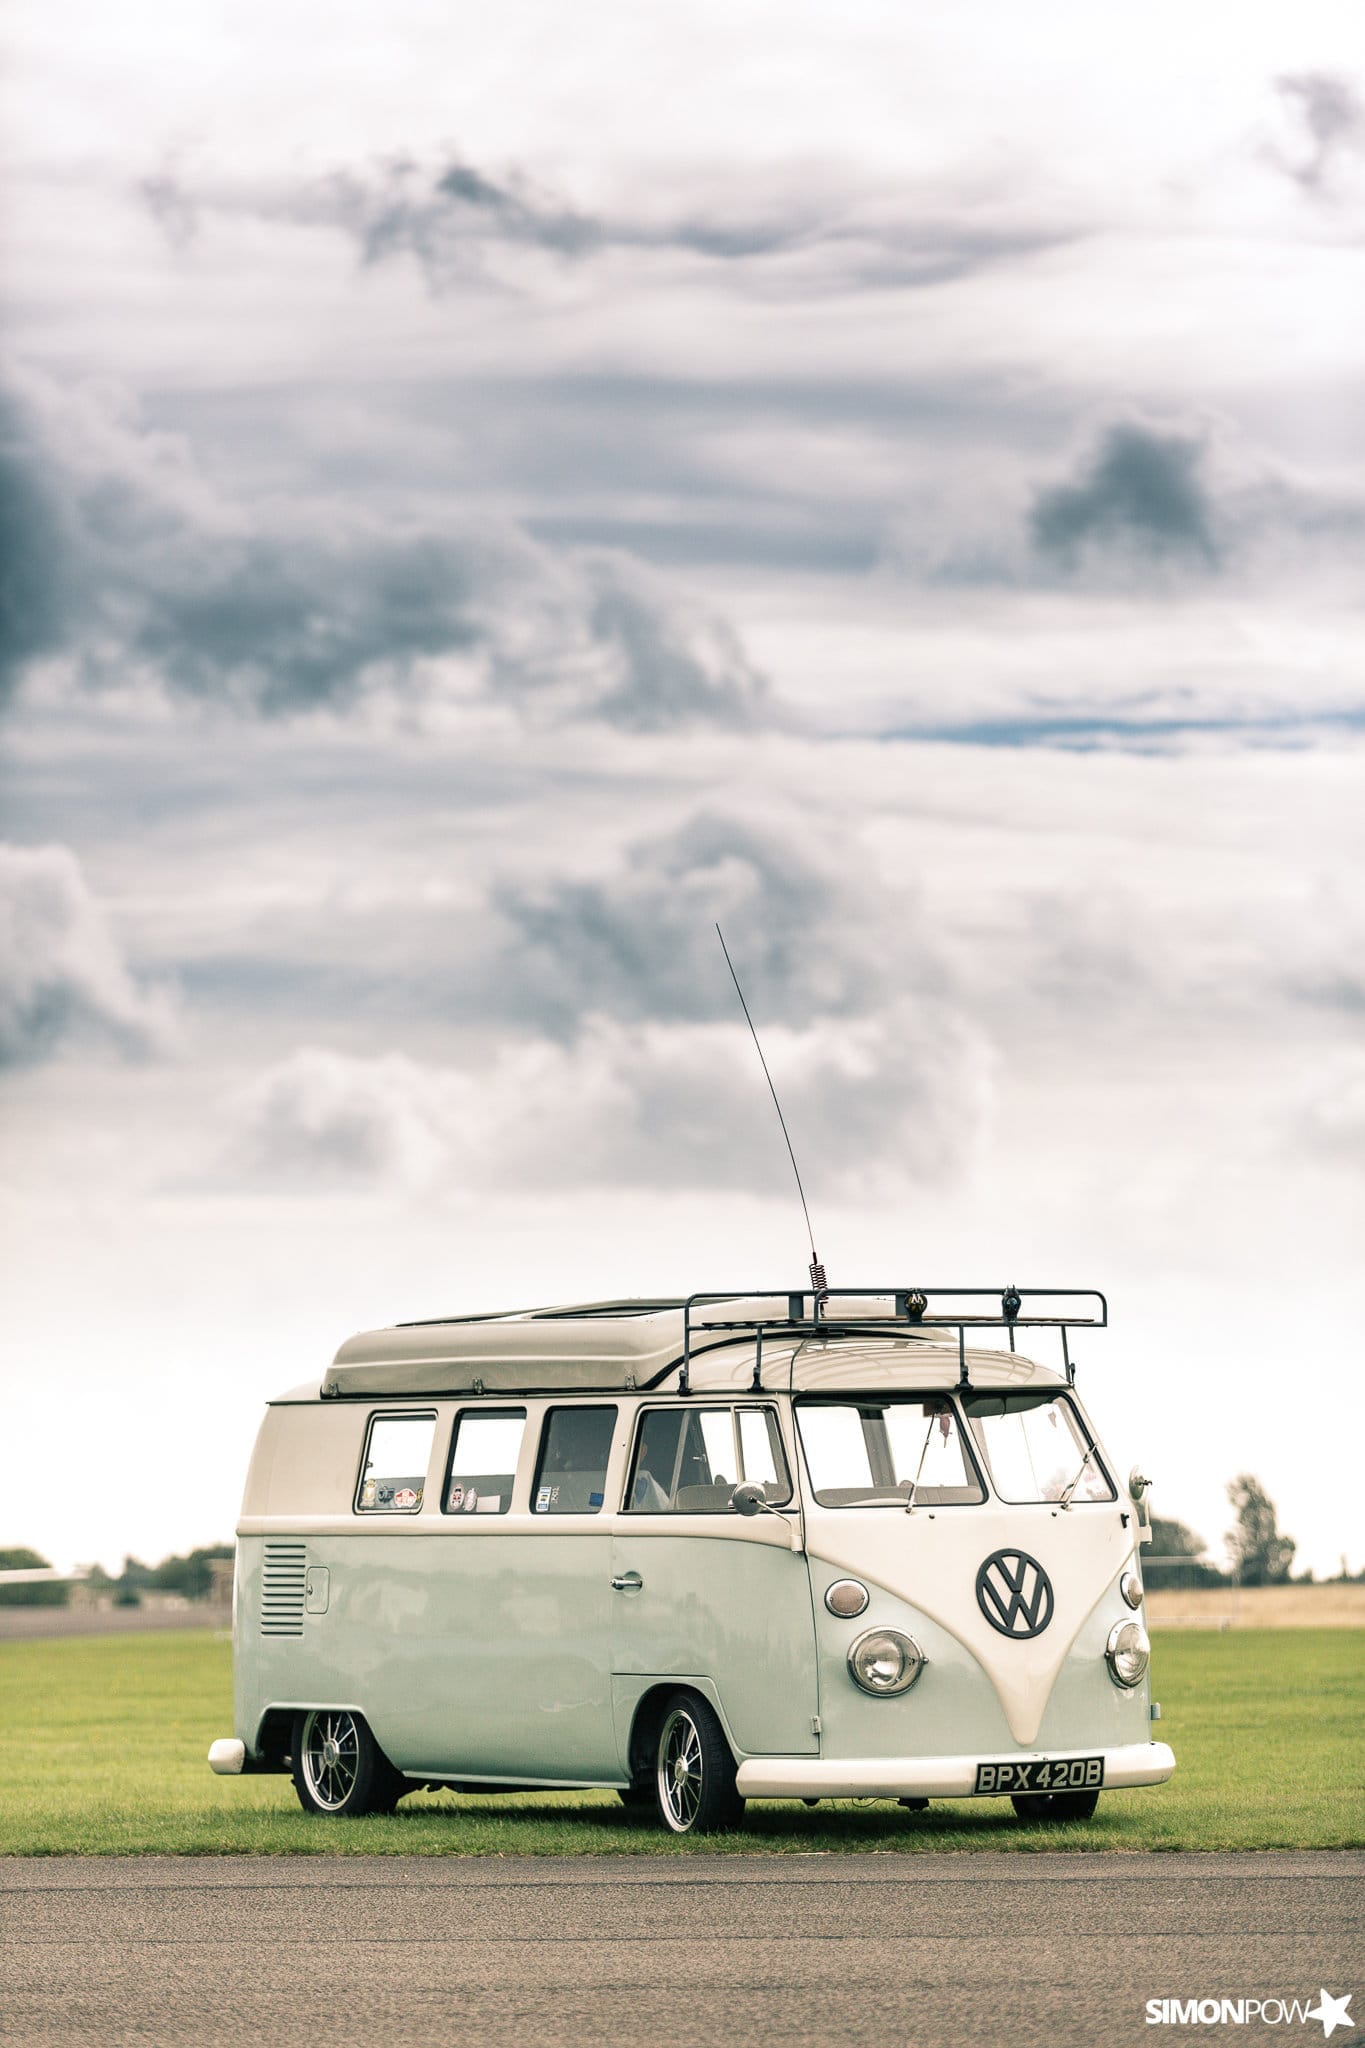
Then came Players on Sunday. Despite it being a long trek for me with a dodgy weather forecast at the far end, it was well worth it. Some stunning cars on show and a great location made it fun for me as a photographer and a petrol head.


Earlier in the summer I shot this tidy little Fiat 500 Abarth down on the banks of the river Severn facing towards the setting sun. I wanted to make the image a little different so I decided to capture the car from 2 angles in the same shot.
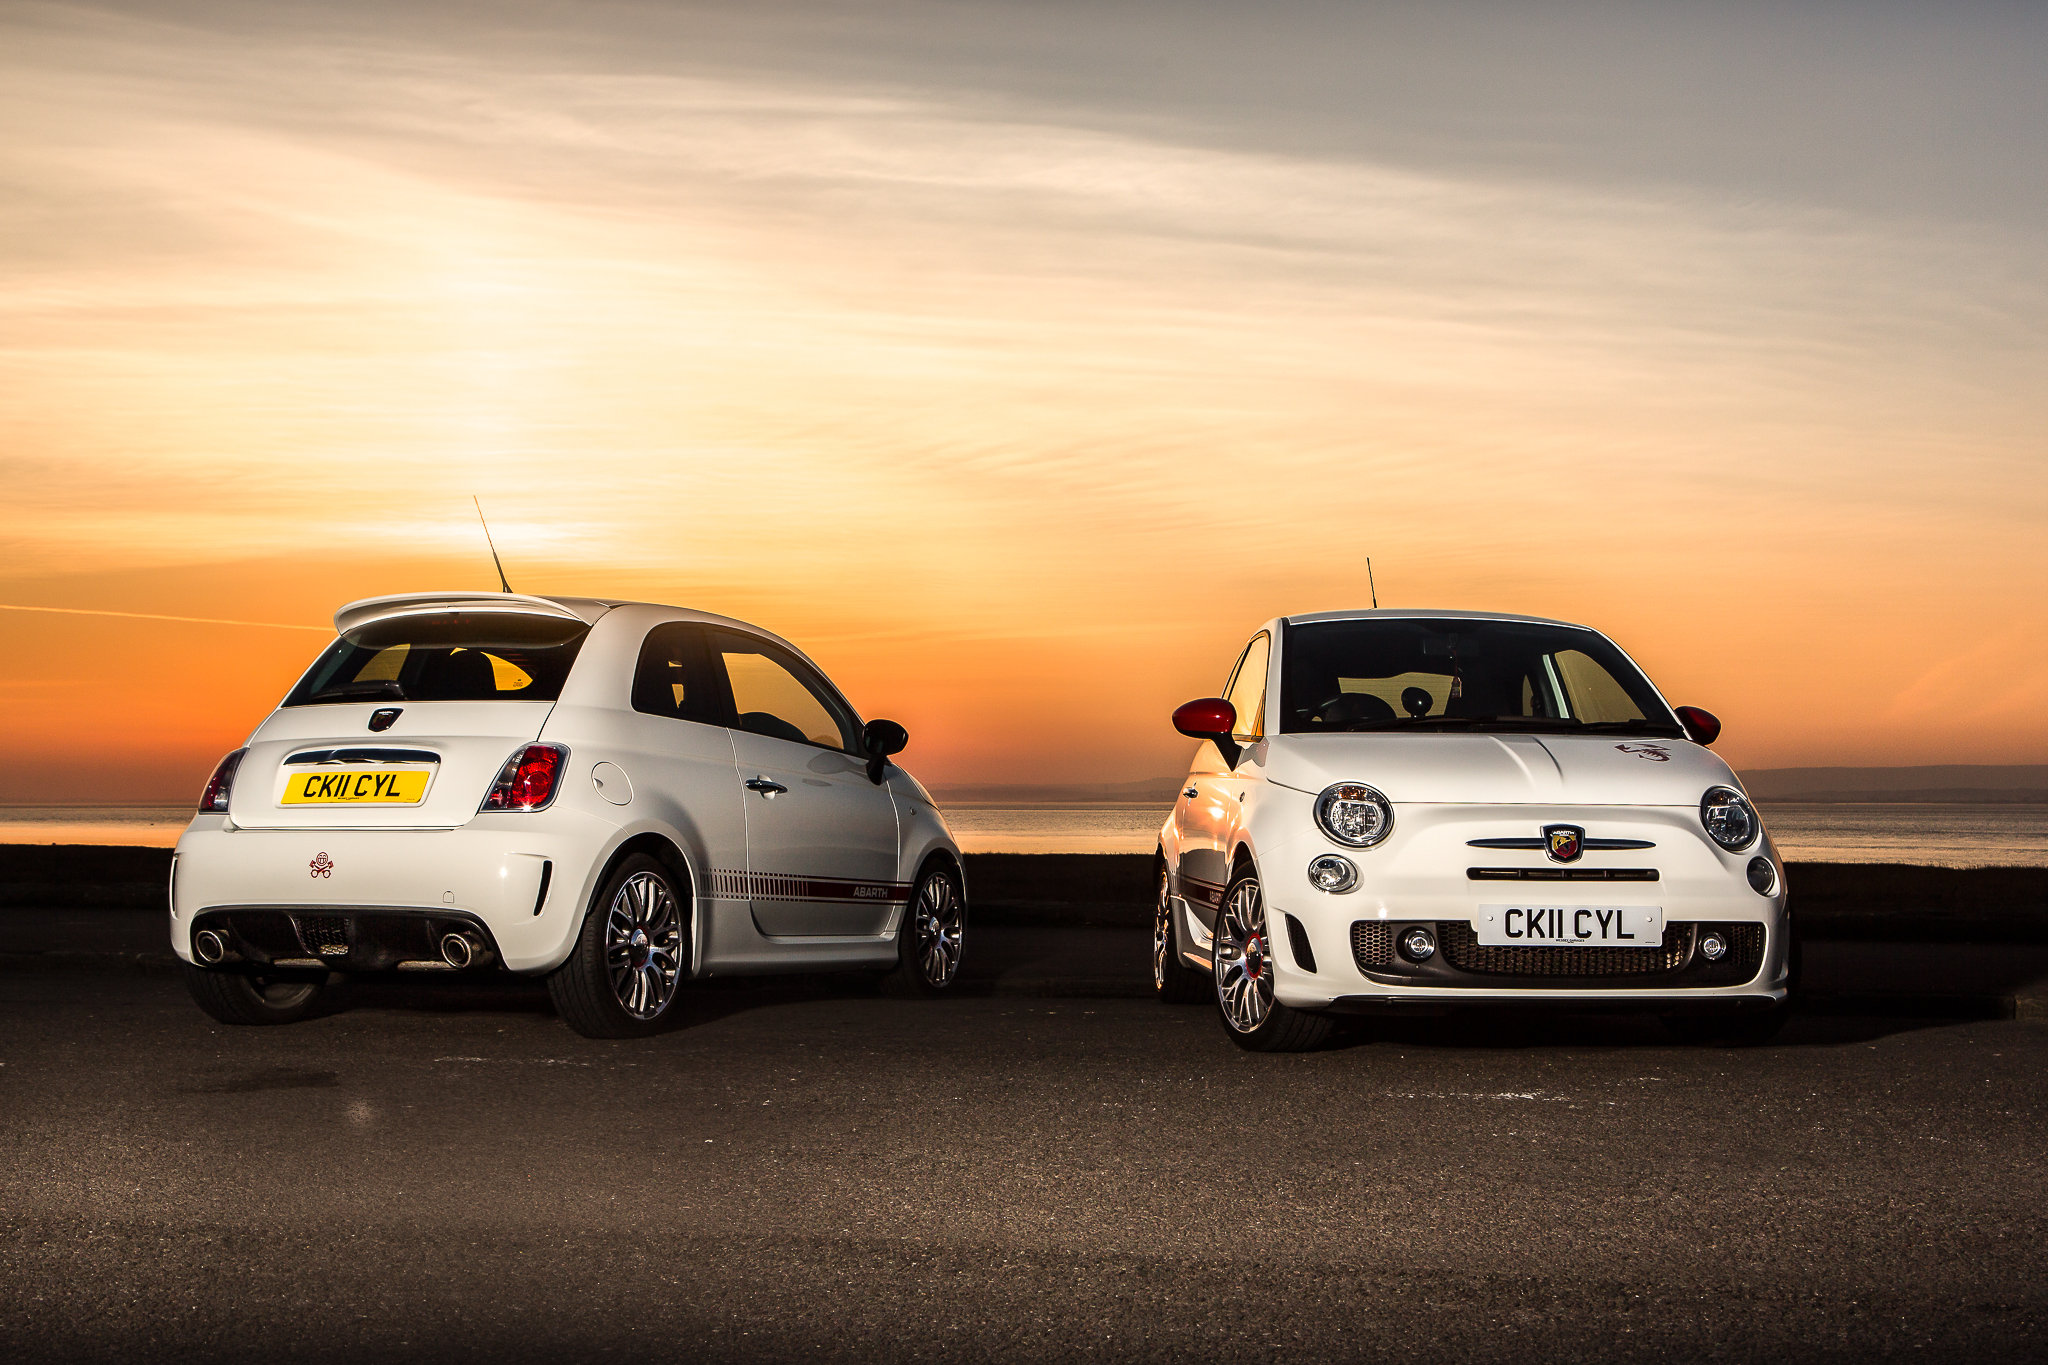
To capture the colour and detail in the sky I had to underexpose by about 2 stops which left the car itself very dark.
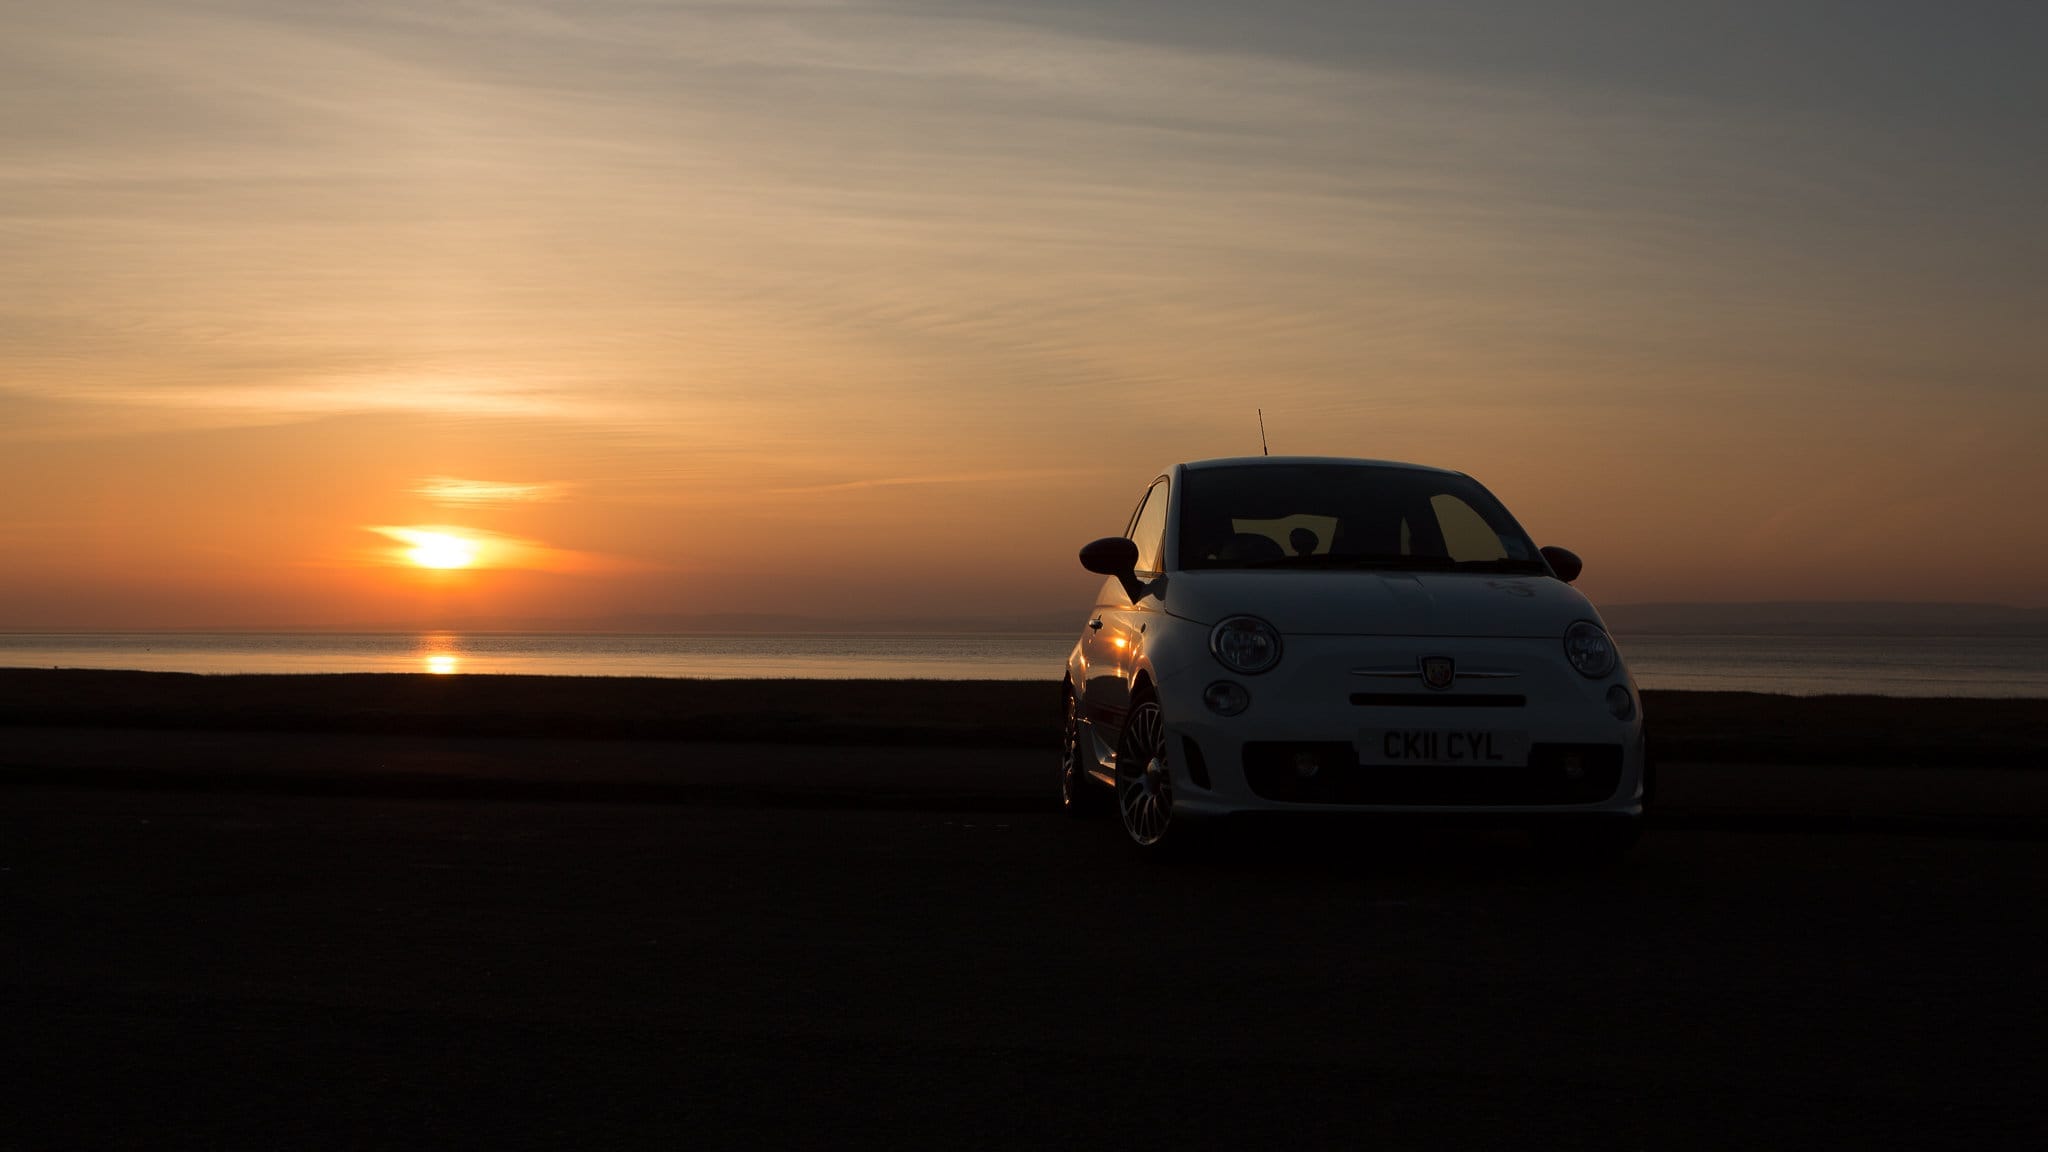
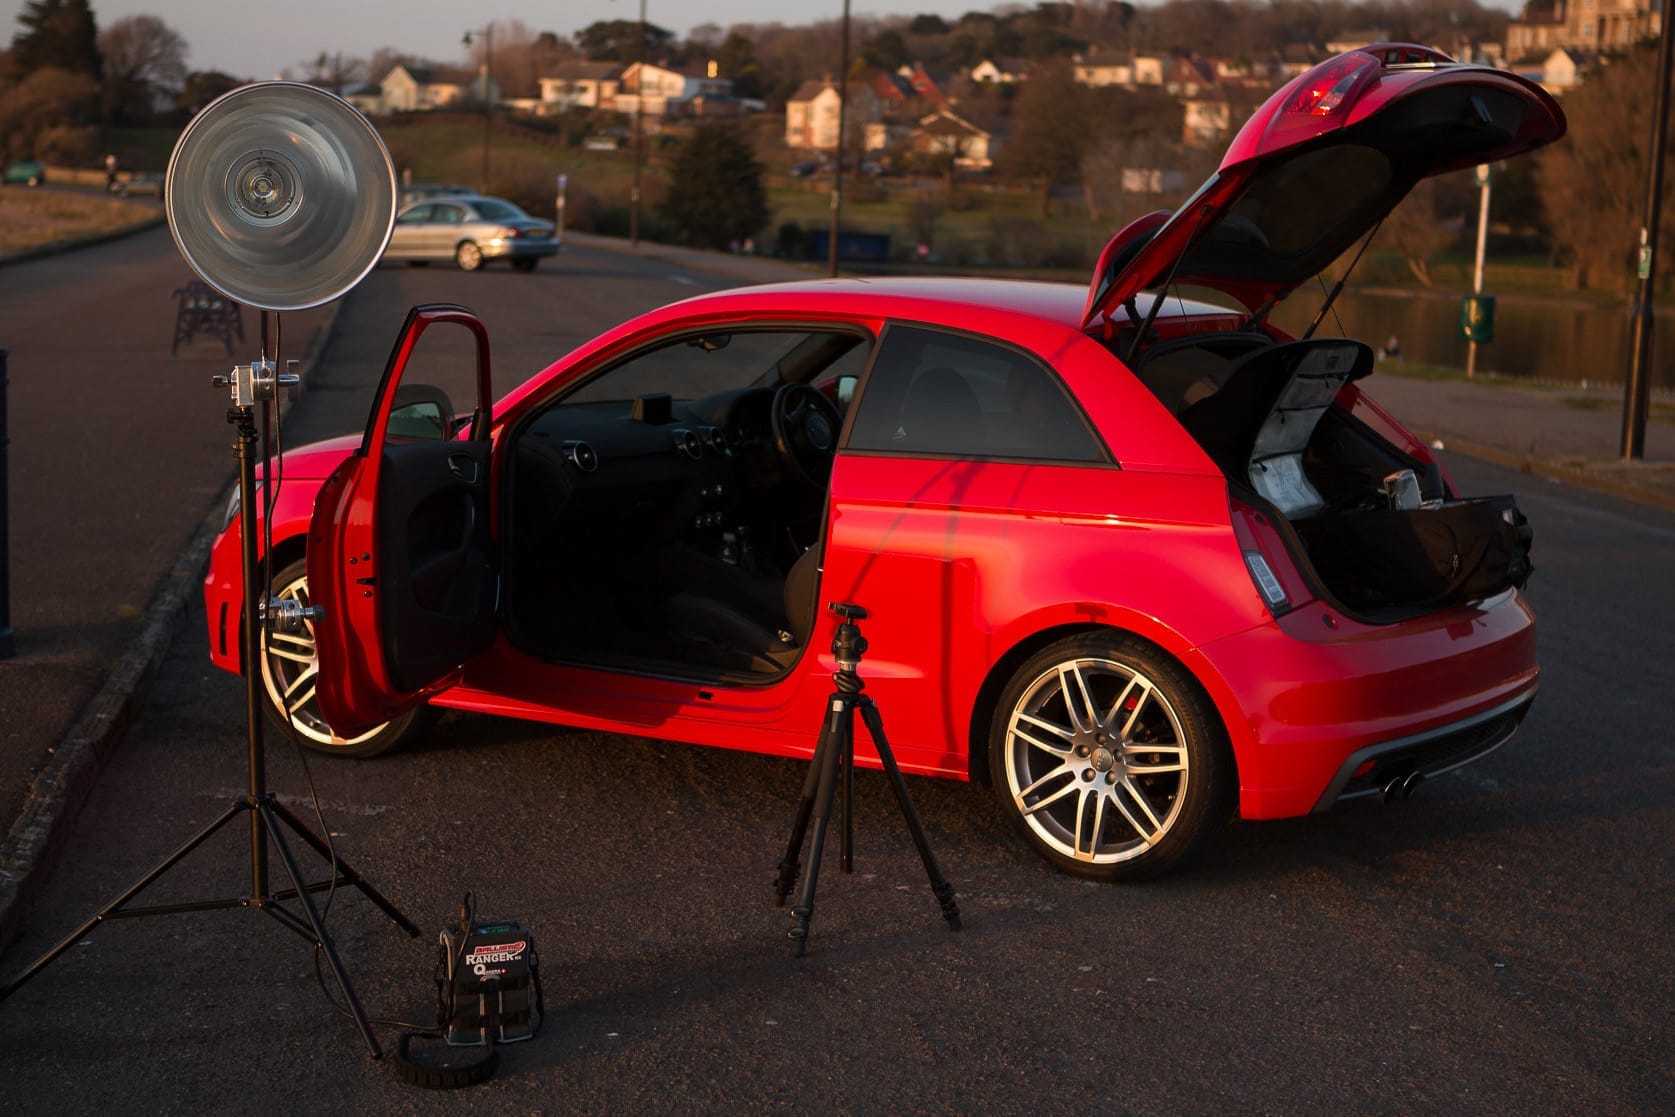
So out came the Quadra! This time in a Maxispot – basically a big metal bowl reflector that creates a tight beam of light and throws it a good distance without much loss. This meant I could position to the light on the other side of the road and not inconvenience passing traffic – although it did get a few quizzical looks at the roadside.
As I was planning to combine 2 images, I was locked down on a tripod for this shot and framed widely enough to fit ‘both’ cars in.

You can’t see it in the images, but I a placed a lens cap on the kerb to mark exactly where to park for the second angle.
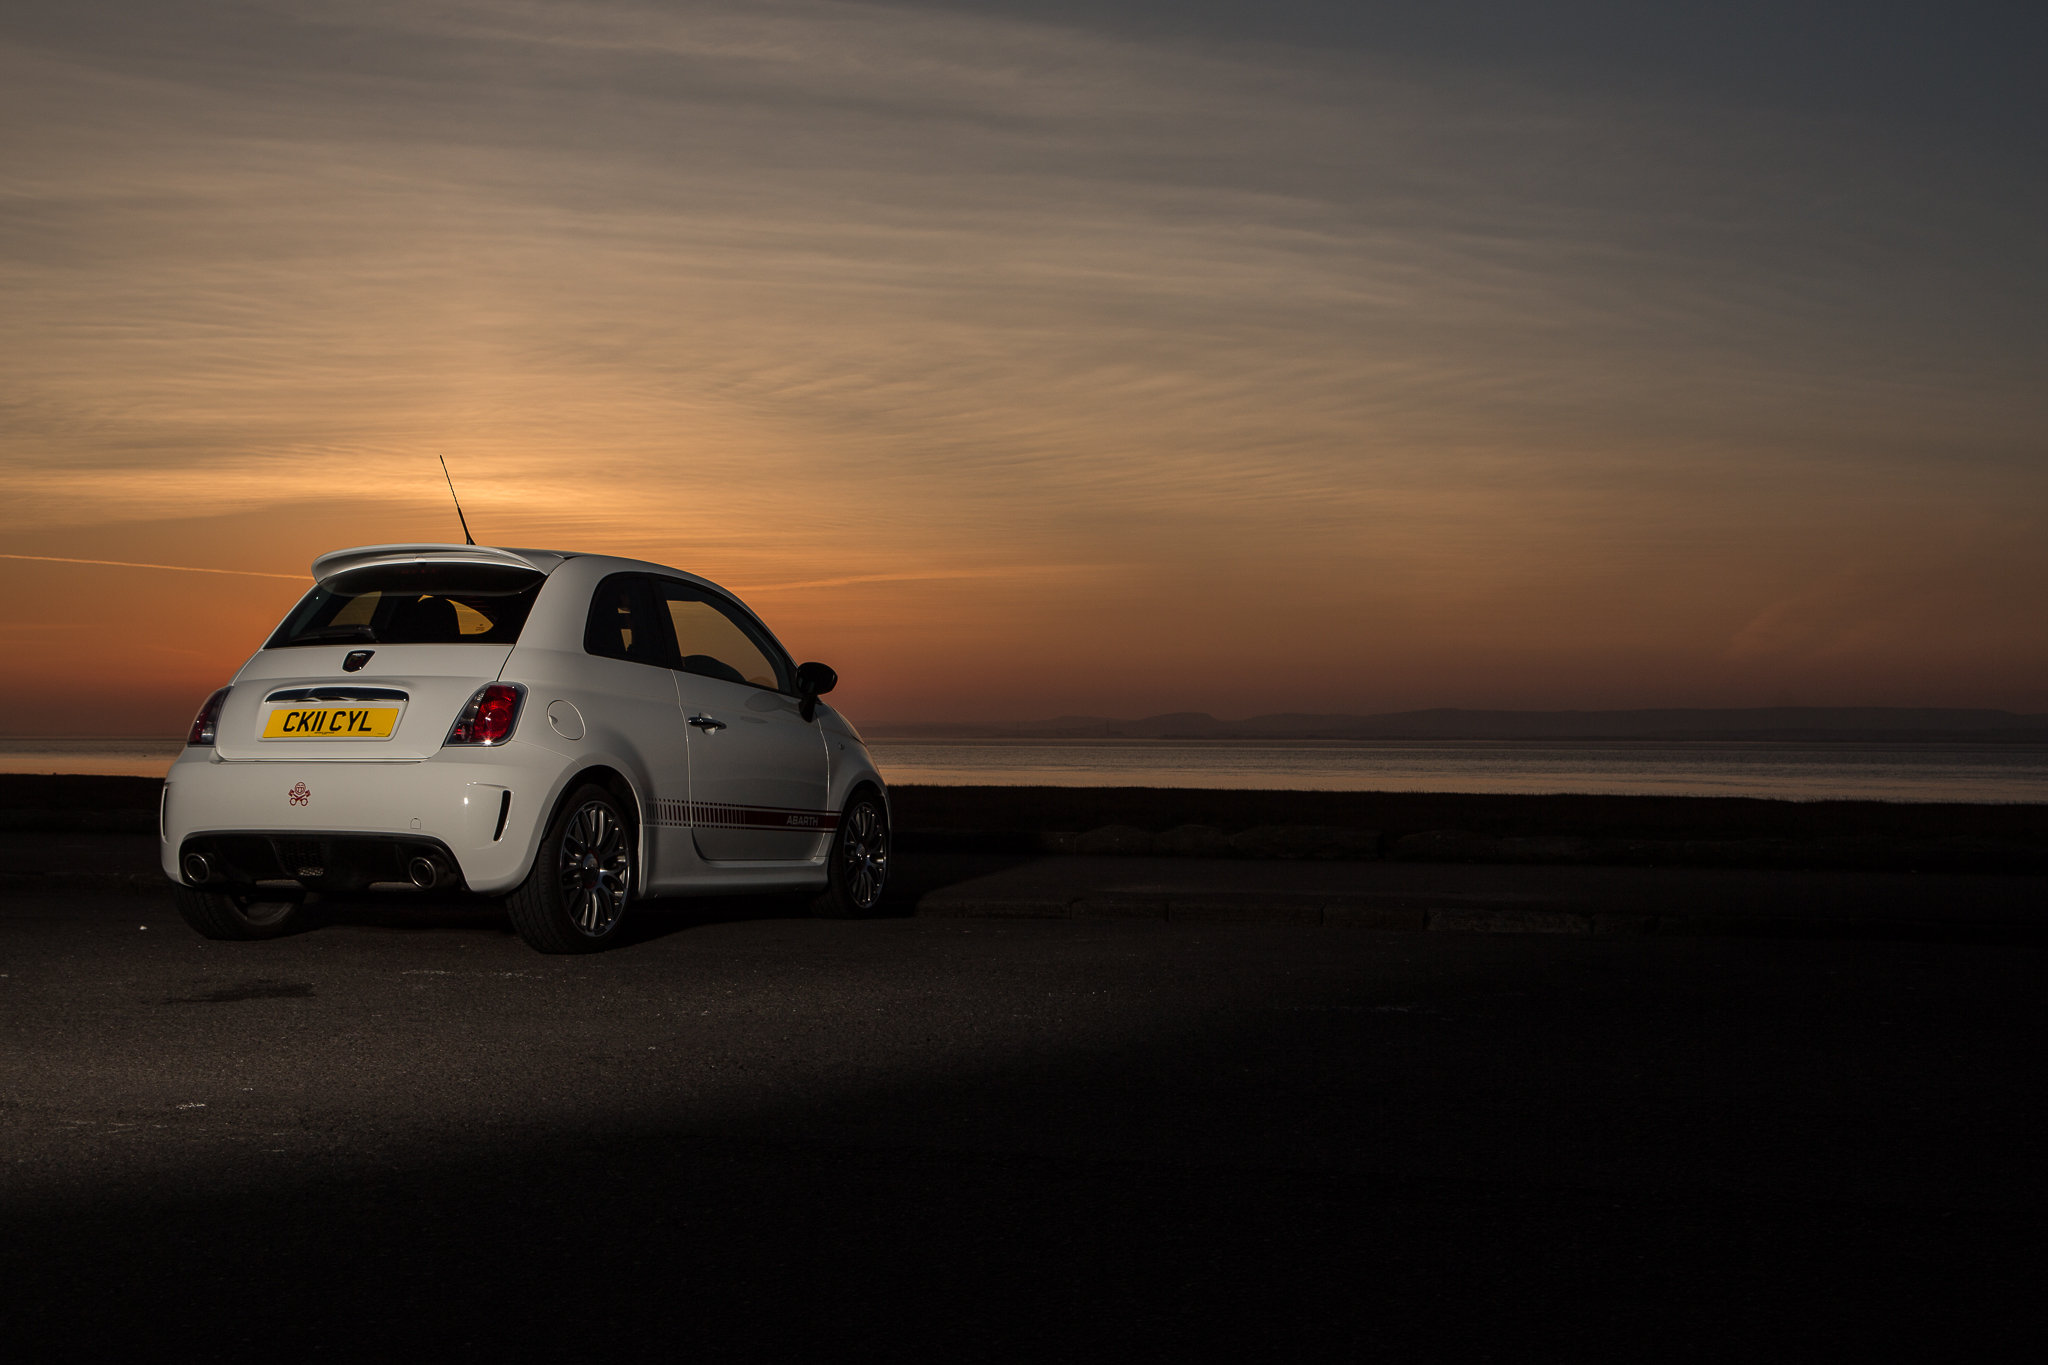
In post production it was simply a matter of layering the two images, masking out the areas I didn’t want and then applying a few contrast, colour balance and exposure tweaks. Here’s the final image again.
If you have only just found my blog, you can catch up on previous Photos of the Week here.

Have you ever noticed that when you don’t get the shot you were trying for it’s always because your gear let you down, but when you do nail it, it’s all about your talent and gear had nothing to do with it?
It’s ridiculous when you see it in set out in black and white isn’t it, but I bet it sounds familiar. Why do we do it?
I think it’s a self defense mechanism. It’s much easier to blame our gear for our shortcomings than to actually admit we screwed up or, even worse, to admit that we reached the limit of our knowledge or ability.
Sure, there are times when gear will get in the way but is it really the gears fault? The camera missed focus, your flash didn’t recycle fast enough or the stupid ISO jumped to 128000 all on its own. All those are gear related but still your fault. Modern cameras are clever and can do many things, but they don’t know what you are trying to achieve. You are driving the bus – it’s your responsibility. Taking the examples/excuses above; The camera won’t change your focus point for you if you are locking on to a distant tree instead of your model. You should know how hard you are asking your flash to work and time your shots accordingly, or crank your ISO so it needs to pump out less light each time. And if you think settings are changing by themselves, you need to sit down with your camera and the manual for an hour or two.
Then there’s the other reason: GAS, or Gear Acquisition Syndrome. In the back of your mind you know it was you that stuffed up the shot, but there’s an insidious part of you brain that keeps whispering “It’s not your fault, you’re awesome! You’d have totally nailed that if you had 2.8 glass and a D4/1DX!” I’ve definitely suffered from this on a few occasions but I like to think I have learned to tune out that little voice inside my brain now. Now it just tells me to try harder!
Of course you should be confident in your abilities but you also need to admit to yourself that you don’t know everything. None of us do, or ever will. Photography is all about constantly educating yourself and pushing yourself creatively. If you think you know it all, put you camera on eBay tonight, photography is not for you.
So stop blaming your gear, own your mistake and learn how not to make it again.
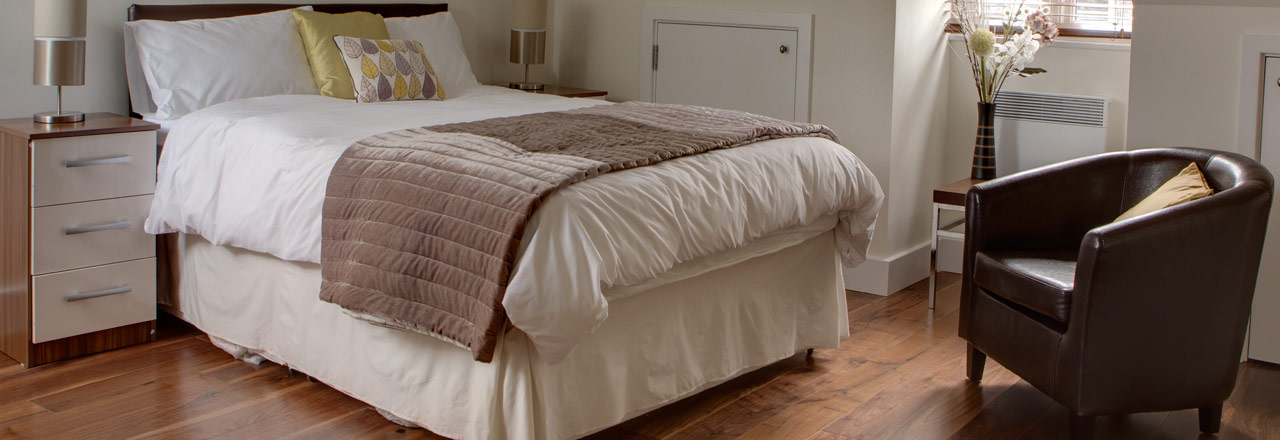
Today’s image comes from a commercial job I did a while ago for a property developer. They wanted some bright and airy photos of one of their developments just outside London.
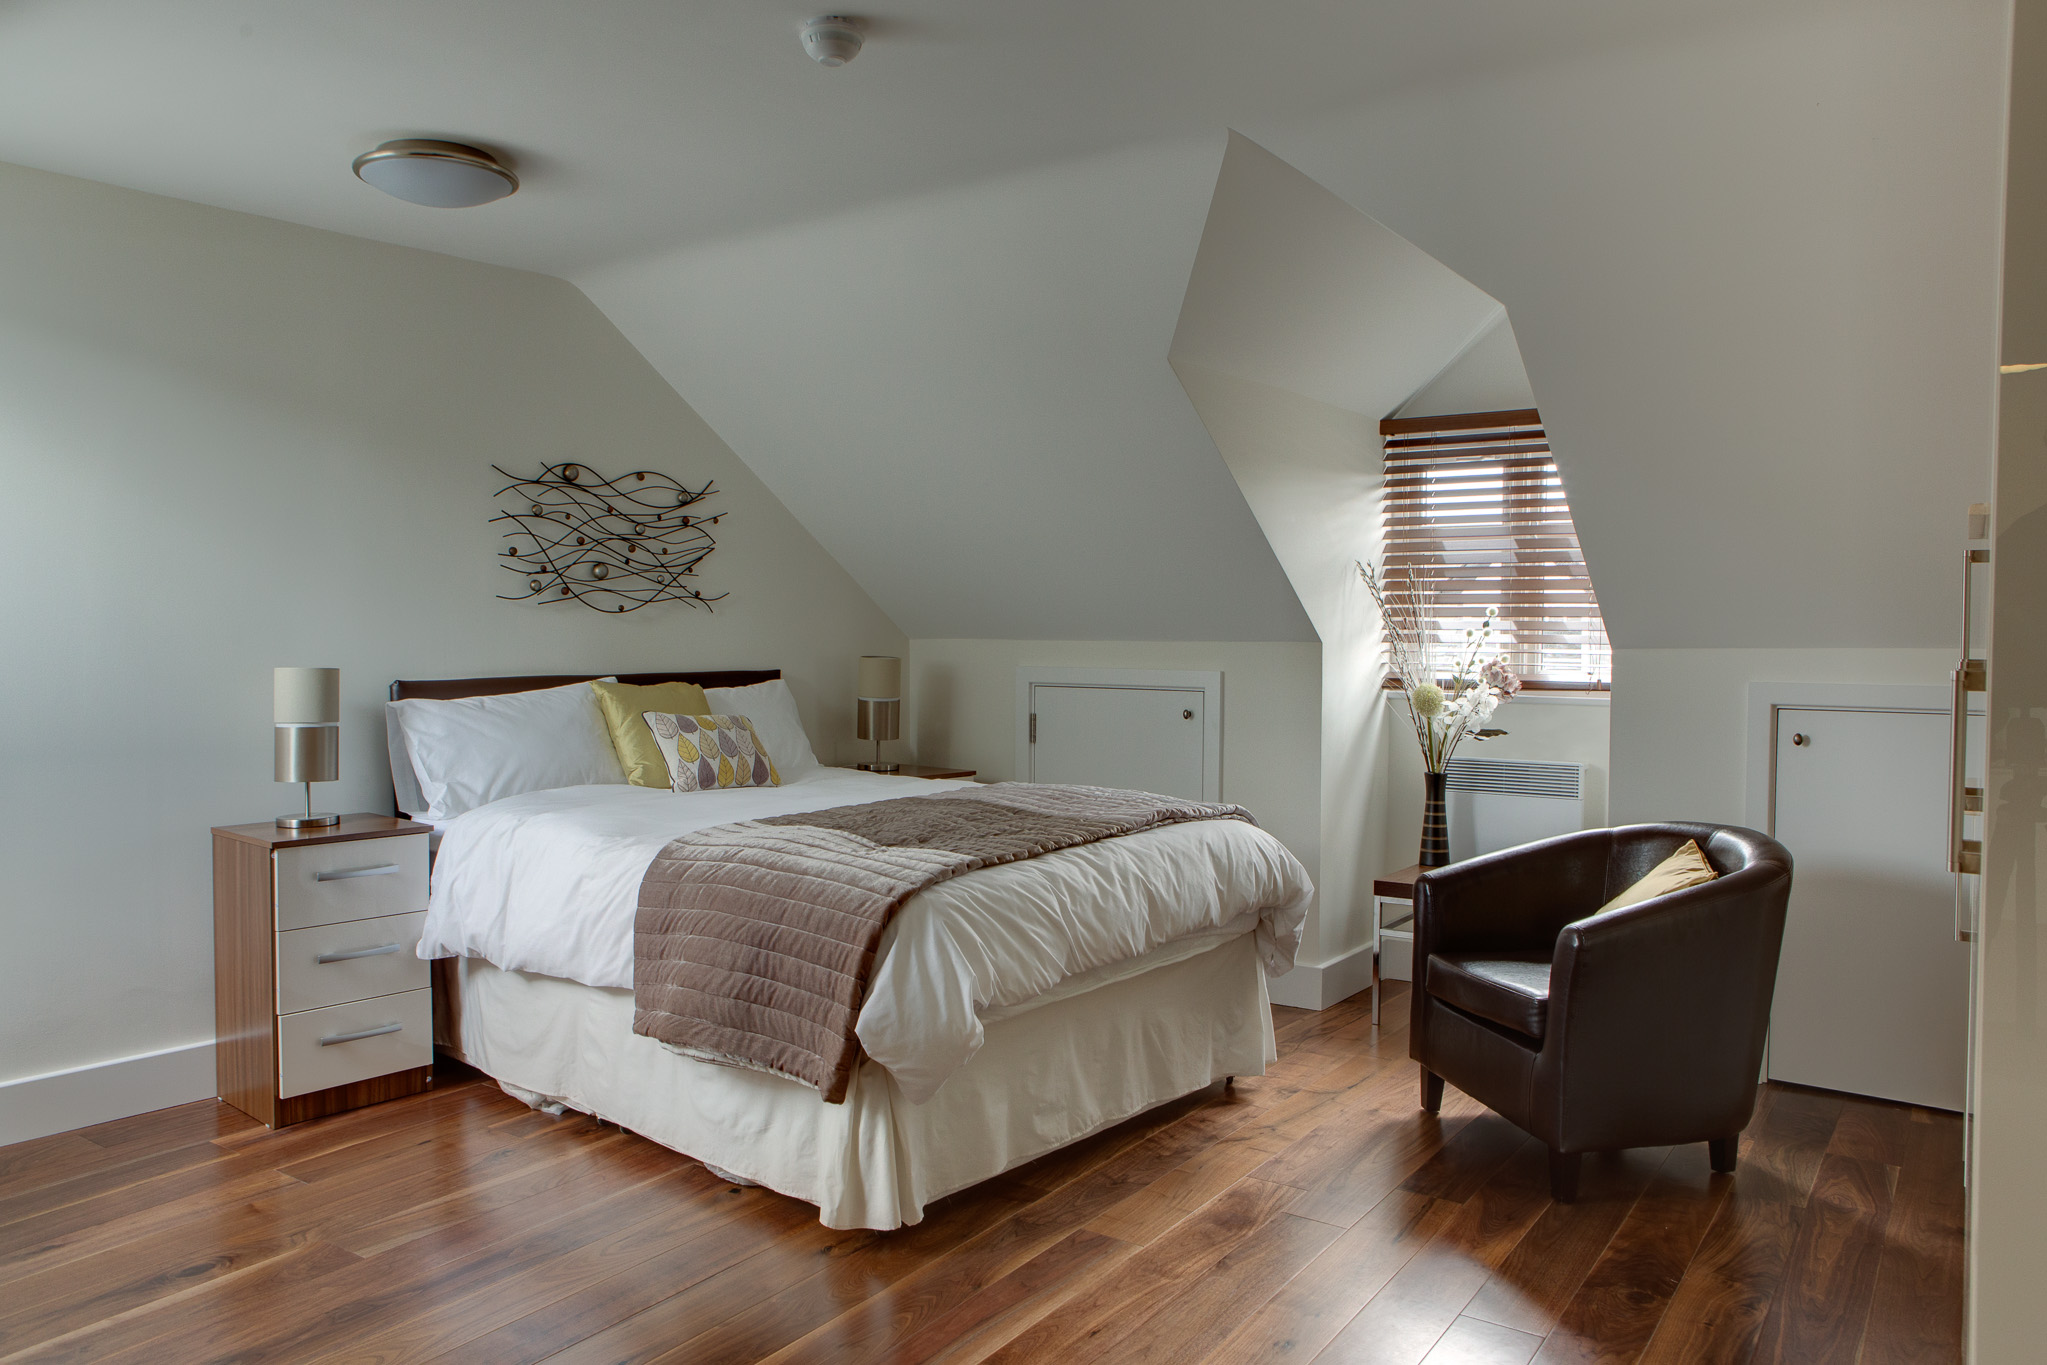
I turned up to the job, as I usually do, with a car full of gear. When you don’t really know what sort of situation you are going to be working in it’s better to have too much than not enough. In this case though, the rooms really were bright and airy so I worked with nothing more than tripod and a wireless shutter release.
To capture as much detail as possible I bracketed each shot, meaning that for each image I took 5 exposures. One at the “correct” exposure, 2 underexposed (-1 and -2 stops) and two more overexposed. The same technique as if I was planning to make an HDR image.

Instead of going all-out HDR I used a Lightroom plugin called Lightroom Enfuse from Timothy Armes. It does a fantastic job of subtly pulling the details from the 5 exposures without going all Trey Radcliff on it. It gave just the look the client wanted without me having to spend hours lighting each room to perfection.
Sharpness in your photos isn’t everything but it is one of the most important things. Even if you are conveying motion or isolating your subject against an out of focus background your subject still needs to be sharp.
Here are 5 tips to staying sharp:
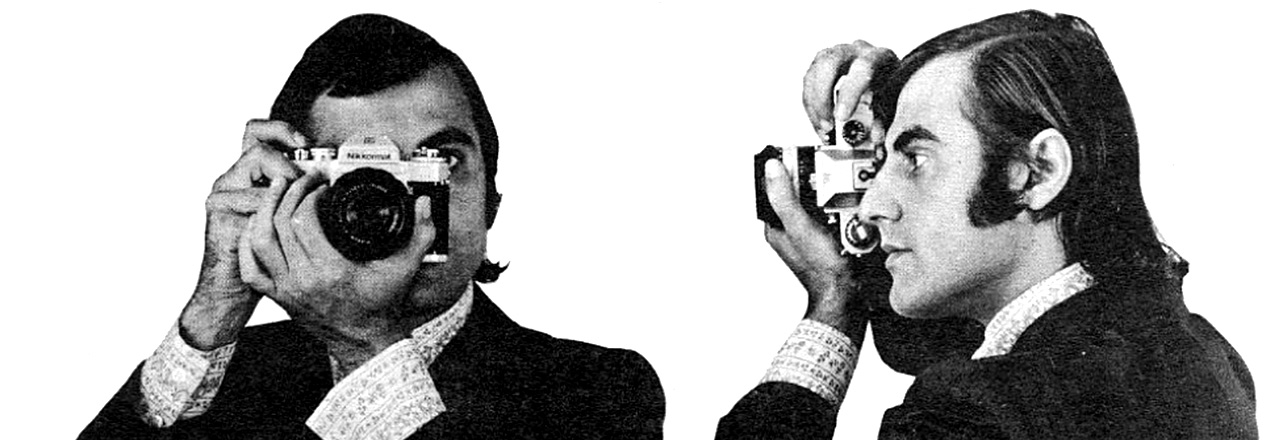
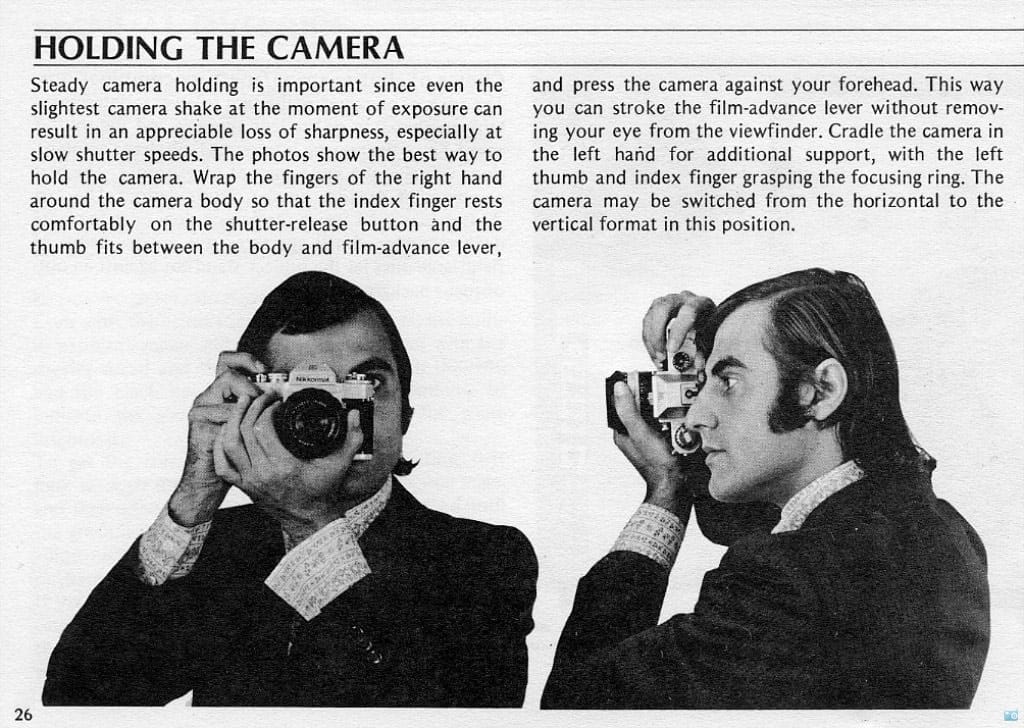
Hold it right
Hold your camera with your right hand and cup the lens from underneath with your left. The advice has been the same since the 70’s!
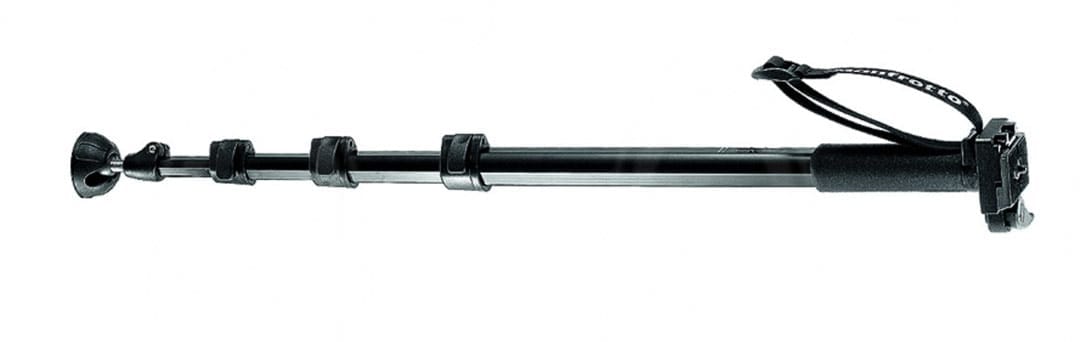
Support system
The longer the lens you are using, the harder it is to keep steady, especially after shooting for a while. This is where a monopod comes in. It’s obviously not as stable as a tripod so you won’t be taking 10 second exposures with it but it will really help you reduce camera shake while still giving you freedom of movement.
Keep your shutter speed up
There’s a simple rule of thumb to calculate how slow you can reliably hand hold. 1/Focal Length. Put simply, if you are shooting at 24mm, you shutter speed should be at least 1/30th of a second. At 200mm it should be at least 1/250th. Yes, Image Stabilization/Vibration Reduction lenses and good technique let you go slower, but the 1/Focal Length rule is a good place to start.
Pick the best focus point
I think most people focus and recompose – the technique where you position your subject under the centre focus point, half press your shutter button (or back button), change composition and take the shot. This is fine unless you are shooting with a shallow depth of field. Even that slight swing of the camera will change the distance to your subject and potentially move your focus from the eye to the tip of the nose or the ear. To reduce the amount of movement you have to make, select the focus point that closest to the area you want critical focus on.
Don’t be shallow
Just because your lens goes to f/1.8 or wider doesn’t mean you have to. If your subject is moving, even an inch backwards or forwards can knock out your focus. Stop down a bit so you have enough depth of field to cover what you want sharp and give yourself some leeway. Especially if it’s a situation that you aren’t in total control of.
Got some tips of your own? Add them to the comments below.

Today’s Photo of the Week is dedicated to Stephen Dowset who sent me a message on Facebook asking how this image was made. In camera or in Photoshop?
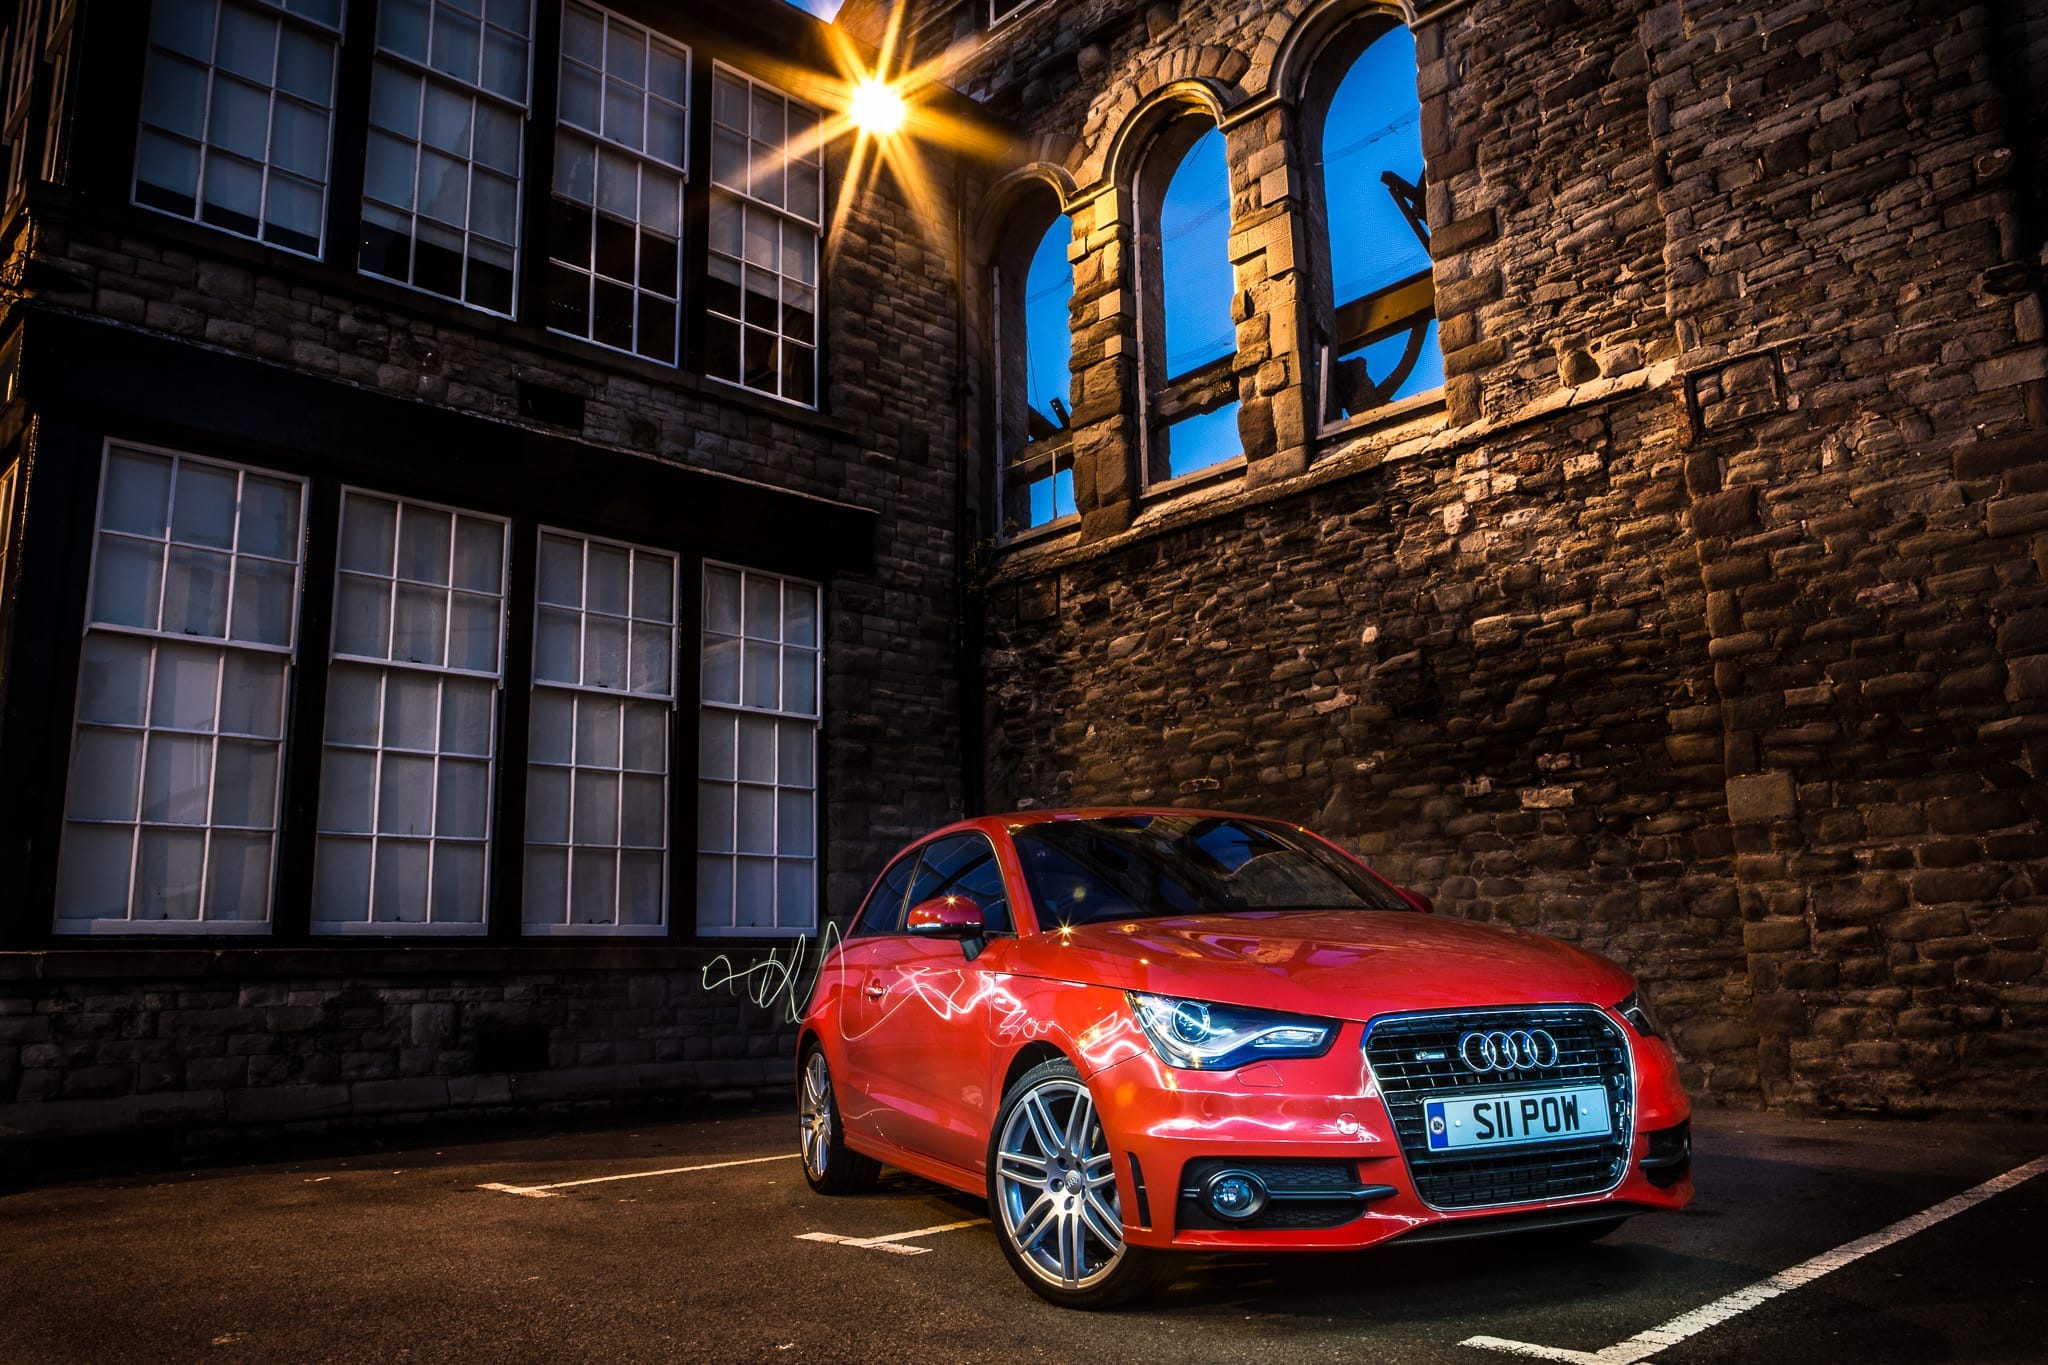
The answer is: Both.
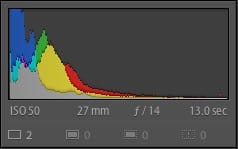 I have a more detailed write up on light painting cars and to be honest, the technique on this one is pretty much the same. The only real difference was the ambient light in the scene which dictated my shutter speed. 13 seconds at f/14 was the sweet spot and gave me time to cover about a quarter of the car per exposure. The main thing to remember is that you need to need to light the roof of the car from behind to stop it blending in with the darker background and to take more images than you think you need so you have plenty to chose from in post production. So after many clicks of the shutter and lots of running around waving a Quadra head (with modelling light on) I was left with a selection of images to sort through in Lightroom and layer up in Photoshop.
In this case I was shooting from a tripod so the images were already aligned but Photoshop is very good at auto-aligning layers if you are working freehand and have an assistant to move your lightsource.
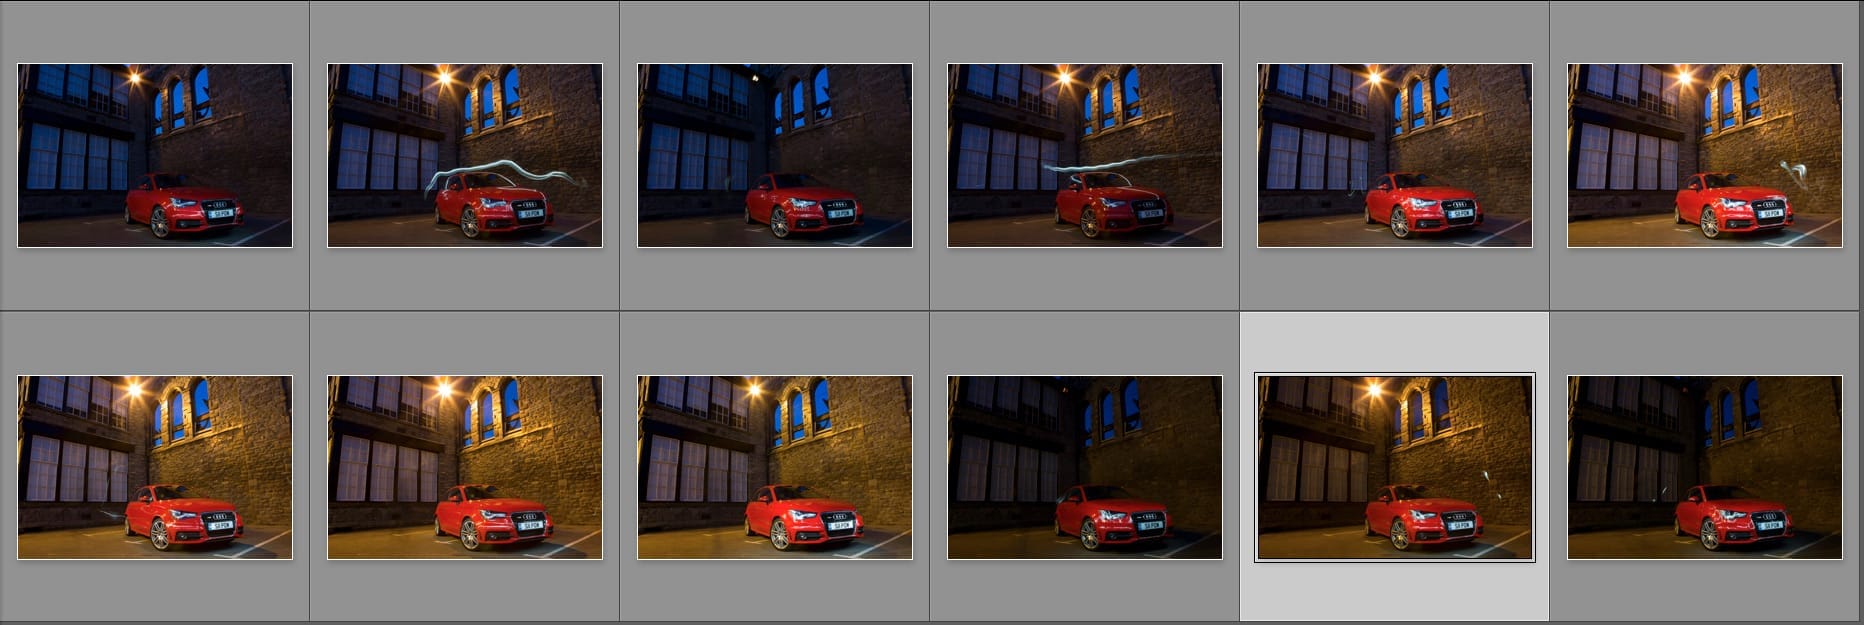
Once in Photoshop, it was simply a case of switching all but the bottom layer to ‘Lighten’ blend mode (so only areas that are lighter than the layer below show up) and adding a few layer masks to cover up where my light, rather than it’s reflection in the car, had been captured. You’ll notice I left one of those “mistakes” in as I like how the light trail seems to come off the car and drift away.
The final contrast tweaks on the brickwork and the car were added in Lightroom.

Recent Comments