Ever since Adobe released Lightroom in 2007 to take on Apple’s Aperture, I have been an avid user of Adobe’s digital asset management and RAW processing app. I downloaded trial versions of both and despite being an Apple fan, I just didn’t bond with their offering. It’s reached the point now where I can’t see how I could function as a photographer without Lightroom. I can’t imagine dealing with 2000 photos from a day shooting drifting with nothing but Finder, Bridge and Photoshop. Here are 8 reasons I think you should try it too:
1. Easy Asset Management
It’s not headline grabbing or glamourous, but the way Lightroom keeps all your images organised is Lightroom’s killer feature. As soon as you import from a memory card, Lightroom takes over and neatly files all your images away in a date-based directory structure (1), both in the program and on your disk. Once in your catalog you’ve got countless way to organise things. I have to admit I am a bit lazy when it come to keywording (4) images , but I do make extensive use of picks, ratings, colour coding (3) and Collections (2). I’ll go into my workflow in much more detail in an upcoming post.
2. Simple, powerful RAW processing
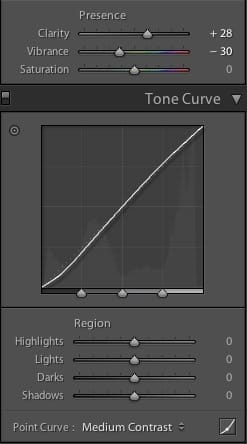
The Lightroom Develop module is the same RAW processing engine as you’ll find in Photoshop’s Camera RAW – in a party dress! It’s got a huge amount of power under the hood, presented as a thoughtfully grouped column of sliders. If you don’t shoot RAW (subscribe to the blog for an upcoming post on why you should be) Lightroom can still do a lot of its magic with JPG’s.
Working from top to bottom, you start with basic exposure tweaks and move on to more advanced colour and tone edits. All very quick to work with after you get into the swing, even quicker when you start to automate the process for multiple images.
3. Batch Processing
This comes in very handy after a studio shoot, or anything where at least some of your settings have stayed constant. Let’s say you took 200 shots against a white seamless in manual mode and every image is the same exposure but the background is not quite solid white. You can edit photo one, bumping the highlights and adding a little sharpness and contrast then just apply those setting to all 200 photos in a second. You can sync just one edit, all of them or anything in between.

4. Presets
Presets take batch processing a notch further but are one of those things that can be misused just like Photoshop Actions – they are collection of any Lightroom edits that you can stamp onto a photo. But with great power comes great responsibility! You can buy, or download free off-the-shelf presets from the likes of Nicole Young or Matt Kloskowski but I’m not a fan of these pre-made presets. I definitely don’t suggest you use them as they come or your post processing is going to look like hundreds of other photographers’. Third party presets are no magic button to make a bad photo good but they are a jumping off point for creating your own. I have a preset that gets applied to the majority of my motor sport photography. It’s been incrementally tweaked over time and it’s now at a point where I can have Lightroom automatically apply it at import. Being just a recipe of slider settings, it can be adjusted to fit a particular image or removed entirely without doing anything nasty to the original RAW file.
5. Export Options
Since first using Lightroom v1.0, I’ve never kept a JPG file. I know some people will export a batch of images to upload to a 500px or Facebook and then file those JPGs away with the original RAW files but I don’t bother as I know I can easily dump them out again if needed from a Collection. I’ve also built a few export presets to automatically resize, sharpen and watermark my images for various outlets, saving me yet more time.
6. Filters
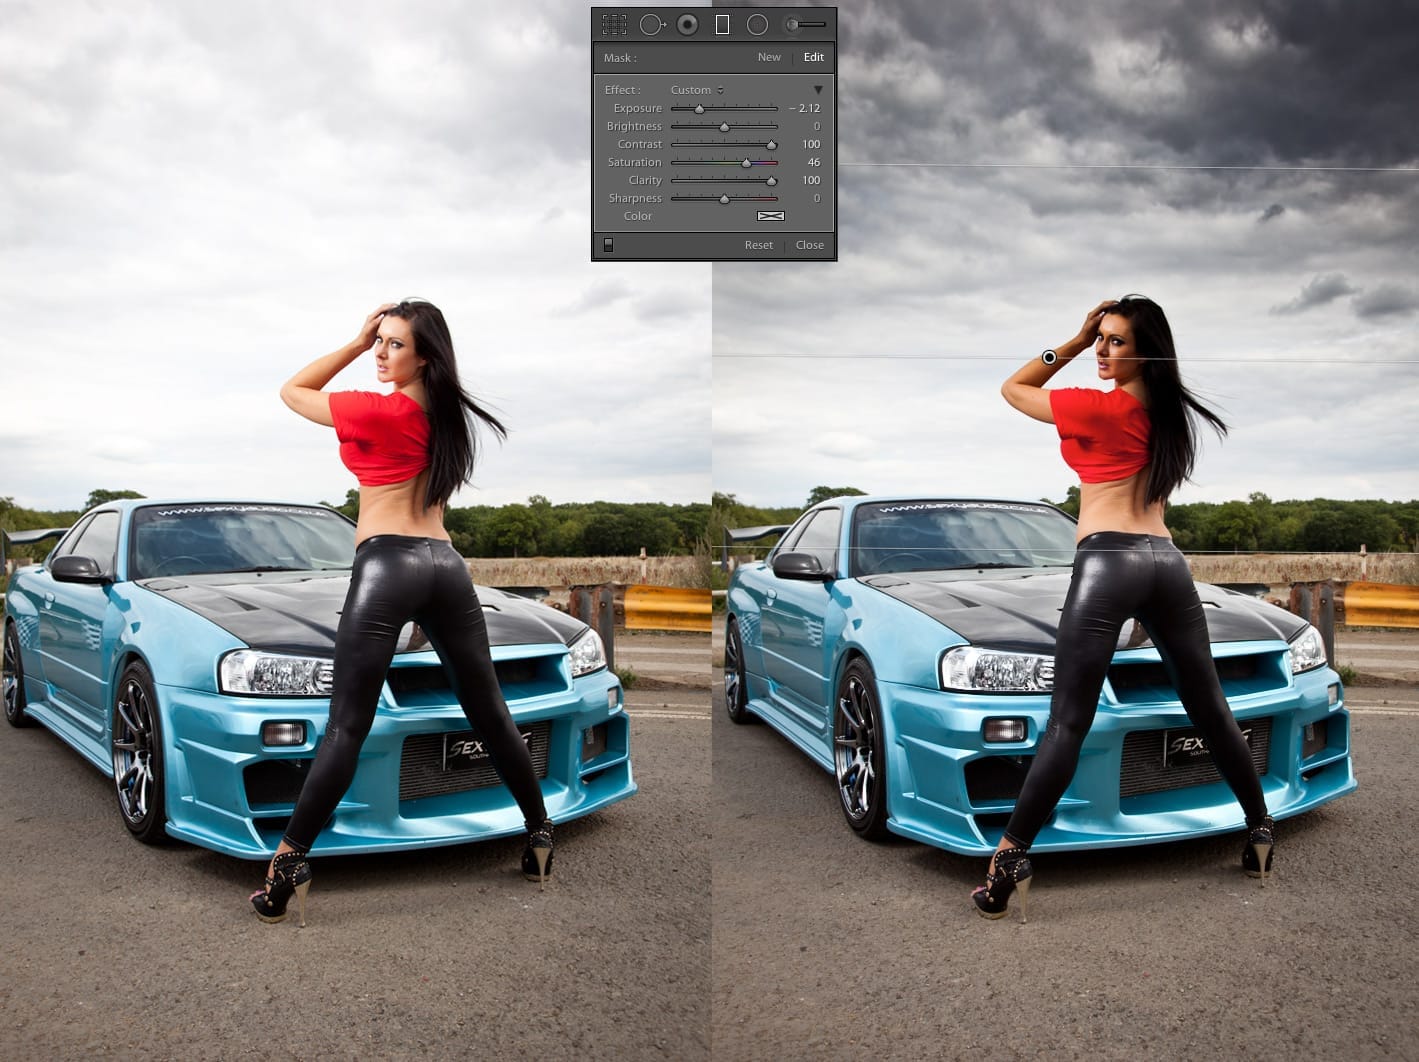
We aren’t talking gimmicky Instagram filters here. These are more like digital copies of real world filters. The graduated filter is my favourite and you see it used in a lot of my photographs. Often if you expose for you subject when outside the sky will blow out a little, losing detail. Dragging the gradient filter down from the top of the image and setting it to pull down exposure and boost the contrast will pull some extra dynamic range from your RAW file and give you much more detail in the sky.
7. Lens corrections
Yes, you can do this in Photoshop, but the Lightroom implementation is just so good I have it set up to run automatically on import. Lightroom reads the EXIF data within your image, finds out what lens was used and at what focal length and instantly corrects any distortion and chromatic aberration. I’ve seen this make Sigma lenses look like Canon L glass – worth the cost of entry alone!
8. It’s a bargain!
Speaking of cost, at a smidge over £100 Lightroom 5 is a steal. If you value your time and would rather be out shooting then sat in front of your computer sorting images into folders, it’s pretty much a no brainer. It might even save you buying Photoshop! Grab a copy of the free 30 day trial and give it a spin.


Awesome mate thanks, will give it a try!