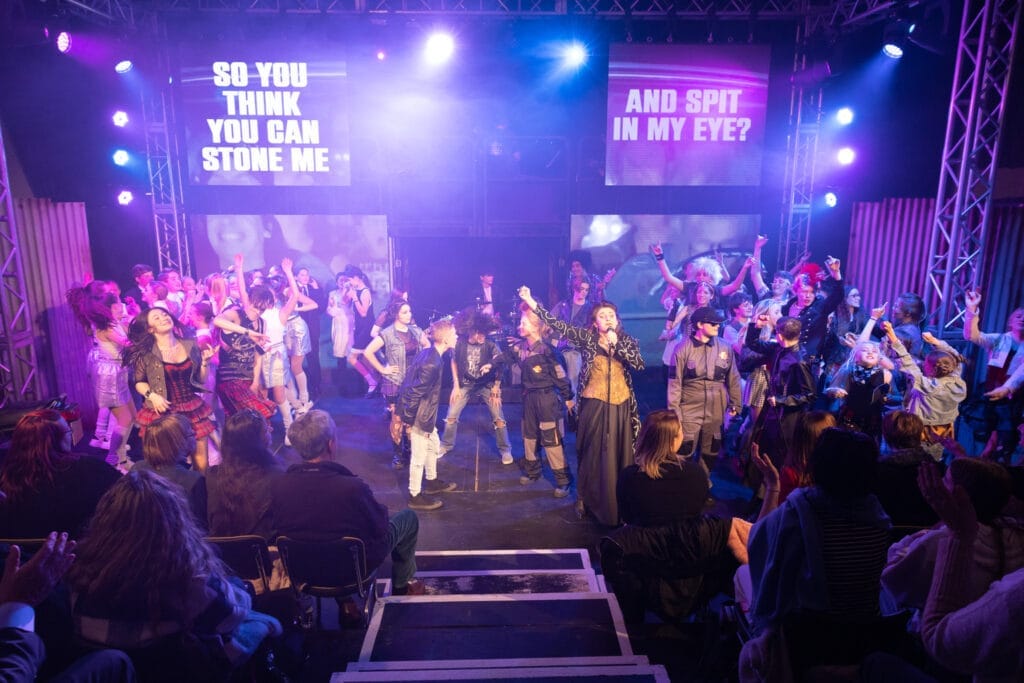
Over the last few months I have been lucky enough to work on a production of the Queen musical, We Will Rock You at Clevedon School.
Because I’ve been helping with an increasing amount of video work since the first COVID lockdown, the Drama department came to me to ask if I could work on some graphics for the “big screens” they had planned to echo the West End version of the show.
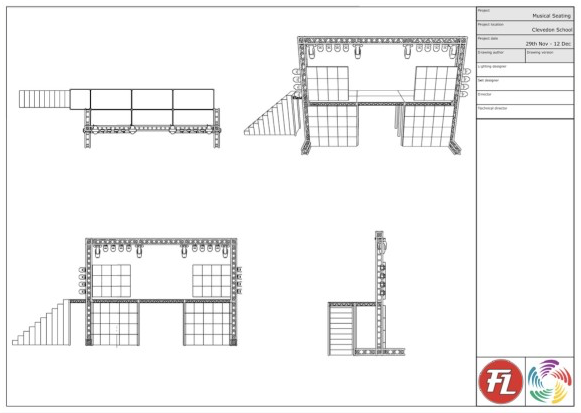
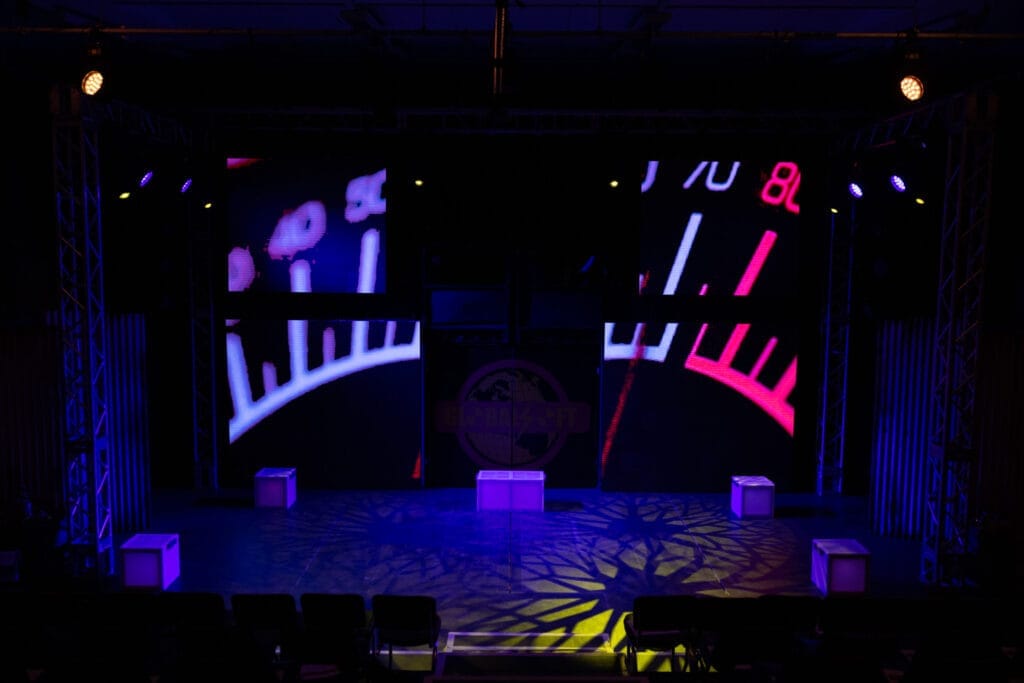
Of course I said yes as it sounded like a fun opportunity… and that was before I realised how big “big” actually meant. Almost floor-to-ceiling; about 16 feet tall!
After chatting with FineLine Lighting, the company supplying the gear, I knew the layout and resolution of the screens and that I could feed them all from a single video file, which made things a lot easier!
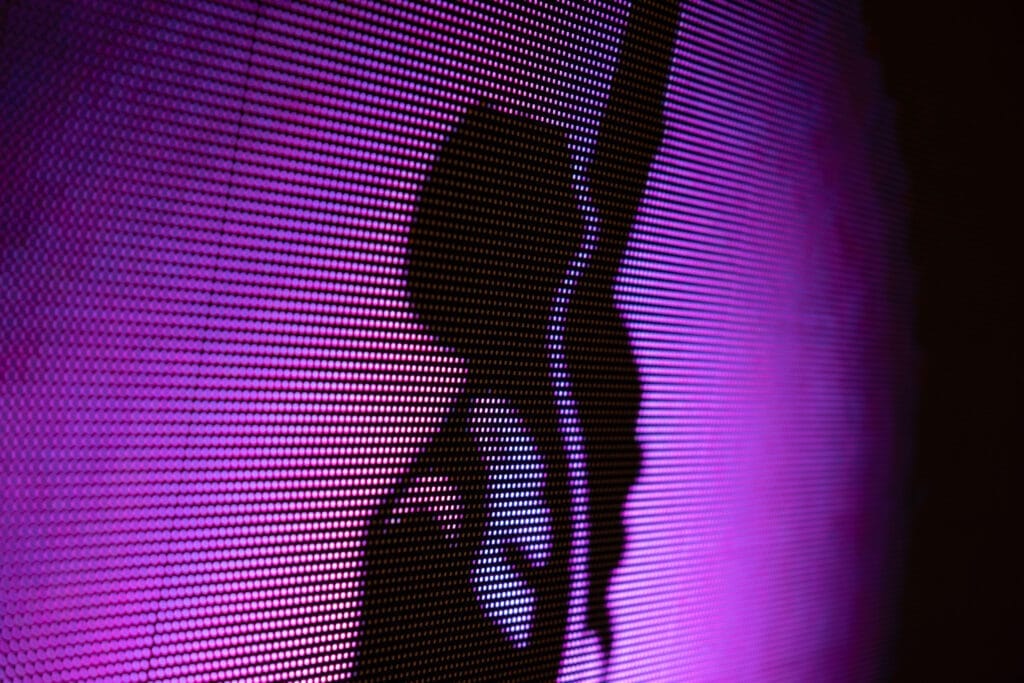
My initial thought was that I’d need to create something pretty high resolution for such a big output, but it turns out the screens are actually quite low res, in the same way billboards are printed at much lower DPI than a standard photo.
After reading the script, I knew three types of video were needed:
- Static backdrops to compliment the physical set pieces
- Animations to back the musical numbers
- A couple of “video calls” where characters on stage interact with recordings playing back on the screens.
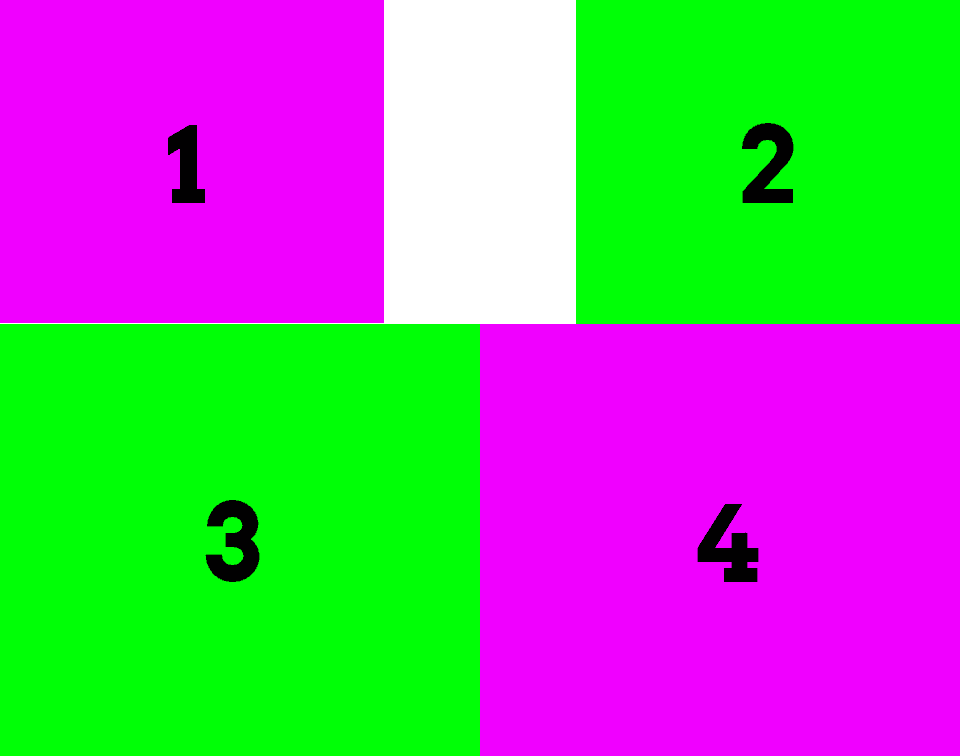
They all started the same way in Premier Pro, with a sequence created at 960 x 756 – the resolution off all 4 screen at their tallest and widest points. I used this image at the starting point for each, not just to quickly set the sequence size by simply dragging it straight to the timeline but to act as a layout guide by making it the top video layer at a low opacity. By creating guides in Premier to mark out each screen I could easy have different images on each screen by cropping or masking to those guides.
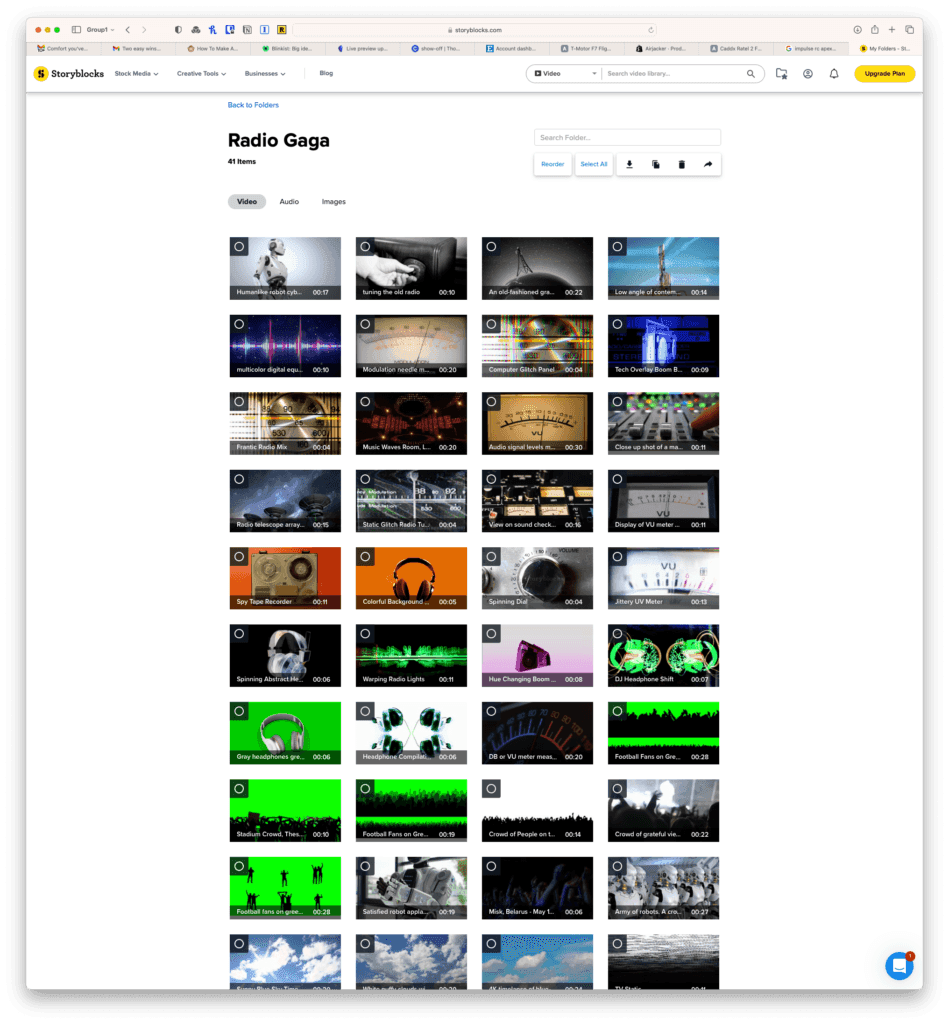
When it came to gathering assets, StoryBlocks was my go-to. I created a folder in my account for each scene in the production and added all relevant content to match the desired feel. For instance, I chose a literal approach for “Radio Ga Ga,” the opening number, with plenty of knobs, dials, and headphones.
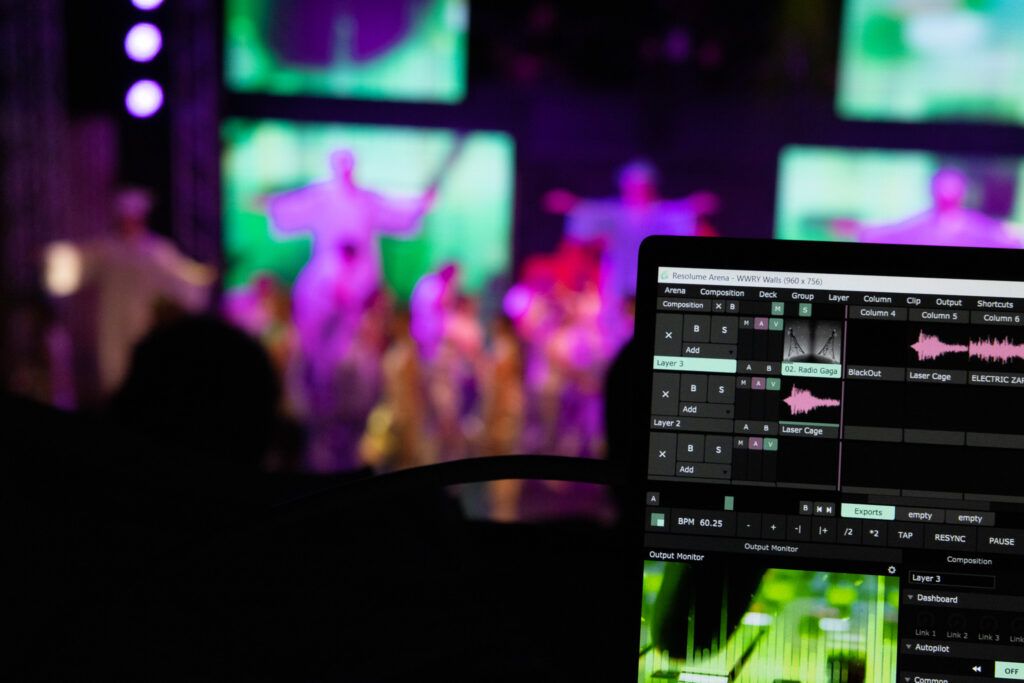
Pre-production was only part of the equation. We ran the show for 7 performances using Resolume, a program I hadn’t used before. It was powerful, though I only used it to manage a playlist of videos. I couldn’t figure out how to crossfade between clips, so I used my Black Magic ATEM Mini Pro to fade to black when transitioning to the next clip.
During each performance, I found something else that could be improved. Sometimes it was adding sound effects to the main timeline, or re-exporting videos with cross-fades built in. But the biggest changes were related to timing.
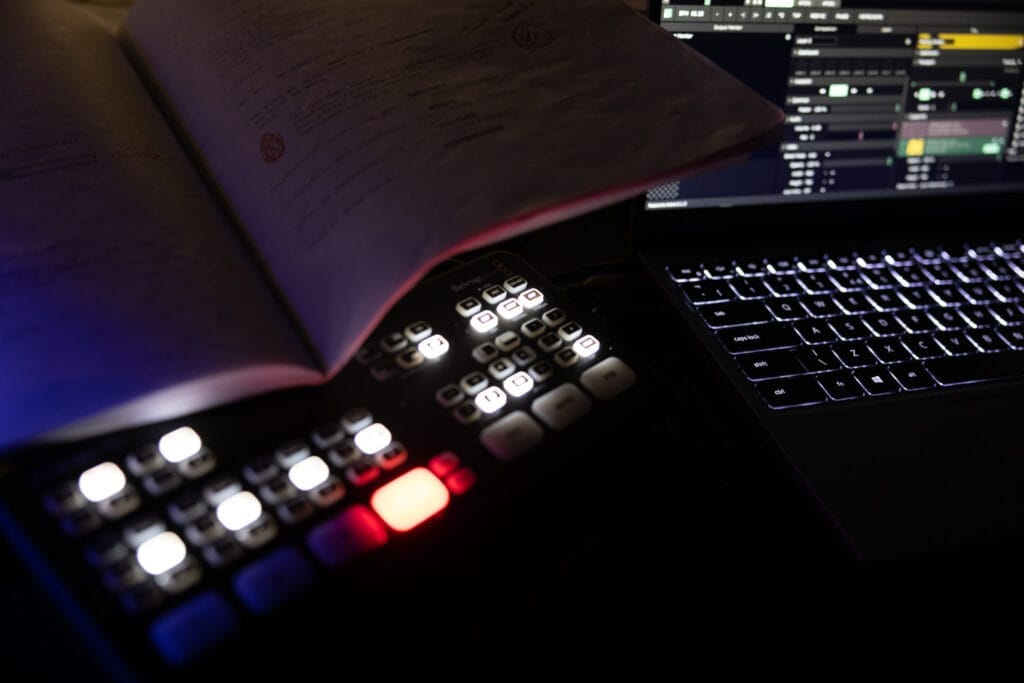
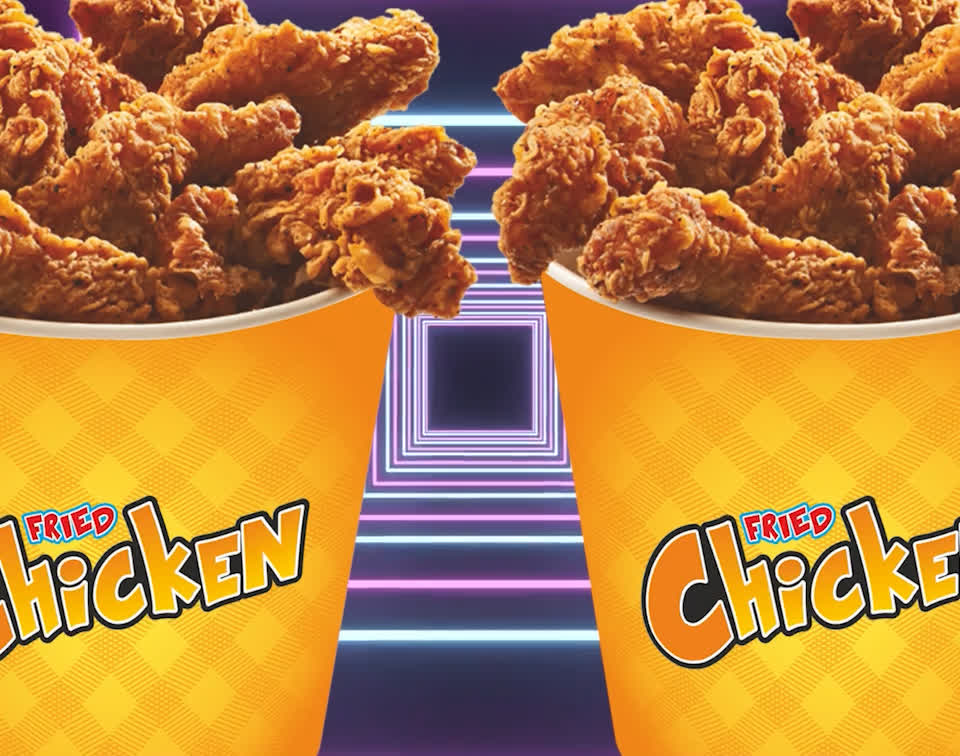
I designed all the motion graphics to fit the backing tracks, but I knew the songs would be played live on the night, so I left some slack in case the band played slower. However, there were a couple of songs with a definite end point that needed to land every time. A good example is “One Vision”, which ends with the words “Fried Chicken”. To ensure this moment was not missed, I broke out that section of the video into its own piece. This way, I could skip to the “Fried Chicken” moment in Resolume, regardless of the tempo the band was playing.
Perhaps the most nerve wracking part of the whole performance was the Bohemian Rhapsody karaoke at the end. Again, with a live band, there was no way to pre-produce anything, but after a few rehearsals I dialled it in. I broke the song in to 25 separate videos and with the aid of a heavily marked up script I was able to keep the production values up and even include the iconic head banging scene from Waynes World.
Being part of such a big production, with so many talented students and staff was an absolute privilege and plans for next years show (with even bigger screens) are already underway.
0 Comments