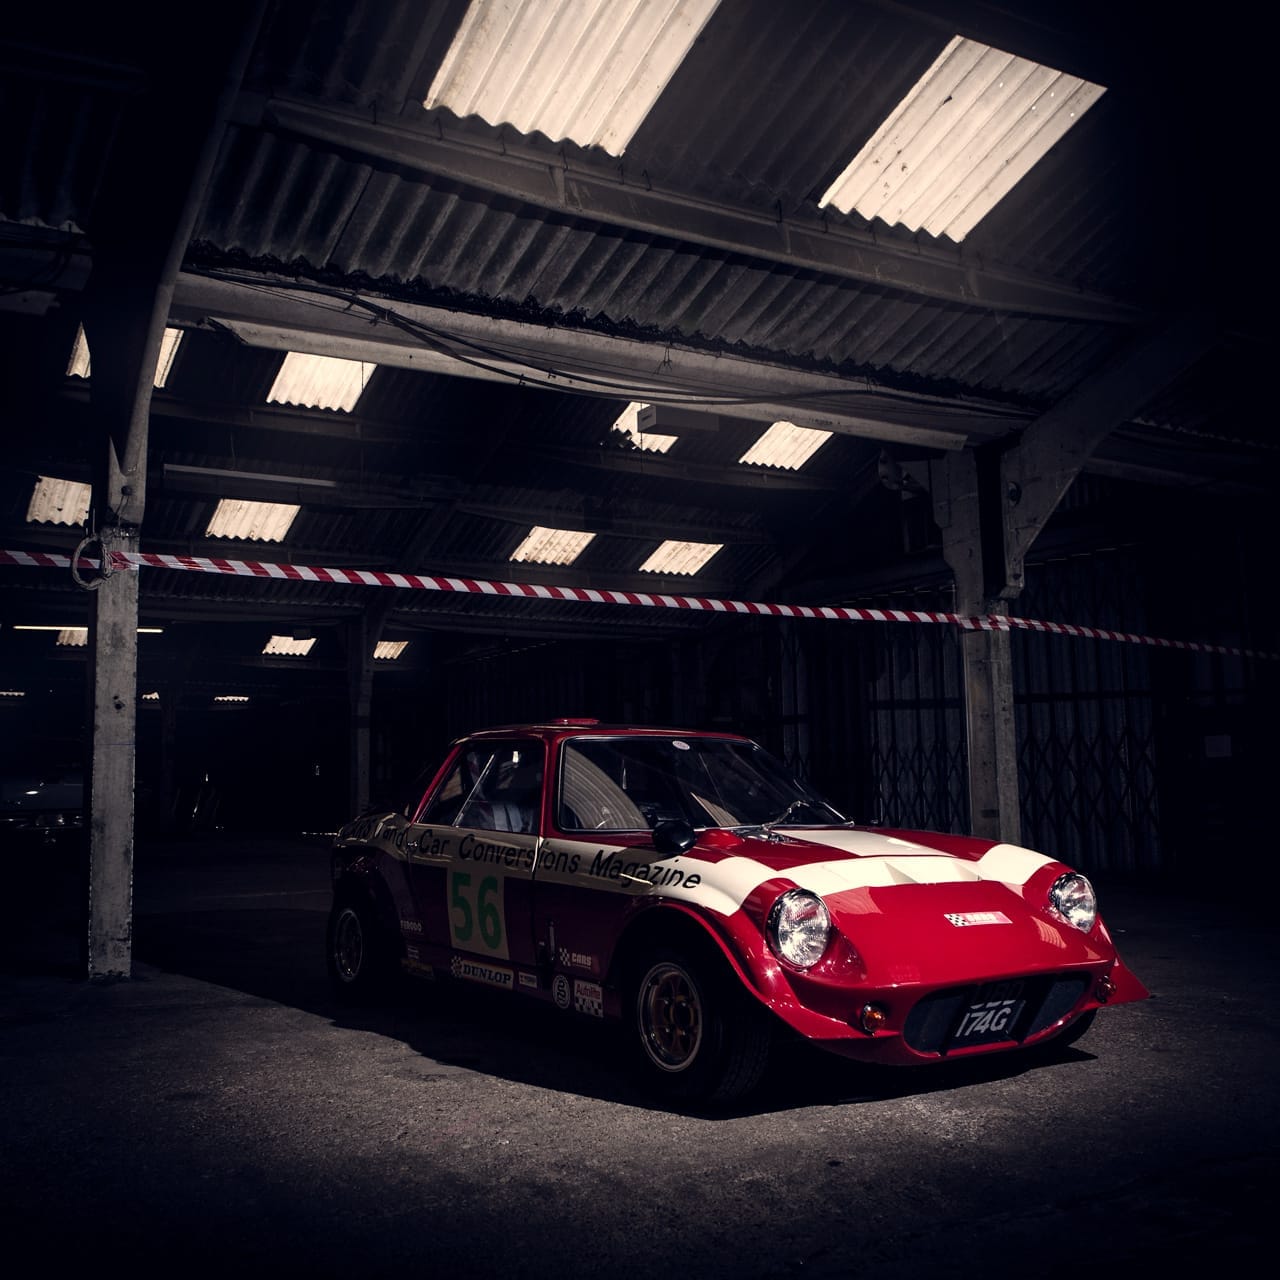
Here’s a photo taken earlier this year in a cattle shed near Coventry for today’s Photo of the Week. The event was Race Retro and between sessions on the mini rally stage a selection of classic rally cars gathered in the makeshift parc ferme.
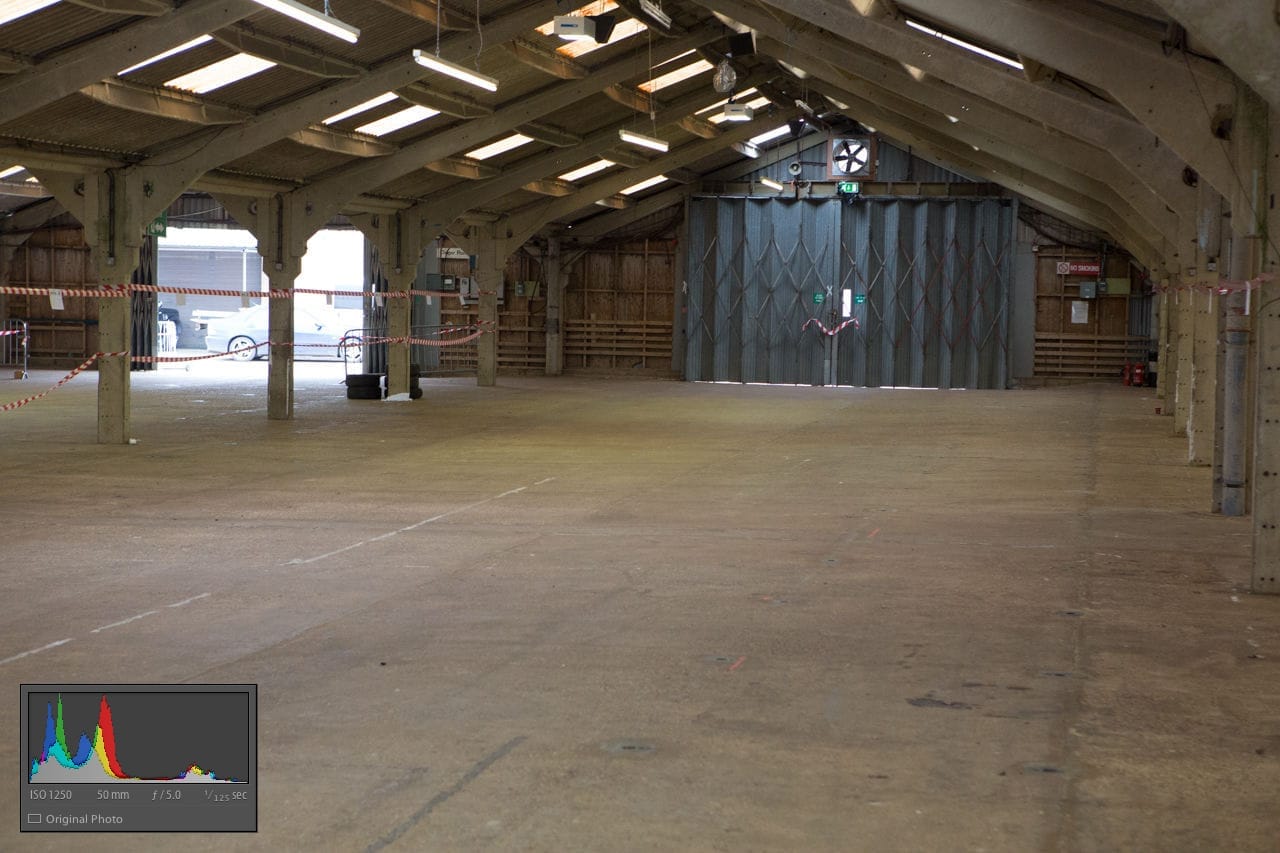
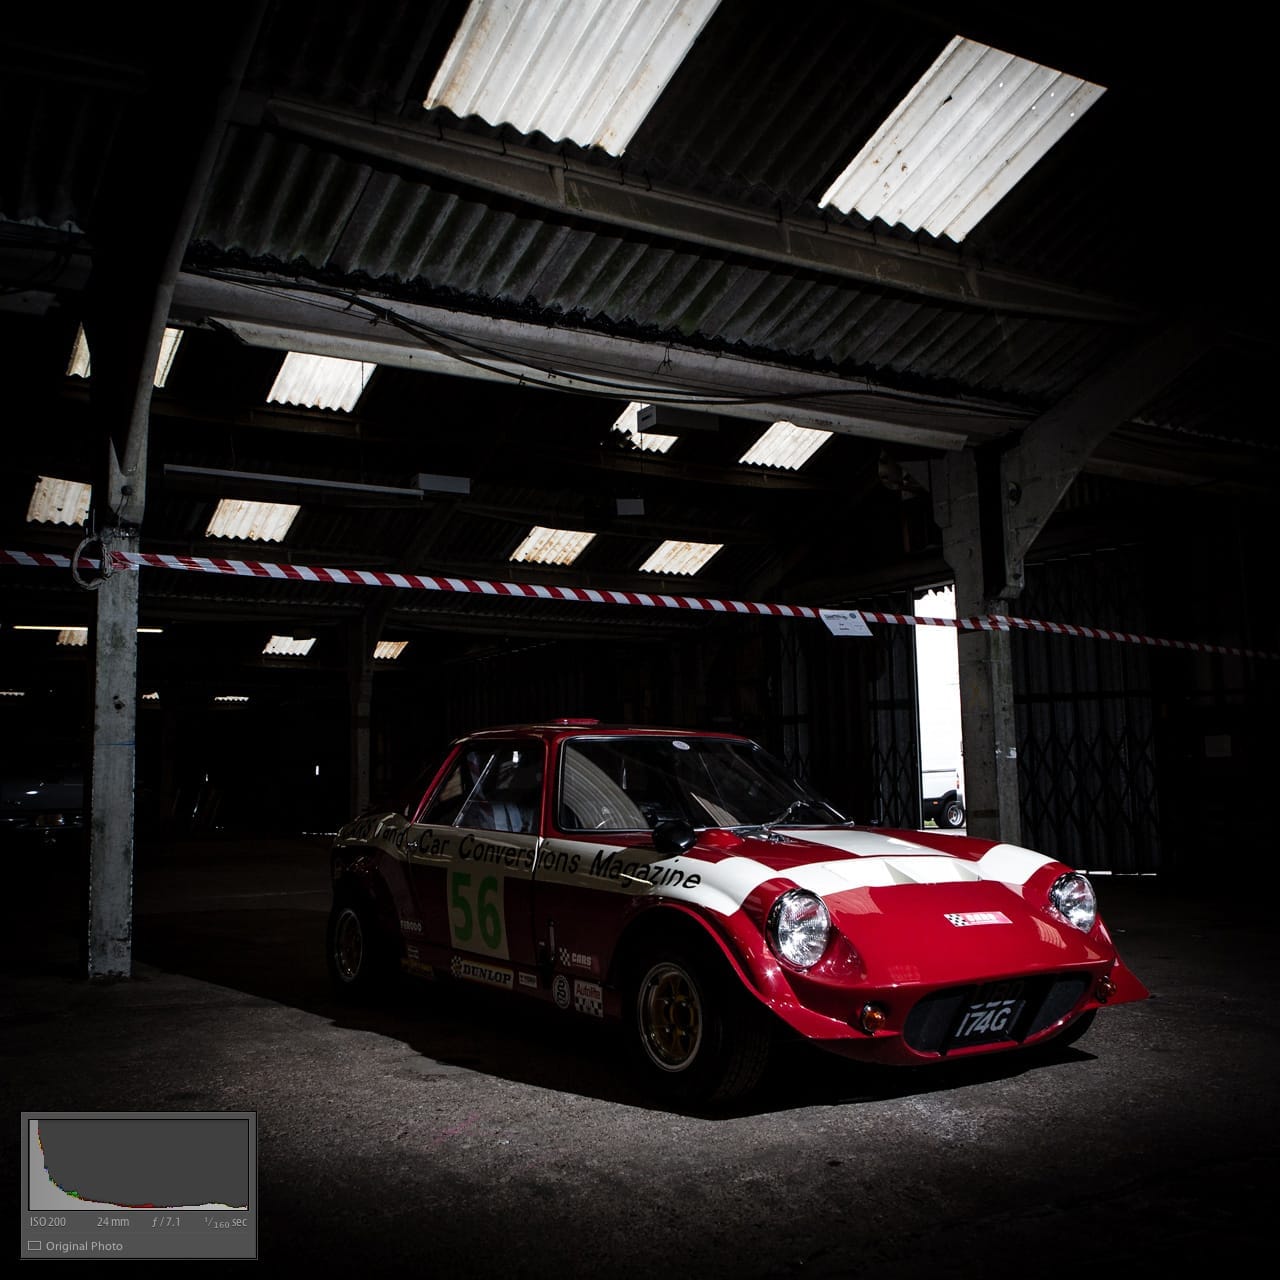
When left to it’s own devices in AV mode, the camera wanted to take the exposure at 1/125th, f5 at ISO1250 so I knew I could overpower the ambient light pretty easily with just a speedlite. If I had to stop down to f16 I’d have had a problem, but the final image was taken at f7.1 – no problem for a 580EXII.
Once I had the exposure dialled in it was a case of adjusting the power of the flash (I think was on about 1/4 power) and then finding a spot where it looked good. The idea here was to make it look as if there was a pool of light spilling in from the skylights in the roof above the Mini Gem GTE.
Over in Photoshop, the first task was to clean things up. Specifically the open barn door that’s distractingly bright and the reflective metal parts up in the roof space. This was done with a mixture of the Clone Stamp and just painting with the brush tool. I decided to leave the tape between the pillars above the car in as it matched the red and white paintwork so well.
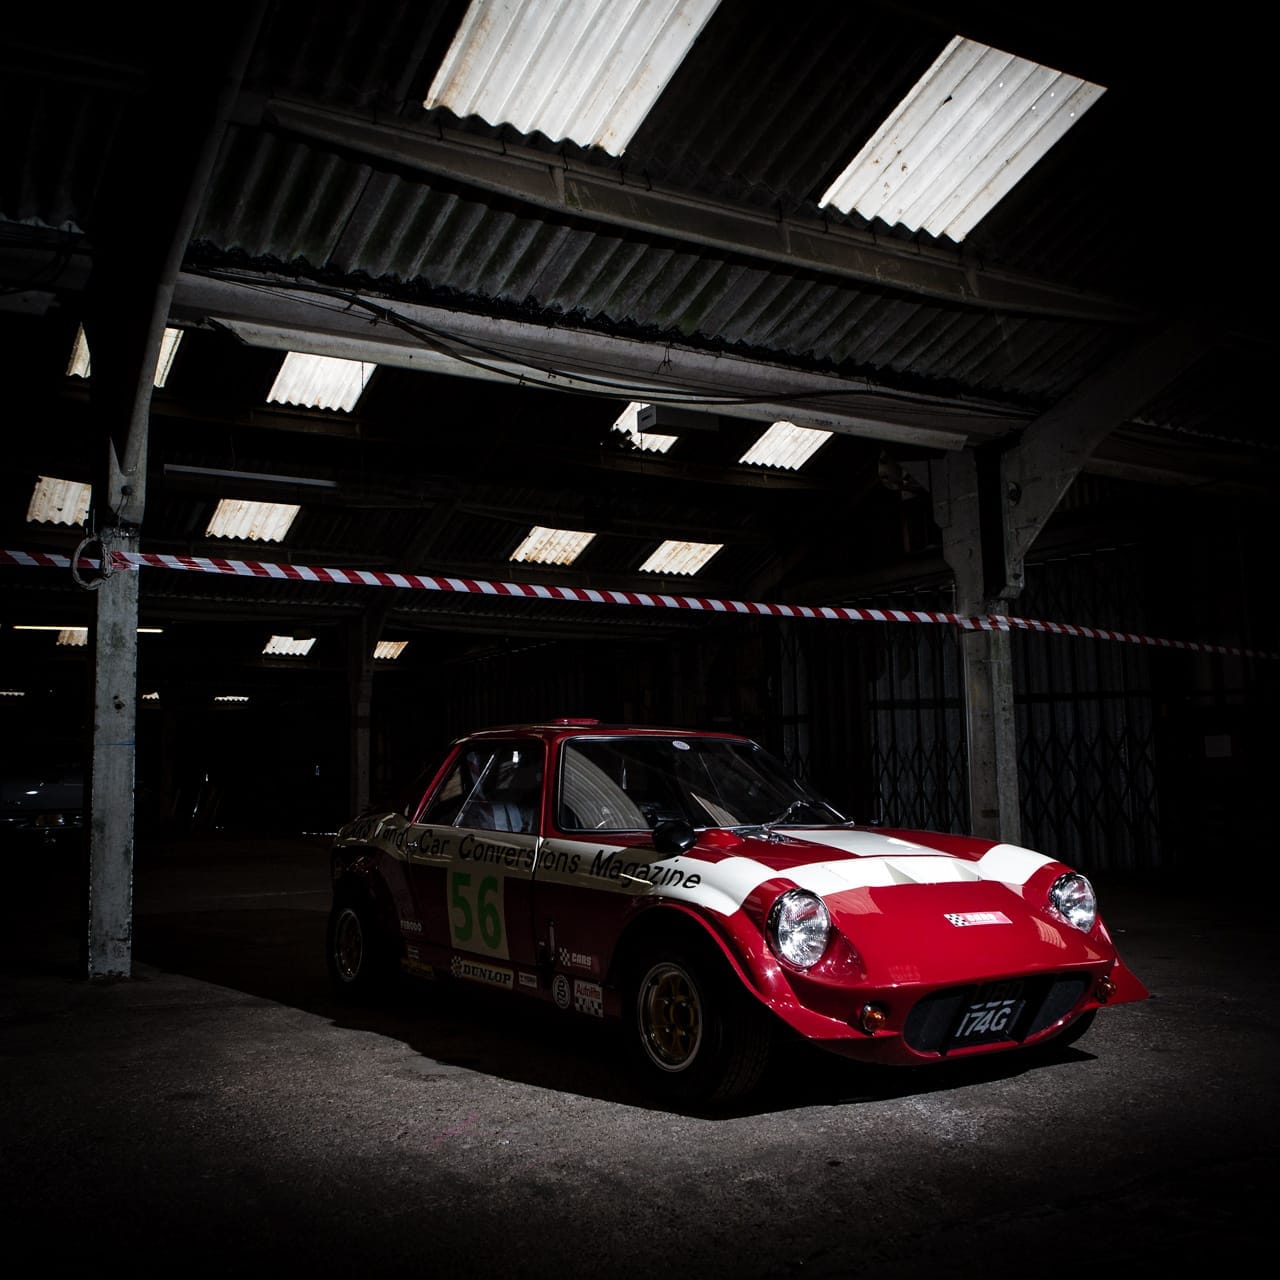
 The final job was a little colour toning and general exposure tweaking.
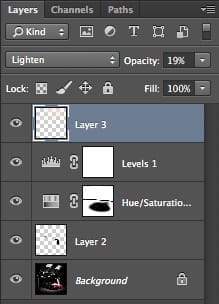
Starting at the bottom of the Photoshop layers panel on the left you can see the background is the original image. Layer 2 is the Clone Stamp work I did to fill in the open barn door.
The Curves 1 layer is a Curves adjustment layer that’s just to lighten the side of the car that was nearest to the camera. It’s a slight bump in exposure painted only onto the area needed with a layer mask.
The next layer up is a Hue/Saturation adjustment again layer masked so it only shows on the areas of the mask painted white. This is just desaturating the background whilst keeping the car and tape nice and bright.
Levels 1 is applying the colour toning. It’s not an obvious effect but its adding a little cyan to the shadows and warming the highlights a little.
And finally, Layer 3 is adding just a little haze around the skylights to simulate dust in the air. All this takes is some dabbing with a soft brush sampling a couple that’s already present in the light, a little Gaussian blur and a drop in opacity.
Here’s the final image. As always I’d love to hear what you think.