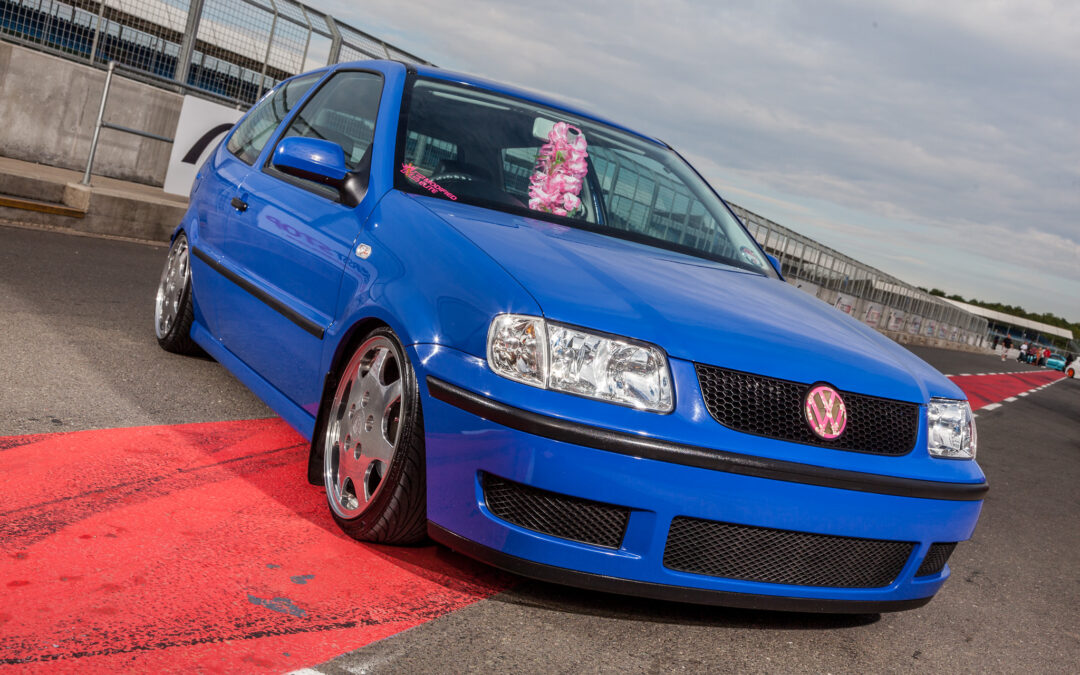
Sunset Shooting

Sunset Shooting

Sunset is my favourite time to shoot, not just because of the “golden hour” light you get, but because it’s the time adding flash to an image can change it the most. You can take a photo of your subject, under what looks to the naked eye to be pretty dull conditions, and then show them something on the rear screen of your camera that they can’t believe hasn’t taken hours in Photoshop.

It’s all about colour balance: Using a mixture of white balance settings on your camera and coloured gels on your flash will enable you to really bring out colour in the sky, especially useful when you don’t get the apocalyptic, fire and brimstone sunset you were hoping for.

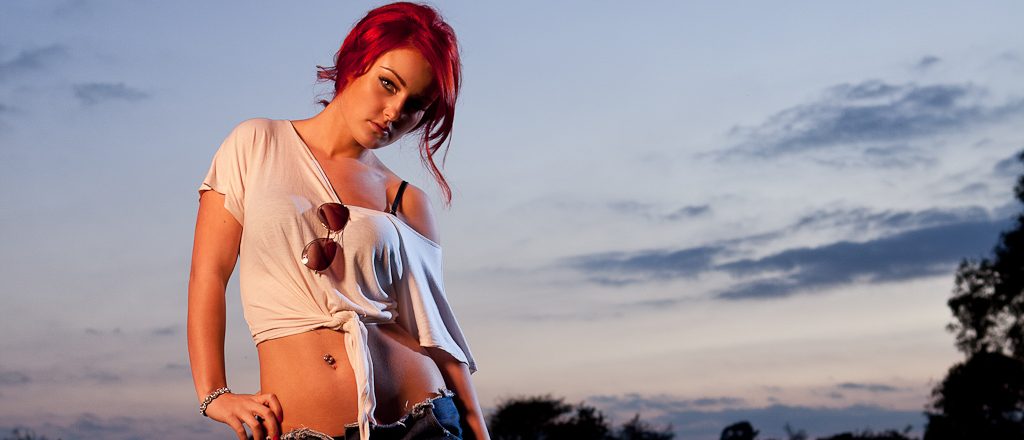
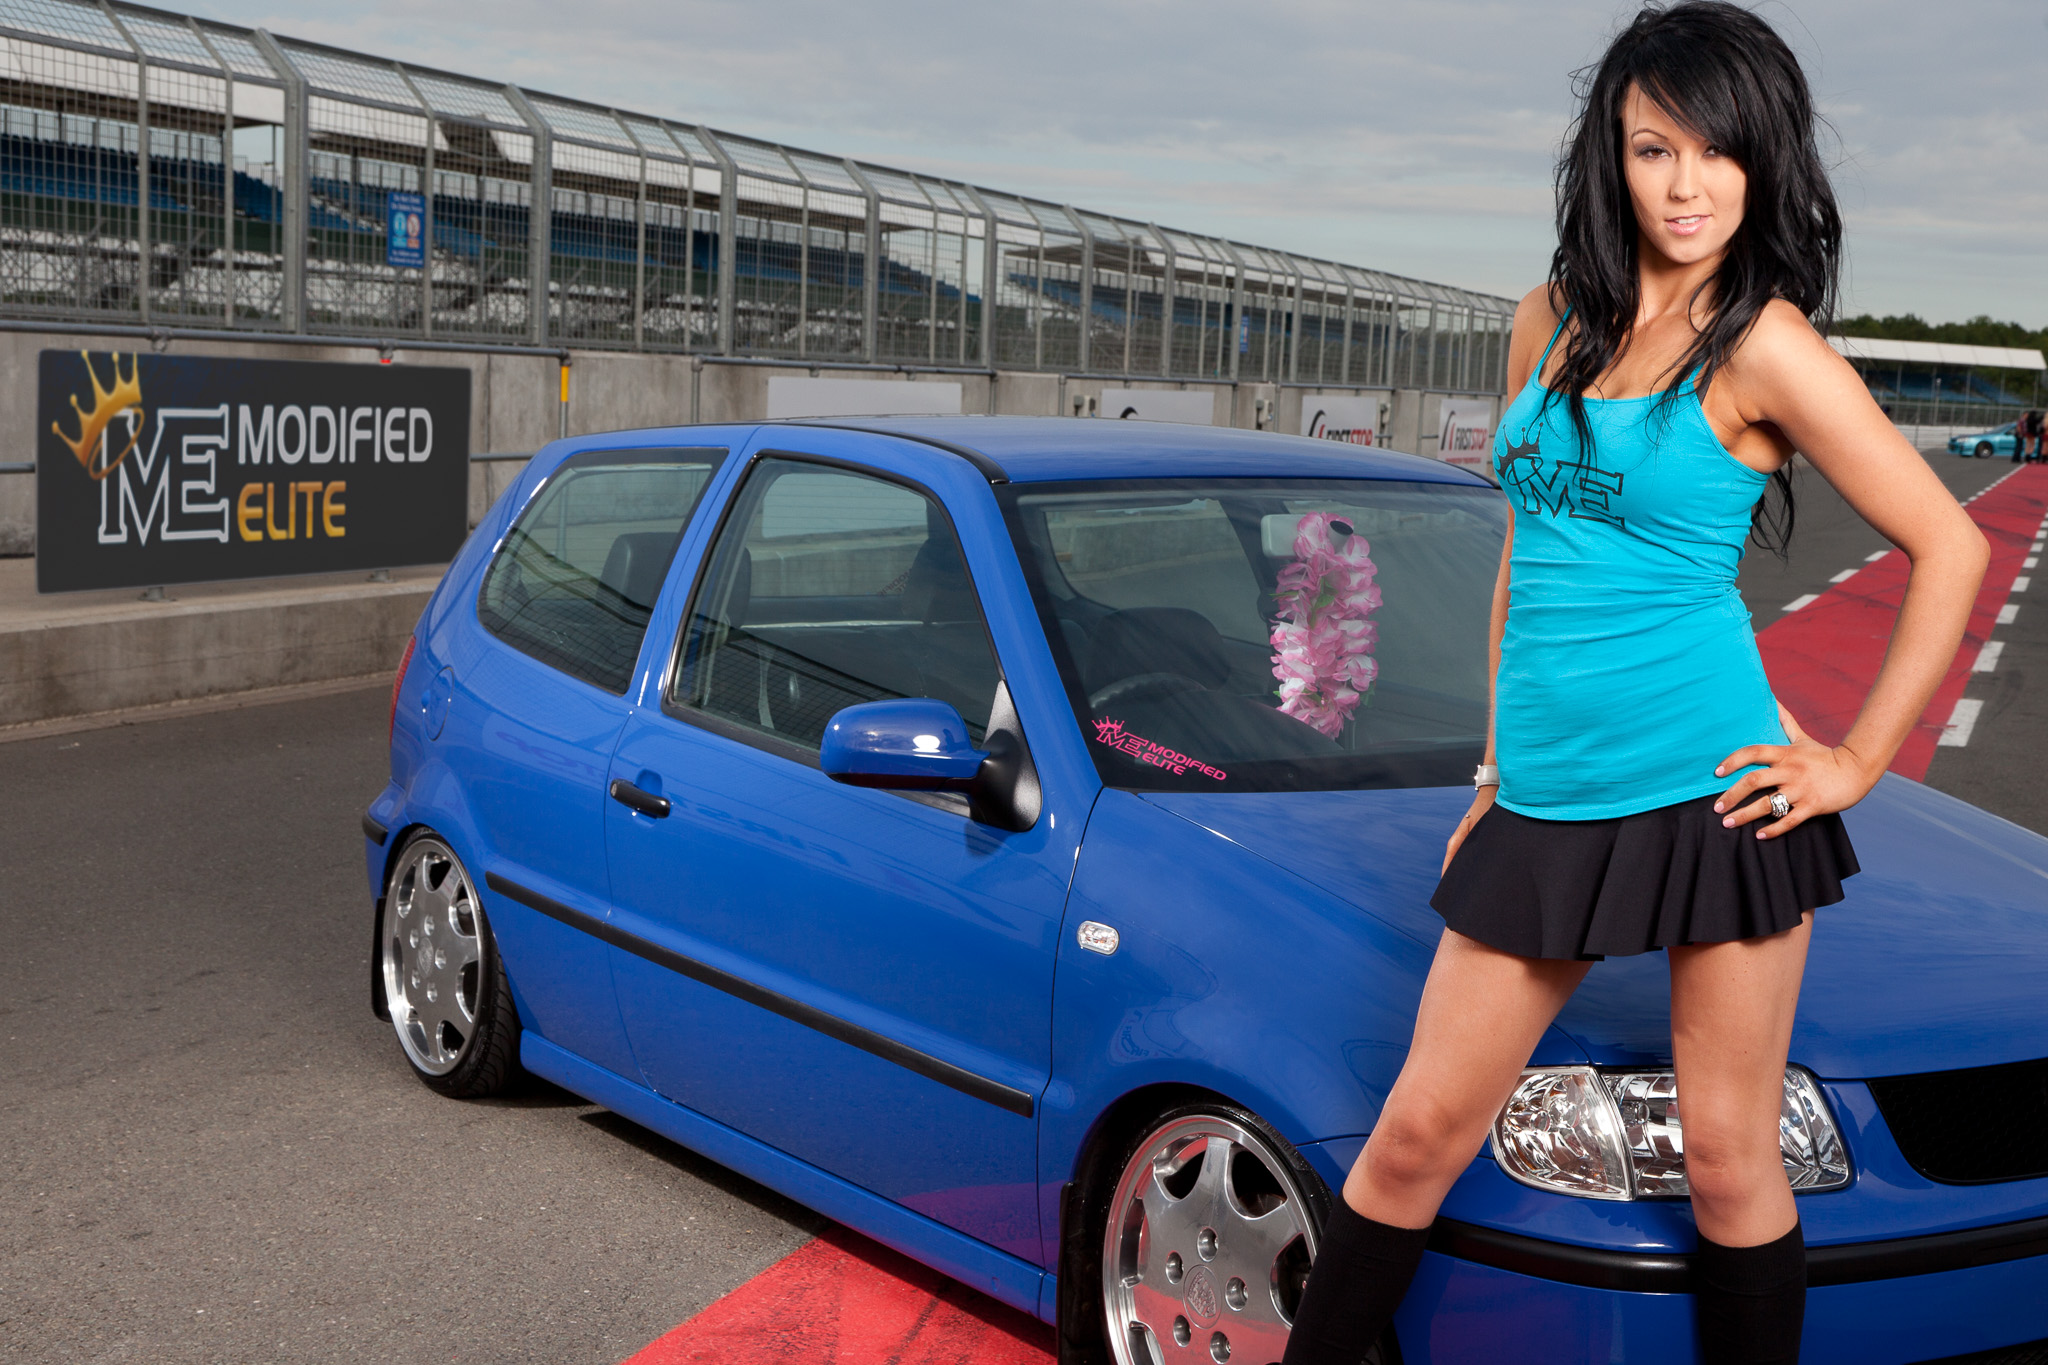
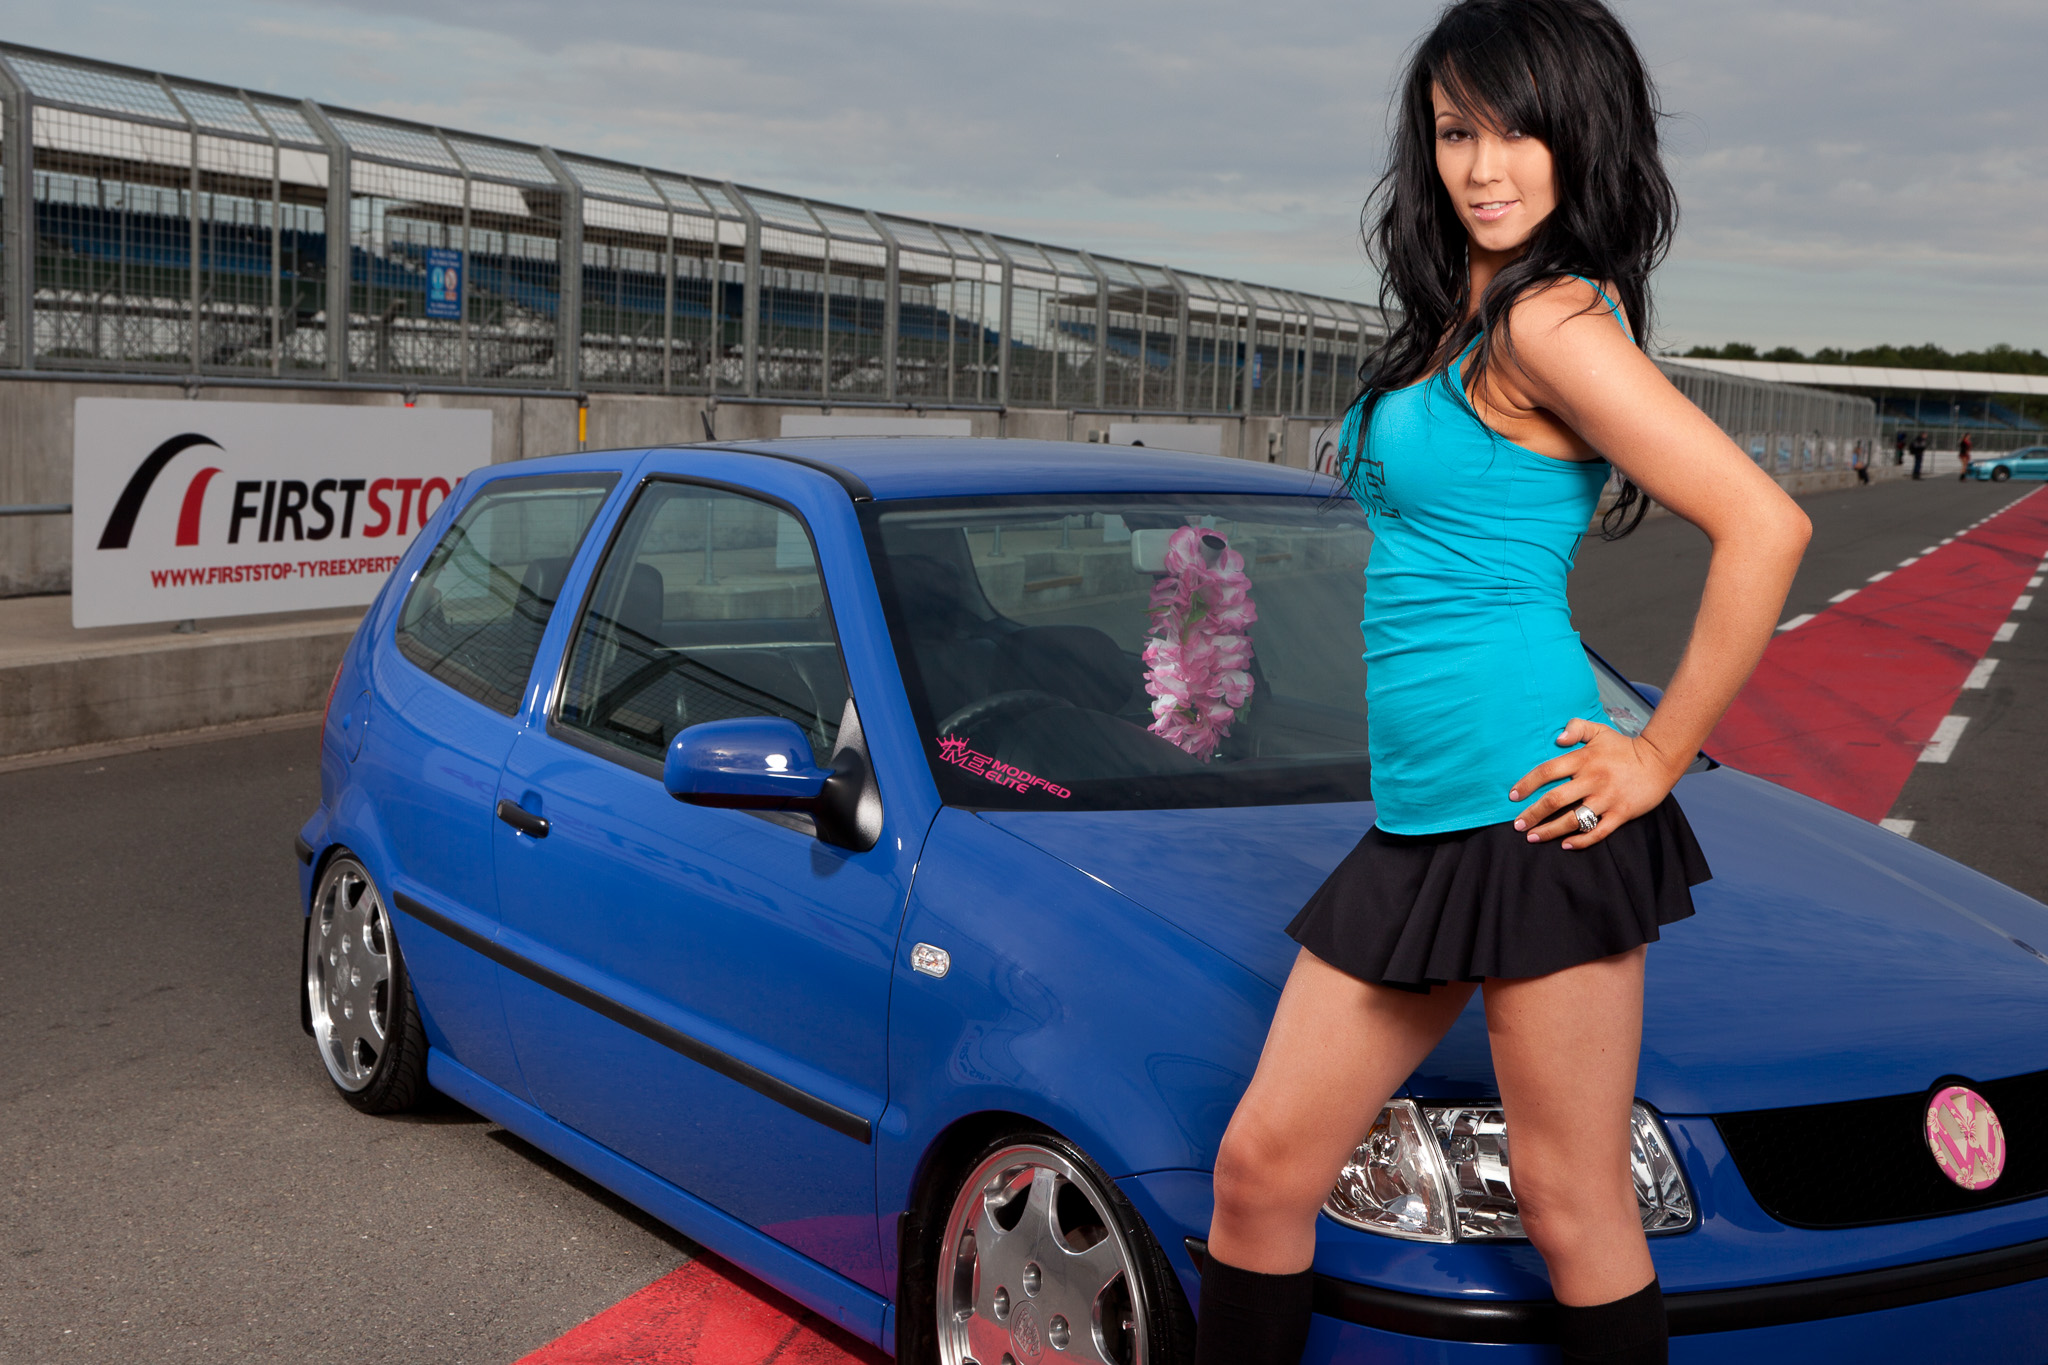
So for this set of images I gelled my main flash (camera left in a beauty dish) with one full and one half cut CTO gels. A CTO gel is a sheet of translucent orange plastic that’s designed to bring your daylight balanced flash up to the same colour temperature as a standard Tungsten light bulb. A “half cut” is a sheet that’s half strength. The “proper” use would be to match your flash to the ambient light, but it’s often used by photographers such as David Hobby (from whom I learnt this tip) to warm up skin tones to flatter your subject. A half or a quarter cut (an even less tinted sheet) on your key light will give your subject a healthy glow.

What if you add a full cut and a half cut to your flash, making it a really warm orange colour? If you don’t change your camera white balance to Tungsten you’ll have an over-tanned subject. You are adding one and a half cuts of orange to the light on your subject, then effectively taking the whole scene down by a full cut but changing your camera’s white balance. Tungsten mode on the camera will bring the full CTO light back to daylight colour temperature (plain white), leaving just the half cut left to gently warm your subject’s skin.

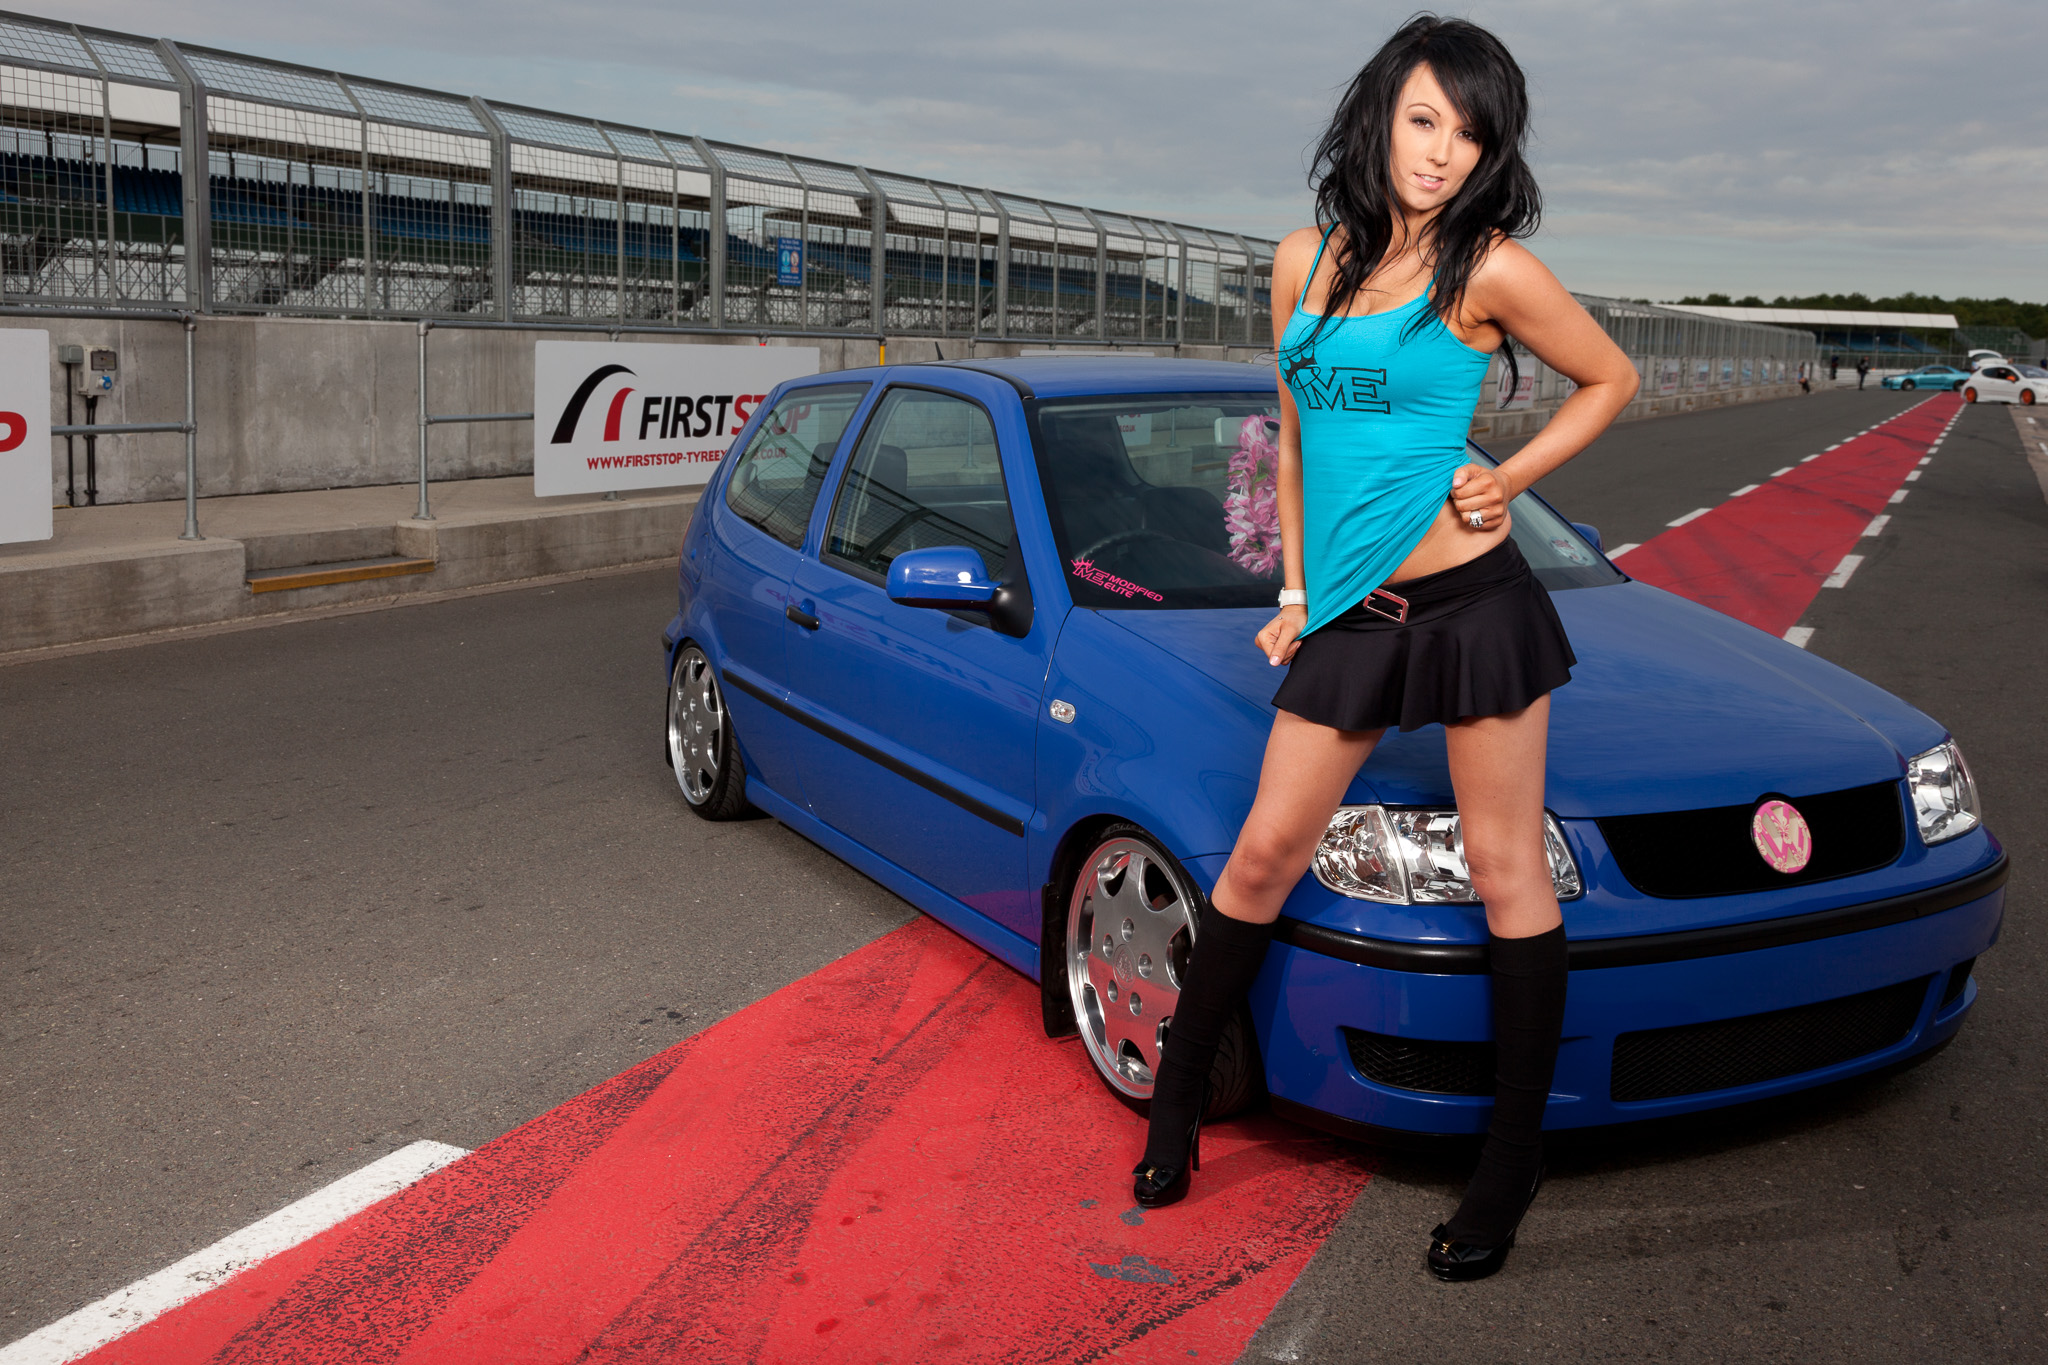
Here’s where it gets good! By setting your white balance to Tungsten you cool the colour temperature of the whole scene down. That brings the very warm light on your subject back to just above normal, but it also cools everything else in the scene. The areas not being lit with your super warm flash, go extra cool. In this case, the grey clouds turn blue.

1.5 cuts of CTO gel, camera on auto white balance
1.5 cuts of CTO gel, camera white balance set to Tungsten

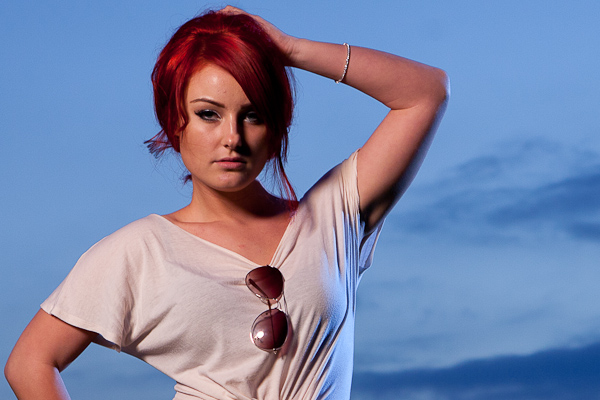
So in less words: Light subject with very warm light. Adjust white balance to compensate. Get slightly warmed subject and cool blue background.

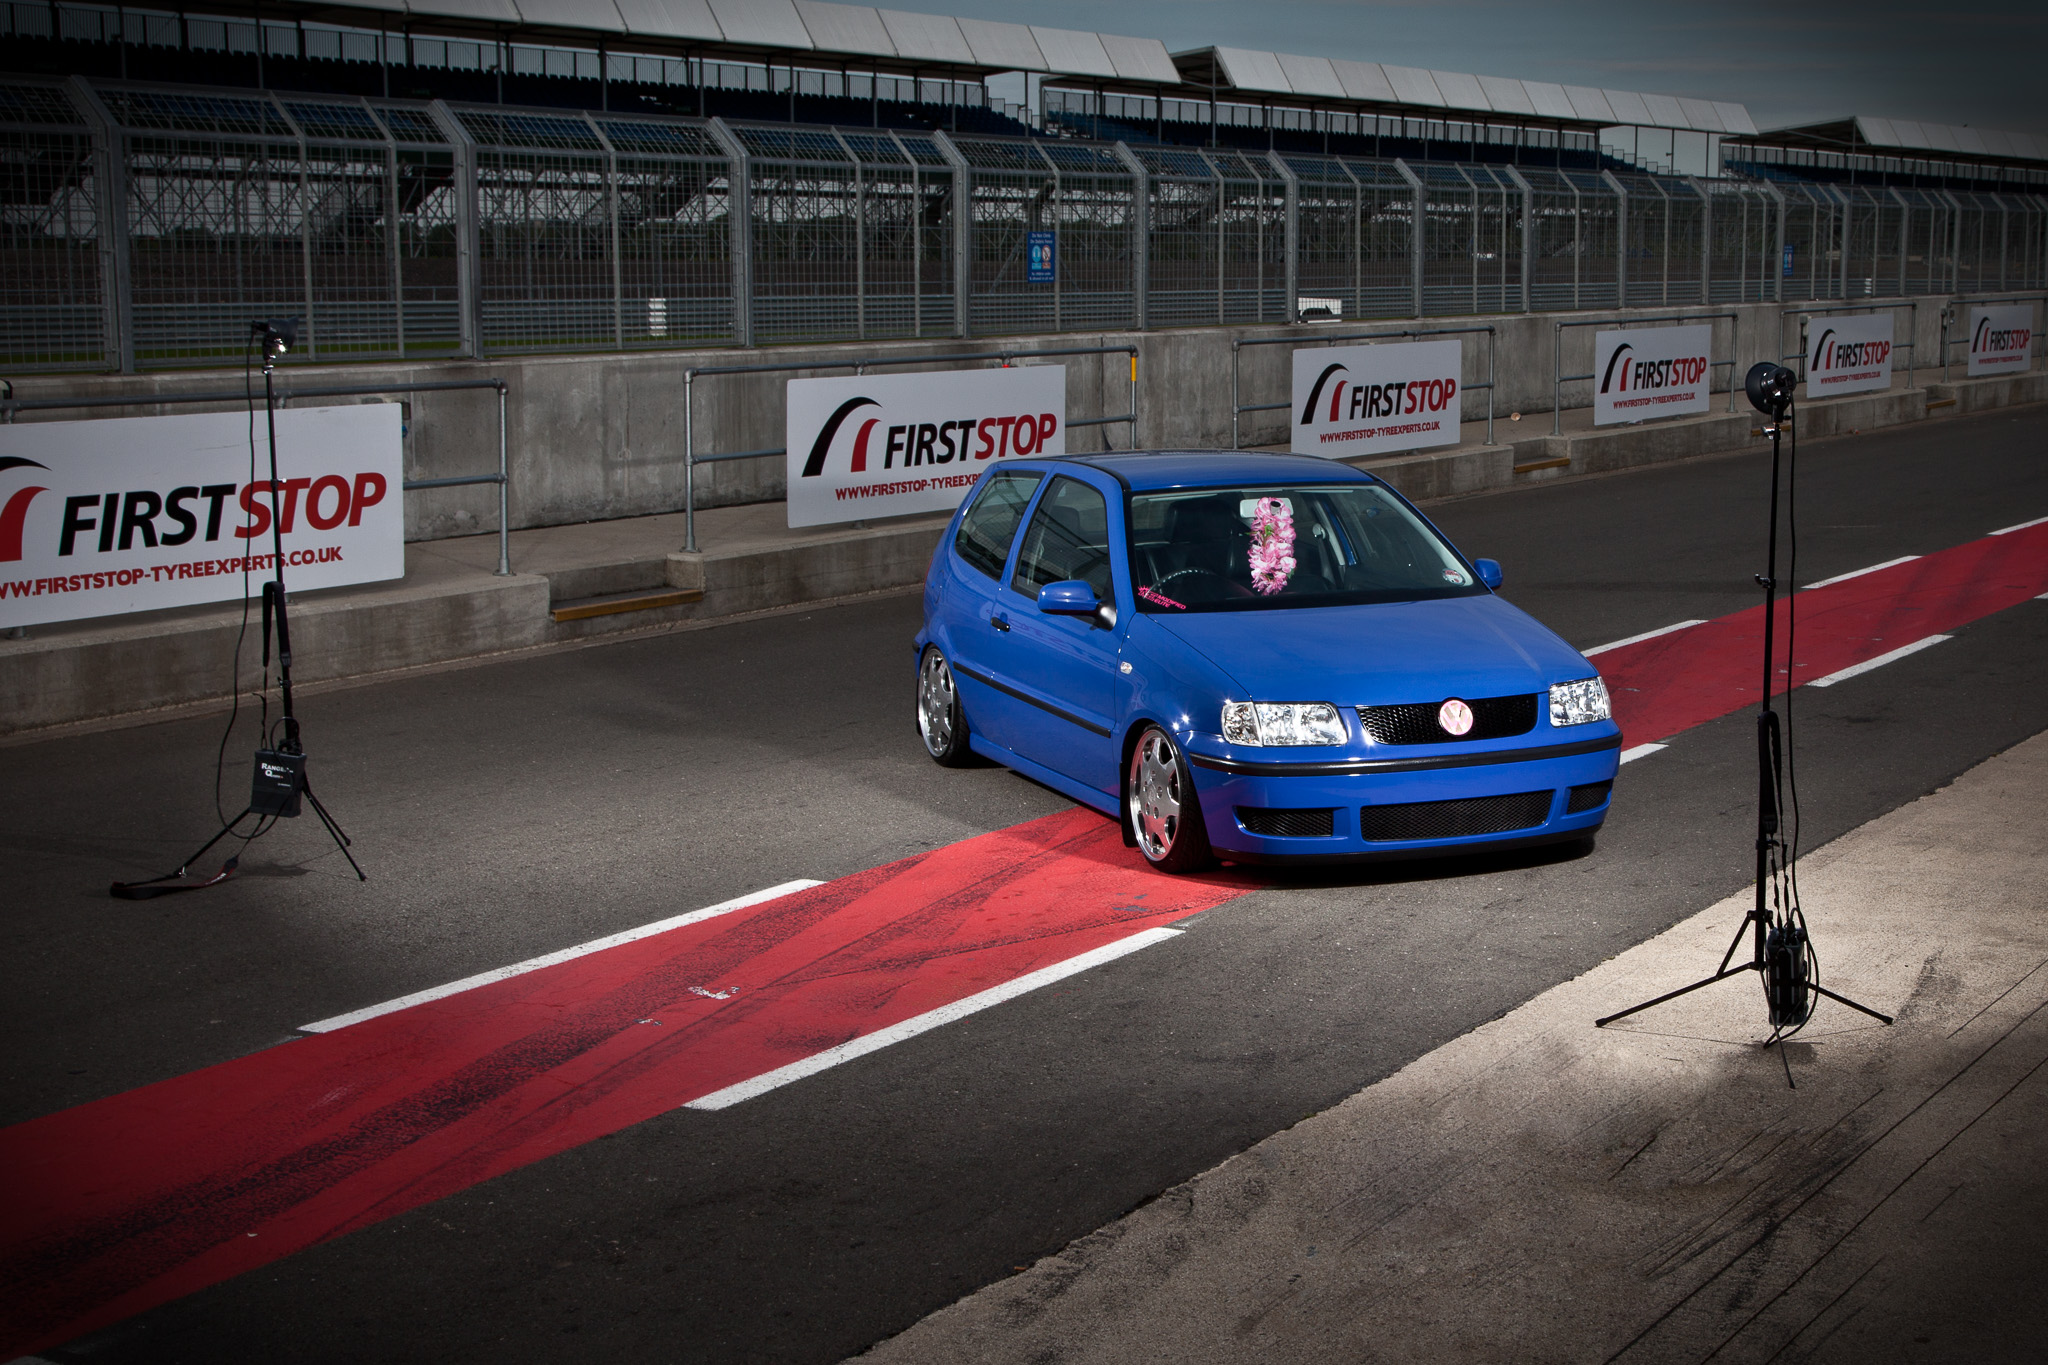
Want to take it a notch further? How about adding a second, un-gelled flash as a rim light? Position it directly opposite your main light and, because it’s un-gelled and therefore cooled down by your shift in white balance, it’ll appear to be throwing cool light in from your artificially blue background.

Behind the scenes

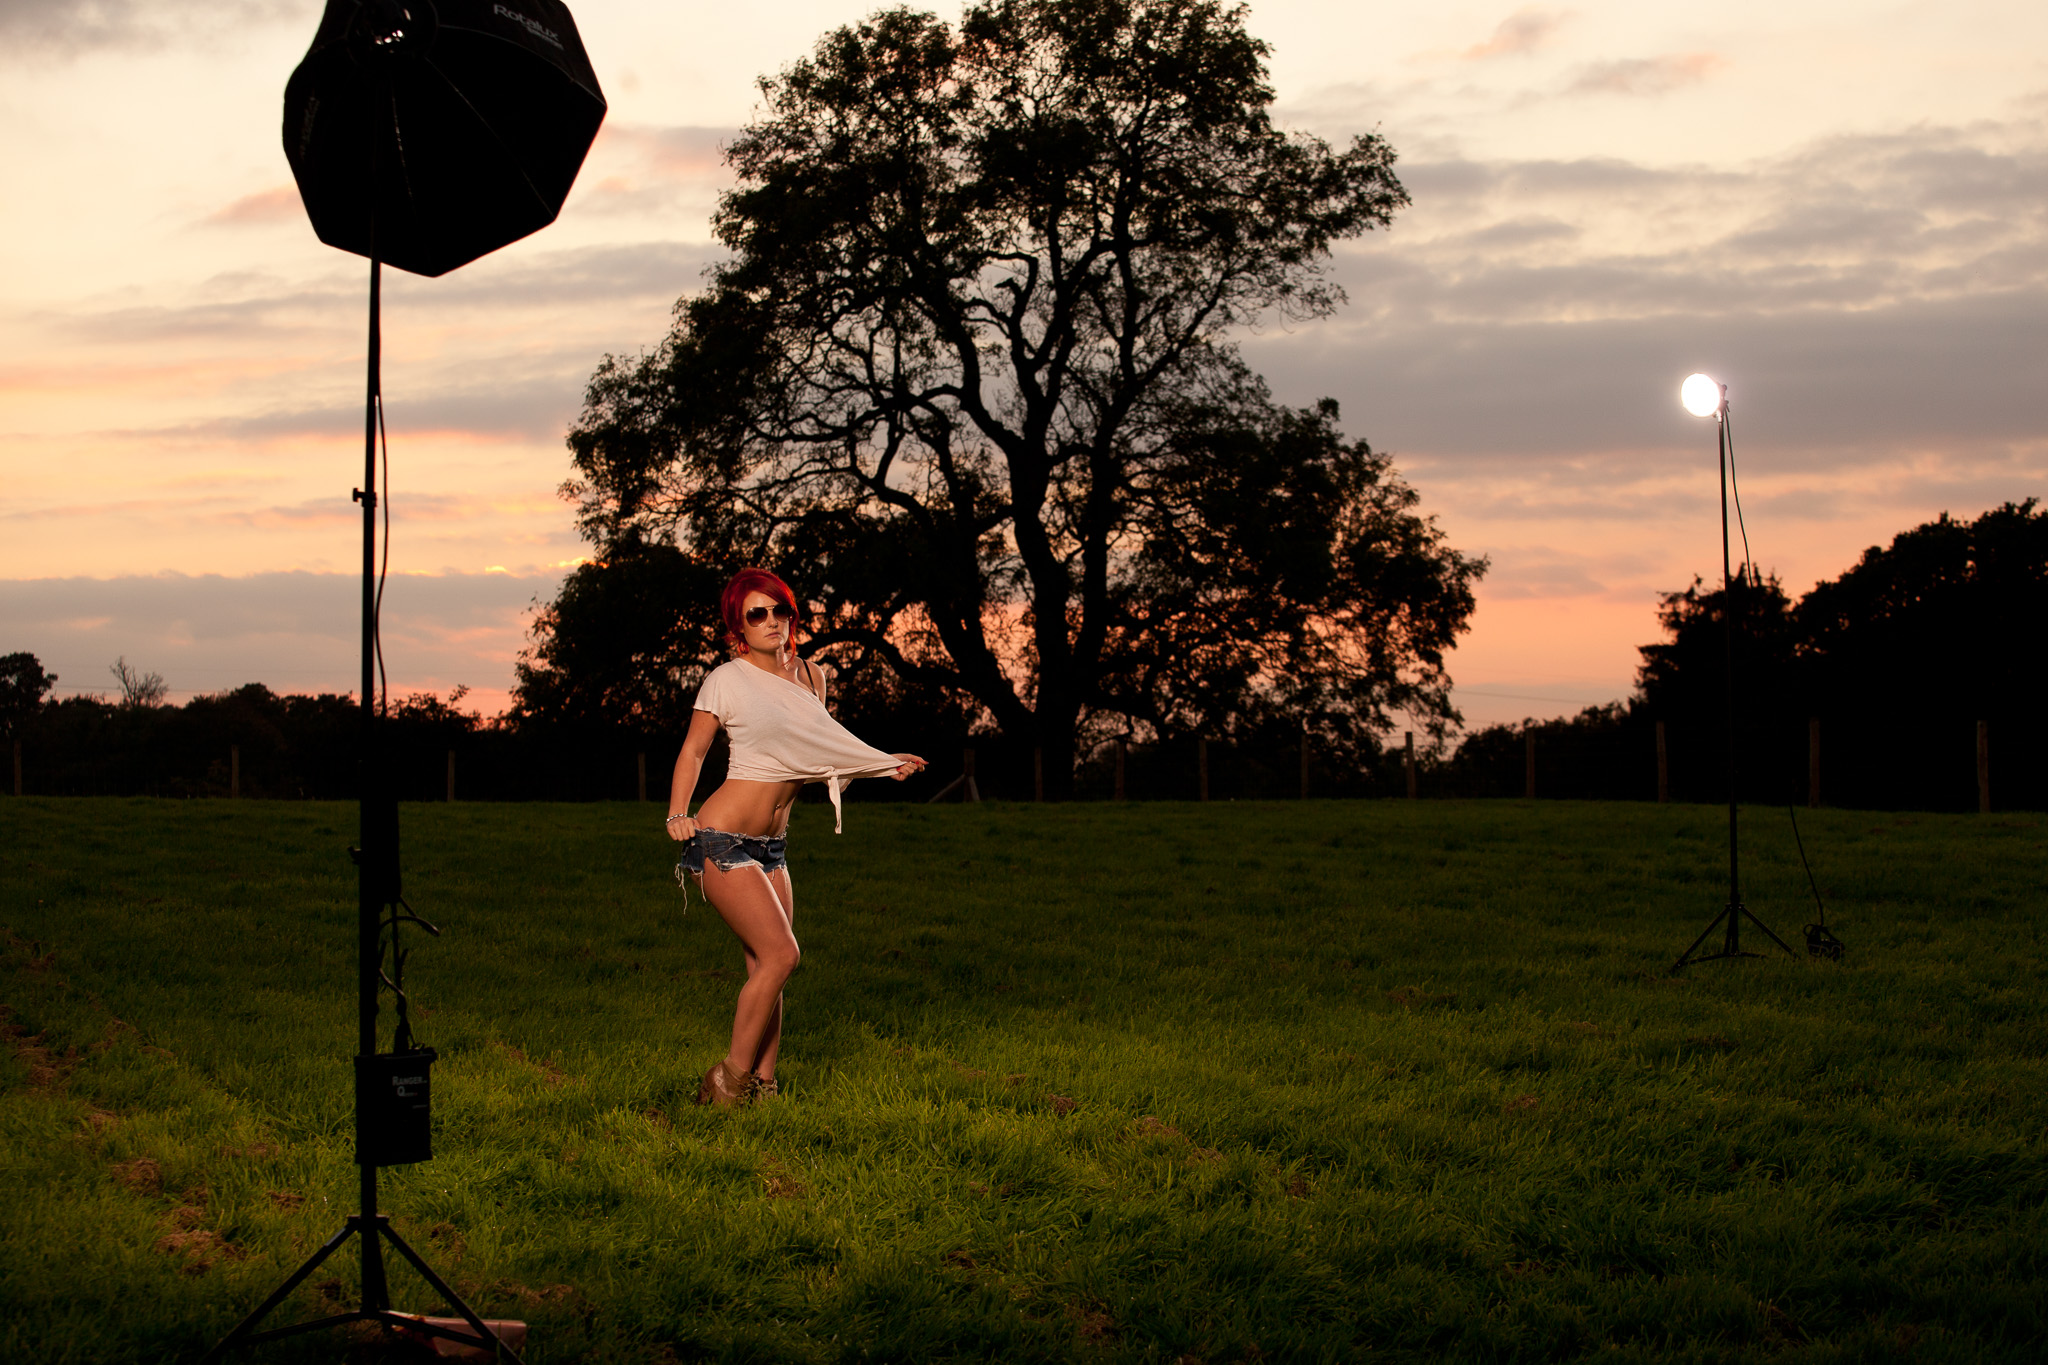
The image above was taken early in the shoot, before the sun dipped out of view and before I gelled the main light so there’s no colour shift in the sky, but it does show the layout of the lights. Soon after the sky began turning grey so the CTO gels were called into action. You’ll be able to see when in the gallery at the end of this post

Enjoy the behind the scenes video, and as usual if you have any questions, post a comment.

What The Heck Is “Beauty Dish Mode”?

What The Heck Is “Beauty Dish Mode”?

I’ve had a few questions on Twitter about just what I mean when I say I use my 70cm Elinchrom Deep Octa in “beauty dish mode”, so this quick post is to show what I mean.


This is the way you’d typically use a soft box with both layers of diffusion material in place for maximum softness.

Elinchrom 70cm Deep Octa - Fully Diffused

However you can remove the outer baffle and let the light be a little harder and more specular.

Elinchrom 70cm Deep Octa - Only internal diffuser

But the way I have been using it for portraiture recently is with all the diffusion material removed and the small round reflector inserted about 15cm in front of the flash tube. This stops the majority of the light firing forwards and instead sends it out towards the reflective inside of the Octabox, very like a beauty dish (hence my cunning nickname for it!). The light is still flattering, but it’s punchier and more ‘contrasty’.


Beauty Dish Mode

You’ll find some images created by using the Deep Octa like this in the recent post entitled Death of a Cover Car.

Shooting Sarah at Silvertone

Shooting Sarah at Silvertone

When you are at the World famous Silverstone circuit and you’ve got access to the pit lane, it’s just plain rude not to use it as a location. Especially when you’ve got the lovely Sarah and her equally lovely VW Polo as your subject.

The plan here was twofold – firstly I wanted to get some good shots in the can for Sarah and secondly I wanted to find out just how well my new lighting rig coped in a typical car show situation. Fortunately, it passed with flying colours.

To work in this situation, a lighting rig, for me at least, needs to be;

Light enough to carry: No matter how close you can park, it’s always a distance to anywhere you would want to shoot. I’ve got both heads, both packs and all cabling in a Crumpler Company Gigolo 9500 bag. With my light stands, a few modifiers, and some grip equipment in a fishing rod bag, I am able to move the whole lot short distances on my own. Although this time I had help from Chris Wynne and Darren Skidmore.

Quick to set up: You’ve got to move quickly at a car show as you’ve likely borrowed the girls from a trade stand or a car from a Show n Shine area so time is limited.  Another box ticked by the Quadras. The heads are small enough for a Manfrotto Nano 001B stand to support with the pack hanging to add stability and the Elinchrom Deep Octa goes up swiftly. Cheaper eBay softboxes take a while to assemble though.

Power: I don’t always get to choose when a shoot is going to happen and areas in shade aren’t always the best looking locations, so I need some punch to overpower and control the ambient light. For this shoot the solution was to use 3 hot shoe flashes for example. At 400w/s the Quadra packs aren’t the most powerful, but still had plenty to tame the light spilling into the pit lane in this case. Although I’ve yet to try, I am certain 2 bare heads could handle full sun.

Enough talk, onto some images! Firstly to underexpose the pit lane enough to be able to add my own light I had to shoot at around f/18 at my max sync speed. I should probably take this opportunity to mention the Elinchrom Skyport Speed controller syncs withe the receivers in the Quadra packs at my max sync speed of 1/200th without trouble.

All I had to do now was bring in the lights. A simple, bare head setup for just the car and the Deep Octa softbox (in beauty dish mode) added to the camera right flash for the shots with Sarah.

Here are a few more images fr the shoot, feel free to leave a comment.