I’ve been getting some question sent to me lately on the blog, Facebook and Twitter, which is brilliant. It means I can turn them into posts so everyone can hopefully benefit from the answers.
First up was Matt with a question about lighting:
Hi Simon
I found your site originally when I was looking into light painting, then I ended up here again when I was looking into different portable lighting systems. Impressive work all around! It’s definitely inspiring me more to give lighting a proper go too.I firstly ended up looking into Alien Bees or Einsteins, but once they’re imported to the UK the cheap price point quickly disappears.Anyway – I’m just curious, would you still recommend the Quadras you have? I’ve been looking into Profoto and Bowens too, it’s just tricky to decide between them all. I’ve found a couple companies that seem to be designing similar ones to Paul C Buffs lights, or at least at that price-point, but there’s practically no reviews for them and I don’t really fancy being the first to try them either.
There’s plenty of people aswell as yourself that love Quadras, so that’ll definitely make it easier to part with the cash in the future.
Cheers! Matt
Hi Matt
I know what you mean about the Paul C Buff stuff. I’d love a Vagabond Mini and a couple of Einsteins but you’re right, by the time you get them to the UK the price is far less attractive.
In answer to your question, yes, I still love my Quadras, there’s so much about them to like. They are small and light, pack a decent punch and the built-in Skyport radio triggers are very handy. The Profoto packs and a heads are gorgeous but I just couldn’t (and still can’t!) justify the cost. And to be honest they aren’t as compact and portable.
If you are just getting in to lighting though, I’d say start small. Buy some used hot shoe flashes and some cheap eBay wireless triggers and learn to use them in manual. Then, when you run out of power and find yourself limited, step up to something bigger.
Bear in mind you can use any constant light source to light paint with though. It’s a great chance to get all McGuyver with a torch!
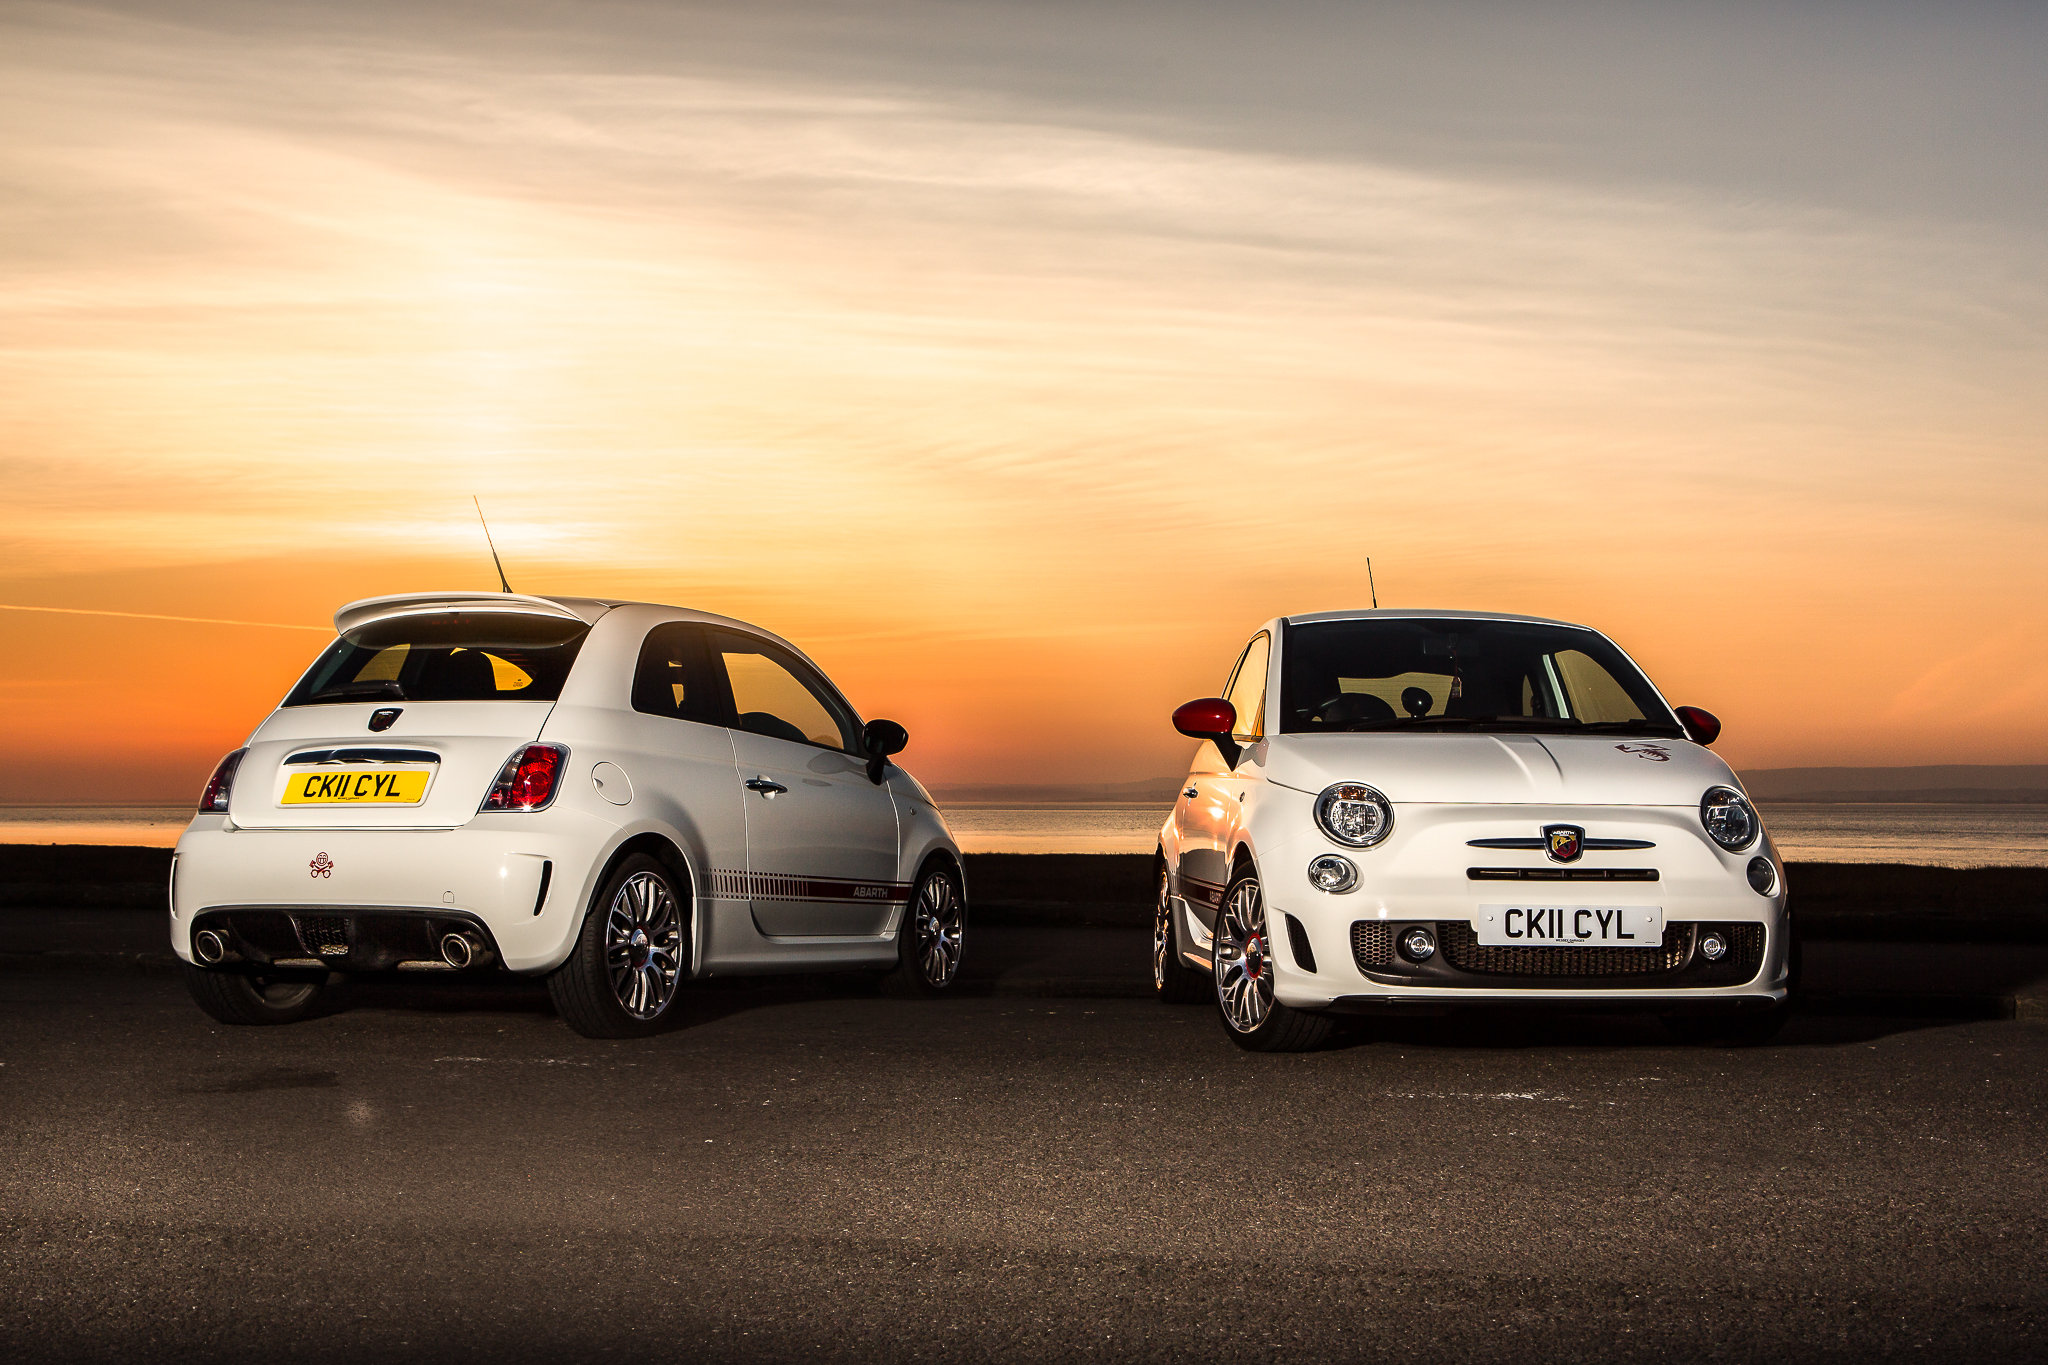
Earlier in the summer I shot this tidy little Fiat 500 Abarth down on the banks of the river Severn facing towards the setting sun. I wanted to make the image a little different so I decided to capture the car from 2 angles in the same shot.
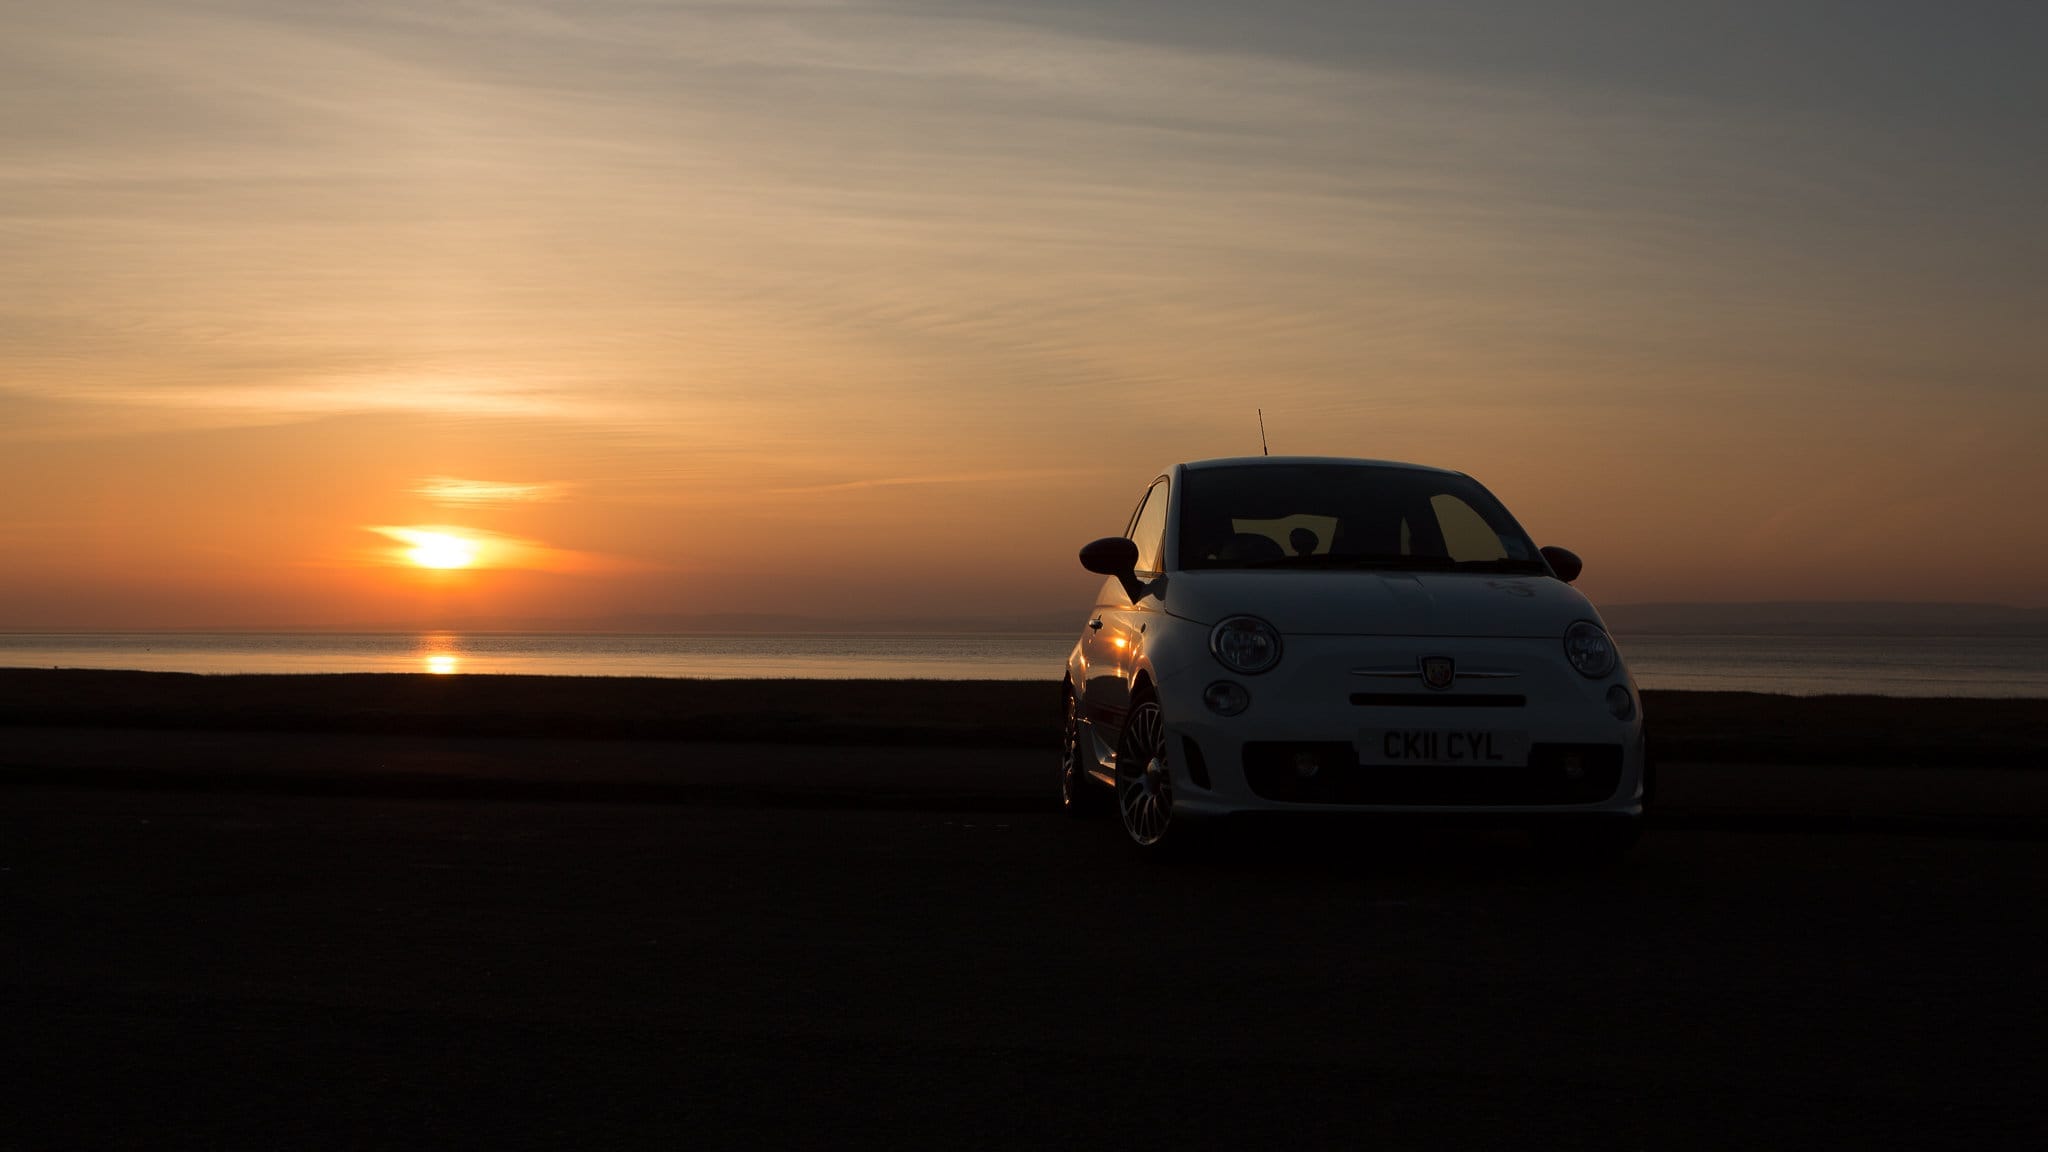
To capture the colour and detail in the sky I had to underexpose by about 2 stops which left the car itself very dark.
So out came the Quadra! This time in a Maxispot – basically a big metal bowl reflector that creates a tight beam of light and throws it a good distance without much loss. This meant I could position to the light on the other side of the road and not inconvenience passing traffic – although it did get a few quizzical looks at the roadside.
As I was planning to combine 2 images, I was locked down on a tripod for this shot and framed widely enough to fit ‘both’ cars in.
You can’t see it in the images, but I a placed a lens cap on the kerb to mark exactly where to park for the second angle.
In post production it was simply a matter of layering the two images, masking out the areas I didn’t want and then applying a few contrast, colour balance and exposure tweaks. Here’s the final image again.
If you have only just found my blog, you can catch up on previous Photos of the Week here.
Sunset is my favourite time to shoot, not just because of the “golden hour” light you get, but because it’s the time adding flash to an image can change it the most. You can take a photo of your subject, under what looks to the naked eye to be pretty dull conditions, and then show them something on the rear screen of your camera that they can’t believe hasn’t taken hours in Photoshop.
It’s all about colour balance: Using a mixture of white balance settings on your camera and coloured gels on your flash will enable you to really bring out colour in the sky, especially useful when you don’t get the apocalyptic, fire and brimstone sunset you were hoping for.
So for this set of images I gelled my main flash (camera left in a beauty dish) with one full and one half cut CTO gels. A CTO gel is a sheet of translucent orange plastic that’s designed to bring your daylight balanced flash up to the same colour temperature as a standard Tungsten light bulb. A “half cut” is a sheet that’s half strength. The “proper” use would be to match your flash to the ambient light, but it’s often used by photographers such as David Hobby (from whom I learnt this tip) to warm up skin tones to flatter your subject. A half or a quarter cut (an even less tinted sheet) on your key light will give your subject a healthy glow.
What if you add a full cut and a half cut to your flash, making it a really warm orange colour? If you don’t change your camera white balance to Tungsten you’ll have an over-tanned subject. You are adding one and a half cuts of orange to the light on your subject, then effectively taking the whole scene down by a full cut but changing your camera’s white balance. Tungsten mode on the camera will bring the full CTO light back to daylight colour temperature (plain white), leaving just the half cut left to gently warm your subject’s skin.
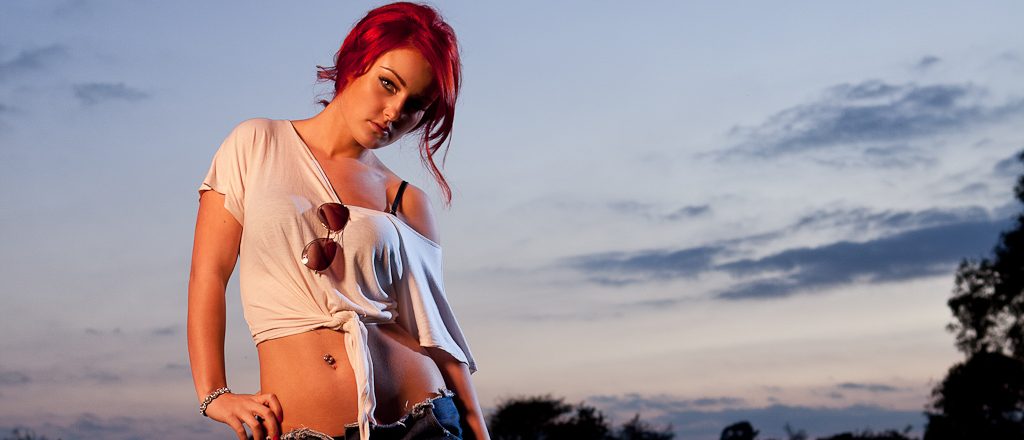
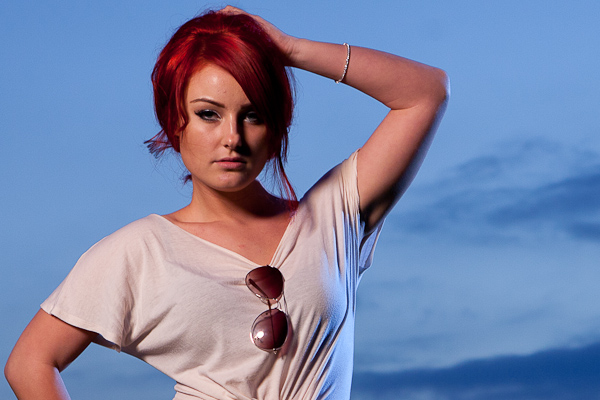
Here’s where it gets good! By setting your white balance to Tungsten you cool the colour temperature of the whole scene down. That brings the very warm light on your subject back to just above normal, but it also cools everything else in the scene. The areas not being lit with your super warm flash, go extra cool. In this case, the grey clouds turn blue.
1.5 cuts of CTO gel, camera on auto white balance
1.5 cuts of CTO gel, camera white balance set to Tungsten
So in less words: Light subject with very warm light. Adjust white balance to compensate. Get slightly warmed subject and cool blue background.
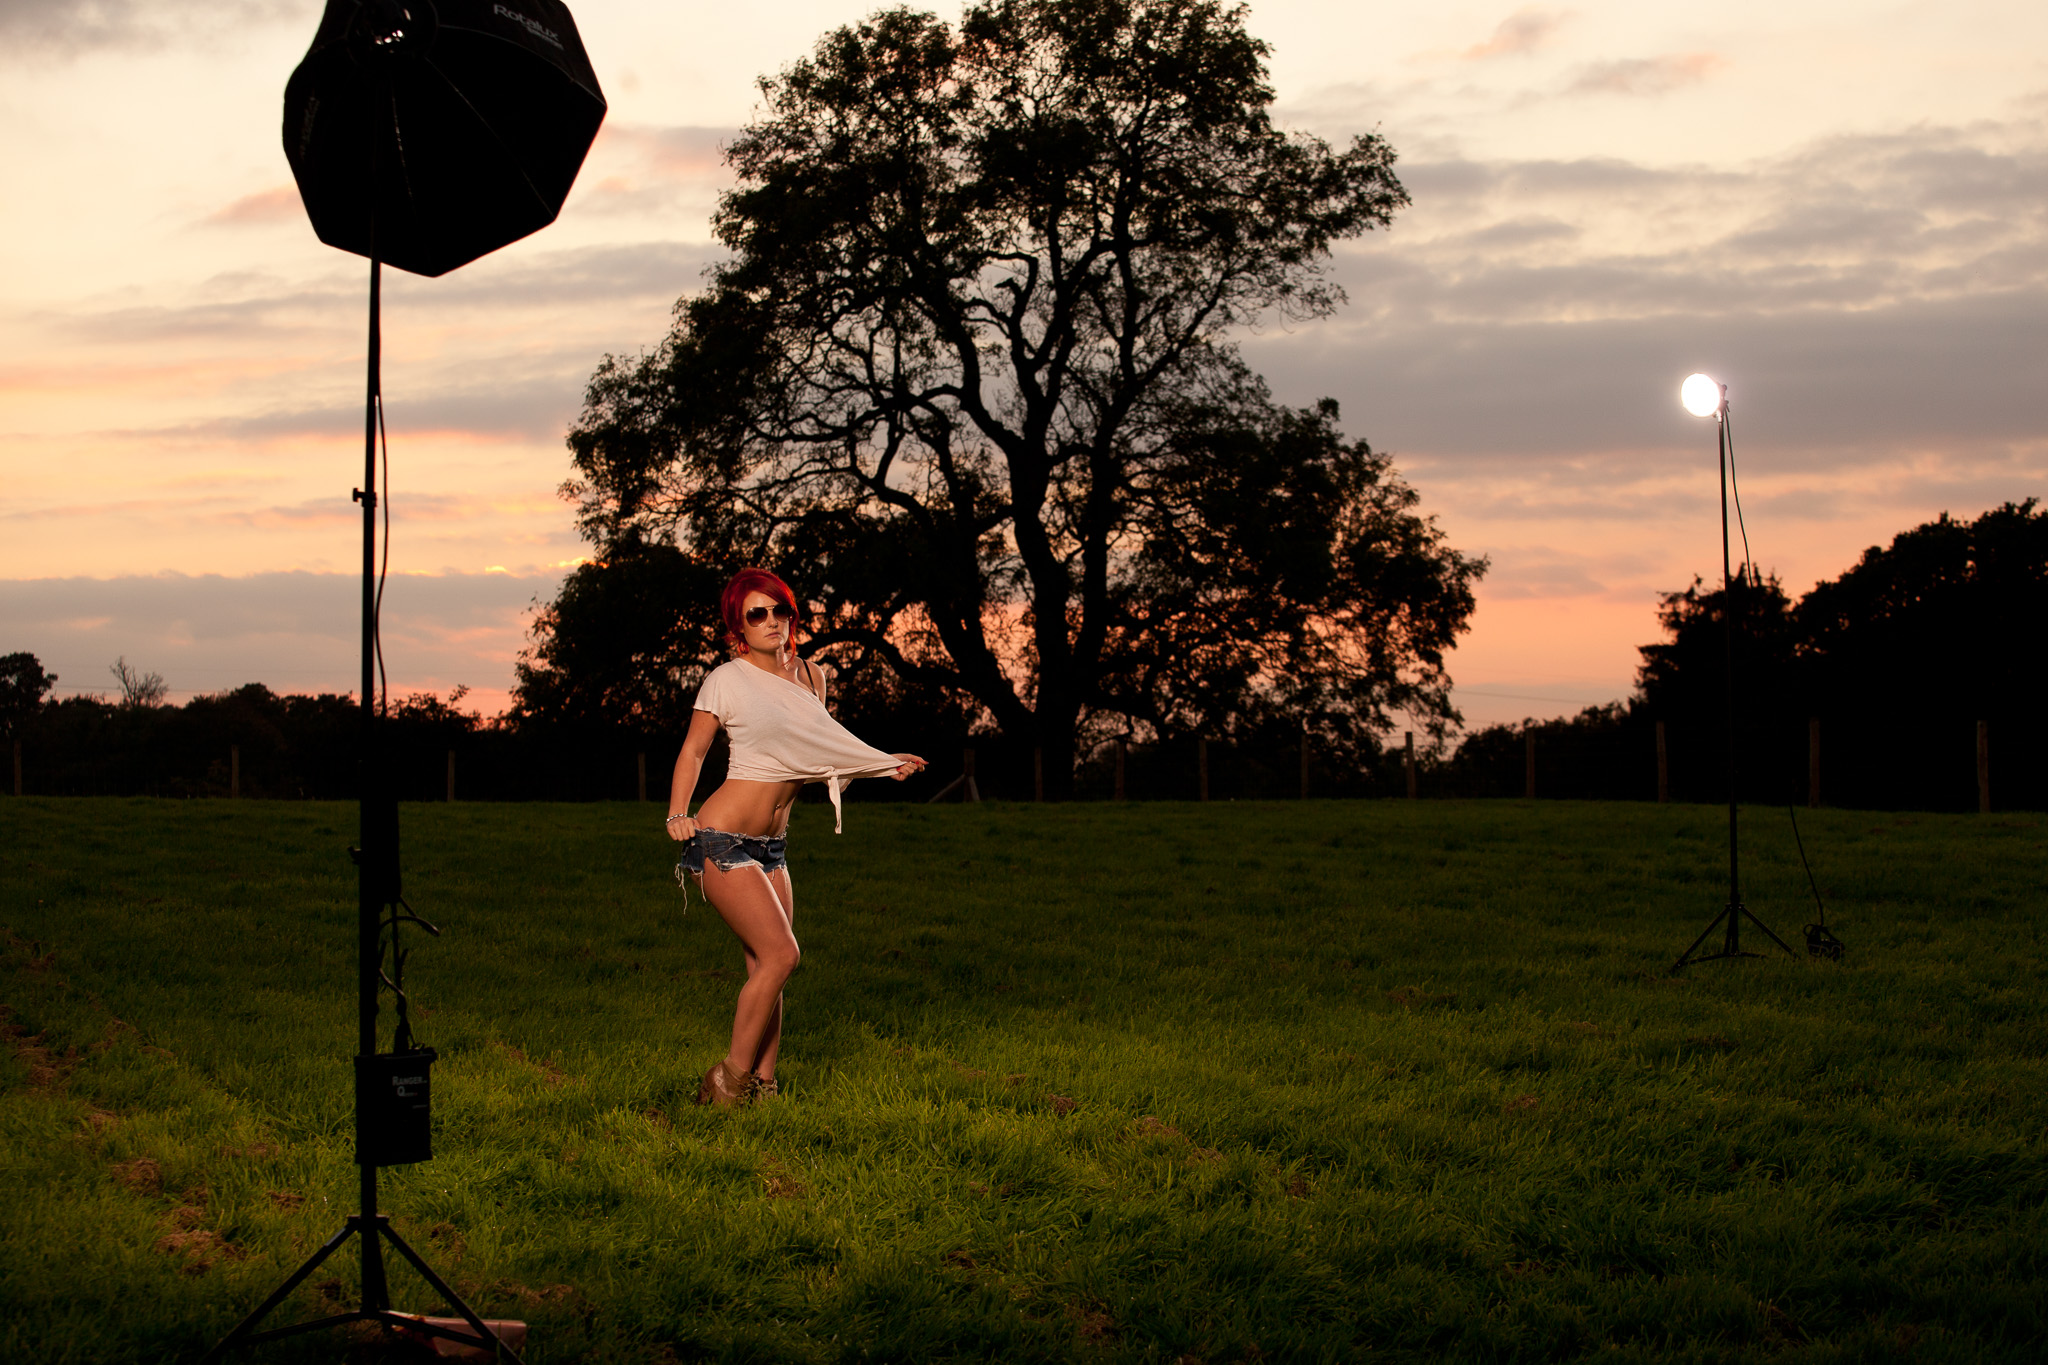
Want to take it a notch further? How about adding a second, un-gelled flash as a rim light? Position it directly opposite your main light and, because it’s un-gelled and therefore cooled down by your shift in white balance, it’ll appear to be throwing cool light in from your artificially blue background.
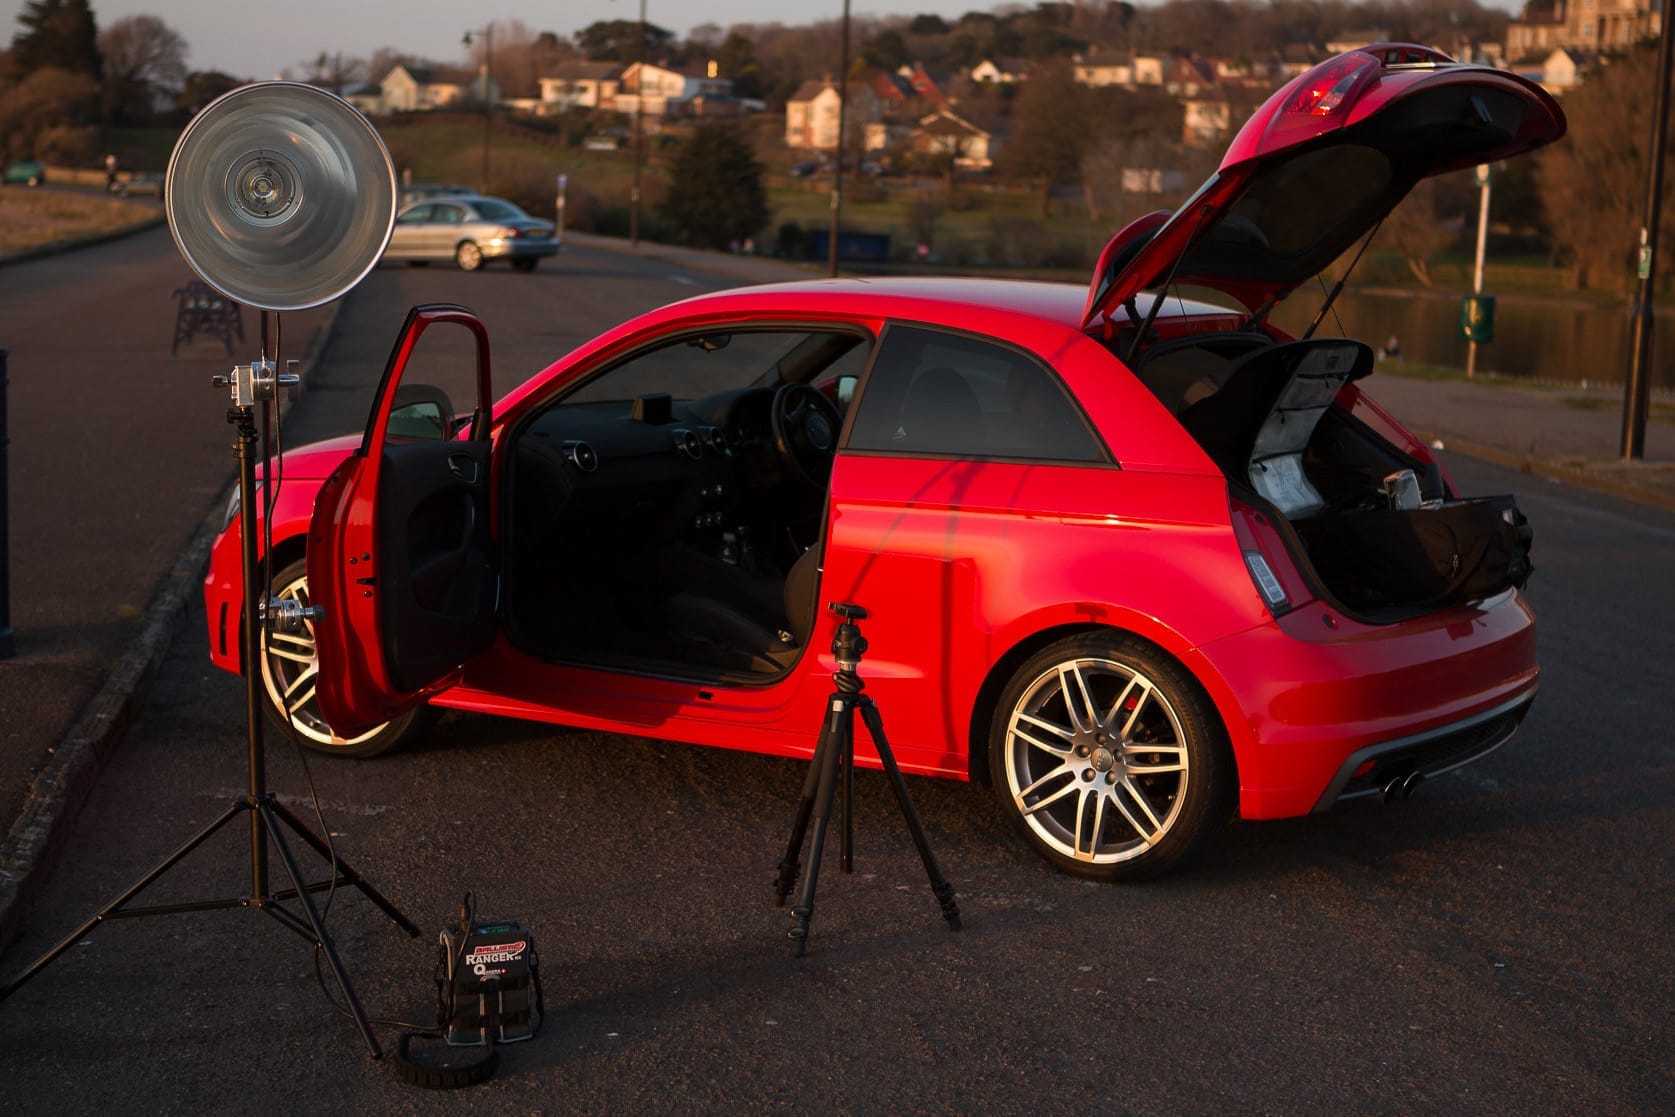
The image above was taken early in the shoot, before the sun dipped out of view and before I gelled the main light so there’s no colour shift in the sky, but it does show the layout of the lights. Soon after the sky began turning grey so the CTO gels were called into action. You’ll be able to see when in the gallery at the end of this post
Enjoy the behind the scenes video, and as usual if you have any questions, post a comment.


Recent Comments