
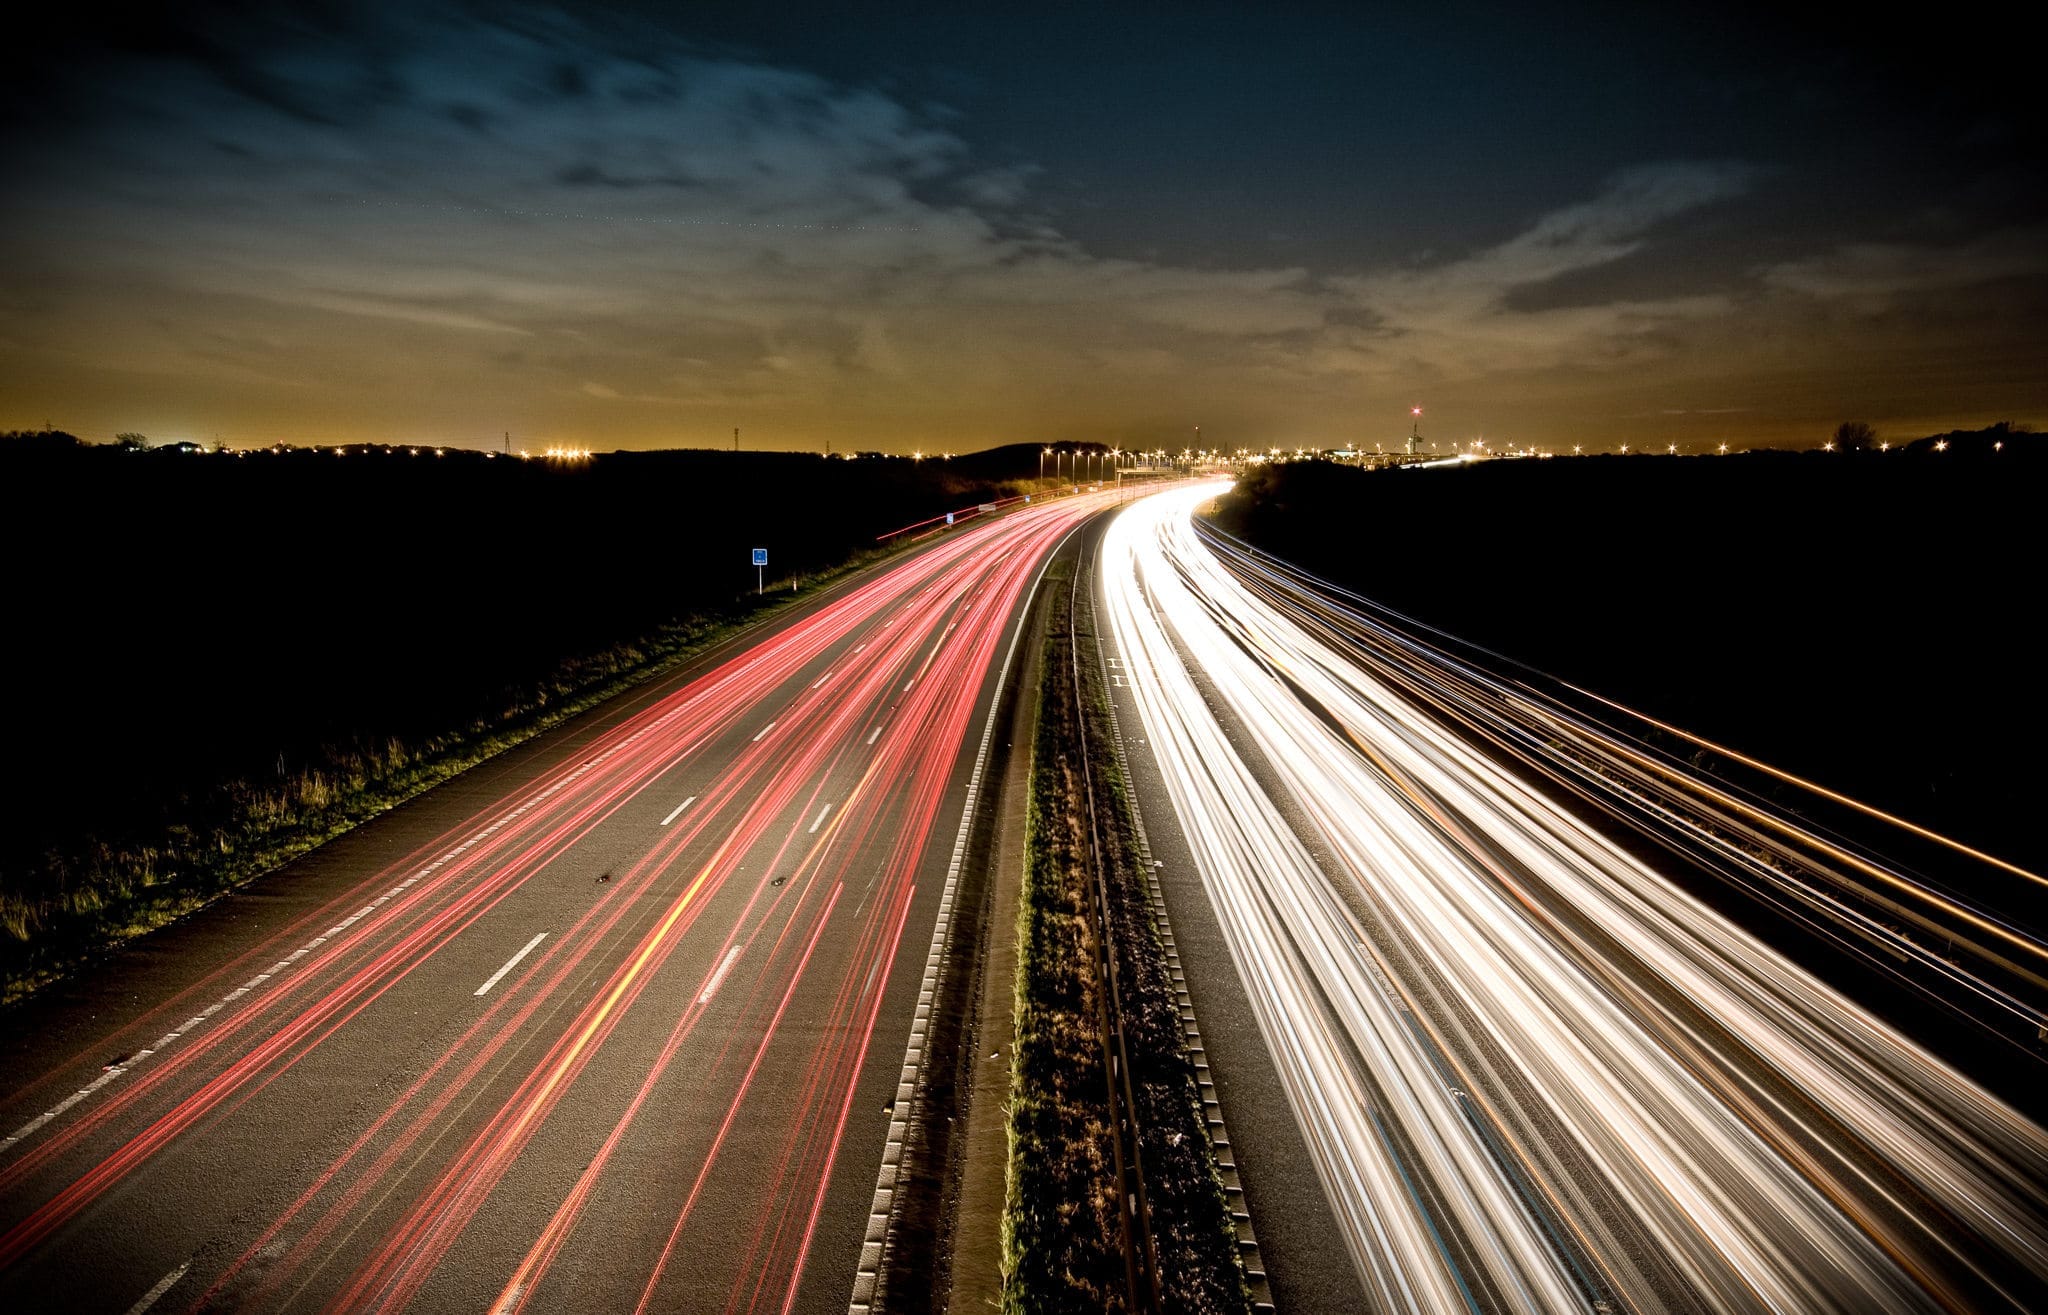
Photo of the Week – Moonlit Turbines
Today’s Photo of the Week popped back up on my radar recently as it’s being printed on perspex to be hung in an office in Glasgow.

It might not be obvious at first glance that this was shot at about 11pm on a clear moonlit night but if you look at the blurred blades on the wind turbines and the EXIF data the clues are there. The only post production here is a little noise reduction.
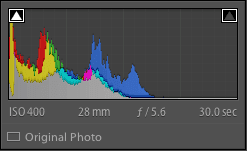
You can see this was shot at a 30 seconds – the longest exposure without going into Bulb mode. ISO and aperture were set to made a good exposure at that time after a few practise shots.
This is one of those histograms that don’t fit the mould. The data is bunched at the left side but that’s what you’d expect from a moonlit image – it’s naturally going to be dark and low contrast.
Gear wise, this needed nothing more than a tripod. I didn’t even have my shutter release with me so I just used the cameras self timer.


Recent Comments