If you’ve spent any time on my blog, you’ll know I like shooting on location. I love all the choices I get when it comes to balancing strobes with the available light – juggling all the variables is so much more fun than shooting in a studio where you have complete control over the lighting.
Shooting at night takes that to the extreme. Capturing what little ambient there is can be tricky when your flashes want to nuke everything with light.
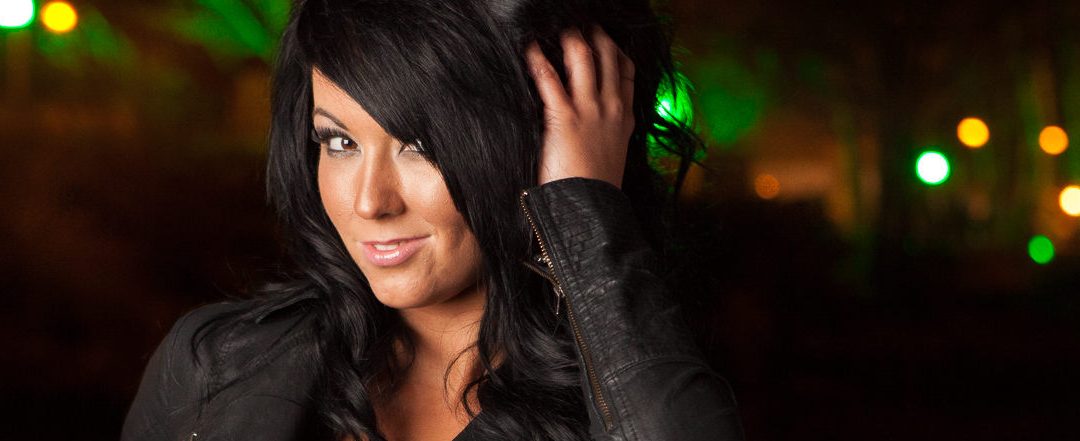
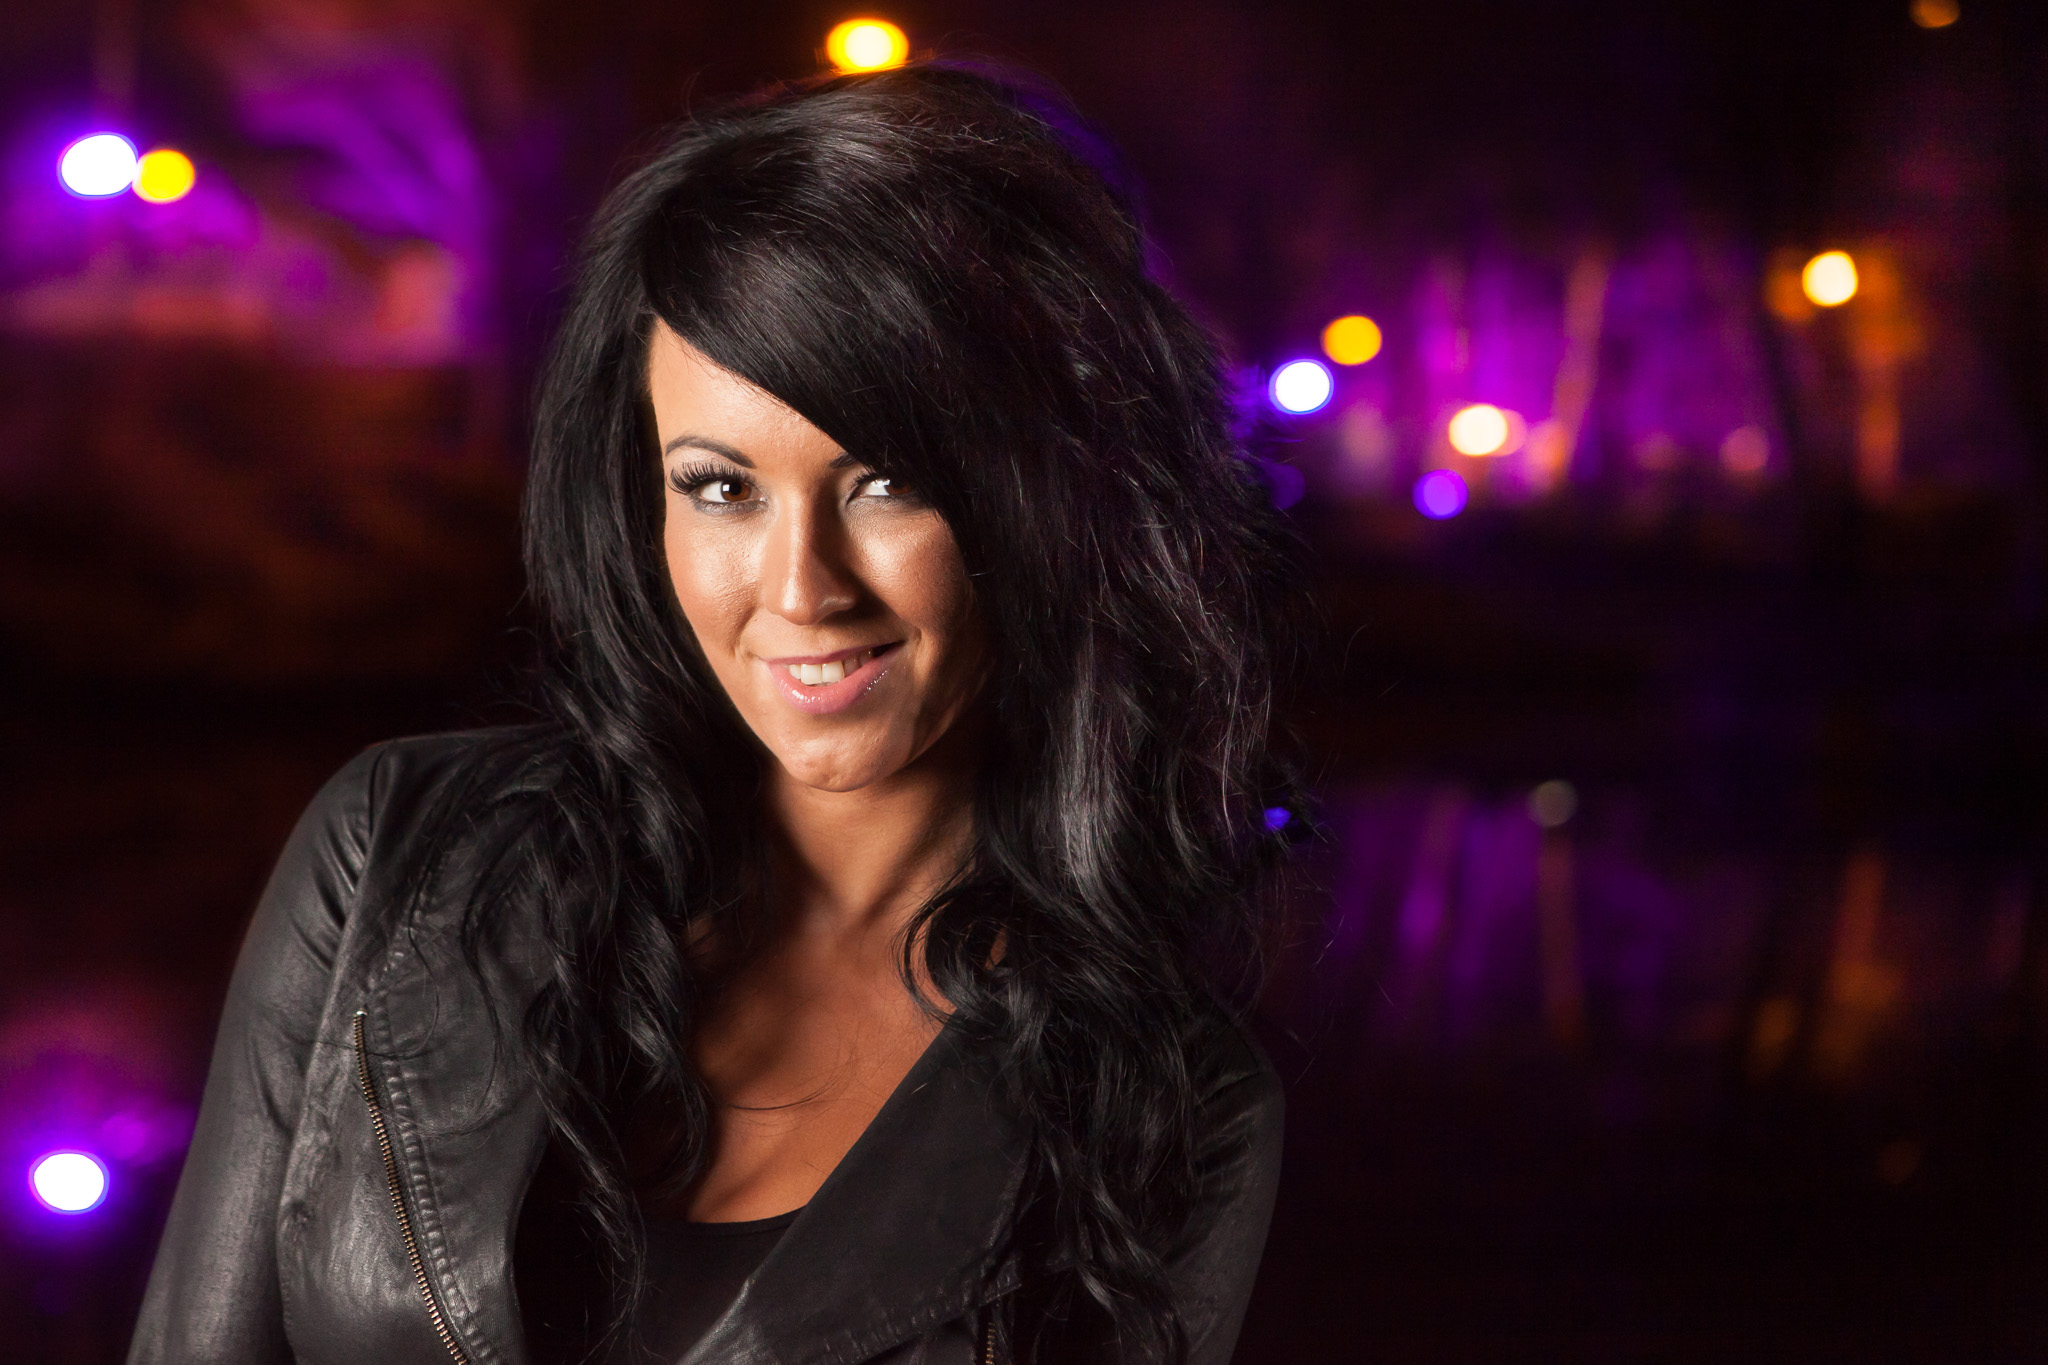
I came up against such a situation a couple of weeks ago, so here’s what I did to stop my model, Sarah, from floating in a sea of under exposed blackness.
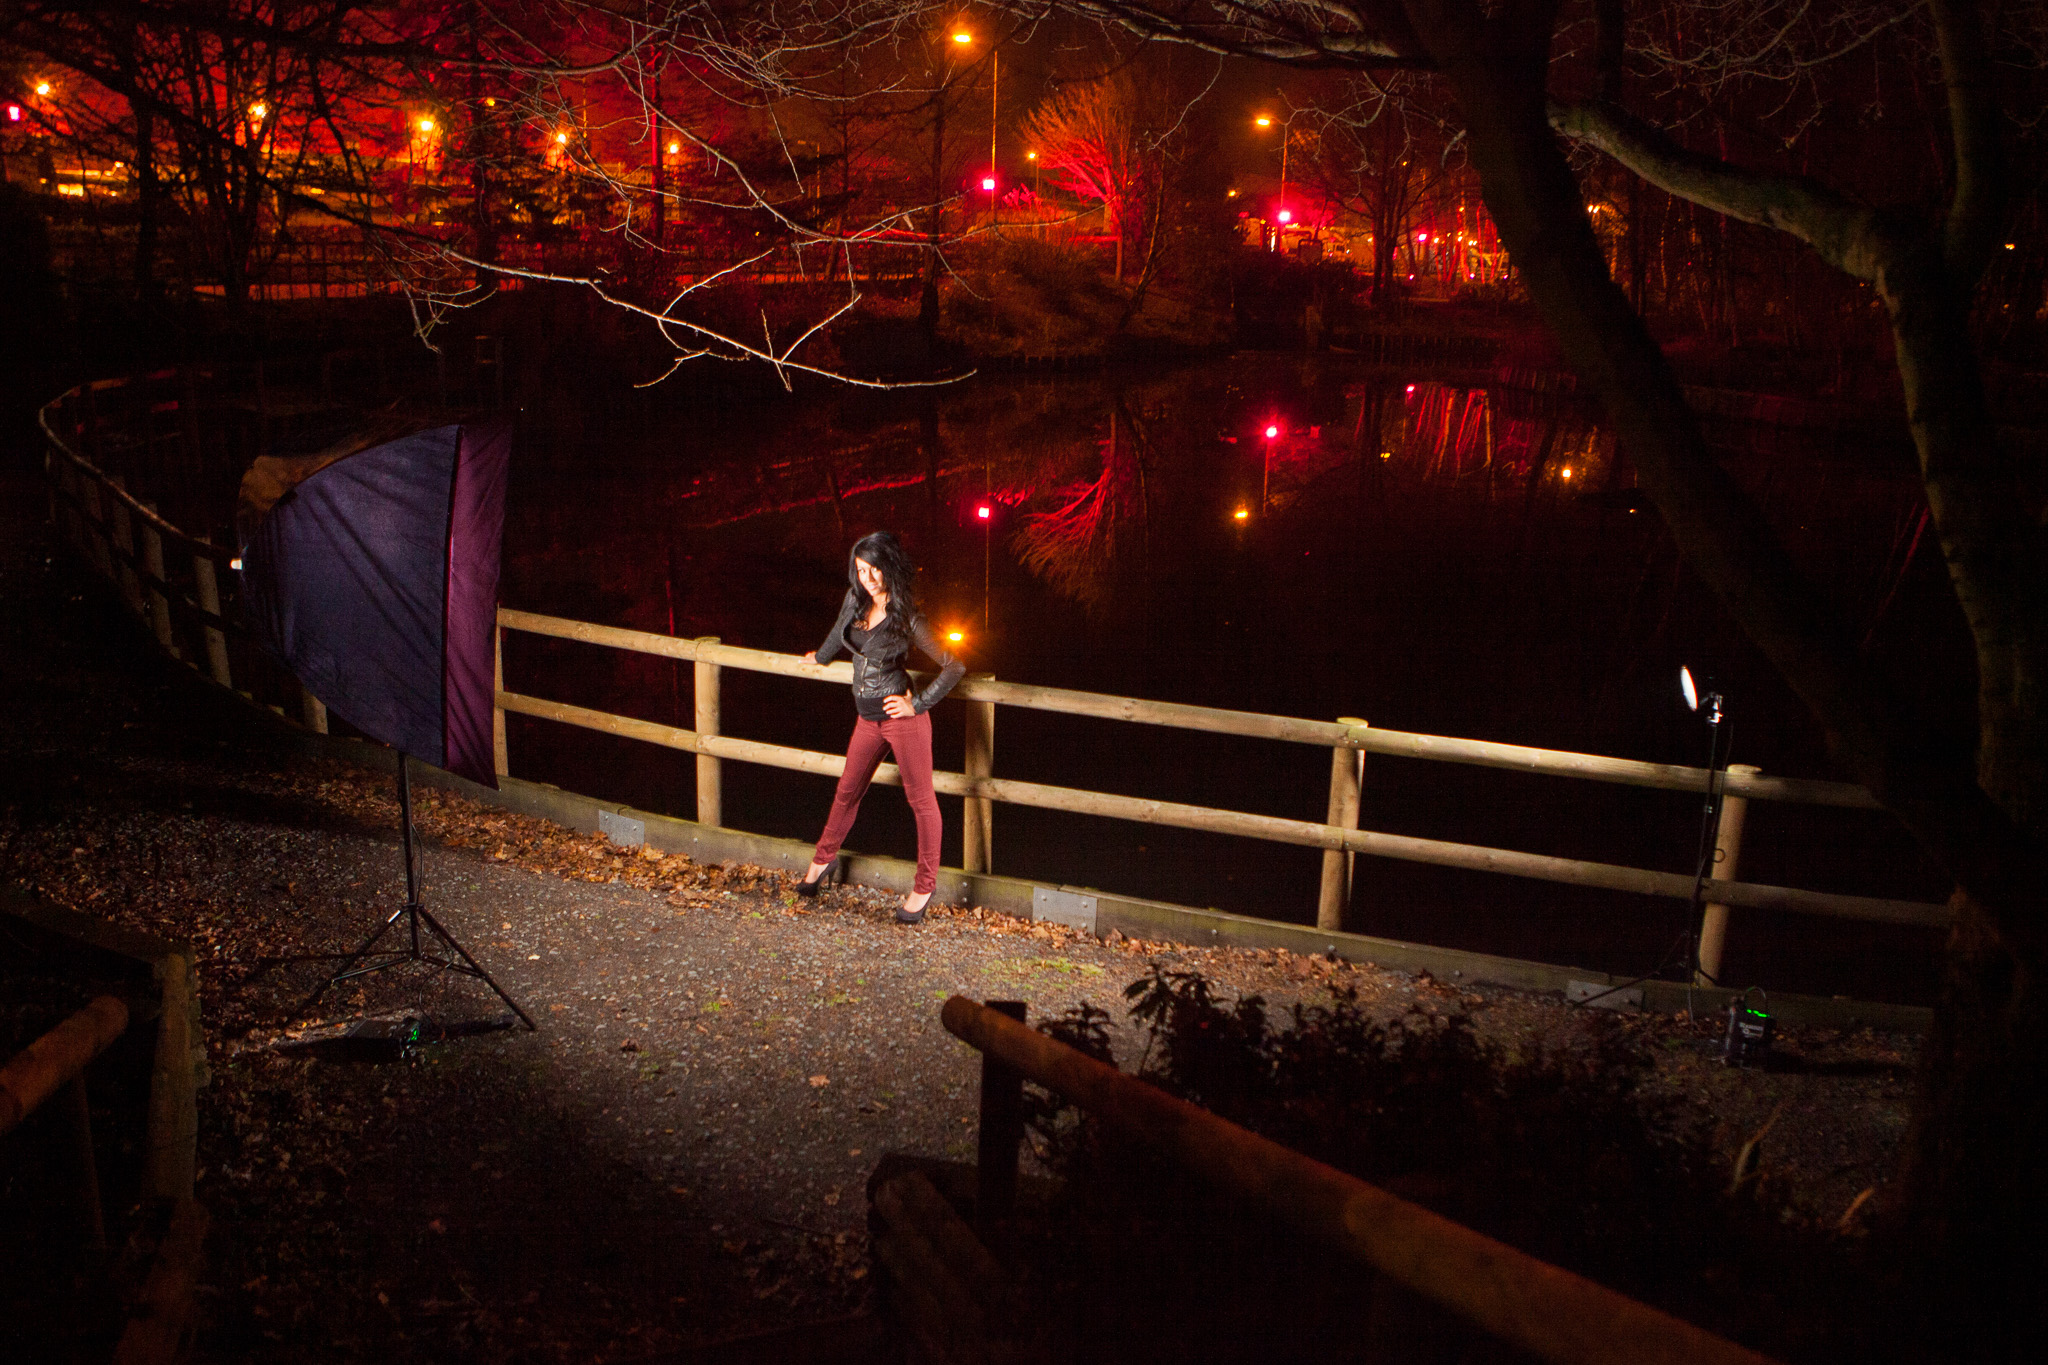
The image above was taken out by Pendigo Lake at the NEC near Birmingham in pitch darkness. So dark in fact that I had to ask friends to light the area with mobile phones while I set up. Without some artificial light on her, Sarah wouldn’t register at all.
Before the Quadras got powered on though, I found my ambient exposure. If I went straight in with flash, I’d have ended up with a good exposure on Sarah but a dark background. I wanted the coloured lights on the other side of the lake as my background so I left the strobes off for now, slowed my shutter speed and cranked up my ISO. The sweet spot turned out to be 1/20th second, f/4 at ISO 1600. Obviously shooting 1/20th handheld is usually a no no but when using strobe, the very short duration of the flash will freeze anything it hits. Plus, as there was no ambient light falling on her, I knew Sarah was going to be free from any motion blur from camera shake.
Then came the lighting on Sarah: A Westcott 50″ Apollo softbox (review of this coming soon) camera right and a gridded strobe camera right, slightly behind her.
As you have to start somewhere I set both packs to 1/4 power and fired off a test – let’s just say it was a little over exposed! Even at minimum power (25 w/s) on the ‘A channel’ on the packs I was still going to end up with a glowing Sarah if I wanted to keep the detail in background. I could have closed my aperture or lowered my ISO 2 stops to restrict the amount of flash getting in but that would have forced me to go to shutter of 1/5th of a second – slower than I was comfortable with.
So instead I switched my Quadra heads over to the packs “B channel” and dialed all they way down to 8w/s – just enough power to balance the ambient light and produce this set of images.
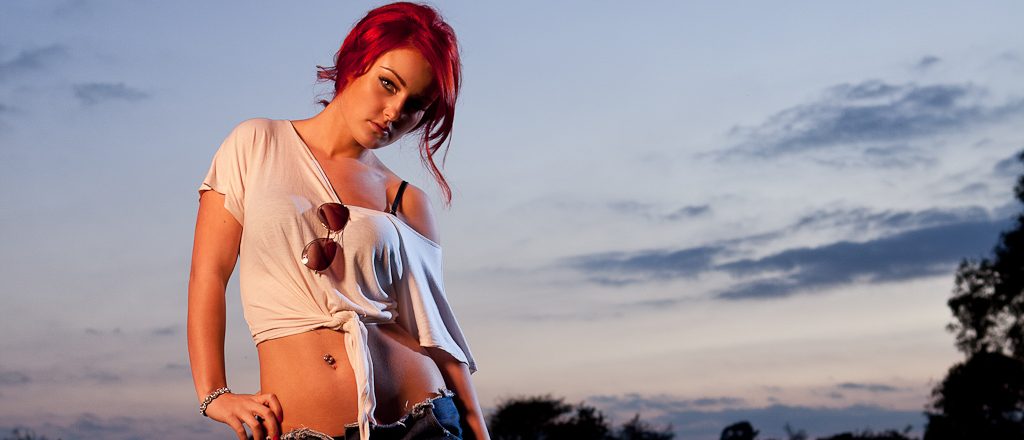
Sunset is my favourite time to shoot, not just because of the “golden hour” light you get, but because it’s the time adding flash to an image can change it the most. You can take a photo of your subject, under what looks to the naked eye to be pretty dull conditions, and then show them something on the rear screen of your camera that they can’t believe hasn’t taken hours in Photoshop.
It’s all about colour balance: Using a mixture of white balance settings on your camera and coloured gels on your flash will enable you to really bring out colour in the sky, especially useful when you don’t get the apocalyptic, fire and brimstone sunset you were hoping for.
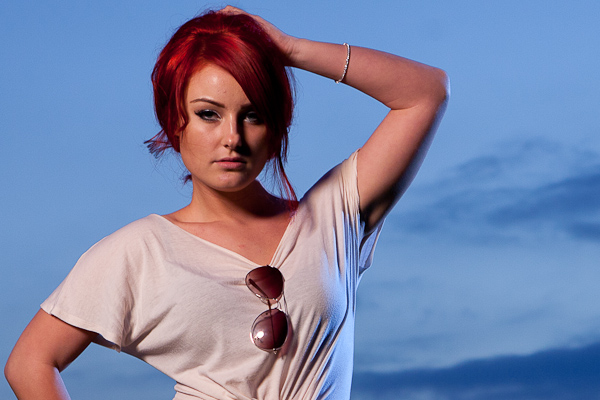
So for this set of images I gelled my main flash (camera left in a beauty dish) with one full and one half cut CTO gels. A CTO gel is a sheet of translucent orange plastic that’s designed to bring your daylight balanced flash up to the same colour temperature as a standard Tungsten light bulb. A “half cut” is a sheet that’s half strength. The “proper” use would be to match your flash to the ambient light, but it’s often used by photographers such as David Hobby (from whom I learnt this tip) to warm up skin tones to flatter your subject. A half or a quarter cut (an even less tinted sheet) on your key light will give your subject a healthy glow.
What if you add a full cut and a half cut to your flash, making it a really warm orange colour? If you don’t change your camera white balance to Tungsten you’ll have an over-tanned subject. You are adding one and a half cuts of orange to the light on your subject, then effectively taking the whole scene down by a full cut but changing your camera’s white balance. Tungsten mode on the camera will bring the full CTO light back to daylight colour temperature (plain white), leaving just the half cut left to gently warm your subject’s skin.
Here’s where it gets good! By setting your white balance to Tungsten you cool the colour temperature of the whole scene down. That brings the very warm light on your subject back to just above normal, but it also cools everything else in the scene. The areas not being lit with your super warm flash, go extra cool. In this case, the grey clouds turn blue.
1.5 cuts of CTO gel, camera on auto white balance
1.5 cuts of CTO gel, camera white balance set to Tungsten
So in less words: Light subject with very warm light. Adjust white balance to compensate. Get slightly warmed subject and cool blue background.
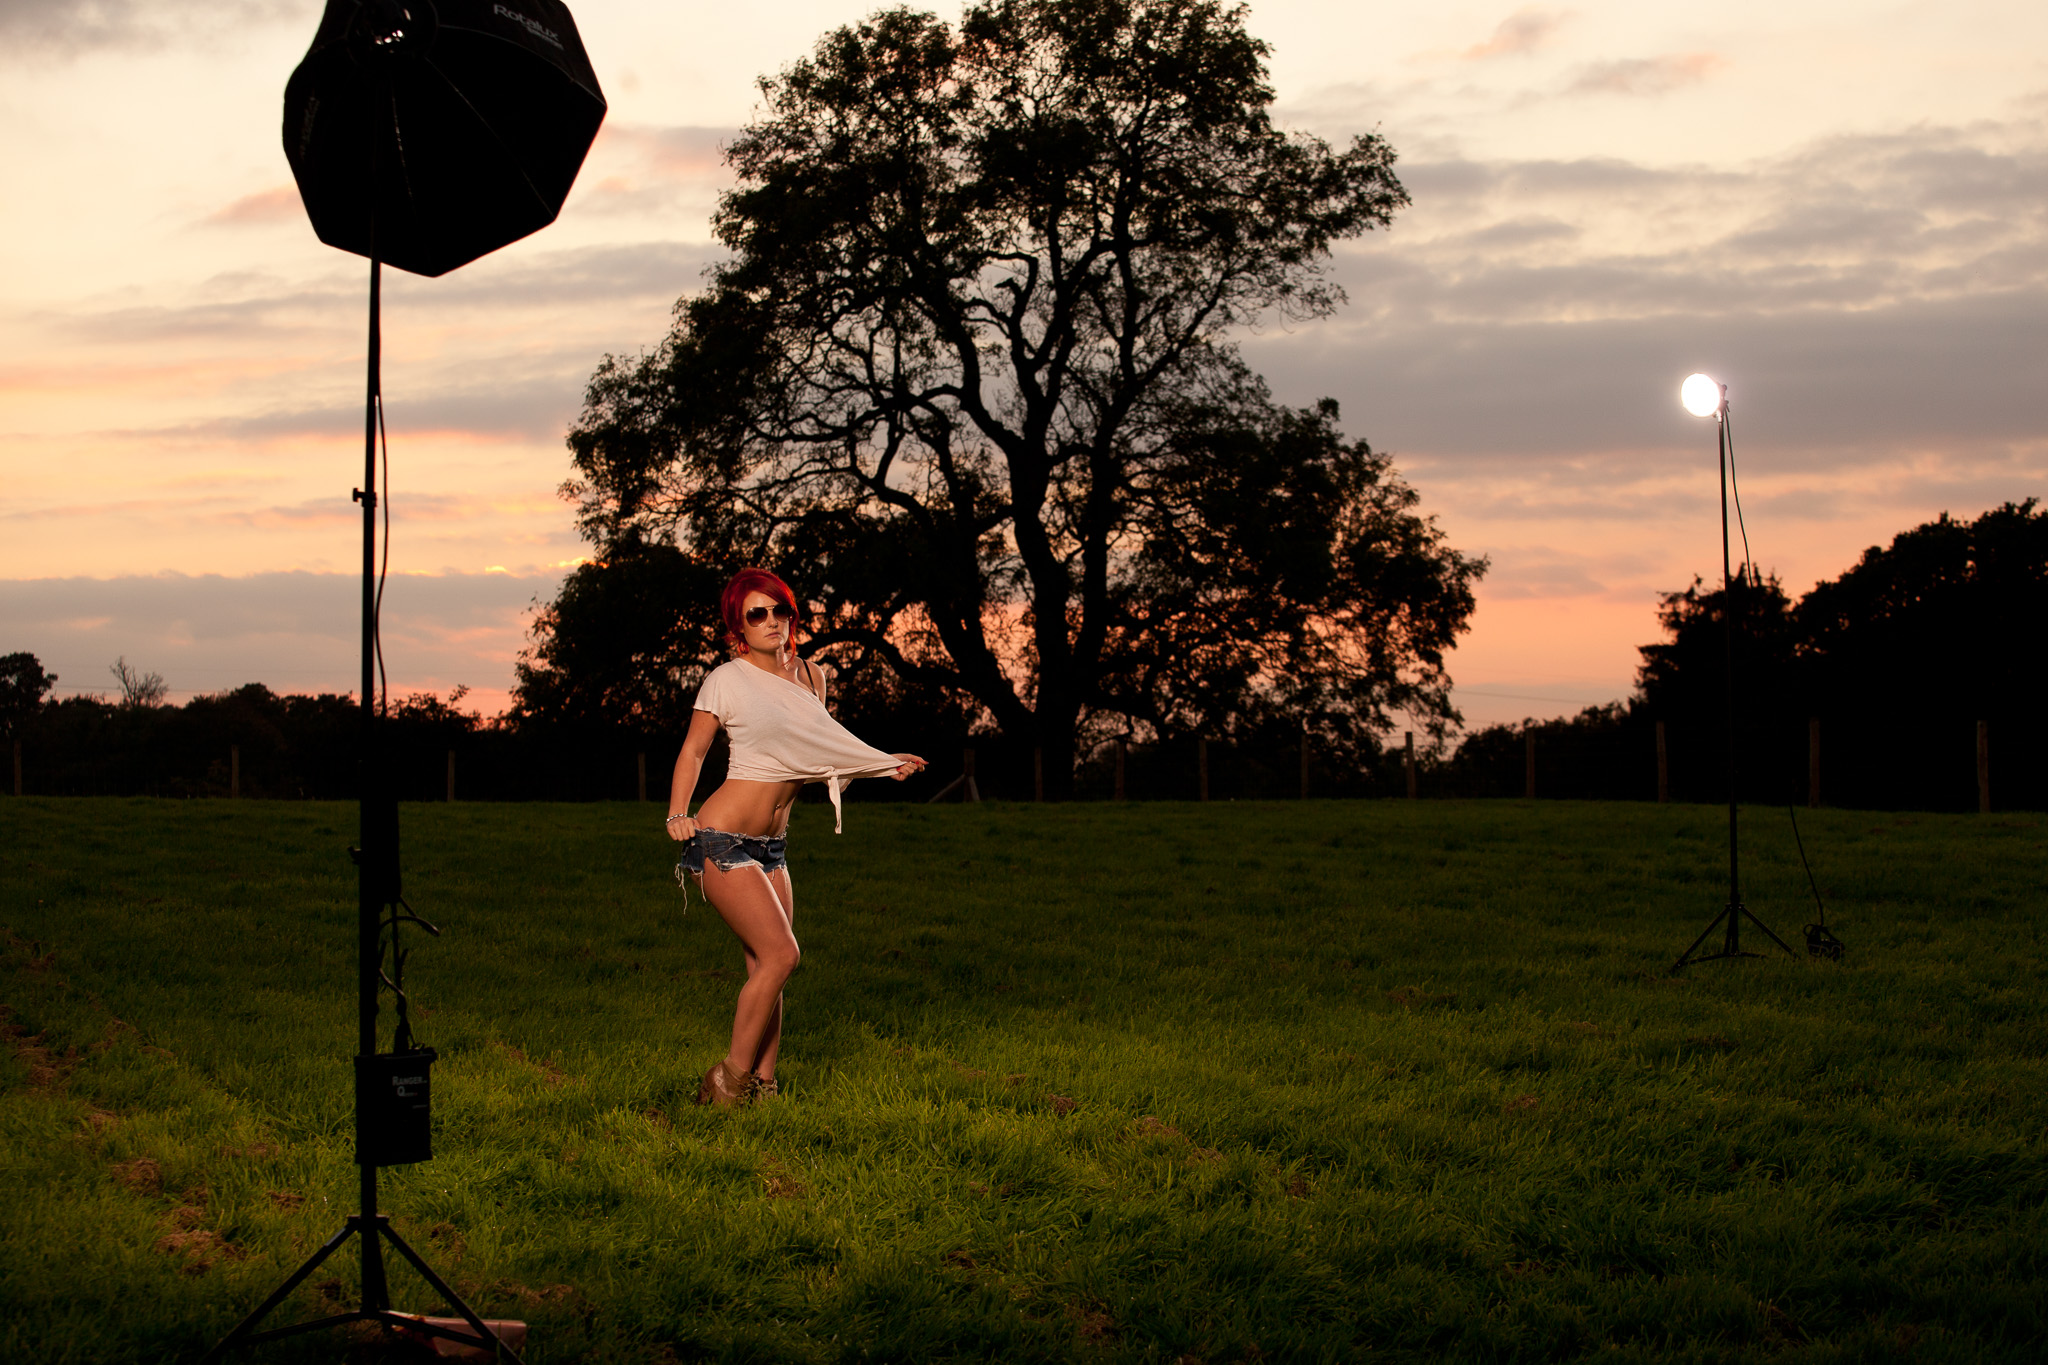
Want to take it a notch further? How about adding a second, un-gelled flash as a rim light? Position it directly opposite your main light and, because it’s un-gelled and therefore cooled down by your shift in white balance, it’ll appear to be throwing cool light in from your artificially blue background.
The image above was taken early in the shoot, before the sun dipped out of view and before I gelled the main light so there’s no colour shift in the sky, but it does show the layout of the lights. Soon after the sky began turning grey so the CTO gels were called into action. You’ll be able to see when in the gallery at the end of this post
Enjoy the behind the scenes video, and as usual if you have any questions, post a comment.
It’s advice you’ll see over and over again, not just from photographers but from people in all walks of life: If you want to stand out from the crowd, do something different.
Now while I am not lauding this as the great photograph ever taken, but I like to think it’s a good example of “different”.
The “Paparazzi” Image
Michelle, owner of this particular drift project S14, was proud to have her car on a stand at Modified Nationals and asked me to take a photo. Unfortunately the car was indoors with no chance of moving it so I had to work with what I had.
The scene as it was – Photo courtesy of Steven ‘Jonesy’ Jones
At some point during the weekend, an image taken by David Hobby during the shoot out at last years Gulf Photo Plus popped into my head. The idea being to make the car look like a celebrity by surrounding it with ‘paparazzi’. Normally I work with manual flash and simple radio triggers but only having two with me meant I chose to use my 580EXII as an ETTL commander to trigger any available Canon flashes… of which I had only one! So the first challenge was to approach as many Canon toting photographers as possible, explain the idea, and get them in position. (Something I wouldn’t have done a year ago, but thanks to photography I’ve been gradually making my comfort zone larger.) There are even a few Nikonian friends in the final shot with flares from Canon flashes cloned over their non-firing strobes in post.
On the technical side, I had my 580EXII on camera running the show and providing fill flash at minus 1 stop. All the slave flashes we’re set as ETTL slaves in the same group and set to +1 flash exposure compensation to give a nice bright rim effect to separate the black car from the black curtain behind and to light the roof and bonnet.
What could I have done better? Looking back on the image now I can see I should have had more light on the nose and the door and a smaller aperture would have made better star bursts from the flashes and highlights. But all in all, as it was a spur of the moment shot, I’m pretty pleased, and I have learnt what to look out for if I ever do it again.
The fact you are here, reading this blog, probably means you are like me and you love photography. Not just like or enjoy, but love. Put a camera in my hands and I’m happy. I love being able to unleash my creative side that starts to scream from inside if I keep it bottled up too long. I love how it makes me think on my feet in changing light and situations. I love being able to make a picture that looks nothing like the actual scene my subject and I were standing in at the time and seeing the reaction on their face.
But two weeks (sometimes two days) later I look back at the images I was so pleased with and hate them. I see all the imperfections, I criticise my lighting. I scroll though my portfolio judging everything: “This sucks, this sucks, that’s old, I should have done a better job on that, this all sucks!”. Nothing stacks up against the work I see coming from the photographers I admire.
Only that’s not my quote.
That comes from a photographer I admire.
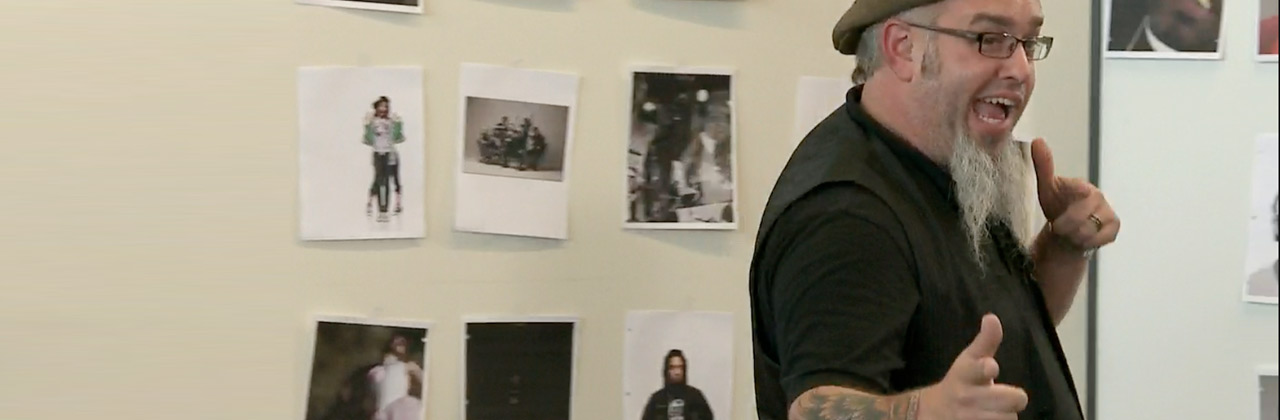
Zack Arias.
It’s so reassuring to know that Zack, provider of inspiration and the reason the “aperture controls flash exposure, shutter speed controls ambient exposure” penny dropped for me, has the same moments. It’s also a little sobering. I had hoped that when I was producing work as good as that and had achieved that much, I’d be living the Johnny Photographer lifestyle.
But it seems like photography is always going to suck.
Chase Jarvis posted on his blog last week asking his readers to finish a sentence: “My pictures would be better if…”. So I did. I thought about it carefully and put my reply out into the world amongst the huge stream of comments.
My pictures would be better if I got myself out of my comfort zone more often, took more risks and had a better idea of where to aim my passion/energy/hustle.
So now it’s out there, maybe I should clarify.
I stay in my comfort zone by only working with models I know when I could be arranging things on Model Mayhem and Purestorm for more variety in my portfolio.
Taking more risks would allow me to go after jobs and arrange shoots that the nagging voice in head tells me I am not ready for. There are lots of great venues I’d love to shoot in (bars, hotels etc) so I need to pop into these places and talk to the boss. I’ve done it once and that resulted in a shoot in a cinema in a couple of weeks so why don’t I do it more? Could I shoot a family portrait session or even a wedding? I have come a long way but I know I can go a lot further.
The big one is knowing where to focus my energy. I get myself super motivated, I produce solid work and I’m ready to work my face off – but I don’t know where to direct all that enthusiasm. I can’t progress if I don’t know what direction to set off in. Although it feels safe to hide behind the fact I’ve not sat down and thought about it yet, it’s much easier to steer a moving ship so it’s time to get sailing. There’s no point in having lots of business and marketing ideas if I don’t hang out my shingle so I need to work on a business plan and find out if there is a market for what I want to do. I’m talking about walking away from my day job on a whim but I do want to be able to spend more time doing what I love rather than what I must. Isn’t it better to try and fail than not try at all?
Hence the image at the top: my Big Book of Hustle. This is where the ideas go. There is where I write down the hard questions, and with any luck, some answers too. Time to man up!
Am I alone in this or do others have a heap of motivation and energy but no target to aim it all at? Am I the only one who has a clear picture of the end goal but has yet to work out what achievable steps to take to move towards it? Hit the comments below if you have the same problem or any solutions.


Recent Comments