
Lessons Learnt
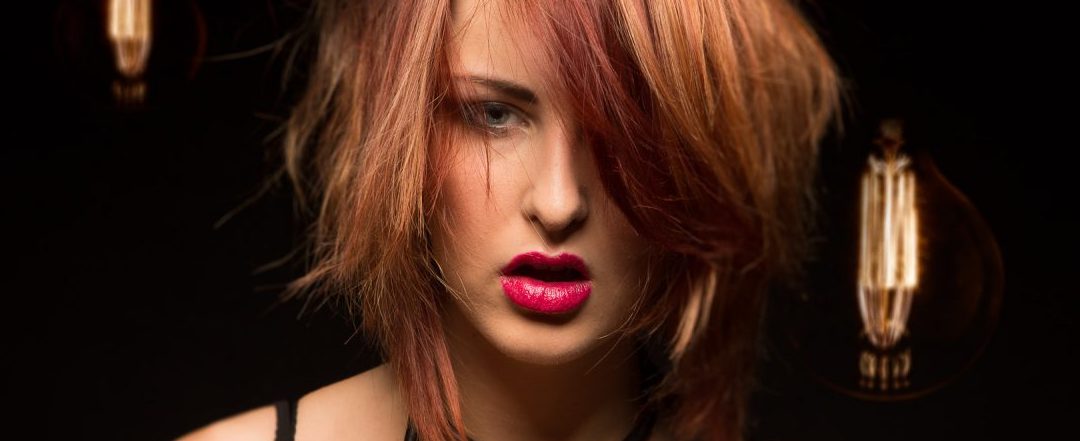
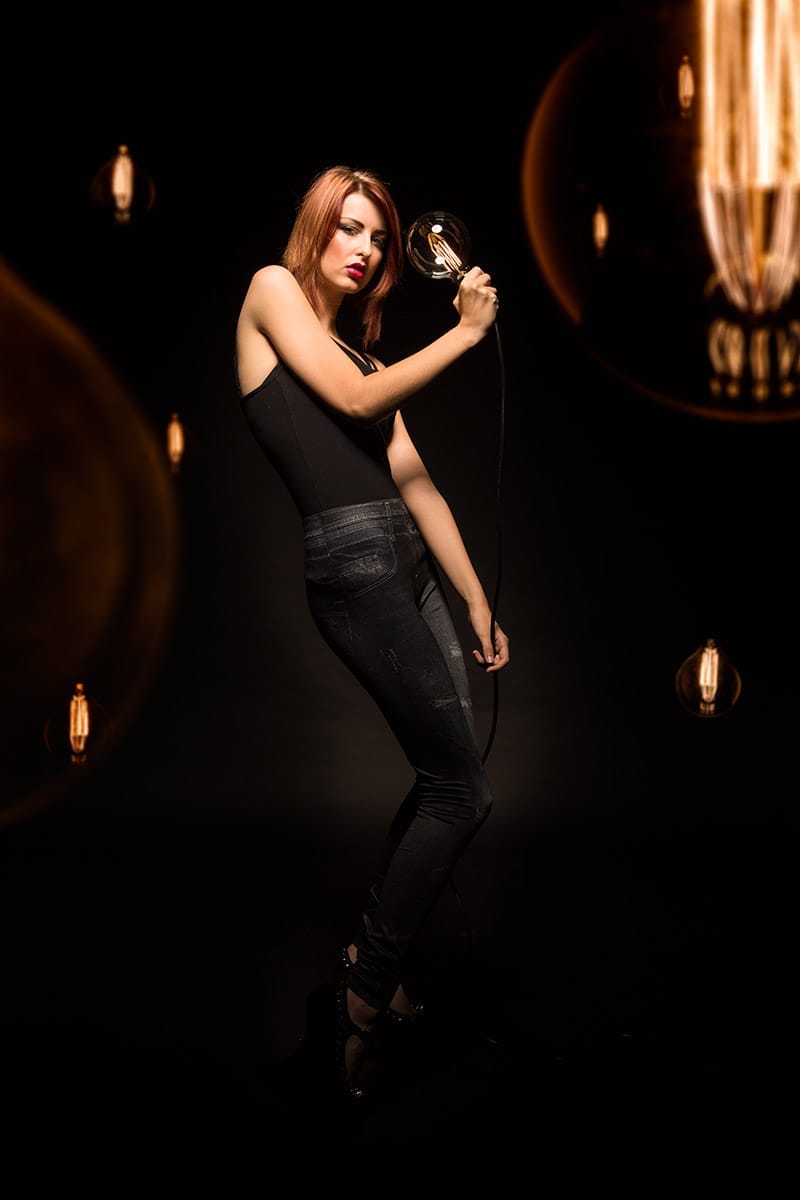
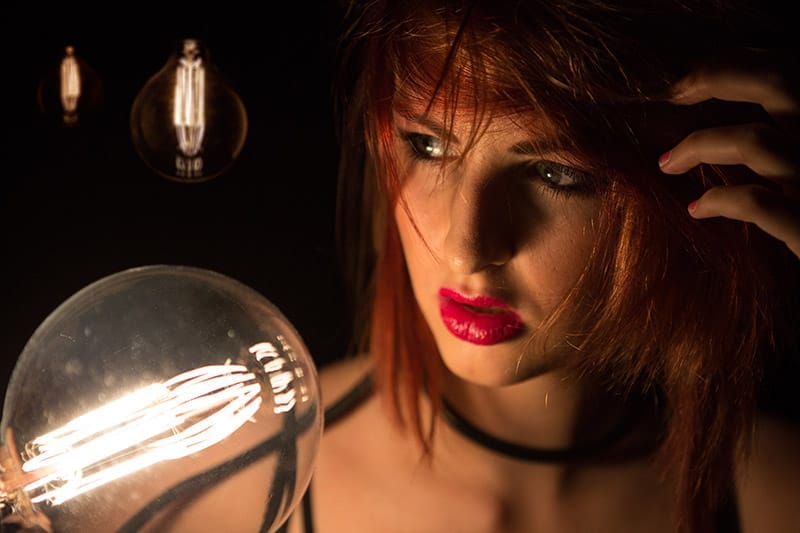
I recently decided I wanted to freshen up my portfolio so I gave myself a kick up the arse and arranged a studio day for myself. Living in the South West, when most of the models I want to work with live in the Midlands and the South East, is a pain when it comes to arranging and funding travel. So, in a flash of inspiration, I booked Saracen House Studio, just outside Milton Keynes for the day, lined up 3 models and even a professional make up artist. It made more sense for me to travel to the people I was working with than have them all travel to me individually. My goal was to get 6 portfolio worthy shots. I feel I came up short, but I did learn a few valuable lessons which made the whole day worthwhile.

Timing
When hiring out a studio for 8 hours my immediate thought was to shoot for 8 hours to get my money’s worth, so I arranged the arrival times of the girls to overlap. That way, when one was in hair and makeup, I was still shooting the previous model. This causes two problems; Firstly I don’t get to greet the model, sit down, have a chat over a coffee and talk thought what we are about to try. It all becomes a bit hurried and there’s no time to build a rapport before she’s in front of my camera. Secondly, and it didn’t even cross my mind when planning, there was no down time for me. I was working nonstop from 11am to 7pm. Admittedly that’s only 8 hours, a normal working day but even in the worst day job you get a lunch hour! Besides having no breaks, I was “on” constantly with no chance to freewheeling, even for a minute. I was driving the bus with everyone looking to me for what to do next. This is what really took it’s toll. It might be just me, but I can’t stay creative under those conditions. I can’t force it. I got tired, my creativity waned and I started doing safe things. Nothing new, just simple setups, things we have all seen a million times and that’s just not the sort of work I wanted to produce.
Sets
This is a simple one. I won’t use sets in a studio again, because even in a quality place like Saracen House, they still look like, well, sets in a studio. I’ll stick to a classic white/grey/black seamless. If I want to shoot in a bedroom, I’ll book a nice hotel suite and take my own lighting. The best images were the day were the ones shot against seamless.

Working with other creatives
Most models can do their own hair and makeup. In fact they’d be pretty limited if they couldn’t, but they will generally have a go-to look that they turn to. That’ll mean that most shots you see of them will be somewhat similar. That’s why I booked a make up artist (or MUA) to be on set all day. This is something I’ll definitely do again. Emma Stroud and I bounced a few messages and images of the models back and forth before the shoot and she was able to decipher my rather blokey descriptions of looks and come up with a style to suit each of the girls. Emma’s styling had a sizable impact on the shoot and led things in directions I probably would not have thought of on my own.

Preparation
I went in to the day with quite a few lose ideas and concepts thinking they’d be jumping off points and things would organically evolve as the shoot went on. To some degree that worked, but you burn through more ideas in 8 hours than you’d think. I’m not sure what would have worked better. I should have either come up with more of those jumping off points or I should have taken along fewer, but more fully formed ideas. I am erring on the side of the latter as the last time I shot at Saracen House, I had a detailed concept in mind for my hour shoot and came away very happy with the results.

So next time…
I won’t shoot non-stop all day.
I won’t try and simulate locations in a studio.
I will definitely work with other creatives like MUA’s and stylists.
I will prepare more. Either more loose ideas, or a few fully formed concepts.




Recent Comments